Periodic maintenance of your LD250 inverter involves little more than
checking for any obstructions to the black cooling heatsink at the rear of the
inverter. The heatsink must be cleared of any accumulated foreign matter that
may have lodged itself between the fins since the last maintenance check, e.g.
insect nests. Also verify that airflow around the inverter has not become
restricted.
Operation
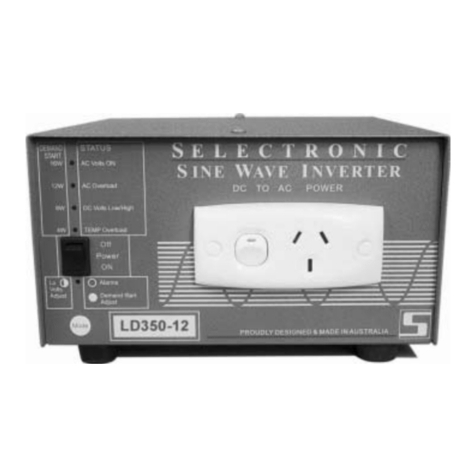
Three LEDs are provided on the front panel to indicate the operating Status of
the LD250 Inverter.
STATUS indicator LED’s
LED 1, “ON”. Indicates that the inverter is supplying power to the load. Batteries
1. Every week, carry out a thorough visual inspection of all battery
wiring, taking particular note of the condition of inter-connections
between cells. This maintenance should be carried out in conjunction
with the battery manufacturers recommended maintenance.
LED 2, DC Volts Low / DC Volts High.
“Flashing” If the inverter shuts down due to low battery voltage ( the battery
is flat) then LED 2 will flash. Charge the battery by starting the vehicle or use
a battery charger. When the battery is charged the battery voltage will rise,
LED 2 will turn OFF and the inverter re-activate. Safety Hint
When working on batteries of such high capacity it is
essential that you wear protective clothing, some form of eye
protection and rubber-soled work boots. Please regard your
batteries with a great deal of caution, and if in any doubt,
entrust this work to your supplier / installer.
“Permanently ON” If the inverter shuts down due to high battery voltage
then LED 2 will stay ON. When the battery voltage is reduced LED 2 will
turn OFF and the inverter re-activate.
LED 3, Over temperature / AC Overload.
“Permanently ON” If the inverter shuts down due to internal components
getting too hot, then LED 3 will come ON and will remain ON until the
temperature has dropped to a safe level. LED 3 will then turn OFF and the
inverter re-activate.
2. Check that the stainless steel inter-connecting bolts are tight and have
no corrosion. If corrosion is evident, carefully follow the following
procedure.
•Disconnect the system battery fuse before working on the battery
bank.
•If LED 3 is coming ON regularly, either reduce the amount of load on the
inverter or, if possible, move the inverter to a cooler location.
•Unbolt the stainless steel bolts and nuts of any corroded
connections and thoroughly clean the joint with a wire brush or
file, taking extreme care not to short circuit any battery cells with
any tools.
“Flashing” If the inverter shuts down due to too much AC load being drawn
from it then LED 3 will FLASH. The inverter will remain in this condition for
1 minute after the AC load has been decreased to a safe level.
•Re-assemble and smear a small amount of Vaseline or similar
grease over the surface of the joint to slow down any future
corrosion.
•If the inverter remains in this overload condition beyond one minute,
switch 8 (ON /OFF Switch ) should be turned OFF and then back ON to
re-activate the inverter.
Maintenance 3. Once a fortnight or as directed in your battery manufacturer, check the
specific gravity (SG) of each battery cell using a hydrometer, to ensure
Selectronic Australia LD250 Manual
7
Inverter
Selectronic Australia LD250 Manual
8


