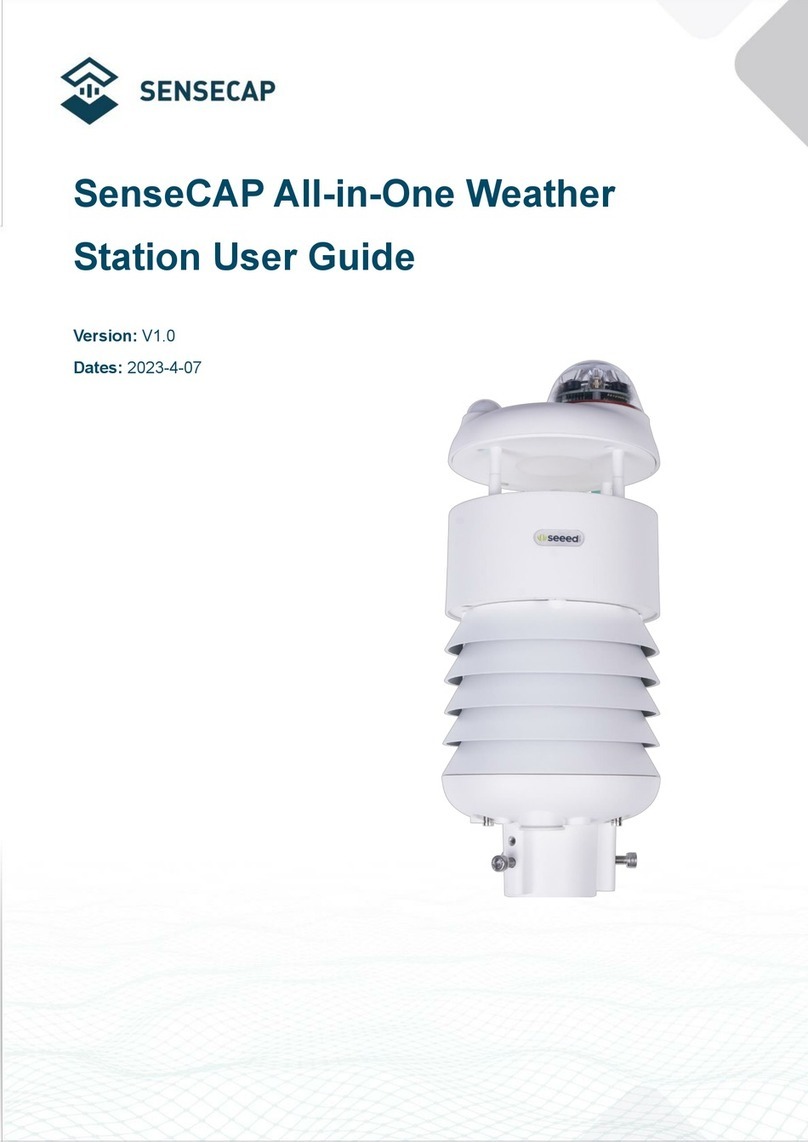
SENSECAP S2120 User manual

THE NEW GENE RATION LORAWAN SENSORS OF SENSECAP
S2120 8-in-1 Weather Station
User Guide
Version: v1.0.0

Table of Contents
1. Product Introduction ...................................................................................4
1.1Introduction..............................................................................................................4
1.2Quick Start Guide....................................................................................................4
2. Part List ........................................................................................................5
3. Key Parameters of the Sensor....................................................................6
4. Pre-Installation.............................................................................................7
4.1Diagram...................................................................................................................7
4.2Install the Wind Sensor............................................................................................7
4.3Install the Rain Gauge.............................................................................................8
4.4Power Supply Plan..................................................................................................8
4.4.1 Install the battery with built-in box............................................................................... 9
4.4.2 Install the battery with external box........................................................................... 10
5. LED of Sensor Working Status.................................................................13
6. SenseCAP Mate App .................................................................................15
6.1Download App.......................................................................................................15
6.2How to connect sensor to App...............................................................................16
6.2.1 Create a New Account .............................................................................................. 16
6.2.2 Connect to Sensor to App......................................................................................... 17
6.3Configure parameters through App........................................................................19
6.3.1 Select the Platform and Frequency........................................................................... 19
6.3.2 Set the Interval.......................................................................................................... 22
6.3.3 Set the EUI and Key.................................................................................................. 23
6.3.4 Set the Packet Policy ................................................................................................ 23
6.3.5 Set the Activation Type ............................................................................................. 24
6.3.6 Restore Factory Setting............................................................................................. 25
7. Connect to the SenseCAP Portal .............................................................26
7.1SenseCAP Portal...................................................................................................26
7.1.1 Create a New Account .............................................................................................. 26
7.1.2 Other Functions......................................................................................................... 27
7.1.3 API Instruction........................................................................................................... 27

7.2Connect to SenseCAP with Helium Network..........................................................28
7.2.1 Quick Start................................................................................................................. 28
7.2.2 Preparation................................................................................................................ 28
7.2.3 Bind Sensor to SenseCAP Portal.............................................................................. 29
7.2.4 Setup the Sensor....................................................................................................... 31
7.2.5 Set Frequency of Sensor via SenseCAP Mate App.................................................. 32
7.2.6 Check Data on SenseCAP Portal ............................................................................. 33
7.3Connect to SenseCAP with private TTN................................................................34
7.3.1 Quick Start................................................................................................................. 34
7.3.2 Preparation................................................................................................................ 34
7.3.3 Bind Sensor to SenseCAP Portal.............................................................................. 35
7.3.4 Setup the Sensor....................................................................................................... 35
7.3.5 Set Frequency of Sensor via SenseCAP Mate App.................................................. 35
7.3.6 Check Data on SenseCAP Portal ............................................................................. 36
8. Connect to Helium Network......................................................................37
9. Connect to The Things Network...............................................................37
10. Payload Decoder........................................................................................38
10.1 Decoder Code..................................................................................................38
10.2 Packet Parsing.................................................................................................39
10.3 Data Parsing Example......................................................................................40
10.3.1 Measurement data packets....................................................................................... 40
10.3.2 Battery information packets....................................................................................... 41
11. LoRaWAN Downlink Command................................................................43
11.1 Set the Data Uplink Interval..............................................................................43
11.2 Reboot the device ............................................................................................44
11.3 How to send downlink.......................................................................................45
12. Device Installation.....................................................................................46
12.1 Select an Appropriate Installation Location.......................................................46
12.2 Installing the Weather Station...........................................................................46
12.2.1 Adjust the solar panel................................................................................................ 46
12.2.2 Install the Mounting Pole........................................................................................... 48
12.2.3 Direction Alignment ................................................................................................... 50
12.2.4 Recommendation for best wireless communication.................................................. 51

13. Trouble Shooting.......................................................................................52
13.1 Maintenance of Weather Station ......................................................................52
13.2 Sensors can’t join LoRa network, how to do? ...................................................52
13.3 Support.............................................................................................................52
13.4 Document Version............................................................................................53

IoT into the Wild
4
1. Product Introduction
1.1 Introduction
The S2120 Weather Station monitoring Air Temperature, Humidity, Wind Speed/Direction,
Rainfall, Light, UV Index, and Barometric Pressure measurements provides you with
hyperlocal weather at your fingertips.
Perfect for home, office, or business use, this professional home weather station allows you
to monitor your backyard weather conditions from anywhere. Protect your family, the house,
and your garden with minutes updates in weather changes. Additionally, S2120 weather
stations also support applications in agriculture, meteorology, urban environmental
monitoring and other scenarios.
Smart and connected, the S2120 provides data on your phone, tablet, computer browser. We
provide the SenseCAP Mate App, users can quickly view data via the App. We also provide
SenseCAP Portal to manage your weather station through the Web page.
The S2120 is a standard LoRaWAN sensor that can be connected to any LoRaWAN
gateway and service.
1.2 Quick Start Guide
Step
Description
Section
Step 1
Install the battery
4.4
Step 2
Download App and configure parameters
6.1, 6.3
Step 3
Connect to SenseCAP Portal
7
Connect to Helium Console
8
Connect to TTN Server
9

IoT into the Wild
5
2. Part List
Before installing, please check the part list to ensure nothing is missing.
Picture
Name
Quantity
Weather Station
1
Pole mounting stand
1
Mounting clamp
1
Plastic pole
1
Screw, Hex nut and Flat washer
4
Screw and Hex nut
1
External battery box
(6*AA battery size, 2m cable)
1

IoT into the Wild
6
3. Key Parameters of the Sensor
Using the LoRaWAN protocol generally involves the following parameters.
Parameters
Description
LoRaWAN MAC Version
v1.0.3
Join Type
OTAA (Default)
ABP (It can be modified via App)
Device EUI
Unique identification of device, one of the join network parameters
on OTAA mode. (It can be got via App)
Device Code (KEY)
On the device label, for device binding and API call.
App EUI
Unique identification of application, one of the join network
parameters on OTAA mode. (It can be got via App)
App Key
Application key, one of the join network parameters on OTAA
mode. (It can be got via App)
DevAddr
This parameter is available only in ABP mode, one of the join
network parameters.
NwkSkey
This parameter is available only in ABP mode, one of the join
network parameters.
AppSkey
This parameter is available only in ABP mode, one of the join
network parameters.

IoT into the Wild
7
4. Pre-Installation
4.1 Diagram
1. Rain gauge
9. Drain holes
2. Balance indicator
10. Built-in battery box
3. UV and Light Intensity sensor
11. Red LED indicator
4. Wind vane
12. Config button
5. Wind cups
13. Mounting clamp
6. Antenna
14. Adjustable hinge of solar panel
7. Solar panel
15. Tipping bucket
8. Radiation shield, temperature and
humidity sensor, barometric pressure sensor
16. Rain sensor
4.2 Install the Wind Sensor
With reference to photo below, locate and align the flat are on the wind vane shaftto the
flat surface on the wind vane and push the vane onto the shaft. Tighten the set screw with a

IoT into the Wild
8
precision screwdriver.
4.3 Install the Rain Gauge
Install the rain gauge funnel and rotate clockwise to lock the funnel to the weather station.
4.4 Power Supply Mode
Weather stations do not contain batteries, so additional batteries are required.
The sensor is powered by a combination of solar panels and batteries. When the solar panels
are working, the device is powered by the solar panels; When solar energy is low, it is
powered by batteries.
Different types of batteries affect the operating temperature range of the sensor. In addition,
Different number of batteries determinesthe battery life ofthe sensor.

IoT into the Wild
9
Battery schemes
Advantage and disadvantage
3 * 1.5V AA alkaline battery,
built-in battery box
The operating temperature of the sensor depends on the
operating temperature of the battery. If the alkaline battery
is used, the operating temperature range is-20 ~ 60℃.
3 * 1.5V AA Lithium battery,
built-in battery box
If the alkaline battery is used, the operating temperature
range is -40 ~ 60℃.
6 * 1.5V AA alkaline battery,
external battery box
It will last twice as long as 3 x batteries.
6 * 1.5V AA alkaline battery,
external battery box
It will last twice as long as 3 x batteries.
Note:
The battery box does not have the charging capability. Therefore, non-rechargeable batteries
are recommended. If you choose a rechargeable battery, you need to take out the battery
and charge it separately after the battery is exhausted.
4.4.1 Install the battery with built-in box
Step 1: Unscrew the battery door at the bottom of weather station.
Step 2: Insert the 3 AA batteries according to the +/- polarity indicated. Then close the battery
door.

IoT into the Wild
10
Step 3: Tighten the battery door screw. Once the installation completed, the red LED
indicator at the bottom of the weather station will be flashing.
4.4.2 Install the battery with external box
Step 1: Slide the battery box lock switch to unlock position. Push to open the battery box
door according to the arrow direction.
Step 2: Insert the 6 AA batteries according to the +/- polarity indicated.

IoT into the Wild
11
Step 3: Place and lock the batterybox door.
Step 4: Unscrew the battery door at bottom the of weather station.

IoT into the Wild
12
Step 5: Insert the dummy battery to the battery compartment, make sure the “OUTSIDE”
marking faces outside and the+/- polarity in correct orientation.
Step 6: Replace with the battery door which come along with the external battery box, then
tighten the battery door screw. Once the installation completed, the red LED indicator at the
bottom of theweather station will be flashing.
Note:
If the dummy battery is not installed in correct orientation, battery power connection will be
failure and the LED indicator will not be flashing.
Step 7: Use the cable ties to mount the battery box onto the mounting pole.

IoT into the Wild
13
5. LED of Sensor Working Status
At the bottom of the weather station are buttons and indicators:
You can refer tothe LED indicator for the Sensor for it’s working status. Please see thestatus
explanations in the chart below:
Actions
Description
Green LED Status
Install the battery, power on
for the first time
Power on and activate the
Bluetooth
The red LED light will be on.
It needs to connect
Bluetooth and configure the
frequency.
Press “config button” once
Reboot device and join LoRa
network
1. Waiting for join LoRa
network: the led
breathing light flashing
2. Join LoRa network
success: LED flashes
fast for 2s, then go out
3. LoRa network join
failure: LED will always
breathe flashing
Press “config button” and
hold for 3s
The sensor will be restored to
factory Settings
LED flashes fast for 3s
Note:

IoT into the Wild
14
After the battery is installed for thefirst time, you must connect the Bluetoothand configure
the frequency to join LoRaWAN network and work normally. If the frequency is not set, the
red LED is steady on.

IoT into the Wild
15
6. SenseCAP Mate App
6.1 Download App
As a tool, SenseCAP Mate App is used to config LoRa parameters, set interval, bind devices
to your account and check device basic information.
(1) For iOS, please search for “SenseCAP Mate” in the App Store and download it.
(2) For Android, please search for “SenseCAP Mate” in the Google Store and download it.
You can also download App from https://www.pgyer.com/sensecapmate

IoT into the Wild
16
6.2 How to connect sensor to App
6.2.1 Create a New Account
SenseCAP Mate supports device configuration and remote management. To use the
SenseCAP Portal platform and other functions, please register an account.
SenseCAP Mate supports offline functionality, and you can opt out of an account if you only
use the configuration sensor. Just click Skip.
Please select Global of Server Location.
You can also create an account via the SenseCAP Portal: http://sensecap.seeed.cc
1) Select register account, enter email information and click "register", the registered email
will be sent to the user's mailbox.
2) Open the "SenseCAP…"Email, click the jump link, fill in the relevant information, and
complete the registration.
3) Return to the login interface and complete the login.
Note:
If you can't find the email, it may be automatically identified as "spam" and put in the "trash
can".

IoT into the Wild
17
6.2.2 Connect to Sensor to App
1) After the battery is installed, the red LED will be steady on. Also activate Bluetooth.
2) Please select “S2120 Weather Station”.
Please click the “Setup” button to turn on Bluetooth and click “Scan”to start scanning the
sensor's Bluetooth.
3) Select the Sensor by BT ID (BT ID is on the bottom label of the sensor). Then, the basic
information of the sensorwill be displayed after entering.

IoT into the Wild
18

IoT into the Wild
19
6.3 Configure parameters through App
6.3.1 Select the Platform and Frequency
S2120 weather stations are manufactured to support universal frequency plan from 863MHz
~928MHz in one SKU. That isto say, every single device can support 7 frequency plans.
Platform
Description
SenseCAP for The
Things Network
Default platform.
It must be used with SenseCAP Outdoor Gateway
(https://www.seeedstudio.com/LoRaWAN-Gateway-EU868-p-
4305.html ). SenseCAP builds a proprietary TTN server that
enables sensors to be used out of the box when paired with an
SenseCAP outdoor gateway.
SenseCAP for Helium
When there is the Helium network around the user, data can be
uploaded using sensors. Devices run on a privateHelium console
of SenseCAP. Users do not need to create devices on Helium
console, right out of the box.
Helium
Connect Sensor to public Helium console.
The Things Network
Connect Sensor to your TTN(TTS) server.
Other Platform
Other LoRaWAN Network Server.
Table of contents
Other SENSECAP Weather Station manuals
Popular Weather Station manuals by other brands

Sygonix
Sygonix 2739814 Important notes

Oregon Scientific
Oregon Scientific BAR386 user manual

Oregon Scientific
Oregon Scientific CW101 quick start guide

SwitchDoc Labs
SwitchDoc Labs SkyWeather WXLink ASSEMBLY AND TESTING GUIDE

ARESA
ARESA AR-1401 instruction manual

Auriol
Auriol Z29962A Operation and safety notes

La Crosse Technology
La Crosse Technology V22-WRTHV2 manual

La Crosse Technology
La Crosse Technology WS-9005 Instructional manual

ADE
ADE WS 1703 operating instructions

Fine offset
Fine offset HP2550 Operation manual

Explore Scientific
Explore Scientific WSX1001 instruction manual

HoMedics
HoMedics EnviraStation DWS-200 Instruction manual and warranty information