Seto 1410000345 User manual

Vor Gebrauch
Lesen Sie die Gebrauchsanleitung aufmerksam. Sie enthält wichtige Hinweise für den Gebrauch, die Sicherheit, den
Aufbau und die Wartung des Produktes. Sie soll sorgfältig aufbewahrt werden.
SICHERHEITSHINWEIS!
Um einen gefahrlosen Betrieb sicherzustellen, muss der Anwender die Hinweise und Warnvermerke dieser Gebrauchs-
anleitung beachten. Vergewissern Sie sich vor jedem Benutzen, ob sich das Stativ in einem einwandfreien Zustand
bendet, d.h. es weist keine Beschädigungen an den Standbeinen, Teleskoprohren, Abspannmaterialien oder den
Klemmvorrichtungen auf.
Anwendungsbereich
Das Teleskopstativ wird zum Aufstellen von Flutlichtprojektoren / Scheinwerfern verwendet. Bitte beachten Sie die
Angaben zur maximalen Zuladung.
GEBRAUCHSANLEITUNG
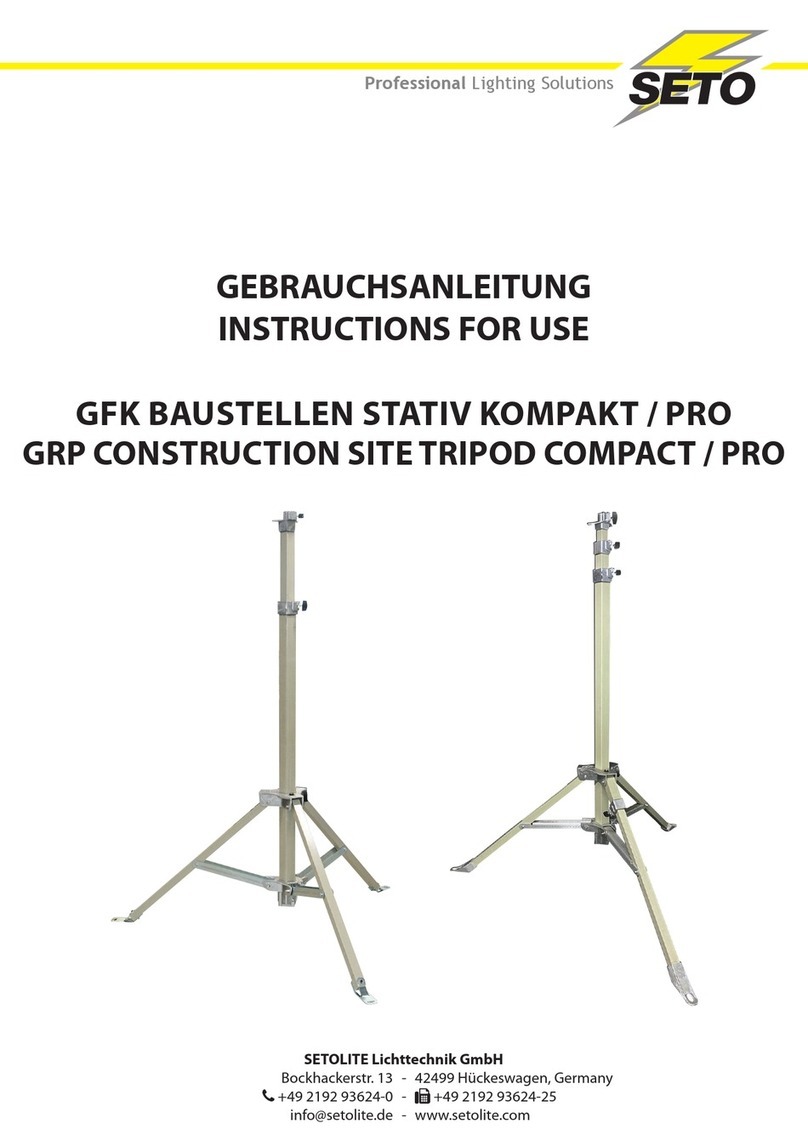
SETO TELESKOP DREIBEIN BAUSTELLENSTATIV Art.-Nr.: 1410000345
TELESKOP DREIBEINSTATIV Art.-Nr.: 1410000329
Technische Daten
Lieferumfang: 4- bzw. 3-stuges Stativ mit Aufsteckzapfen nach DIN 14640 sowie Abspannsatz,
bestehend aus 3 Abspannseilen und 3 Heringen. Packmaße: 1,15 x 0,3 m (Durchmesser)
Z
W
W
X
Y
Typ SETO TELESKOP DREIBEIN BAUSTELLENSTATIV TELESKOP DREIBEINSTATIV
Ausziehbare Höhe 3,85 m 4,75 m
Max. Kopast 20 kg 25 kg
Gewicht 13 kg 15,4 kg
Art.-Nr.: 1410000345 1410000329
1410900088 – Rev. 1.0 – 23.09.2022, 09:04
© SETOLITE Lichttechnik GmbH
Alle Rechte, einschließlich Übersetzung behalten wir uns vor. Die vollständige oder teilweise Vervielfältigung ist nur mit schriftlicher
Genehmigung des Herausgebers zulässig. Die Angaben in diesem Dokument entsprechen dem technischen Stand bei Drucklegung,
Änderungen in Technik und Ausstattung, sowie Irrtümer und Druckfehler vorbehalten.
DEUTSCH
Professional Lighting Solutions
DEUTSCH
SETOLITE Lichttechnik GmbH
Bockhackerstr. 13 - 42499 Hückeswagen, Germany
+49 2192 93624-0 - +49 2192 93624-25
Aufbau des Statives
1. Stativbeine vollständig ausklappen und Stativ aufstellen.
Hierbei ist zu beachten, dass die Führung der Querstreben (X) bis zum Anschlag nach unten ausgefahren ist.
2. Die Stativfüße ausziehen (Geländeunebenheiten sind zu berücksichtigen) und mittels Feststellschrauben (Y)
sichern. Ziehen Sie alle Feststellschrauben fest an!
Die Füße bieten darüber hinaus die Möglichkeit das Stativ mittels Erdnägeln gegen Umfallen zu sichern.
VERLETZUNGSGEFAHR!
Ein nicht sicherer Stand des Stativs gefährdet Personen und Material im Umkreis.
3. Die Teleskoprohre nacheinander auf die gewünschte Länge ausziehen und mit der jeweiligen Flügelschraube (W)
fest sichern.
VERLETZUNGSGEFAHR!
Nicht fest angezogene Flügelschrauben können dazu führen, dass unter der Last das jeweilige Teleskoprohr selbst-
tätig einfährt.
4. Das Stativ mit Hilfe des mitgelieferten Abspannsatzes über den Abspannring (Z) sichern.
VERLETZUNGSGEFAHR!
Ein nicht sicherer Stand des Stativs gefährdet Personen und Material im Umkreis. Windlast oder Anstoßen können
zum Umfallen des Stativs führen.
Einfahren des Statives
Halten Sie beim Lösen der Flügelschraube und Einfahren das einfahrende Rohr immer fest. Halten Sie sich beim Einfah-
ren
nicht unter montiertem Gerät (z.B. Scheinwerfer etc.) auf. Sobald das erste Rohr einfährt, verliert der Abspannsatz
seine Wirkung, beachten Sie dies und treen Sie, falls nötig, vorher geeignete Maßnahmen, um das Stativ während
des Einfahrens zu sichern.
SICHERHEITSHINWEIS!
Vor und nach jedem Einsatz ist das Stativ auf Beschädigungen zu überprüfen. Verwenden Sie in keinem Fall ein
beschädigtes, verbogenes oder unvollständiges Stativ.
Wartung und Pege
Verwenden Sie zum Entfernen von grobem Schmutz ein weiches Tuch oder einen Schwamm mit Wasser. Schmutz im
Bereich
der Flügelschrauben kann deren Funktion beeinträchtigen. Muttern und Gewinde sind nach jedem Einsatz zu
kontrollieren und zu reinigen. Damit die Luftdämpfung auf lange Zeit ordnungsgemäß funktioniert, muss darauf geach-
tet werden, dass sich keine Schmutzpartikel absetzen, welche die Dichtungen beschädigen können. Die Teleskoprohre
sollten regelmäßig und nach jeder Reinigung mit einem Mehrzwecköl (z. B. WD-40) leicht eingeölt werden.

INSTRUCTIONS FOR USE
SETO TELESCOPE CONSTRUCTION SITE TRIPOD Item no.: 1410000345
TELESCOPE TRIPOD Item no.: 1410000329
Professional Lighting Solutions
ENGLISH
Before use
Read the instructions for use carefully. It contains important instructions for the use, safety, assembly and maintenance
of the product. It should be kept in a safe place.
SAFETY INFORMATION!
To ensure safe operation, the user must observe the instructions and warnings in this manual. Before each use, make
sure that the tripod is in perfect condition, i.e. there is no damage to the support legs, telescopic tubes, bracing
materials or the clamping devices.
Areas of application
The telescopic tripod is used to set up oodlight projector / spotlights. Please pay attention to the information on
the maximum top load.
Technical data
Scope of delivery: 4- or 3-stage extendable tripod with plug-in spigots according to DIN 14640, and guy set,
consisting of 3 guy ropesand 3 pegs. Pack size: 1.15 x 0.3 m (diameter)
Z
W
W
X
Y
Type SETO TELESCOPE CONSTRUCTION SITE TRIPOD TELESCOPE TRIPOD
Extendable height 3.85 m 4.75 m
Max. head load 20 kg 25 kg
Weight 13 kg 15.4 kg
Item no.: 1410000345 1410000329
1410900088 – Rev. 1.0 – 23.09.2022, 09:04
© SETOLITE Lichttechnik GmbH
We reserve all rights, including translation.
Reproduction in whole or in part is only permitted with the written consent of the publisher.
The information in this document corresponds to the technical status at the time of going to press, changes in technology and
equipment, as well as errors and misprints reserved.
ENGLISH
SETOLITE Lichttechnik GmbH
Bockhackerstr. 13 - 42499 Hückeswagen, Germany
+49 2192 93624-0 - +49 2192 93624-25
Installation
1. Completely unfold the tripod legs and set up the tripod. It should be noted that the guide of the cross struts (X)
should be extended down to the stop.
2. Remove the tripod feet (unevenness of the terrain must be taken into account) and secure with the locking screws (Y).
Tighten all locking screws!
The feet also oer the possibility to secure the tripod by means of earth nails against falling over.
RISK OF INJURY!
A non-secure stand of the tripod endangers people and material in the vicinity.
3. Extend the telescopic tubes successively to the desired length and secure them rmly with the respective wing
screw (W).
RISK OF INJURY!
Not tightly xed wing screws can cause the respective telescopic tube to retract automatically under load.
4. Secure the tripod over the tension ring (Z) using the provided guy set.
RISK OF INJURY!
A non-secure stand of the tripod endangers people and material in the vicinity. Wind load or bumping can cause the
tripod to fall over.
Retraction of the tripod
When loosening the wing screws and retracting, always hold the retracting pipe tightly. Do not stand under mounted
equipment (such as lights etc.) while retracting. As soon as the rst tube is retracting, the guy set loses its eect, pay
attention to this and, if necessary, take suitable measures to secure the tripod during retraction.
SECURITY ALERT!
Before and after each use, the tripod must be checked for damage. Never use a damaged, bent or incomplete tripod.
Maintenance and care
Use a soft cloth or sponge with water to remove coarse dirt. Dirt in the area of the wing screws can impair their function.
Wing screws
and threads must be checked and cleaned after each use. To ensure proper and longterm function of the air
damping care has to be taken that no dirt or abrasive particles are deposited that could damage the seals. The telescopic
tubes should be lightly oiled with a multi-purpose oil (e.g. WD-40) regularly and after each cleaning.
Table of contents
Languages:
Other Seto Camera Accessories manuals
Popular Camera Accessories manuals by other brands
ReliOn
ReliOn INSIGHT 24V060-GC2 installation instructions
ASC
ASC A-OH15 instruction manual

Furukawa Battery
Furukawa Battery FCP-SERIES Precautions for safe use
Quantum Instruments
Quantum Instruments Turbo 2x2 operating instructions
Nauticam
Nauticam NA-FX3 user manual

Odyssey
Odyssey Extreme Racing 15 owner's manual
