17
ninjakitchen.com
16 ninjakitchen.com
USING THE NINJA® FOODI® SMART XL
PRO GRILL & GRIDDLE – CONT.
Dehydrate (not included on all models)
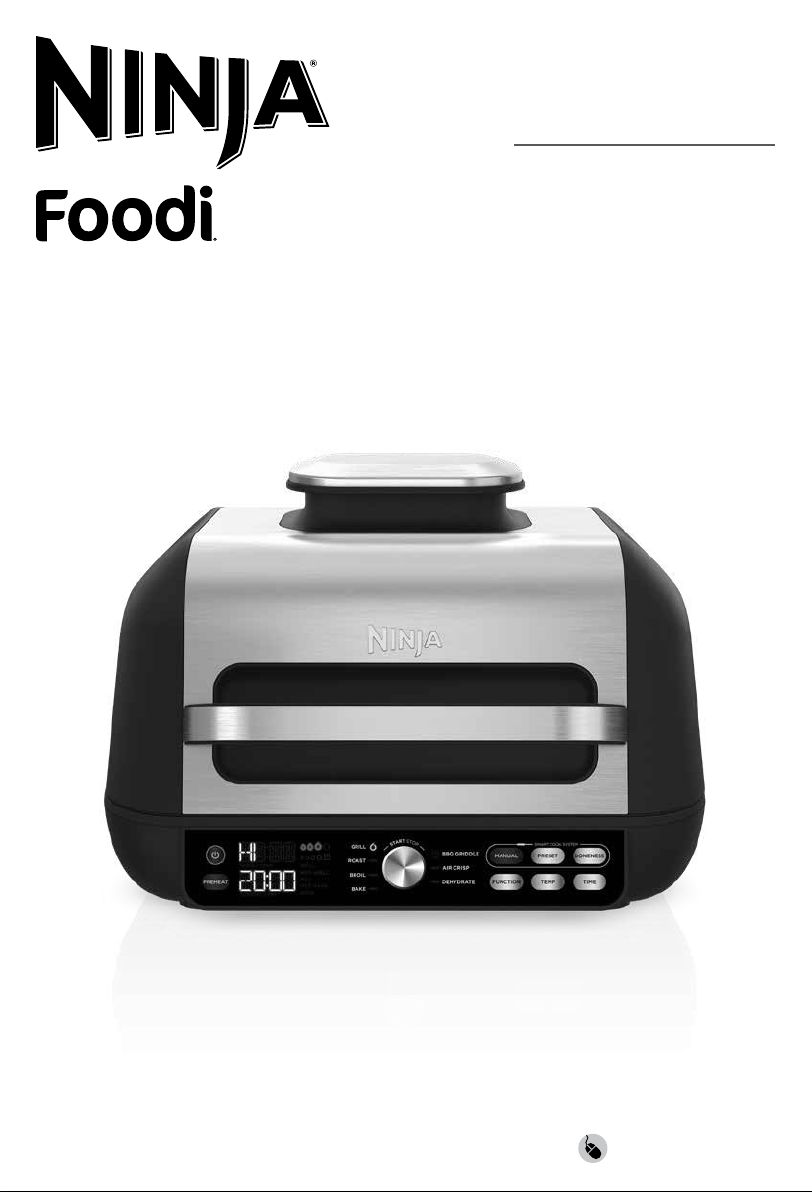
1 To install the pro powered grill grate,
position it in the front of the base so
it hooks in, then press down on the
back of the grate until it clicks in place.
Ensure the
splatter shield is in place,
then close the hood.
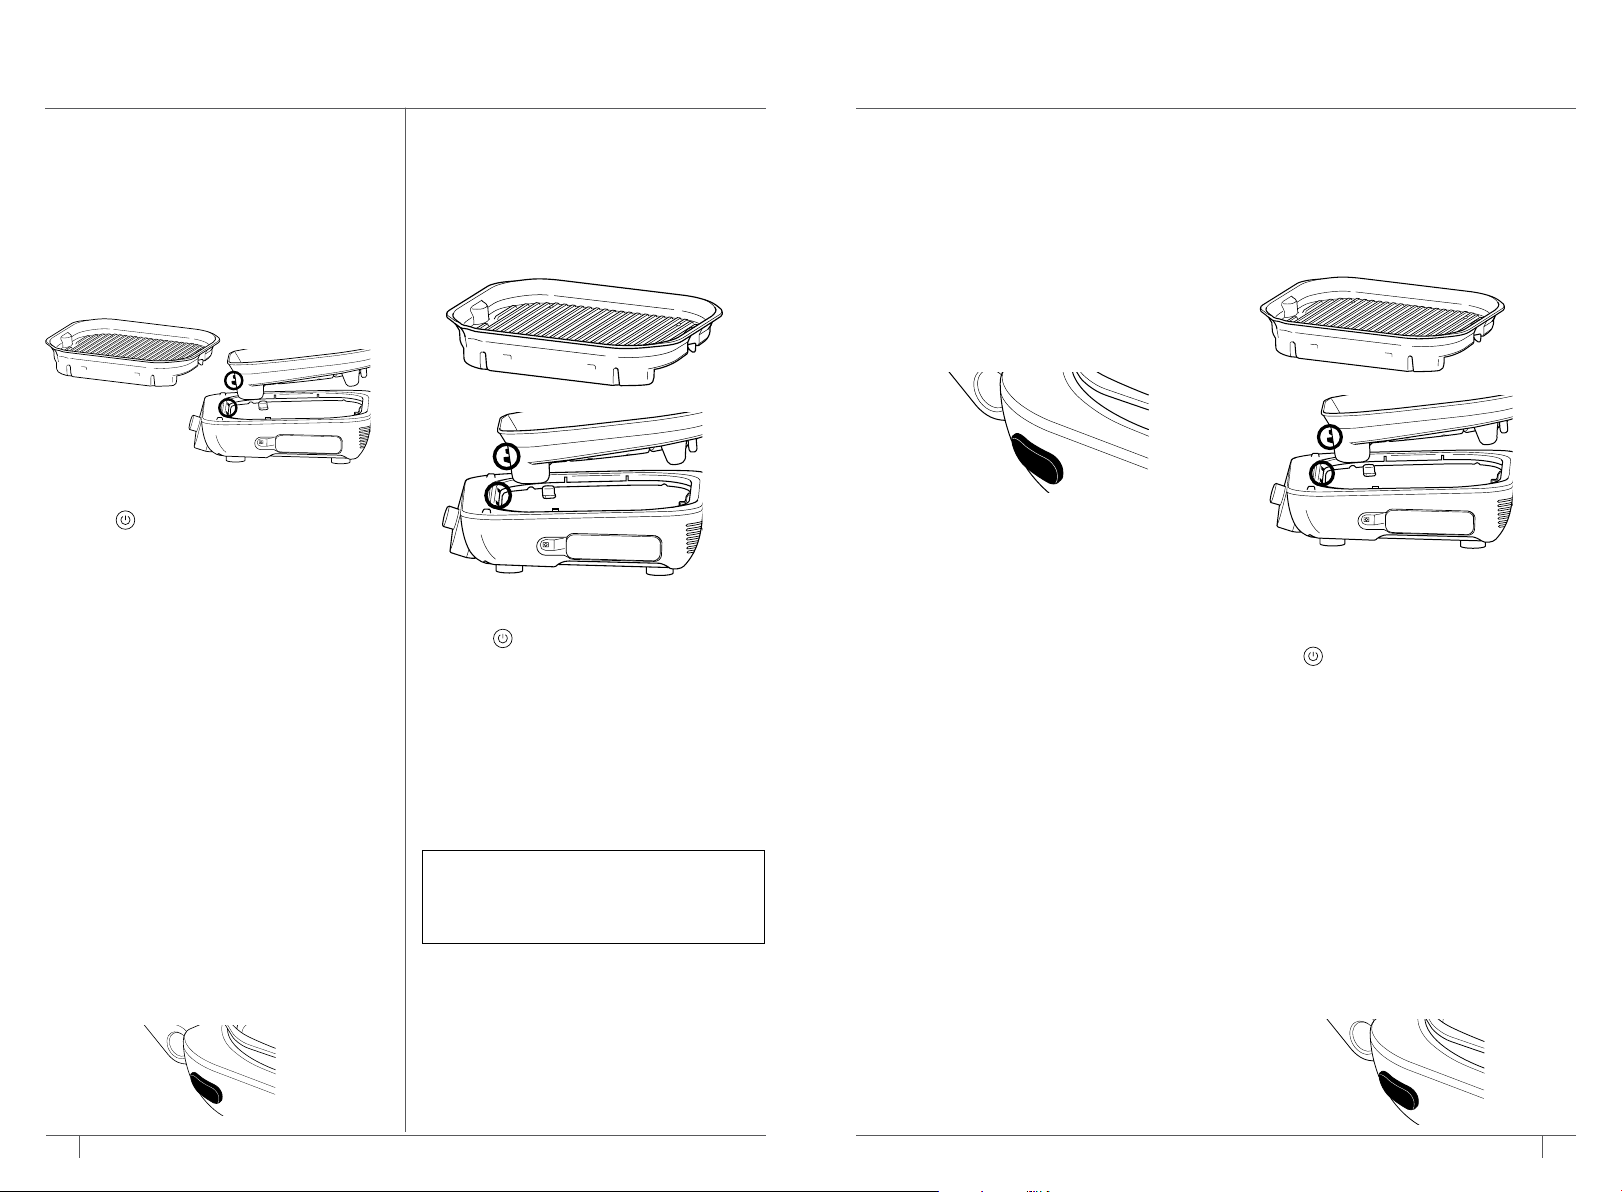
2 Place the crisper basket on the grill
grate and add ingredients to the basket.
Close the hood, as the unit does not
require preheating for this function.
3 Make sure the unit is plugged in and
press to turn the unit on.
4 Turn the dial to DEHYDRATE function.
The default temperature setting will
display. To adjust temperature if desired,
press TEMP button and turn dial.
5 Press the TIME button and turn the
dial to select the desired time.
6 Press the dial to begin. (The unit does
not preheat in Dehydrate mode.)
7 When dehydrate time reaches zero, the
unit will beep and END will appear on
the display.
8 Remove ingredients and basket from
the grill grate.
9 Remove the grill grate by pressing the
orange release button on the left side of
the unit. The grate will pop up from the
back, then you can lift it up and out.
REPLACEMENT PARTS
To order additional parts and accessories, visit ninjaaccessories.com or contact Customer
Service at 1-877-646-5288. So we may better assist you, please register your product
online at registeryourninja.com and have the product on hand when you call.
CLEANING YOUR NINJA® FOODI® SMART XL
PRO GRILL & GRIDDLE
The unit should be cleaned thoroughly
after each use. Always let the appliance
cool before cleaning.
• Unplug the unit from the wall outlet
before cleaning. Keep the hood open
after removing your food to allow the
unit to cool quicker.
• The flat top BBQ griddle, crisper basket,
and splatter shield are dishwasher safe.
The pro powered grill grate, base unit,
thermometer, and thermometer holder
are NOT dishwasher safe. To prolong the
nonstick coating of the crisper basket,
we recommend hand-washing in warm,
soapy water.
• For the best dishwasher cleaning
results, we recommend rinsing the flat
top BBQ griddle, crisper basket, and
splatter shield with warm water before
placing them in the dishwasher.
• If hand-washing, air-dry or towel-dry all
parts after washing.
• The inner hood should be wiped down
with a damp towel or cloth after each
use to deodorize the unit and remove
any grease.
• If food residue or grease is stuck on the
powered grill grate, splatter shield, or
any other removable part (except the
thermometer), soak in warm, soapy
water before cleaning.
• Clean the splatter shield after every use.
Soaking the splatter shield overnight will
help soften any baked-on grease. After
soaking, use a cleaning brush or tool to
remove the grease from the stainless
steel frame and front tabs.
• Deep clean the splatter shield by
putting it in a pot of water and boiling it
for 10 minutes. Then rinse with room-
temperature water and allow to dry
completely.
• Gently wipe down the inside of the
hood with a damp cloth.
• When stacking the coated accessories
to store, place a cloth or paper towel
between each piece to protect the
coated surfaces.
NOTE: NEVER use abrasive tools or
cleaners. NEVER immerse the main
unit or thermometer in water or any other
liquid. DO NOT place in dishwasher.
NOTE: The Foodi Smart Thermometer
and holder are handwash with a
damp cloth only. Never place unit or
thermometer in dishwasher or submerse
in liquid of any kind.
Bake
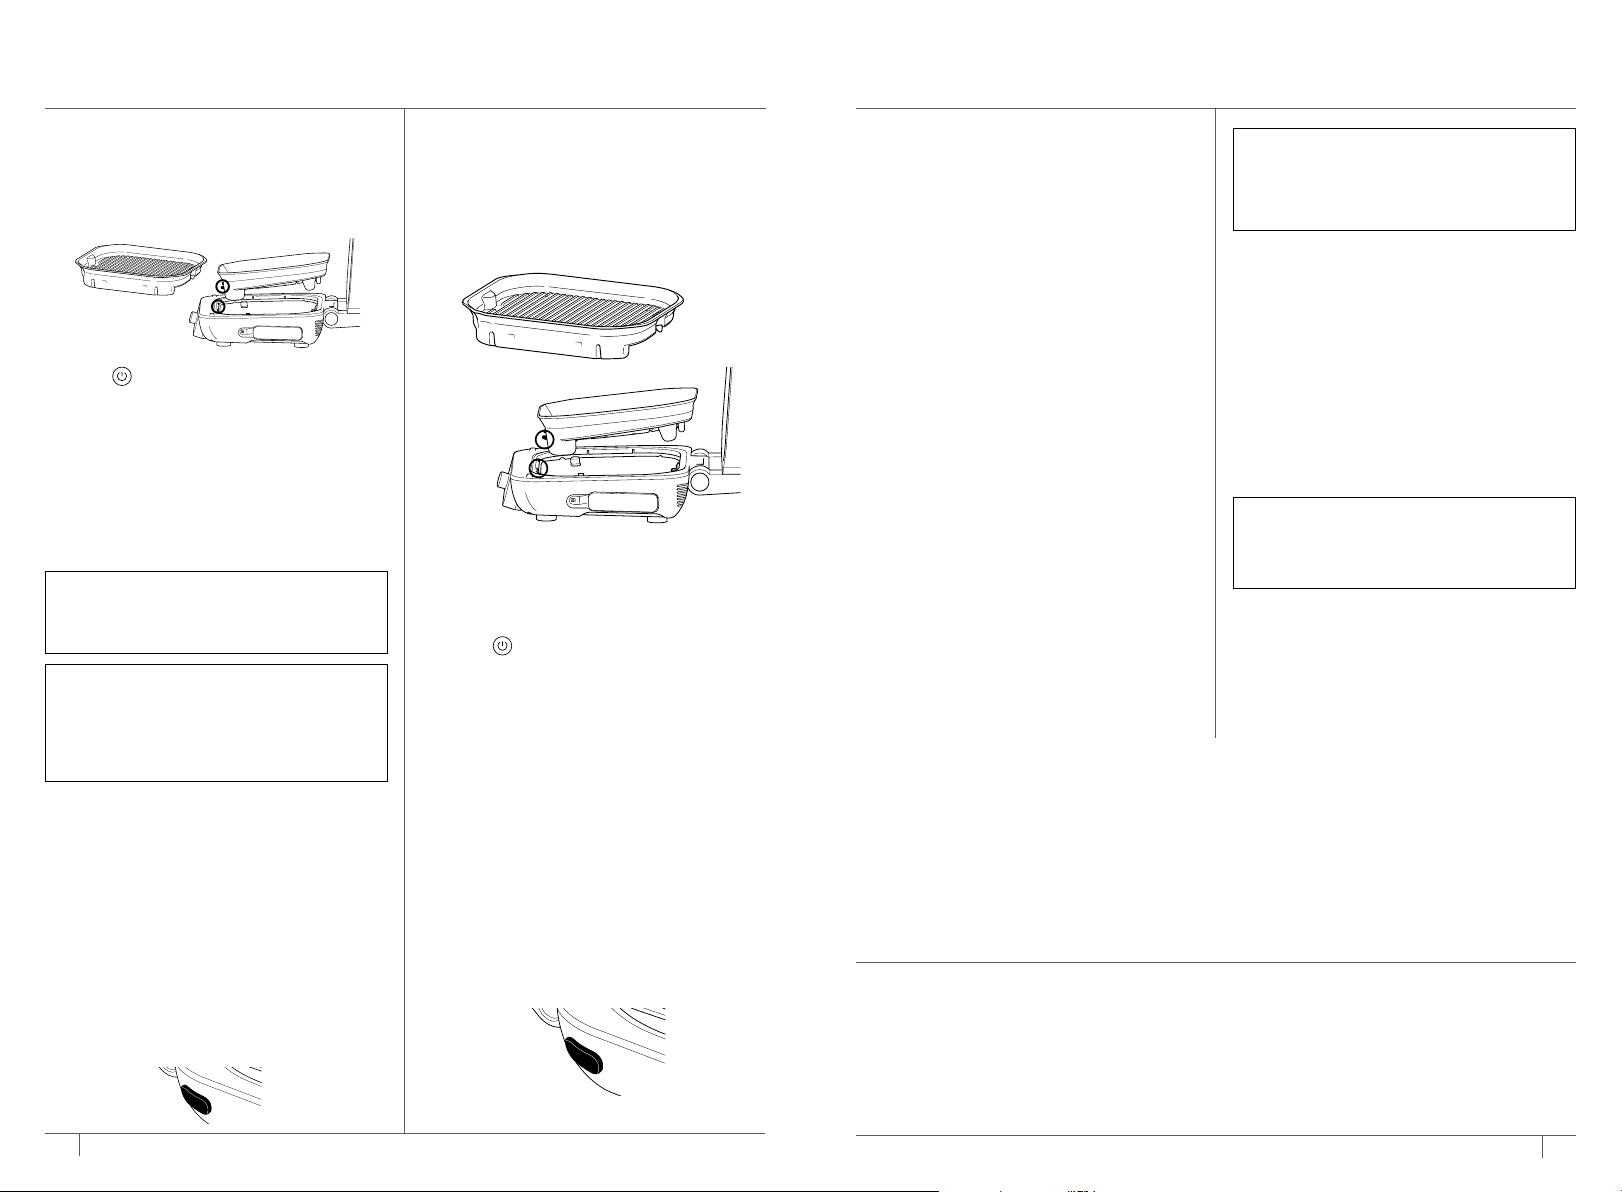
1
To install the pro powered grill grate, position
it in the front of the base so it hooks in, then
press down on the back of the grate until it
clicks in place. Ensure the splatter shield is in
place, then close the hood.
2Make sure the unit is plugged in and
press to turn the unit on.
3Turn the dial to BAKE. The default
temperature setting will appear on the
display. To adjust temperature if desired,
press TEMP button and turn dial.
4Press the TIME button and turn the dial
to select the desired time.
5Press the dial to begin preheating. The
progress bars will begin illuminating. It will
take approximately 3 minutes to preheat.
6 When preheating is complete, the unit
will beep and ADD FOOD will appear
on the display.
7 Open the hood and place ingredients on
the grate or place bake pan on the grate.
Once the hood is closed, cooking will begin
and the timer will start counting down.
8 When cook time reaches zero, the unit will
beep and END will appear on the display.
9 Remove food from the grill grate.
10 Remove the grill grate by pressing the
orange release button on the left side of
the unit. The grate will pop up from the
back, then you can lift it up and out.
NOTE: While preheating is strongly
recommended for best results, you can
skip it by pressing the PREHEAT button.
ADD FOOD will appear on the display.
NOTE: When using the Bake function,
make sure to use the proper accessory.
For wet or battered ingredients, use a
baking dish. For loose items such as
cinnamon rolls, hand pies, or biscuits,
use the crisper basket.