manuals.online logo
Brands
  1. Home
  2. •
  3. Brands
  4. •
  5. Shark
  6. •
  7. Vacuum Cleaner
  8. •
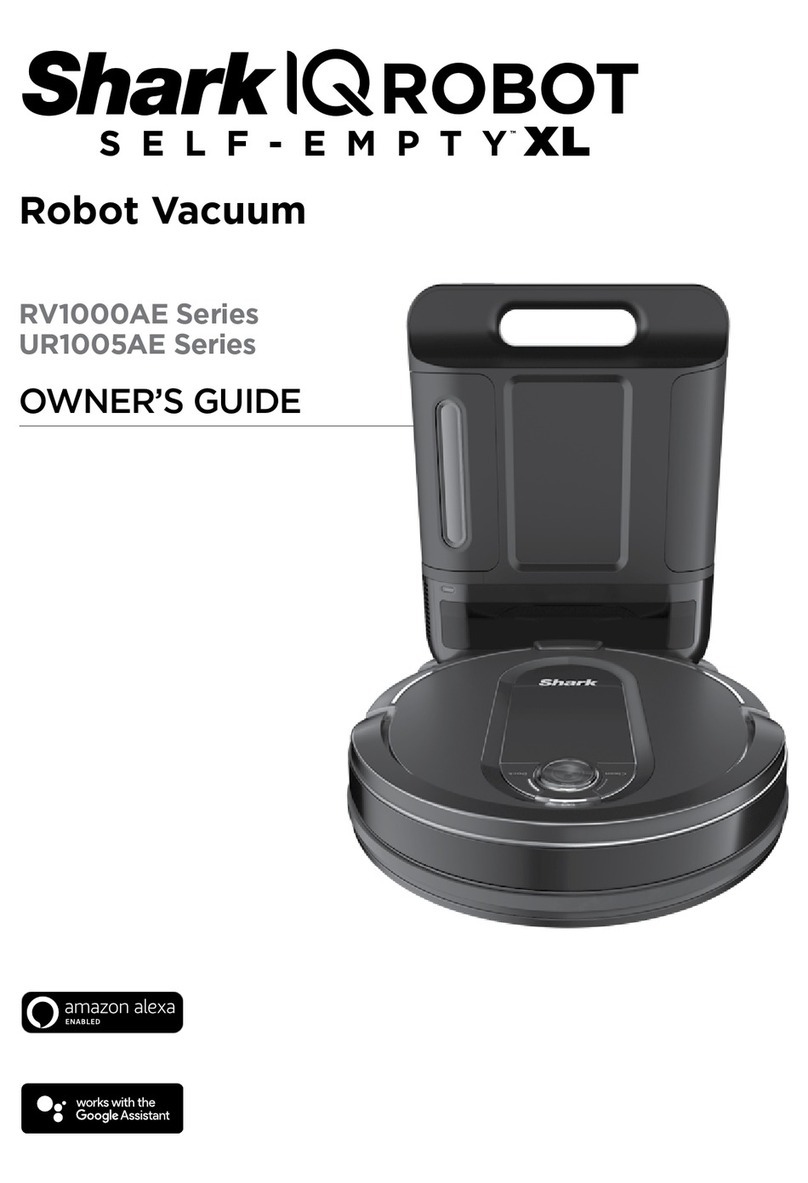
  9. Shark AI Ultra RV2502AE Manual

Shark AI Ultra RV2502AE Manual

Other Shark Vacuum Cleaner manuals

Shark Lift-Away ZU780 Series User manual

Shark

Shark Lift-Away ZU780 Series User manual

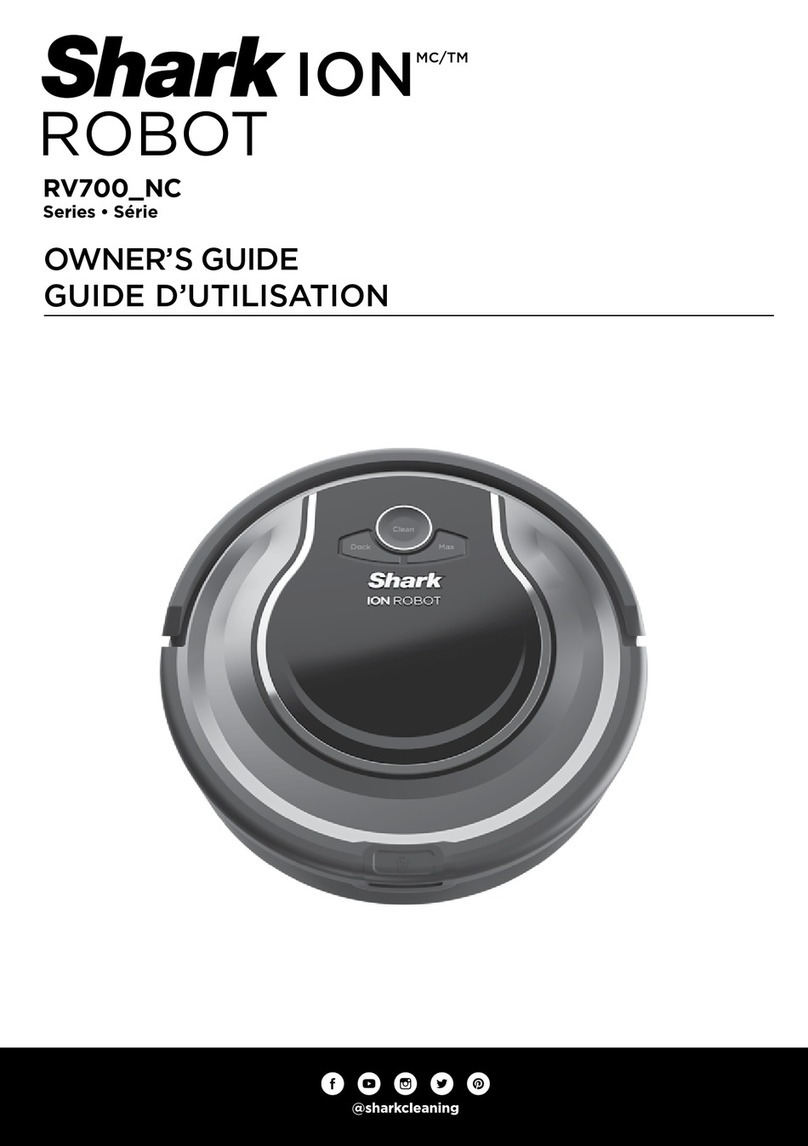
Shark ROTATOR NV500 SERIES User manual

Shark

Shark ROTATOR NV500 SERIES User manual

Shark ROCKET UZ145 User manual

Shark

Shark ROCKET UZ145 User manual

Shark NV830 Series User manual

Shark

Shark NV830 Series User manual

Shark Rotator Powered Lift-Away ZU620 User manual

Shark

Shark Rotator Powered Lift-Away ZU620 User manual

Shark DuoClean ION F80 User manual

Shark

Shark DuoClean ION F80 User manual

Shark Sv769 User manual

Shark

Shark Sv769 User manual

Shark DuoClean Powered Lift-Away NZ801UK Series User manual

Shark

Shark DuoClean Powered Lift-Away NZ801UK Series User manual

Shark ROTATOR PRO COMPLETE NV550 Series User manual

Shark

Shark ROTATOR PRO COMPLETE NV550 Series User manual

Shark Cordless APEX Pro User manual

Shark

Shark Cordless APEX Pro User manual

Shark DuoClean AZ912UK Series User manual

Shark

Shark DuoClean AZ912UK Series User manual

Shark ION ROBOT RV720 Series User manual

Shark

Shark ION ROBOT RV720 Series User manual

Shark Rocket HV292UK User manual

Shark

Shark Rocket HV292UK User manual

Shark EP600BL User manual

Shark

Shark EP600BL User manual

Shark NV22QUK User manual

Shark

Shark NV22QUK User manual

Shark V1420GB User manual

Shark

Shark V1420GB User manual

Shark SharkFLEX HV392 Series User manual

Shark

Shark SharkFLEX HV392 Series User manual

Shark ION Rocket IR100 Series User manual

Shark

Shark ION Rocket IR100 Series User manual

Shark TAPCLEAN EP035 User manual

Shark

Shark TAPCLEAN EP035 User manual

Shark EVOPOWER CS601PH Series User manual

Shark

Shark EVOPOWER CS601PH Series User manual

Shark Rotator NR96 SERIES User manual

Shark

Shark Rotator NR96 SERIES User manual

Shark DuoClean HZ500EU Series User manual

Shark

Shark DuoClean HZ500EU Series User manual

Shark Matrix 2300S User manual

Shark

Shark Matrix 2300S User manual

Shark Rotator NV750W Series User manual

Shark

Shark Rotator NV750W Series User manual

Popular Vacuum Cleaner manuals by other brands

Shark CORDLESS SV780_N 14 user manual

Shark CORDLESS

Shark CORDLESS SV780_N 14 user manual

Philips FC9176/08 manual

Philips

Philips FC9176/08 manual

Kenmore KW3030 user manual

Kenmore

Kenmore KW3030 user manual

AMiO YF-101 user manual

AMiO

AMiO YF-101 user manual

Beko VRT 94929 VI user manual

Beko

Beko VRT 94929 VI user manual

Shark CORDLESS SV780 Series quick start guide

Shark CORDLESS

Shark CORDLESS SV780 Series quick start guide

Lumme LU-3203 instruction manual

Lumme

Lumme LU-3203 instruction manual

Melissa 640-040/051 instruction manual

Melissa

Melissa 640-040/051 instruction manual

Makita DVC152L instruction manual

Makita

Makita DVC152L instruction manual

Bosch BSN1 instruction manual

Bosch

Bosch BSN1 instruction manual

King Canada 8560LST Service manual & parts list

King Canada

King Canada 8560LST Service manual & parts list

EUFY RoboVac 11c+ owner's manual

EUFY

EUFY RoboVac 11c+ owner's manual

Panasonic MC-E4101 Service manual

Panasonic

Panasonic MC-E4101 Service manual

Panasonic MC-V9658 operating instructions

Panasonic

Panasonic MC-V9658 operating instructions

Bosch BGB 2 Series instruction manual

Bosch

Bosch BGB 2 Series instruction manual

Hoover dog & cat TURBO manual

Hoover

Hoover dog & cat TURBO manual

FGE Far Tools NET UP 20 manual

FGE

FGE Far Tools NET UP 20 manual

MARIMEX SPA VAC user manual

MARIMEX

MARIMEX SPA VAC user manual

manuals.online logo
manuals.online logoBrands
  • About & Mission
  • Contact us
  • Privacy Policy
  • Terms and Conditions

Copyright 2025 Manuals.Online. All Rights Reserved.

SETUP
•Place robot on base to charge for 6 hours.
•When the robot is properly aligned with its BACK
against the base, the Charging Icon on the
top right side of the base will illuminate and the
Battery icon on the robot will illuminate.
•Make sure the robot is properly aligned on the base.
•TO TURN ON ROBOT: Place robot on base or
press and hold the CLEAN button for 5 to 7
seconds until the indicator lights turn on.
CHARGING YOUR ROBOT
STEP 3
INDICATOR
First
Charge
6h
NOTE: For more information on connecting your robot, see
back page.
DOWNLOAD THE SHARKCLEAN APP
TO UNLOCK YOUR BEST CLEAN
STEP 5
PREP THE ROBOT
STEP 1
• Remove protective film from robot and base.
• Attach the side brushes to the posts on the
bottom of the robot.
..........Side Brushes..........
• Find a permanent location for the base in a central
area with a strong Wi-Fi signal.
• Remove any objects that are closer than 3 ft.
from either side of the base, or closer than 5 ft.
from the front.
• Plug in the base. The Base Power Indicator Icon
on the top right side of the base will illuminate when
the base has power. Make sure the power switch on
the back of the base is in the (I) ON position.
PREP YOUR HOME
• Before cleaning, clear cords and remove small
obstacles like clothing or toys that are less than
3.5" tall.
• Open interior doors in rooms you want your robot
to clean.
STEP 4
!
SET UP THE SELF-EMPTY BASE
STEP 2
Place
base on
bare floor
against the
wall.
5 ft.
3 ft.
3 ft.
App Features
✔UltraClean Mode™
✔Spot Cleaning
✔Scheduling
✔No-Go Zones
✔Room Select
!
CAN’T CONNECT TO WI-FI?
Restart your phone
• Turn o phone, wait a few minutes, then turn it back on
and connect to Wi-Fi.
Reboot your robot
• Make sure the power switch on the back of the base is
in the ON position.
• Take robot o base and press and hold down the
CLEAN button on the robot for 12 seconds. Turn your
robot back on by placing it on the base.
Reboot your router
• Unplug the router power cable for 30 seconds, then
plug it back in. Allow several minutes for your router to
reboot completely.
WARNINGS
To minimize the risk of the robot traveling beyond an
unsafe boundary (stair/clis edges, fireplaces, water
hazards), establish these areas as “no-go zones”
using the mapping feature in the SharkClean™ mobile
app. Upon setting the boundary, run the vacuum and
visually confirm that the settings eectively prevent
the robot from passing beyond the set boundary.
Adjust settings as necessary.
DO NOT put hands into any opening in the dock or
robot.
Your robot can easily climb over most thresholds,
but if one is higher than 0.75”, set up a no-go zone in
the app to block it o.
DOORWAYS AND THRESHOLDS
AVOID MOVING THE ROBOT OR BASE
While your robot is cleaning, DO NOT pick it up
and move it, or move the charging base—this will
impact the robot’s ability to map your home.
LIVING WITH YOUR ROBOT
CHECK BASE FILL LEVEL
The dust bin is designed to hold up to 60 days of
debris. During initial use, you may have to empty it
more frequently while the robot finds more debris
than usual. Check the fill level regularly to know when
to empty.
© 2021 SharkNinja O perating LLC . SHARK is a registered trademark of SharkNinja Operating LLC. SHARKCLEAN and ULTRACLEAN
MODE are trademarks of SharkNinja Operating LLC.
RV2502AE_QSG_E_MP_Mv12
Questions? For how-to videos, FAQs, troubleshooting, and tips & tricks, call 1-888-228-5531 for robot support or visit:
sharkclean.com/AIRobotSE
TROUBLESHOOTING
ERROR CODE ERROR
#SOLUTION
CLEAN (RED) + !
(RED) alternating or
CLEAN (WHITE) + !
(RED) flashing
2
Blockage in brushroll.
Remove any debris from
around and inside the
brushroll so that it can spin
freely.
DOCK (RED) + ! (RED)
flashing 2
Side brush is stuck.
Remove any debris from
around the side brushes so
they move freely.
CLEAN (RED) + DOCK
(RED) + ! (RED)
flashing
2
A drive wheel is stuck.
Clean the wheels and
remove any debris
wrapped around the axles
so they can move freely.
DOCK (RED) flashing 6
Front bumper may be
jammed. Clean the bumper
and make sure it moves in
and out freely.
CLEAN (RED) + DOCK
(WHITE) flashing 7
Cli sensor error. Move
your robot to a new
location and clean its cli
sensors.
CLEAN (RED) flashing 10
Robot may be stuck on an
obstacle. Move robot to
a new location on a level
surface.
TROUBLESHOOTING
ERROR CODE ERROR
#SOLUTION
BATTERY ICON (RED)
flashing 24
Battery is critically low and
needs recharging. Please
pick up your robot and place
it on the base. Make sure the
charging indicator on the
top right side of the base is
illuminated to confirm your
robot is placed on the base
correctly.
DOCK (RED)
FLASHING + ! (RED)
solid
26
Blockage in dust bin. Check
base and robot dust bin for
clogs. Clear any debris and
reinstall the dust bin, ensuring
that it clicks into place.