MAXIMIZING THE LIFE OF YOUR
BATTERY
1To enhance battery life, this vacuum
is equipped with an advanced feature
that will shut off the vacuum when the
battery is almost fully discharged. If
the vacuum shuts off while in use, turn
the power off and charge the unit for
16 hours.
2Charge the vacuum for 24 hours
before initial use and 16 hours for each
recharge. Leaving the unit plugged in
longer than the 16-hour charge time
will not damage the batteries.
3If the vacuum has never been used
or has not been used for an extended
period of time, it will take 3 to 5 16-
hour charges and full run down cycles
to realize the full operational time of
the vacuum.
4Do not store in areas of high
temperature or humidity
5Use only adapter model number
HK-AC-160A020-GB supplied by the
manufacturer. If other chargers are
used, the battery can fail causing
damage to the battery, to the vacuum,
or to personal property.
BATTERY RECONDITIONING
If you experience shorter run time over the
life of the vacuum, perform the following
battery reconditioning steps. These
steps can also be performed as monthly
maintenance for maximum battery life.
1Charge the vacuum for a minimum of
24 hours.
2 Runthevacuumuntilitturnsitselfoff.
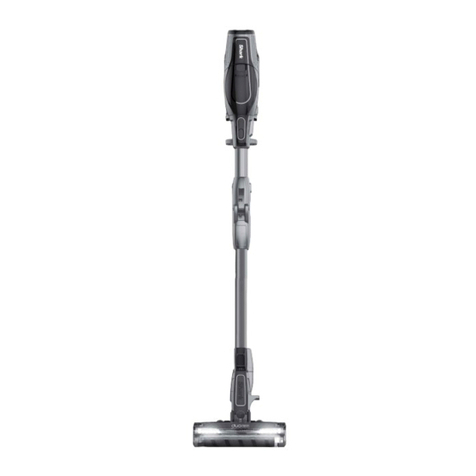
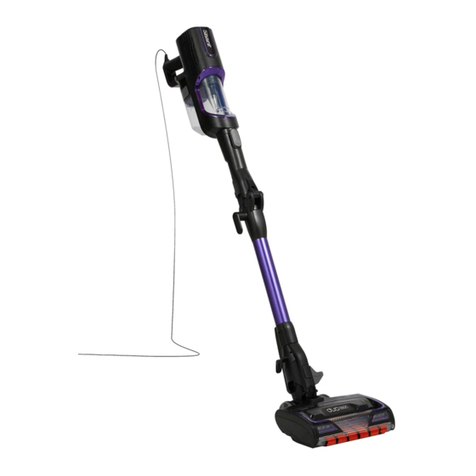
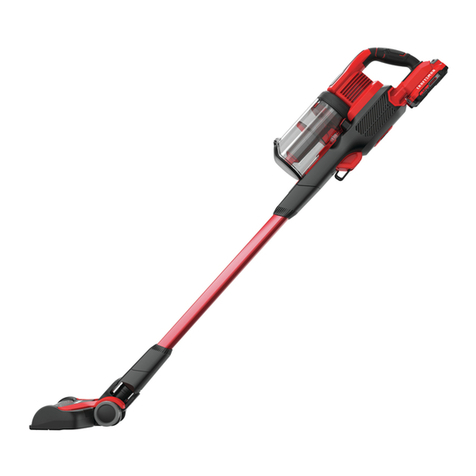
USING YOUR SHARK ®CORDLESS STICK VACUUM
USE YOUR CORDLESS STICK
VACUUM TO CLEAN BARE
FLOORS, CARPETS, RUGS,
UPHOLSTERY AND MORE.
1Place your foot lightly on the top
of the motorized brush and tilt the
handle back to release the unit
from the locked upright position.
(fig. 4)
•Pushtheswitchtothe“|” side to
turn the vacuum on to a speed
optimized for bare floor cleaning.
On the bare floor setting, the
approximate run time is 12
minutes.
•Pushtheswitchtothe“||” side
to turn the vacuum on to a speed
optimized for carpet cleaning. On
the carpet setting, the approximate
run time is 10 minutes.
fig. 4
BARE FLOOR CLEANING
OFF
CARPET CLEANING
3Charge the vacuum for a minimum of
16 hours.
Forotherwaystoimprovevacuum
performance, see page 8 for filter and
brush roll maintenance.
BATTERY REMOVAL, REPLACEMENT
AND DISPOSAL
The cordless stick vacuum is powered by
Ni-Mh batteries, which must be recycled
or disposed of properly in accordance with
state, federal and local laws. If uncertain
as to how to remove the battery pack, we
suggest that you take your stick vacuum
to a reputable small appliance service
technician to have this service performed.
BATTERY REMOVAL
1 EnsurethattheunitisOffandnot
plugged into the charger.
2Never open the battery compartment
except to replace or dispose of the
battery pack.
Removethetwoscrewsoneitherside
of the battery cover on the back of
the unit. Set the cover and the screws
aside.
3Carefully lift the battery pack from
the bottom and slide it out of the
compartment.
4Grasp the terminals on the white wires
and pull firmly to disconnect. Do the
same for the red wires, taking care not
to touch the wires together.
5The battery pack must be recycled or
disposed of properly in accordance
with local regulations.
BATTERY REPLACEMENT
1Connect the terminal on the white wire
of the new battery pack to the terminal
on the white wire inside the battery
compartment.Firmlypushthem
together, ensuring they are completely
connected such that the black parts
of the terminals are touching. Do the
same for the red wires. Place the
new battery pack into the battery
compartment, label side facing out
2Take care to tuck the wiring
completely in so that the wiring does
not interfere with the battery cover.
3Insert the battery cover bottom side
first, then push in the top and replace
the screws on either side.
CAUTION:
• Useonlywithbatterypacksupplied.
• Neveruseordinarybatteriesfor
replacement as these may leak and
damage your vacuum
• Donotattempttoremovethebattery
pack from the unit to charge.
• Neverthrowthebatterypackorthe
appliance into a fire or incinerate it.
• Donotremoveordamagethebattery
casing.
• Donotplacethebatteriesonmetal
surfaces.
• Donottouchmetalpartsofthe
batteries together as the batteries will
overheat.
Call customer service at
FREEPHONE 0800 862 0453 to order
a replacement battery pack.
•Pushtheswitchtothe“O” to
turn the unit off.
SV800UKL 54_E_IB_111004_1.indd 5 11-10-04 4:05 PM

