01/10/26 MD-MT170E_1.fm
7
MD-MT170E
Important Introduction
-Precautions-
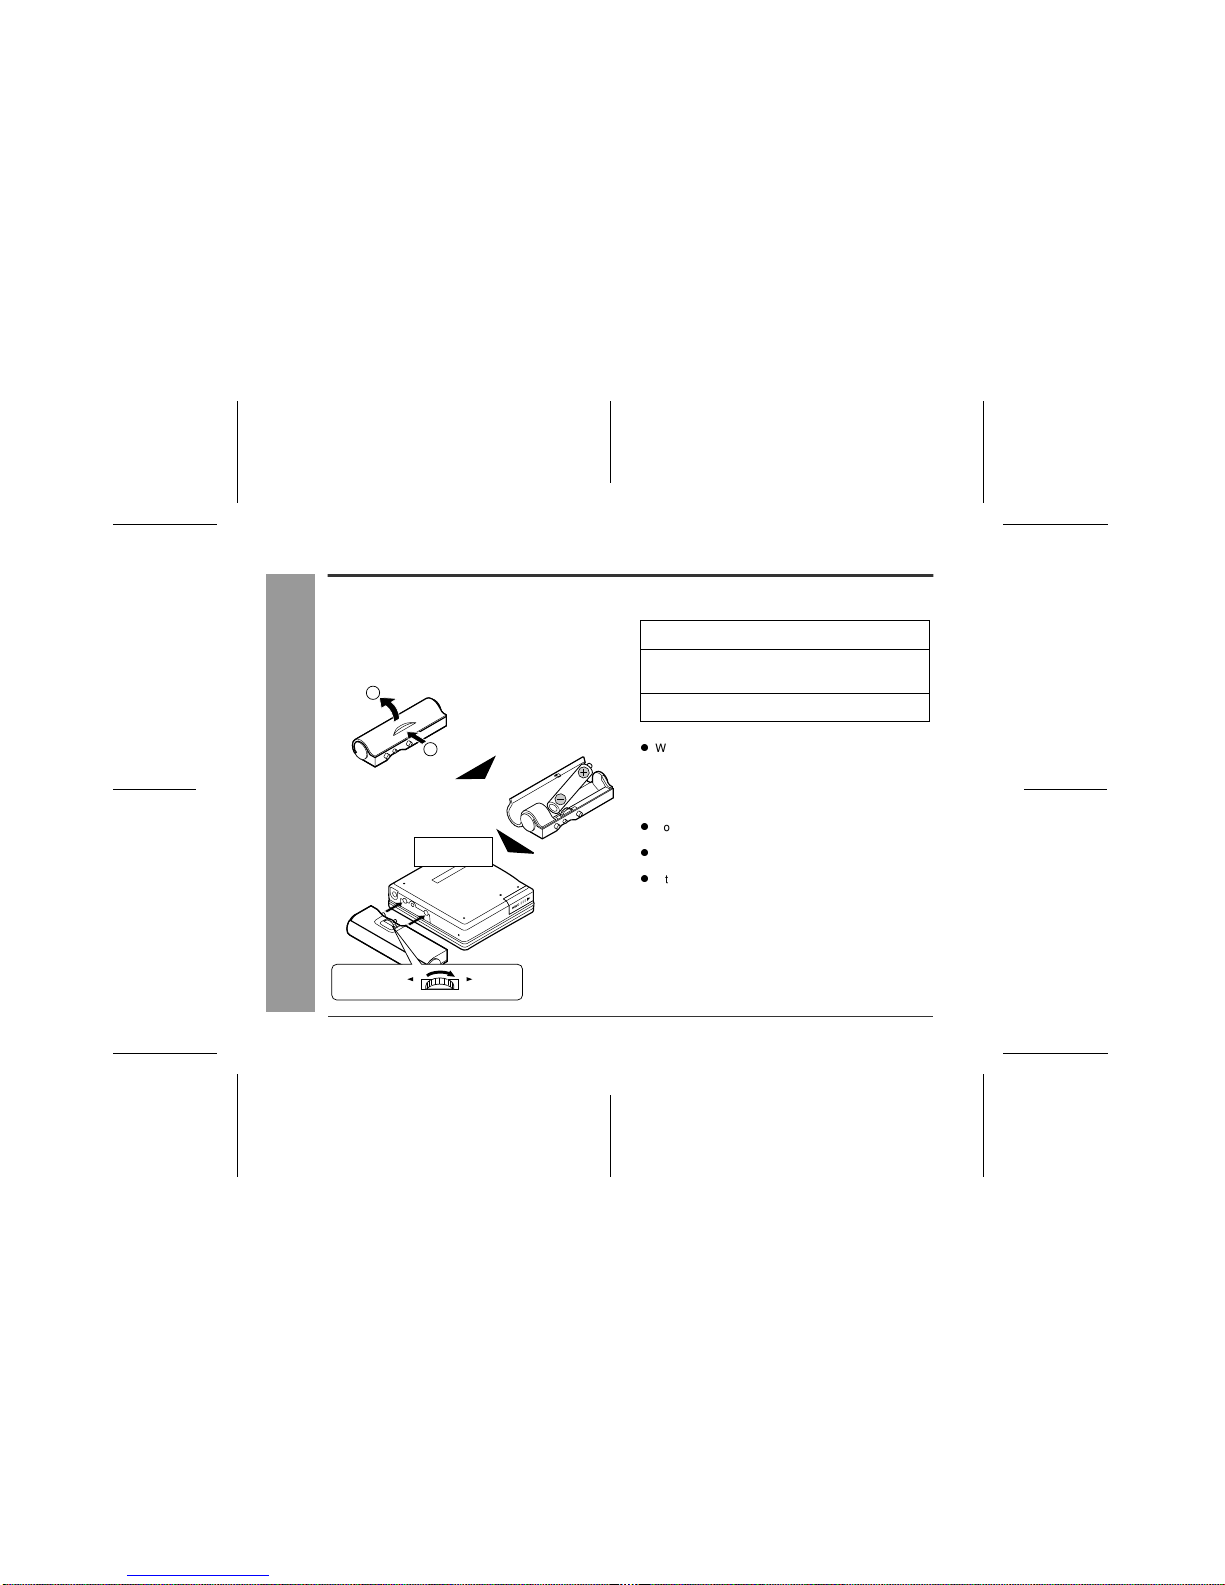
Precautions
Important
To avoid accidental electric shock or other possible
problems, observe the precautions listed below.
Do not disassemble or modify the unit.
Do not drop or subject the unit to shock.
Do not use the unit near open flames.
Do not spill liquid on the unit.
Do not use an external power supply, other than the
5V DC supplied with this unit, as it may damage it.
SHARP is not responsible for damage due to improper
use. Refer all servicing to a SHARP authorised serv-
ice centre.
Storing the unit
Avoid using or leaving the unit in the following
places.
Places exposed to direct sunlight for many hours
(especially in cars with the doors and windows closed)
or near heaters. (The cabinet may deform, change col-
our or the unit may malfunction.)
Places exposed to excessive dust.
Places exposed to water.
Places where temperatures are excessively high or
low.
Places (bathrooms) where the humidity is extremely
high.
Places with strong magnetic fields such as TVs or
loudspeakers.
Places exposed to vibration.
Places where sand can easily enter the inside of the
unit (beaches etc.).
If the unit is used near radio tuners or TVs, noise and/
or picture interference may result. If you experience
these problems, move the unit away from such
devices.
Do not wear your earphones when you are crossing
streets or near traffic.
Do not use your earphones whilst driv-
ing a motor vehicle, it may create a traf-
fic hazard and may be illegal.
Remember to obey all of the safety
rules in your area.
Do not play the unit at a high volume.
Hearing experts advise against extend-
ed listening at high volume levels.
If you experience ringing in your ears, reduce the vol-
ume or discontinue use.
No naked flame sources, such as lighted candles,
should be placed on the apparatus.
Attention should be drawn to the environmental as-
pects of battery disposal.
The apparatus is designed for use in moderate climate.
This portable MD should only be used within the range
of 0°C - 40°C (32°F - 104°F).
It is not recommendable to put the
MiniDisc into a rear pocket, as this
may damage the product when sit-
ting.