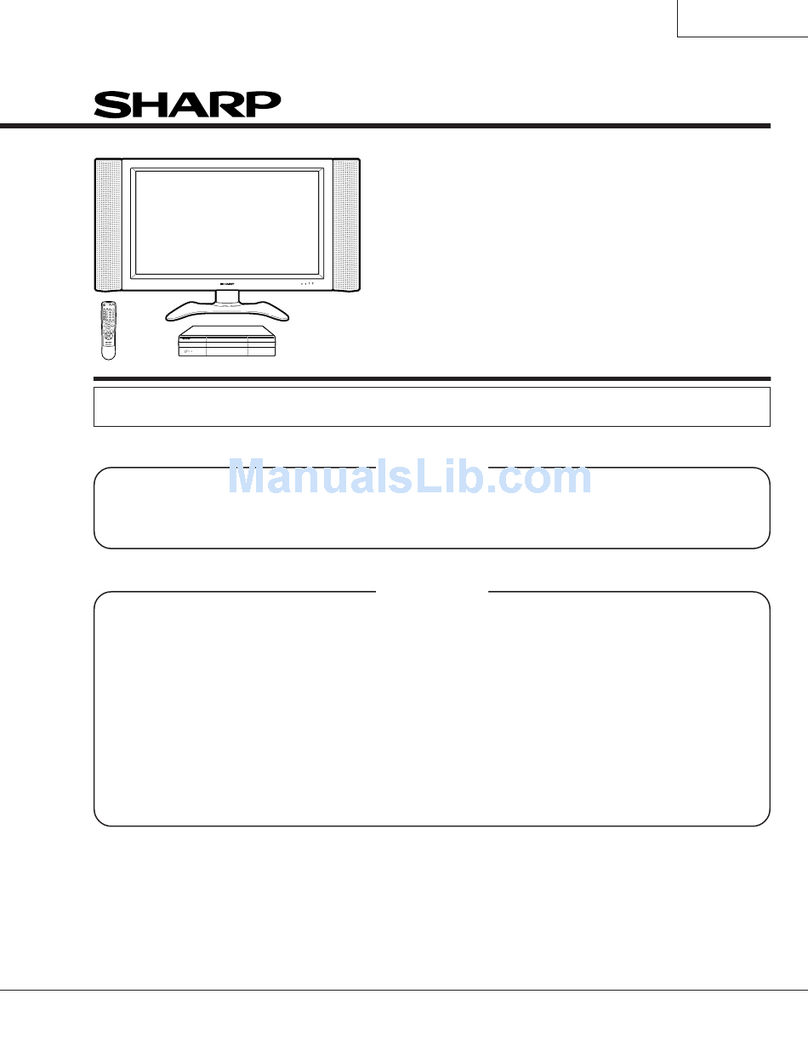
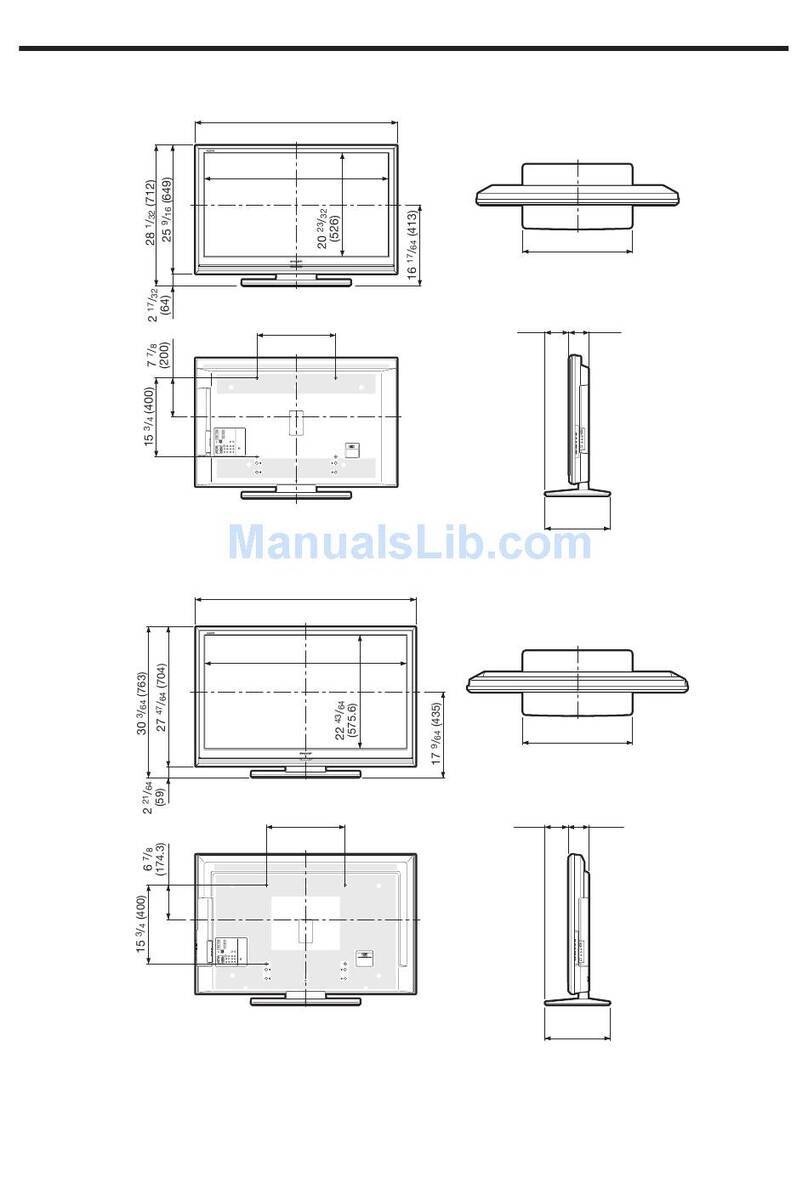
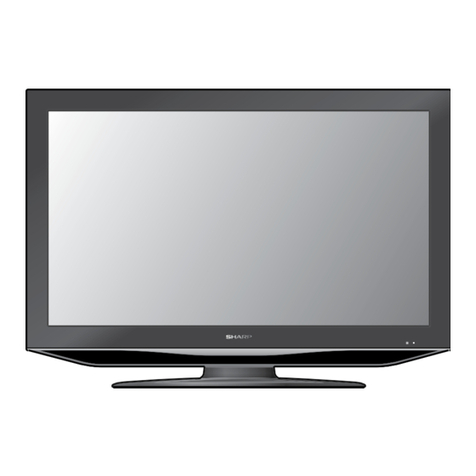
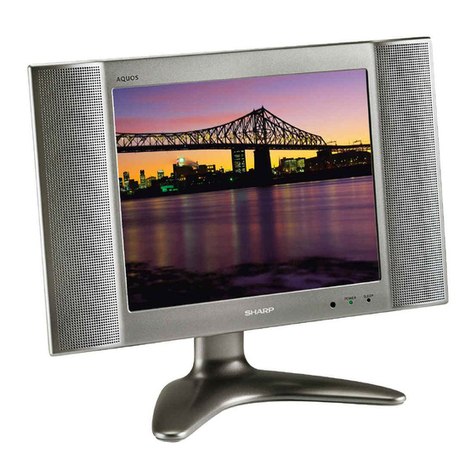
Sharp Aquos LC-32GD7E User manual

SERVICE MANUAL
LCD COLOUR
TELEVISION (Display)
MODEL
In the interests of user-safety (Required by safety regulations in some countries) the set should be restored
to its original condition and only parts identical to those specified should be used.
SHARP
CONTENTS
CORPORATION
NOTE ON ELECTROSTATICAL SHIELDING .....................................................................................................2
SAFETY WARNINGS / REGULATIONS .............................................................................................................2
PRECAUTIONS FOR USING LEAD-FREE SOLDER.........................................................................................3
REAR PANEL REMOVAL....................................................................................................................................4
WIRING DIAGRAM L2650 ..................................................................................................................................6
ENTER SERVICE MODE....................................................................................................................................8
OPTION BYTES TABLE WITH SERVICE RELEVANT OPTION BITS .............................................................15
SERVICE MENU L2650 (LCD)..........................................................................................................................17
SOFTWARE LOADING .....................................................................................................................................18
COMPONENTS CHART ...................................................................................................................................20
TECHNICAL SPECIFICATIONS........................................................................................................................21
SPARE PARTS LIST .........................................................................................................................................22
TROUBLESHOOTING ......................................................................................................................................54
APPENDIX ........................................................................................................................................................58
230-90432994
LC32GD7E
LC32GD7E

2
Note on electrostatic shielding
1. Electrostatically shielded MOS workstations
Components sensitive to electrostatic discharge
must be handled at workstation with electrostatic
shielding. An electrostatically shielded MOS work-
station is fitted with discharge resistor which earth
all conductive materials, including the technician
working there. Dielectrics are discharged by air
ionisation. The use of soldering irons and meas-
uring equipment at shielded workstation is only
possible in conjunction with isolating transformer
in each of the devices used. Measuring equip-
ment chassis are also earthed with discharge re-
sistors.
2. Shielded packaging using conductive
materials
To protect against electrostatic charges, electri-
cally conductive plastics are used for packaging
and transport purposes. Conductive plastics are
available in the form of transparent protective
bags, foam plastic, film sheeting or containers.
Sensitive components requiring the use of pro-
tective packaging must only be packed and un-
packed at shielded workstations.
Safety warnings/regulations
1. The repair, modification and testing of mains-op-
erated electronic devices and their accessories
must only be performed by qualified persons.
2. It is necessary to follow the regulations and safety
warnings to VDE 0701, part 200, as well as the
regulations and safety warnings applicable in the
country concerned.
3. VDE 0701, Part 2, contains regulations on the re-
pair, modification and testing of mains-operated
electronic devices and their accessories.
4. Before delivery, the device and the connecting
leads (including any protective earth conductor
fitted) must undergo visual inspection, and the
insulation resistance and the equivalent leak-
age current must be measured according to VDE
0701, part 200. The low-resistance continuity of
the protective earth conductor must be verified by
measurement to VDE regulation 0701, part 1.
5. The regulations of the country concerned must
also be observed.
6. Only genuine parts must be used for replacing
components marked with the symbol .
3
Precautions for using lead-free solder
1. Employing lead-free solder
„LCD CONT PWB“,“TMDS RX PWB“,“KEY PWB“,“R/C LED PWB“,“MOTOR PWB“,“INV PWB“,“POWER
PWB“of this model employs lead-free solder. The LF symbol indicates lead-free solder, and is attached on
the PWBs and service manuals. The alphabetical character following LF shows the type of lead-free solder.
Example:
Indicates lead-free solder of tin, silver and copper.
2. Using lead-free wire solder
When fixing the PWB soldered with the lead-free solder, apply lead-free wire solder. Repairing with conven-
tional lead wire solder may cause damage or accident due to cracks.
As the melting point of lead-free solder (Sn-Ag-Cu) is higher than the lead wire solder by 40ºC, we recom-
mend you to use a dedicated soldering bit, if you are not familiar with how to obtain lead-free wire solder or
sodening bit, contact our service station or service ranch in your area.
3. Soldering
As the melting point of lead-free solder (Sn-Ag-Cu) is about 220°C which is higher than the conventional
lead solder by 40°C, and as it has poor solder wettabillty, you may be apt to keep the soldering bit in contact
with the PWB for extended period of time. However, Since the land may be peeled off or the maximum heat-
resistance temperature of parts may be excoeded, remove the bit from the PWB as soon as you conurm the
steady soldering condition.
Lead-free solder contains more tin, and the end of the soldering bit may be easily corroded. Make sure to
turn on and off the power of the bit as required. if a different type of solder stays on the tip of the soldering
bit, it is alloyed with lead-free solder. Clean the bit after every use of it.
When the tip of the soldering bit is blackened during use, file it with steel wool or fine sandpaper.
Lead-free wire solder for servicing
Be careful when replacing parts with polarity indication on the PWB silk.
LFa
Pb
Part No. ËDescription Code
ZHNDAi123250E J φ 0.3mm 250g(1roll) BL
ZHNDAi126500E J φ 0.6mm 500g(1roll) BK
ZHNDAi12801KE J φ 1.0mm 1kg(1roll) BM

4
Rear panel removal
1. Place the set on a clean and soft base.
2. Open the 4 screws (fig. 1).
3. Open the 18 screws (fig. 2).
4. Mount stand for serviceposition.
Fig. 1
Fig. 2

5
REMOVING OF MAJOR PARTS
LCD Panel Unit
(RLCDTA071WJZZ)
Reflection/Deflection Sheet
(PSHEPA341WJZZ)
Diffusion Panel
(PCOVUA059WJZZ)
Diffusion Sheet
(PSHEPA325WJZZ)
Prism Sheet
(PSHEPA340WJZZ)
Lamp Holder
(LHLDZA613WJKZ)
Lamp Holder
(LHLDZA613WJKZ)
Lamp
(KLMP-A069WJZZ)
Lamp Rubber
(PGUMMA009WJKA)
Lamp Rubber
(PGUMMA009WJKA)
B/L Chassis
(LCHSMA217WJZZ)
1
3
5
5
3
2
2
4
4
1. Remove the 4 lock screws 1, 4 lock screws 2, 6 lock screws 3from the LCD Panel Unit.
2. Detach the 4 hooks 4from the B/L Chassis, and lift off the LCD Panel Unit.
3. Detach the Prism, Diffusion and Reflection/Deflection Sheets and Diffusion Panel.
4. Remove the 6 lock screws 5from the Lamp Holder, and detach the Lamp Holder.

6
BL
Control - Board (SC)
Back -
Light -
Inverter
(SC)
Basic board
89435.var
Signal board
89445.var
AC-
power-
line
Front -
Audio-
Video /
Head-
Phone
89194.xxx
W691
W811
W898
W889
Sat Frontend 89198.var
W101
CI- Interface
LC-xxGS7L
W101
Micom - Board (SC)
LC-xxGS7L
Local
Control
W1
89477.050
lr
CN7501
CN7502
CN7503
CN7504CN7505
CN7506
CN7507
CN7508
CN7401
CN7402
CN7403
CN7404
CN7405
CN7406
W101
W661
P3200
P3201
P3202
P2303
P5702
P5701
SC3202 P2301
P7701
P7703
SC4601
CN7601
CN7602
CN7603
CN7604
CN7605CN7606
CN7607CN7608
CN7609
CN7610
W2151 W2231
W4601 W4611
W2101
W2111
W2134
W2131
W2021
W2011
W651
89384.054
89456.002
89207.002
86185001
89541.002 89542.002
86318.059
87286.070
86188.050 89441.001
89188.001
89536.051
89536.052
IR Receiver/LED
89476.050
Wiring diagram L2650

7
654321
A
B
C
D
E
F
G
H
OVERALL WIRING DIAGRAM

8
END BACK
INFO
PIP
TIMER
PC
RADIO
1
2
4
3
4
5
fig. 1
fig. 2
Enter service mode
Pre-setup position: set is in TV mode
1. Press MENU button on top of the TV set to enter menu „direct control on tv set“ (fig. 1, pos. 1)
2. Press button „P ^“ until „service“ is shown in menu (fig. 1, pos. 2)
3. When service appears press the MENU button on the remote control within 1 sec (fig. 2, pos. 3).
Service menu appears.
4. Step with cursor buttons on remote control (fig. 2, pos. 4) through the service menu to change settings.
5. Each modification of any value has to be memorized with the „OK“ button on remote control (fig. 2, pos. 5).

9
LC-32GA7L/GS7L
ADJUSTMENT PROCEDURE
The adjustment values are set to the optimum conditions at the factory before shipping. If a value should
become improper or an adjustment is required due to part replacement, make an adjustment according to the
following procedure.
Caution: Use due care in handling the information described here lest your users should know
how to enter the adjustment process mode. If the settings are tampered in this mode,
unrecoverable system damage may result.
1. Display adjustment procedure
1. Adjustment procedure
Enter the display process mode and then adjust COM BIAS.
Key Function 1 (when on the left side of a page) Function 2 (when changing a numeric value)
Cursor UP
Cursor DOWN
Cursor RIGHT
Cursor LEFT
OK
INPUT mark of the
R/C (caution required)
CH (ù)
CH (Ù)
VOL (+)
VOL (–)
Moving up by one item or moving to the previous
page (when at the top)
Moving down by one item or moving to the next
page (when at the bottom)
Moving to the right by one item or moving to
another page (in the case of the initial page)
Moving to the left by one item or moving to
another page (in the case of the initial page)
Test pattern off
Moving to the next page
Moving up by one item or moving to the previous
page (when at the top)
Moving down by one item or moving to the next
page (when at the bottom)
Moving to the right by one item or moving to
another page (in the case of the initial page)
Moving to the left by one item or moving to
another page (in the case of the initial page)
Incrementing the adjustment value by one or
executing the item (in the case of W or R item)
Decrementing the adjustment value by one or
executing the item (in the case of W or R item)
Moving to the right by one item
Moving to the left by one item
Executing the item (in the case of W or R item)
Moving to the next page
Incrementing the adjustment value by one or
executing the item (in the case of W or R item)
Decrementing the adjustment value by one or
executing the item (in the case of W or R item)
Moving to the right by one item
Moving to the left by one item
2. Adjustment process mode key operation table
3. COM BIAS adjustment
Shift to the [COM BIAS] item with the cursor UP/DOWN key and select a numeric value with the cursor
RIGHT/LEFT key.
Changing the numeric value with the cursor UP/DOWN key will make appear the test pattern. Make an
adjustment so that the flicker near the center of the screen is minimized.

10
4. Lamp error detection
4-1. Feature description
This liquid-crystal color TV incorporates a lamp error detection feature (lamp error detection) that
automatically turns OFF the power for safety under abnormal lamp or lamp circuit conditions.
If anything is wrong with the lamp or lamp circuit or when the lamp error detection feature is activated for
some reason, the following will result.
1The power of TV main body is turned OFF about six seconds after it is turned ON. (The power LED on
the front of the TV turns red from green and keeps blinking in red (ON for 250ms and OFF for 1sec)).
2If occurs five times consecutively, it becomes impossible to turn ON the power. (The power LED keeps
blinking in red (ON for 250ms and OFF for 1sec)).
4-2. Measures
1) Checking with lamp error detection OFF
Refer to "Entering and exiting the adjustment process mode" in the section 10-2 to enter the display
process mode.
If there is a problem with a lamp or a lamp circuit, the lamp will go out. (The power LED is green.)
Then, you can check the operation to see if the lamp and lamp circuit are abnormal.
2) Resetting the lamp error count
After you have finished checking whether the lamp and lamp circuit are abnormal, reset the lamp error
count. If a lamp error is detected five consecutive times, the power cannot be turned on.
Therefore, move to the [L ERR RESET] line, the 5th line on the first page of the "Display process mode",
using the Cursor UP/DOWN key. Then, reset the [L ERR RESET] value using the Cursor RIGHT/LEFT
key. In this case, press the Cursor UP/DOWN key to reset it to "0".
Table of contents of adjustment process mode Page 0
0123456789ABCDEF
0SERV I CE I AA6L
→
1 CSLEVEL 00
2 COMBIAS 190 Values specific to each display
32 : 32GA7L
37 : 37GA7L
3 EER 0 0 0
4 L ERR RESET 0 Reset to "0 "
5LCD
6PATTERN
7FAN
8OTHER
9 VER M2A0 B101
After resetting to "0", perform an operational check to ensure that the lamp error detection feature is not activated.
26
STBY

11

12

13
First layer Page Item Setting range Initial value
Table of contents 1 CSLEVEL 0 ~ 128 00
COM BIAS 0 ~ 1024 800
ERR STBY 0 ~ Z 0
L ERR RESET 0 clear 0
LCD 1 PWM CTRL 0 ~ 7 7
PWM FREQ 0 ~ 4095 1289
PWM DUTY 0 ~ 4095 0
OSC FREQ 0 ~ 4095 77
OSC DUTY 0 ~ 4095 70
PMCG MODE 0 ~ 3 0
PMCG SSC 0 ~ 3 0
DAT DRV 0 ~ 7 0
CLK DRV 0 ~ 7 0
2 MODE 50Hz,60Hz,PC 60Hz
QS SW 0 ~ 1 1
QS D1 0 ~ 255 82(*3)
QS D2 0 ~ 255 100(*3)
QS D3 0 ~ 255 111(*3)
QS D4 0 ~ 255 123(*3)
QS D5 0 ~ 255 135(*3)
QS D6 0 ~ 255 147(*3)
QS D7 0 ~ 255 162(*3)
3 OPC 0 0 ~ 85 00(*4)
OPC 1 0 ~ 85 01(*4)
OPC 2 0 ~ 85 03(*4)
OPC 3 0 ~ 85 05(*4)
OPC 4 0 ~ 85 06(*4)
OPC 5 0 ~ 85 08(*4)
OPC 6 0 ~ 85 11(*4)
OPC 7 0 ~ 85 15(*4)
OPC 8 0 ~ 85 18(*4)
4 OPC 9 0 ~ 85 23(*4)
OPC 10 0 ~ 85 27(*4)
OPC 11 0 ~ 85 31(*4)
OPC 12 0 ~ 85 36(*4)
OPC 13 0 ~ 85 41(*4)
OPC 14 0 ~ 85 46(*4)
OPC 15 0 ~ 85 52(*4)
OPC 16 0 ~ 85 57(*4)
5 CS 00 0 ~ 2 0
VH 247 0 ~ 1023 887(*4)
VH 191 0 ~ 1023 755(*4)
VH 159 0 ~ 1023 729(*4)
VH 127 0 ~ 1023 710(*4)
VH 95 0 ~ 1023 699(*4)
VH 63 0 ~ 1023 681(*4)
VH 31 0 ~ 1023 655(*4)
VH 0 0 ~ 1023 527(*4)
6 VL 0 0 ~ 1023 469(*4)
VL 31 0 ~ 1023 341(*4)
VL 63 0 ~ 1023 313(*4)
VL 95 0 ~ 1023 298(*4)
VL 127 0 ~ 1023 277(*4)
VL 159 0 ~ 1023 255(*4)
VL 181 0 ~ 1023 228(*4)
VL 247 0 ~ 1023 090(*4)

14
(*3) Initial value is different depending on mode setting (50 Hz or 60 Hz) and panel size. (PC has the same initial
value as with 60 Hz.)
(*4) Initial value is different depending on panel size.
37" 32" 26"
OPC 0 0 0 0
OPC 1 1 1 5
OPC 2 3 3 9
OPC 3 5 5 13
OPC 4 9 6 18
OPC 5 13 8 22
OPC 6 17 11 27
OPC 7 21 15 31
OPC 8 26 18 36
OPC 9 30 23 40
OPC 10 34 27 45
OPC 11 39 31 49
OPC 12 44 36 53
OPC 13 49 41 58
OPC 14 54 46 62
OPC 15 58 52 67
OPC 16 62 57 71
CS 0 37" 32" 26"
VH 247 912 887 916
VH 191 763 755 765
VH 159 738 729 742
VH 127 717 710 719
VH 95 703 699 704
VH 63 683 681 687
VH 31 659 655 666
VH 0 529 527 537
VL 247 65 90 64
VL 191 231 228 233
VL 159 258 255 260
VL 127 283 277 286
VL 95 300 298 304
VL 63 321 313 323
VL 31 352 341 352
VL 0 472 469 482
37" 32" 26"
50Hz 60Hz 50Hz 60Hz 50Hz 60Hz
QS D1 84 84 82 82 84 84
QS D2 98 98 100 100 98 98
QS D3 109 109 111 111 109 109
QS D4 123 123 123 123 123 123
QS D5 135 135 135 135 135 135
QS D6 147 147 147 147 147 147
QS D7 160 160 162 162 160 160

15
Option Bytes table with service relevant option bits
Please do not change others!
Alignement function Bit No. Meaning “0” “1” Adjusted in the factory
Byte 0 1EPG Program filter On Off 0
5Blue picture w/o signal Yes No 0
Byte 1
1Effect lights for background Off On 0
2WSS detection in VCR mode No Yes 1
3AMD (Autom. movie detection) On Off 0
7At VGA mode sync failure Change to TV mode Keep VGA mode 1
Byte 2 6Reaction time of remote commands Fast Slow 0
7WSS (Wide Screen Signalling Bits) Evaluated Not evaluated 0
Byte 3
0Picture ratio (standard values) Evaluated Blocked 0
2Analogue EPG night update Off On 1
4Switching off after channel closes Yes No 0
5Factory mode Off On 0
Byte 4
2Power down cycle Yes No 0
4AMD switch over Fast Langsam
Slow 1
5Warm up mode On Off 1
Byte 5 2PIP within EPG Last program Selected program “now” 0
3Sound AURO SPDIF-out TV Analogue sound from SCART 2 0

16
Option Bytes table with service relevant option bits
Please do not change others!
Alignement function Bit No. Meaning “0” “1” Adjusted in the factory
Byte 6 6Indication of movie mode No Yes (with colour of Side Panels) 0
7VT subpages mode Normal Off 0
Byte 7 4 Assessing the 16:9 switching voltage Yes No 0
Byte 8 0Factory mode No Yes 0
7Auto on (warm up) Off On 0
Byte 9
0Chroma output at SCART 1 Pin 7 Pin 15 0
1Ext. receiver in VT mode Autom. channel recognition No autom. recognition 0
4DISEqC Telegram Also for not used switch Only for not used switch 0
7Rotation control via RC5 No Yes 1
Byte 10
0Signal peaks (only LCD) Yes No 0
1Program change in overview Possible Not possible 0
4Correction of MSP registers No Yes (Sound problem Luxembourg) 0

17
| 0099 (Program)
| Hotel mode | System data | Option bytes | Colour VCO | Colour gain | Colour offset | PiP positions | LCD adjustments | Other adjustments
| Y delay | Component Y delay | Subcontrast | Text Position V | Text Position V | RC subsystem | Tuner AGC | Tuner AGC internal | Center volume
Service
| mode | Welcome screen | Info station
| off | on
| off | on
System data
Chassis L2650
TV application software version V3.0 ACQ_02.08.00 TDC_V01.06.00
TV application software code 29.06.05
TV EAROM code L00501
Operating time D: 53h P: 235h L: 34h
Firmware FPGA version V2.1
EDID-HDMI date version B500
Firmware I2CUART version V2.0 32162_051
DVB bootsoftware version V3.1.3
DVB application software version V3.5.10
DVB application software date 24.06.2005
DVB EAROM V1.6.0
50 OK
10 OK
-3 OK
0OK
-68 OK
15 OK
0OK
| Y delay | UV delay
93 OK
91 OK
-6 OK
| General V | General H | Station table V | Station table H
0OK
0OK
| Red | Green | Blue
0OK
| Red | Green | Blue
0OK
| Adjust
| Stop | Start
| Option byte 0 | Option byte 1 Option byte 2 | Option byte 3 | Option byte 4 | Option byte 5 | Option byte 6 | Option byte 7 | Option byte 8 | Option byte 9 | Option byte 10
| Bit 0 | Bit 1 Bit 2 | Bit 3 | Bit 4 | Bit 5 | Bit 6 | Bit 7
| Panel service
Service menu L2650 (LCD)

18
Software loading
1 Update of the main software (operating soft-
ware)
To update the software you need the „Programmer“
(Article number 87933.050) and the update pro-
gram „Flasher“.
Please act according the following procedure:
- Switch off the TV set with the mains switch.
- Connect the Programmer with the L-Link cable to
the service socket at the TV.
- Start the Flasher software and select „Step 2“
(see fig. 1).
fig. 1
- Switch on the TV set with the mains switch now
(TV does not switch on under this condition) - see
fig. 2.
fig. 2
- Software automatically jumps to „Step 3“
- Now select „Auto program“ (see fig. 3) ...
fig. 3
...and select the new software version (see fig. 4).
fig. 4
With selecting „Open“ the update process will start
automatically (see fig. 5).
fig. 5
- With the message „Flash programmed“ the up-
date is finished (fig. 6).
fig. 6
- Switch off the TV with the mains switch and dis-
connect the L-Link cable.

19
2. Update of the DVB Bootload- / Application
software
To update the software you need the „Programmer“
(Article number 87933.050) and the update pro-
gram „Dvbpromer“.
Please act according to steps 1-6 shown in the
following pictures:
Step 1
Step 2
Step 4
Step 5
Step 6
Step 3

20
L2650
Art. No.
65481.
V00
65481.
V10
65481.
V20
65481.
V30
65481.
V40
TV set type
AQUOS
LC-32GD7E
AQUOS
LC-32GD7F
AQUOS
LC-32GD7K
AQUOS
LC-32GD7R
AQUOS
LC-32GD7 I
Components
Signal Board 89445
058xx xx
059 x
Basic Board 89435 080 x x x x x
Connector Board 89194 050 x x x x x
IR Receiver/LED 89476 050 x x x x x
Control Unit Sharp 89477 050 x x x x x
LCD Panel Kit
LC-32GS7L 89438 002 x x x x x
Tuner/IF 89222 064 x x x x x
DVB-S Frontend 89189 055 x x x x
Remote Control
Sharp GD7 32534 x x x x x x
Retrofit Kit
DVB-S 89361 055 x x x x
Components Chart
Table of contents
Other Sharp LCD TV manuals

Sharp
Sharp LC-43CUF8462ES User manual

Sharp
Sharp LC-32L407I User manual

Sharp
Sharp Aquos LC-60LE640X User manual

Sharp
Sharp LC-60LE830X User manual

Sharp
Sharp Aquos LC-20S4E User manual

Sharp
Sharp Aquos LC-C4067U User manual

Sharp
Sharp AQUOS 4T-C65FL1X Manual

Sharp
Sharp Aquos LC-20S7U User manual

Sharp
Sharp LC-32SH10U User manual

Sharp
Sharp LC-10A3U User manual

Sharp
Sharp LC-65D90U User manual

Sharp
Sharp LC-20SH1M User manual

Sharp
Sharp LC32D47U - LC - 32" LCD TV Guide

Sharp
Sharp LC-24LE510E User manual

Sharp
Sharp AQUOS LC-26P50E User manual

Sharp
Sharp W/DIVX Series User manual

Sharp
Sharp LC-80LE857E User manual

Sharp
Sharp LC-32A47L User manual

Sharp
Sharp LC-15S4U User manual

Sharp
Sharp LC-42D62U User manual