5 6
Easy setup
When the TV powers on for the first time after
purchase, the initial auto installation wizard appears.
Follow the menu and make the necessary settings
one after another.
1Press POWER on the remote control.
• The initial auto installation wizard appears.
Press ENTER to start the wizard.
2Select language scountry sENTER.
Select “Home” or “Store” sENTER.
Home:
• “STANDARD” will be the default value for the
“AV mode” setting.
Store:
• “DYNAMIC (Fixed)” will be the default value
for the “AV mode” setting. If the “AV mode” is
changed, the TV will automatically switch back to
“DYNAMIC (Fixed)” when there is no further change
to TV setting for 30 minutes.
• To change the Store mode to Home mode, please
refer to page 7 to reset the unit.
3Select “DTV”, “ATV” or “DTV + ATV” sENTER.
• Auto installation will be executed.
• You do not need to do anything during the auto
search.
• If you select “Others” country, some of DTV channel
may not tune properly.
Select “Start” or “Cancel” sENTER.
NOTE
• In the setting of some country, selecting of “DTV”, “ATV”
or “DTV + ATV” may not be shown.
• A region or service selection screen may display depending
on the country settings or cable providers selections.
Follow the screen prompts to make the selections.
Digital setting
You can reconfigure DTV services settings
automatically or manually.
HAuto search
Use this menu to add new services automatically
after auto installation has been completed.
• Press a/bto select “DTV” or “DTV+ATV”.
HManual search
Add new services within a specified channel band.
• Press c/dto find the channel and then press ENTER.
HSignal information
Use this menu to check signal information depends
on receiving channel.
Analogue setting
You can reconfigure the TV channel settings
automatically or manually using Auto search or
Manual adjust.
HAuto search
You can also automatically search by performing
the procedure below. This is the same function as
programme auto search in auto installation.
HManual adjust
You can set some channel items manually.
Item Description
Current CH Select the channel you want to edit.
• Selected channel will be automatically
reflected in the background.
Sound
system
Select the optimum sound system
(Broadcasting system) to receive.
(B/G, D/K, I, M)
Colour
system
Select the optimum colour system to
receive. (NTSC 3.58, NTSC 4.43, PAL,
SECAM)
Search Start searching from current channel.
• Press
c/dto auto search.
Fine-tune Tune the frequency of the stored channel
to your desired position.
• Instead of pressing c/d, you can set by
directly entering the frequency number of the
channel with 0−9 and then press ENTER
to adjust while checking the background
picture as a reference.
NOTE
• The frequency shown below the On-Screen Display shows
the real-time frequency of the displayed channel.
Menu operation
Initial setup
Easy setup
Digital setting
Analogue setting
Time setting
Language
Child lock
Quick start mode
[English]
Programme edit
Input settings
Reset
Menu
Initial
setup
System
options
Audio
settings
Picture
settings
Information
TV
Select menu Select
ENTER
Enter
RETURN
Exit
1Press MENU and the MENU screen displays.
2Press c/dto select the desired menu.
(Initial setup, Information, Picture settings, Audio
settings, System options)
3Press a/bto select the desired menu item.
Press ENTER to proceed if necessary.
4Press a/bor c/dto select the desired item
or adjust the item to the desired level. Press
ENTER if necessary.
5Press RETURN as necessary to return to the
previous MENU. Press MENU to exit the MENU.
Initial setup
Time setting
This function can display the time, data on screen
and channel’s timetable with updated time info.
HTime adjustment
This function allows you to set the clock manually.
NOTE
• If you select “On” in “Auto synchronization” the TV will try
to get the time for the broadcast. It will only be selectable
when “Auto synchronization” is set to “Off”.
• “Time zone” enables you to select your local time zone.
It will only be selectable when “Auto synchronization” is set
to “On”.
HTime display
This function allows you to display the clock time in
the lower-right corner of the screen.
Selected item Description
Off Hides the clock time.
On Displays the clock time.
Language
Select from among 13 languages: English, Simplified
Chinese, Arabic, French, Portuguese, Russian,
Persian, Thai, Vietnamese, Indonesian, Hebrew,
Hindi and Malay.
Child lock
Allows you to use a password to protect certain
settings from being accidentally changed.
HLock system
If the password is not set, the “Lock system” is
invalid.
Please make sure the “Lock system” is set to “On”
before the Child lock is set. (Off, On).
HSet password
NOTE
• To view a locked channel, you must enter a password.
When you select a locked channel, “Child lock has been
activated” is displayed.
• Press ENTER to display the password input window.
HBlock programme
The “Block programme” can be select after “Lock
system” is set to “On”.
HParental rating
This function allows TV channels to be restricted.
It prevents children from watching violent or sexual
scenes that may be considered inappropriate.
Selected item Description
Off Cancel the blocking.
Age xx years
Select desired age to block.
(Example) If age 14 is selected, programmes
rated for ages of 15 or more are blocked.
Programme edit
Use this menu to set up a channel individually.
Selected item Description
Erase
Channels can be erased individually.
Press a/bto select “Yes” or “No”,
and then press ENTER to erase the
selected channel.
Label
You can change channel names
individually.
Maximum 5 alphanumerics can be
input.
Press ENTER to start labelling.
Press a/bto select a character,
press c/dto select next character,
and then press ENTER to save.
Sort Channel position can be sorted freely.
Skip Channels can be skip by select “Off”
or “On”.
Quick start mode
When this function is activated, you can reduce
the TV’s start-up time or even let the TV in standby
mode start displaying images and so on via the
connected equipment on the network. (Off, On).
NOTE
• Setting “Quick start mode” to “On” consumes more
power.
Input settings
HHDMI auto view (HDMI input mode only)
Selected
item Description
Enable/
Disable
Set whether or not to use the Auto Selection
of WIDE MODE based on signal recognition
received from the HDMI signal.
HHDMI type selection (HDMI input mode only)
Sets the HDMI type for HDMI INPUT 1 and 2
terminals. Set to “Full” when an HDMI 4K60P 4:4:4
device is connected, and set to “Limited” when an
HDMI 4:2:0 device is connected.
HDigital audio
This function allows you to select the digital audio
signal type. (Off, Bitstream, PCM)
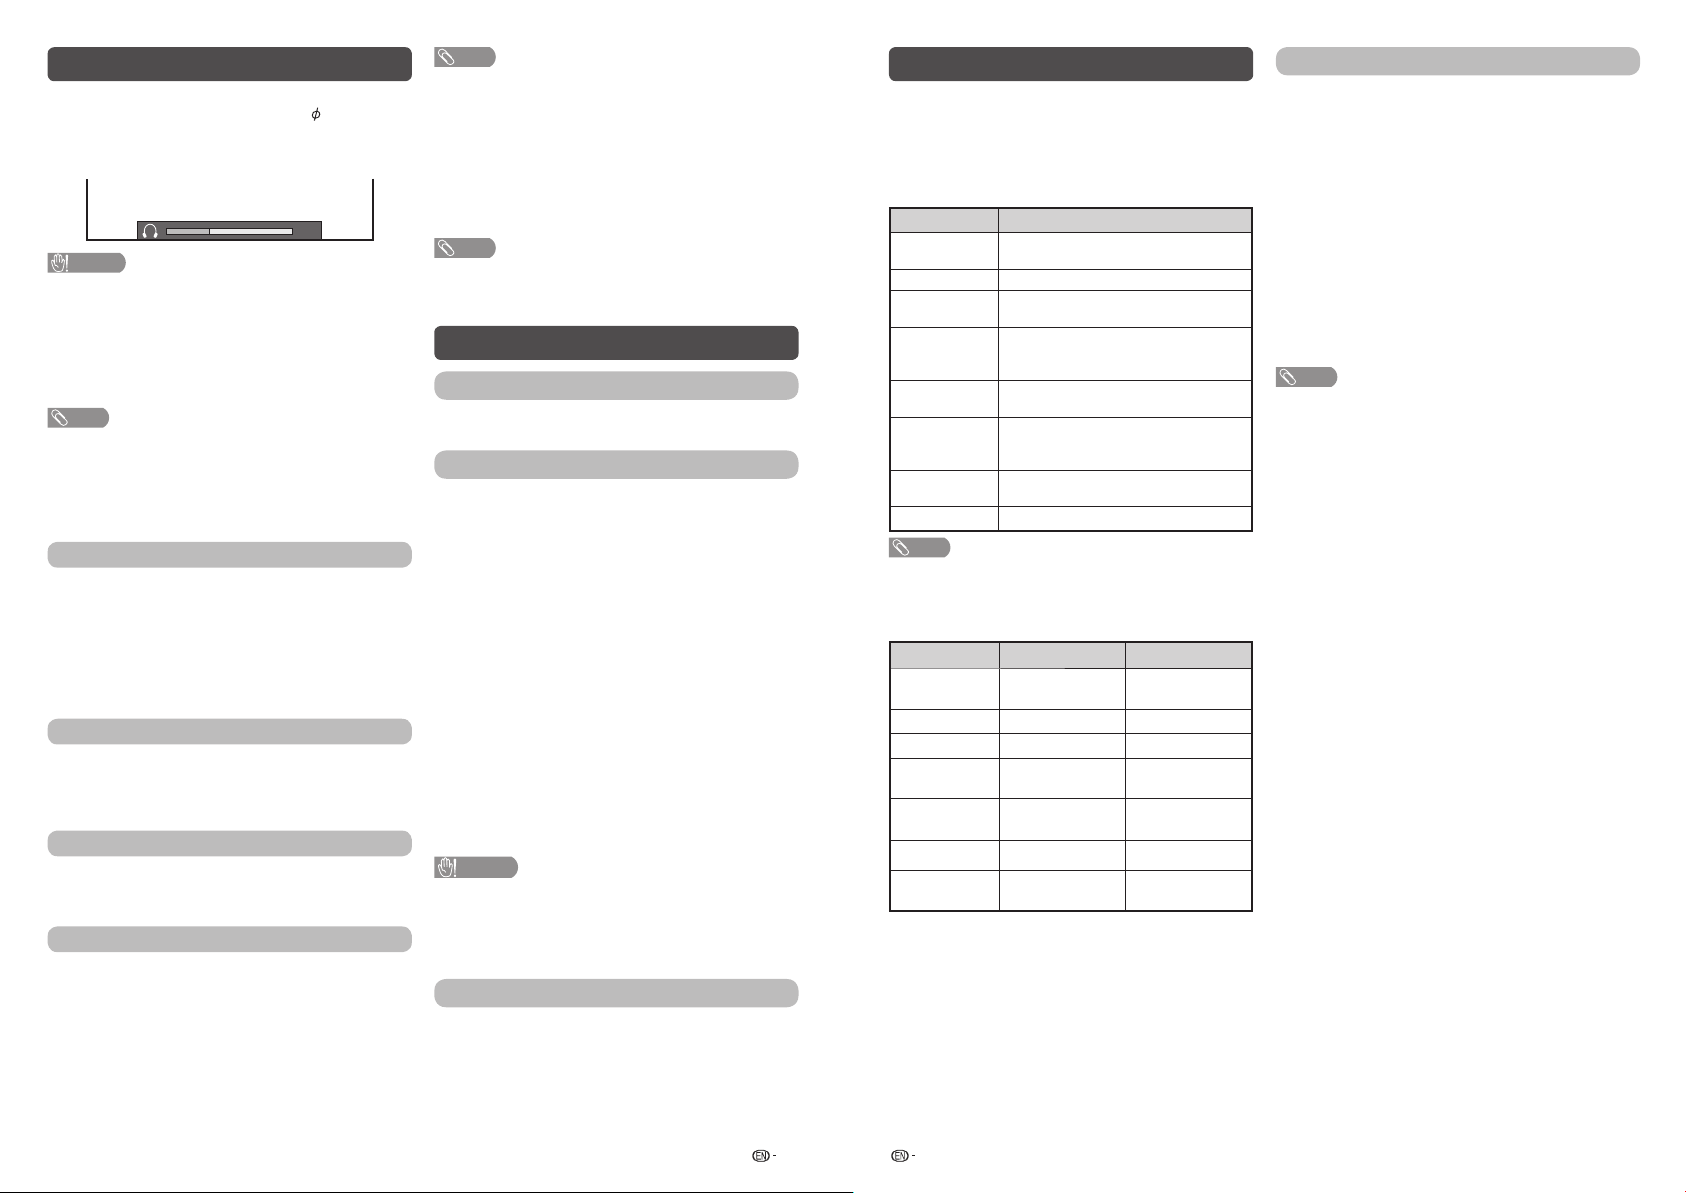
HAudio output select
You can select which device is used for outputting
audio.
Option Description
Headphone Output audio through headphones.
Audio out Output audio through an A/V receiver or
surround audio controller.
NOTE
• If you select “Headphone” when a cable is inserted in the
AUDIO output terminal, the TV speakers are muted and all
Audio menu items cannot be adjusted.
• If you select “Audio out”, sound via the AUDIO output
terminal is not adjustable and constantly outputs.
4T-C60CH1X_H375_EN.indd 34T-C60CH1X_H375_EN.indd 3 2/25/2020 2:36:13 PM2/25/2020 2:36:13 PM