- 2 -
SHAVING
USING THE TRIMMER
WEEKLY MAINTENANCE
1. Make sure the Shaver is properly charged.
2. Slide the on/off switch to ON.
3. Place the shaver against your face and move it in a
quick motion. Hair on the neck can also be shaved
off in this way.
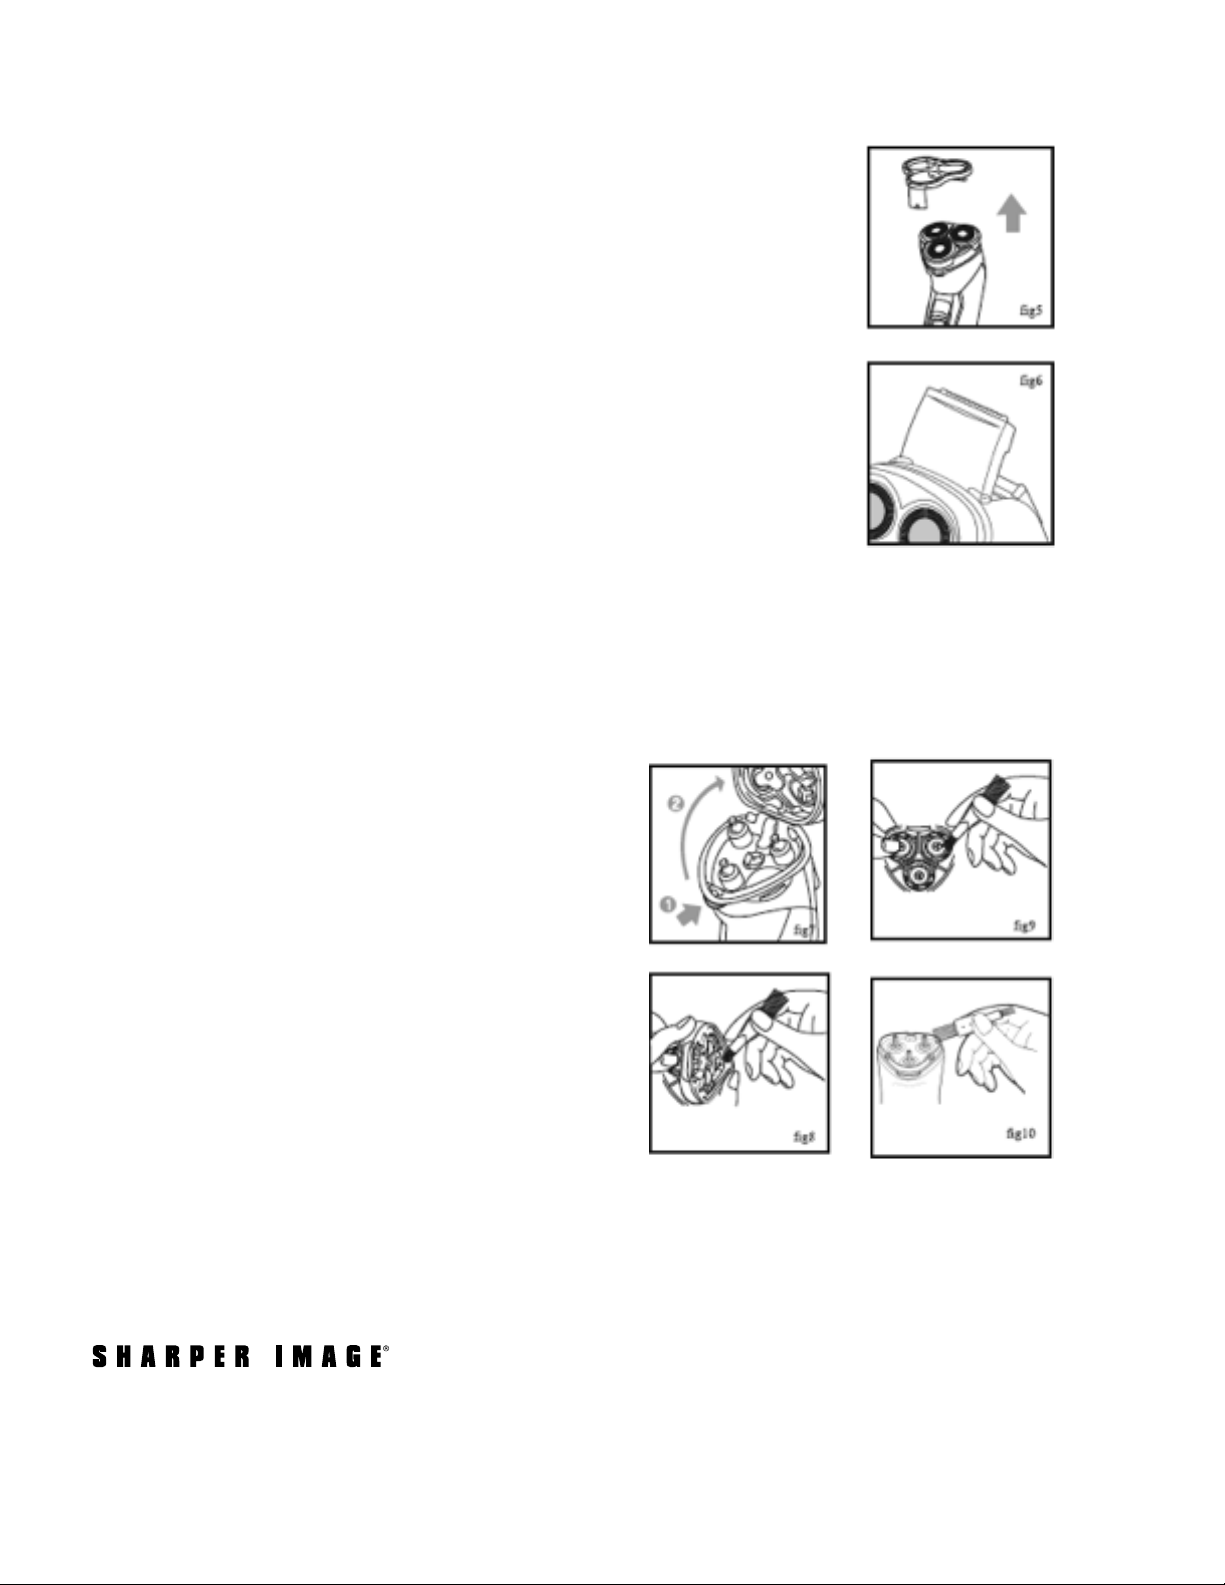
4. Place the protective cap back on the Shaver after each
use (fig. 5).
NOTE: You can shave using both a straight motion and a
circular motion. For a better shave, stretch the skin on your
face with your free hand. Please bear in mind that your skin
may need two to four weeks to become fully accustomed to
this type of shaving system.
1. Open the back cover and pull out the trimmer (fig. 6).
2. Holding the Trimmer blade at a 90° angle, softly the
trimmer to your skin and begin trimming hair.
3. After using the Trimmer, push the switch down to retract
the Trimmer blade.
1. Turn the power OFF and open the housing.
2. Press the outer-cutter button and take off
the outer cutter.
3. Clean the outer cutter, the inner cutter
and the body.
4. After cleaning, reassemble the outer cutter
and the inner cutter to their original positions
and close the housing (fig. 7-10).
IMPORTANT: Do not change the position of
the razor foils. Altering the foils will affect the
performance of this device.
The Sharper Image® name and logo are registered trademarks.
Manufactured and marketed by Camelot SI, LLC under license.
©Sharper Image All Rights Reserved.
Sharper Image branded items purchased from SharperImage.com include a 1-year limited
replacement warranty. If you have any questions not covered in this guide, please call
Sharper Image Customer Service at 1 (877) 210-3449.
WARRANTY / CUSTOMER SERVICE


