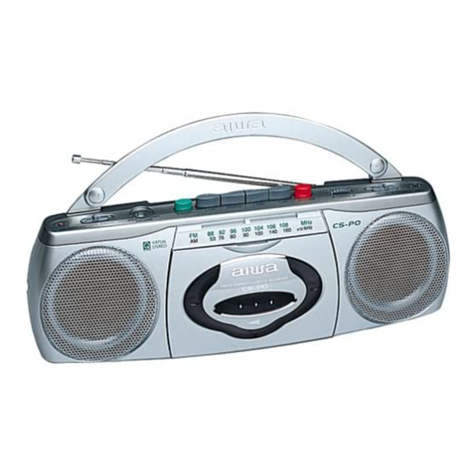
SHE SM-202BD User manual

SM-202BD
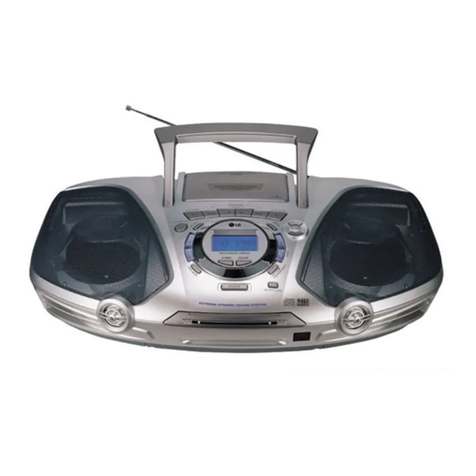
CD RADIO CASSETTE PLAYER
INSTRUCTION MANUAL

2
WARNING
To reduce the risk of fire or electric shock, do not expose this appliance to dripping or
splashing.
Since the CD/MP3 circuitry may cause interference to other radio tuners nearby,
switch this unit off when not in use or move it away from the affected radio tuner.
The lightning flash and
arrowhead within the
triangle is a warning
sign alerting you of
“dangerous voltage”
inside the product.
WARNING
RISK OF ELECTRIC SHOCK
DONOTOPEN
WARNINGZ: TO REDUCE THE RISK
OF ELECTRIC SHOCK, DO NOT
REMOVE COVER (OF BACK). NO
USER-SERVICEABLE PARTS INSIDE
REFER SERVICING TO QUALIFIED
SERVICE PERSONNEL.
The exclamation point
within the triangle is a
warning sign alerting you
of important instructions
accompanying the
product.
CLASS 1 LASER PRODUCT
KLASSE 1 LASER PRODUKT
LUOKAN 1 LASER LAITE
KLASS 1 LASER APPARAT
DANGER
This product contains a low power laser device
IMPORTANT

3
This unit employs an optical laser beam system in the CD mechanism, designed
with built-in safeguards. Do not attempt to disassemble, refer to qualified service
personnel. Exposure to this invisible laser light beam may be harmful to the human
eyes.
THIS IS A CLASS-1 LASER PRODUCT. USE OF CONTROLS, OR
ADJUSTMENTS OR HAZARDOUS LASER LIGHT BEAM EXPOSURE LIGHT
BEAM EXPOSURE.
LASER SAFETY

4
LOCATION OF CONTROLS
1. FUNCTION SWITCH(RADIO.TAPE/OFF.CD/MP3)
2. VOLUME BUTTON
3. BASS BOOST SYSTEM BUTTON
4. HEADPHONE JACK
5. CD LCD INDICATOR
6. CD SKIP+ BUTTON
7. CD SKIP- BUTTON
8. LEFT SPEAKER
9. CD REPEAT BUTTON
10. CASSETTE DOOR
11. CD DOOR
12. BAND SWITCH
13. TUNING KNOB
14. CD DOOR OPEN BUTTON
15. DIAL
16. CD STOP BUTTON
17. CD PLAY/PAUSE BUTTON
18. CD RANDOM BUTTON
19. CD PROGRAM BUTTON
20. RIGHT SPEAKER
21. PAUSE BUTTON
22. STOP/OPEN CASSETTE BUTTON
23. FAST FORWARD BUTTON
24. FAST REWIND BUTTON
25. PLAY BUTTON
26. REC BUTTON
27. FM ANTENNA
28. AC JACK (230V~50Hz)
29. BATTERY DOOR

5
LOCATION OF CONTROLS
1. Make sure that all the components and speakers are connected correctly.
2. Check that the rated voltage of your unit matches your local voltage.
3. Plug the AC power cord into an AC outlet.
HEADPHONES
Be sure your headphone had 3.5mm diameter stereo plug, with an impedance of
32 Ohms. When headphone is connected, the speakers will automatically mute.
Adjust the volume control to the desired level.
LISTENING TO RADIO
1. Set the Function slider to RADIO.
2. Select the wave band by using the BAND selector.
3. Turn to the desired radio station by using the Tuning knob.
4. Adjust the Volume.
COMPACT DISC OPERATION
1. Set the Function slider to CD/MP3.
2. Lift to open the CD door, place a disc in the center with the label side up and
Then close the CD door gently.
3. The total number of tracks will beshowed in the display.
1. If PLAY/PAUSE button is pressed during Stop mode, the first track will be
Playing and the PLAY/PAUSE LCD will be on.
2. If PLAY/PAUSE button is pressed during Play mode, the PLAY/PAUSE LCD
Will flash.
STOP MODE
The Stop button is pressed during Play or Pause mode. The CD/MP3 will stop.
Selecting a desired track
Selecting a desired track in Stop mode
1. Press Skip or until the desired track appears on the LCD display.
2. Press PLAY/PAUSE to start play.
The selected track number appears on the LCD display.
PLAY/PAUSE MODE

6
Selecting a desired track during Play mode
Press Skip or until the desired track appears on the LCD display.
The selected track number appears on the LCD display.
If you press Skip once it will skip to the beginning of the current track and
play the track again.
Searching for a particular passage during play
Press and hold Skip or until the desired passage is located. During
the search the sound is played faster than normal at a reduced volume. play
returns to normal when Skip or is released.
PROGRAMMED DISC PLAY
You can choose up to 20 tracks in any desired order for programmed play.
1. Set the FUNCTION switch to CD/MP3.
2. Press the PROGRAM button.
3. Press the or SKIP/SEARCH button to select the track number.
4. Press the PROGRAM button when the desired track number is displayed.
5. Repeat step 3 and 4 to program more tracks.
6. Press the PLAY/PAUSE button to start programmed play.
7. Disc play will start at the beginning of the first programmed track.
TO CHECK THE PROGRAM
Press the PROGRAM button during stop mode. The track numbers are displayed
In programmed order.
TO ERASE THE PROGRAM
Press the PROGRAM button and the STOP button at the same time during stop
mode. Opening the disc compartment also erase the contents of program memory.
REPEAT MODE
Press the repeat button before or during play. A single track or all the tracks can
Be repeated. Each press switches the repeat mode.

7
LISTENING TO TAPE
PLAYBACK
1. Set the Function selector to tape position.
2. Press the Stop/Eject Key to open the Cassette Door.
3. Put in your cassette tape with the visible tape facing up.
4. Press Play key to activate playback.
5. Adjust the Volume control to the desired level.
6. Use Pause key when you want to stop Playback temporarily.
7. Press Stop/Eject key when finished.
RECORDING
A. RECORDING FROM RADIO
1. Set the Function Selector to the RADIO position.
2. Tune in your station and put in your cassette tape.
3. Press Record key and the Play key of deck at the same time to start recording.
4. Press Stop/Eject key when finished.
B. RECORDING FROM CD
1. Set function selector to CD/MP3 position.
2. Insert a cassette suitable for recording, press Pause key then press Record
key. Recording function in now on standby .
3. Activate the CD/MP3 player, and then press (to release) Pause key to start
recording.
4. To stop recording, first press Stop button on CD/MP3 player, then press the
Stop / Eject key on tape deck.
NOMINAL SPECIFICATIONS
POWER SURPPLY: 230V~50Hz
POWER OUTPUT: 2Wx2
FREQUENCY RANGE: AM 530-1600KHz
FM 88-108MHz
HOST COMPUTER DIMENSIONS:
Weight and dimensions are approximate because we continually strive to improve
our products, specifications may change without prior notice.
Table of contents
