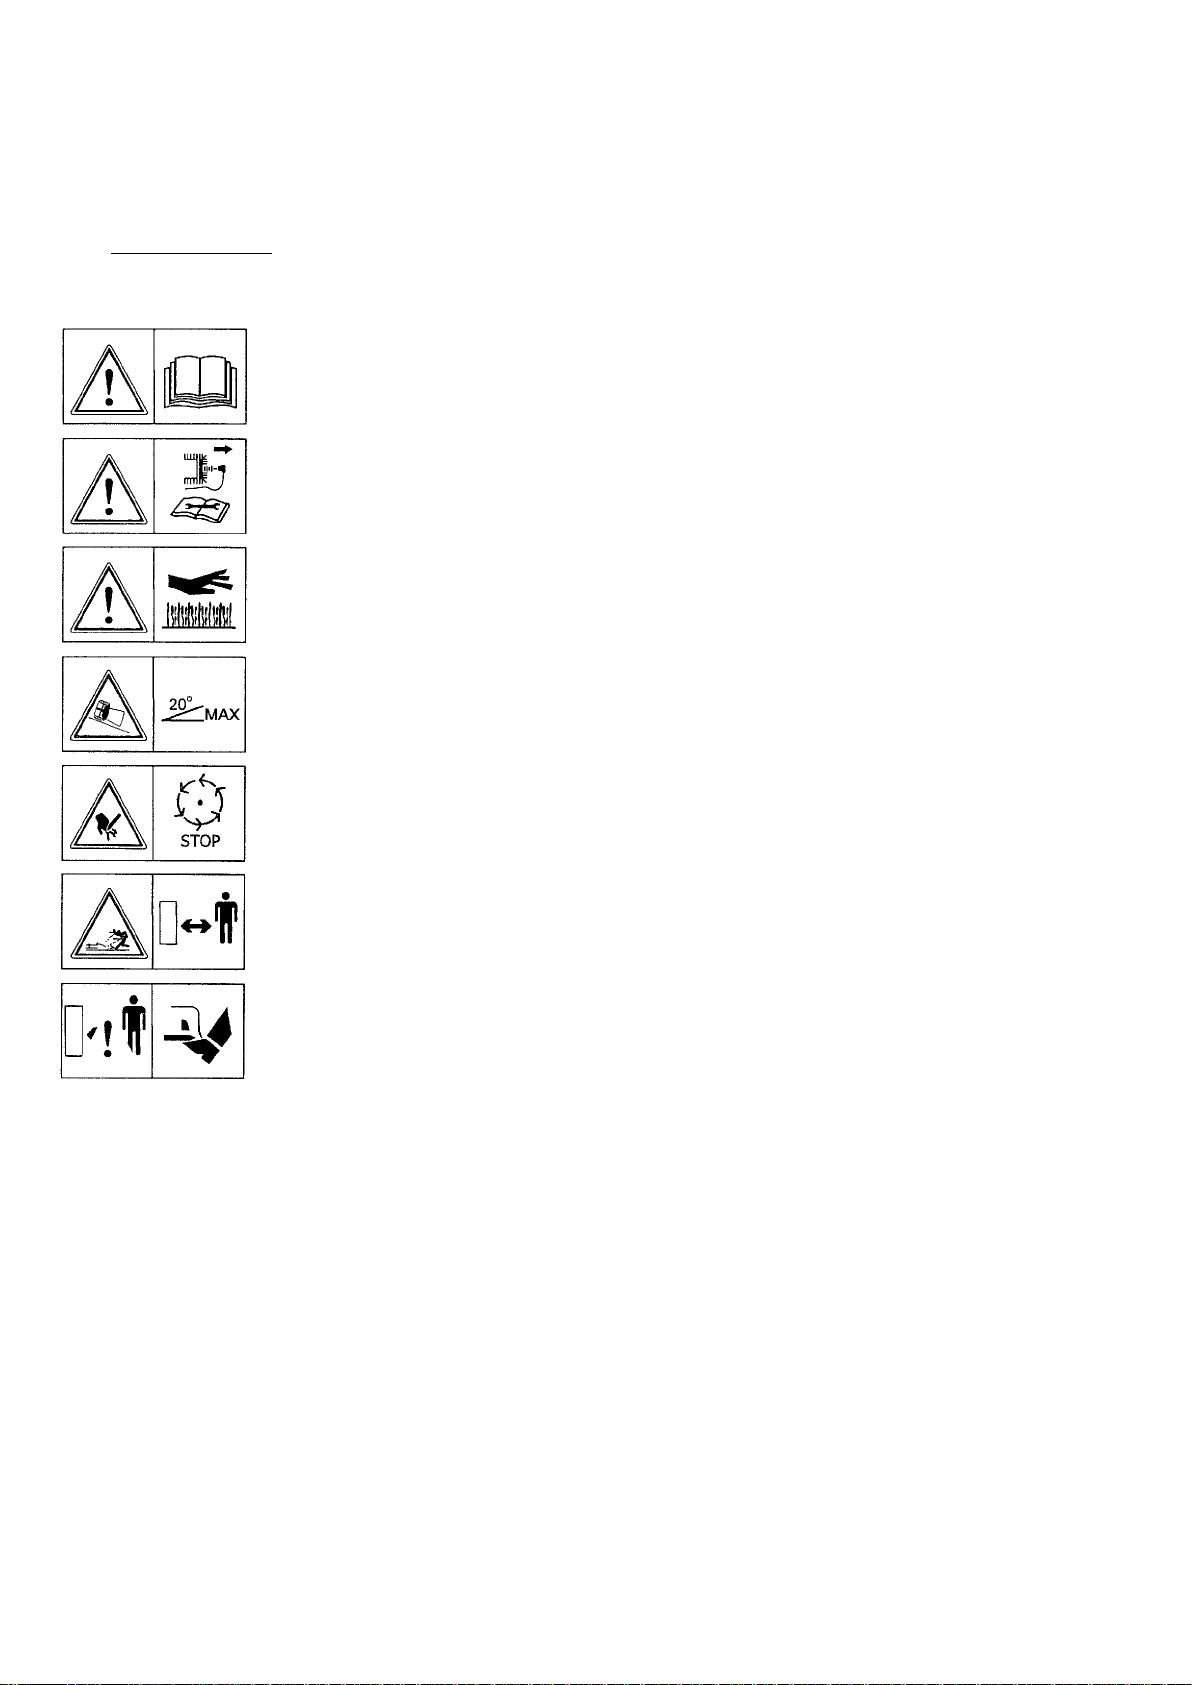
Sherpa MHR 550 BRAVO User manual

(GB)
Sherpa Mulching Mower
MHR 550 BRAVO
User Manual
01 / 2015

Record of Purchase
Complete this now as a record of your purchase. This will help you in the future should you require any
spare parts or accessories.
Supplying dealer name contact details:
Product name: Bravo MHR 550 Mulching Mower
Type:____________________________________Product number:_________________________________
Machine production number:________________Engine number:__________________________________
Warranty period: 2 Years domestic. or 1 Year Professional Use
The above mentioned product was taken over by the buyer without defects including the relevant
documentation and accessories. The buyer is duly instructed to read and understand this manual and
follow proper use/operation and technical maintenance of the product where applicable.
To be filled out by the Buyer:
Buyer´s name:_____________________________________________________________________________
Buyer´s address:___________________________________________________________________________
Buyer´s signature: Date of Purchase:
___________________________________ ________________________________________________

2
1
3

2
1
3
4

(GB)
Introduction
The user should familiarize himself / herself with these instructions for use and abide by the directions for operating the mulching
machine. He/she is directly responsible for injuries to second persons or damage to their property. The manufacturer doe not bear any
responsibility for damage caused by unauthorized use, incorrect operation and damage caused by any modification without the
manufacturer’s consent.
The manufacturer reserves the right to technical changes and innovations with respect to information contained in these instructions
for use that do not have any impact on the function and safety of the machine, without prior notice and without being subjected to any
liabilities.
The following symbols are used to improve the arrangement of these instructions:
I. Technical Description
The mulching machine is designed as a single-.purpose. It is powered by a four-stroke engine. The supporting material of the
mulching machine is a sheet Steel case. The upper case part contains an internal combustion engine that powers the mulching knife
through a transmission by a special vee-belt with coupling function. The second belt powers the gear-box with a worm-gear and a jaw
clutch that activates the mulching machine drive upon pressing of the lever on the handlebar. The mulching knife is covered by a deck
made of steel sheet. Two skids for adjustment of mowing height in two positions are mounted on the deck, by which the machine can
be adjusted to a specific terrain during operation.
A guide wheel set enabling an adjustment of mowing height is provided as a special accessory (Part number Front wheel 9608007) to
the machine. The guide wheel set is installed on the front part of the deck after removing the adjustable skids.
A plastic cover is mounted on the upper sheet-metal deck, covering the mowing knife Belt and the tension pulley of the drive belt.
Wheels with a rubber tread have a ball free-wheel for easier turning and manipulation with the machine.
Controls are located on tubular handlebars. It is possible to adjust the height of handlebars.
A rubber flap to shield against small flying objects and a safety tilting frame is located in the front of the machine, preventing contact
with rotating cutting blade. By tilting the safety frame toward the plastic cover, the machine is ready for transport in the transport
position.
The 0125317AG version a adjustable speed drive further enables changing of the machine travel speed using a variator (image 12).
To adjust the travel speed use a lever 4 (image 11) on the left side of the handlebars.
Read carefully
Warning, particularly important
Assembly and adjustments

(GB)
II. Safety Instructions
The following symbols are located on the machine:
The user of the machine is responsible for accidents or dangers arising to other persons or their property. Thus, the person
has to take into consideration that other persons and animals are located at a safe distance of at least 30 meters from the machine (Fig.
1). In case the operator discovers the presence of persons and animals within a dangerous distance, immediately turn off the machine
and not re-start until this area is clear.
Do not let children or any persons unfamiliar with these instructions operate the machine. Abide by local regulations
concerning minimum age of operators.
Do not operate the machine in case you are sick or under the influence of alcohol, drugs or medicines.
Before starting work, make sure that the machine is in good technical condition. Never mow if any part is damaged or loose.
Tighten loose connections, replace damaged parts. Use original spare parts only.
Before starting work, make sure that the area you are about to mow does not contain any solid objects in the vegetation
(Large stones, wires, pipes, metal, massive branches, and the like) that must be removed, since they could be shot out or
could damage the mulching knife.
Always use working boots and long trousers at work. Do not work without shoes or in light sandals.
Use safety goggles during operation.
During backward movement with the machine there is danger of tripping, thus you should exert utmost caution.
You must not lift the machine during operation with engine running.
Before transport and during movement outside the mowed area, the engine must be turned off and the mulching knife
movement stopped.
Do not work on steep slopes. Observe the max. Inclination specified by the engine manufacturer in the engine manual.
Read the instructions for use before putting into operation!
When performing repairs on the cutting mechanism, remove
the high-voltage cable from the plug!
Beware, burn injury hazard!
Max. slope accessibility
Beware, rotating parts running down!
Maintain a safe distance from the machine, danger of injury
by a flying object!
Beware, rotating cutting tool!

(GB)
Do not refill fuel when the engine is in operation or when it is hot. Only refill fuel in an open area and do not smoke during
refilling. The fuel may only be stored in containers intended for this purpose.
We recommend using only fresh fuel with the addition “B3C Ethanol Shield”if storing the machine for more than 30 days
Do not start up and leave the engine running in closed areas where there is risk of dangerous concentration of the poisonous
carbon monoxide.
You must not touch the engine exhaust and cylinder when hot. This could lead to burns.
In case of inspection is needed of the cutting mechanism, wait for the knife to stop switch off engine. Remove the end cap
from the spark plug in order to prevent engine start-up When dismounting the Blade knife, use increased caution. The knife
edges are sharp, use gloves.
Do not operate the machine without safety and protective covers and do not operate a machine with damaged protective and
safety equipment.
III. Main Technical Data
Trade name
MHR 550 BRAVO
Versions number
5317
5317MB
0125317AG
Length
1500 mm
Height
1100 mm
Transport height
660 mm
Width
660 mm
Weight
61 kg
Max. Coverage
550 mm
Engine
Briggs-
Stratton
850 Series
Honda GCV
160
Honda GCV
190
Output (kW)
4,4
4,1
4,9
Max. operating revolutions (RPM)
3000
3000
3000
Guaranteed acoustic power level Lwa
(according to ČSN ISO 11 094) (dB)
90
92
94
Resulting weighted vibration value
(according to ČSN EN 836+A1 change A2)(m/s2)
2,8
1,6
2,1
Noise level at the operating position LA
(according to ČSN EN ISO 11 201) (dB)
76,6
80,3
82,8
IV. Preparations for Use
Check the fixing of the mulching knife and its integrity.
Before first engine start-up, check the oil level on the gauge; refill the oil if necessary.
1.Handlebar Adjustment
Change the handlebar position by loosening the nut with lever (1) and readjusting the upper handlebar part to the lower part.
Then tighten the nut with lever. It is advisable to adjust the nut lever to a horizontal position, so that it does not impede
starting, Fig. 2.

(GB)
V. Operating the Machine
The machine is intended for maintenance of irregularly mowed grass areas. The mulching machine chops the vegetation into
small pieces that remain evenly distributed in place and sere as natural fertilizer.
1.Mulching Process
Mulching frequency: Perform mulching 3-4 times per year. First mulching should be performed at the beginning of the
vegetation season; last mulching should be performed at the end of the vegetation season. Other mulching depends on grass
growth conditions.
Mulching method: Use a single phase for mulching of grass up to 25 cm –adjust the knife height depending on grass
vegetation quality.
Grass exceeding 25 cm should be mulched in two phases, Fig. 10. Adjust the Blade height to the higher position No. II, Fig.
4, for the first phase.
It is possible to lower the Blade height to position No. I, Fig. 4, during the second phase.
2.Mowing Height Adjustment
The stubble height can be adjusted in two positions
Low position No. I High position No. II. See example in Fig. 4.
Stubble height adjustment in position No. II.
Loosen the bolt with nut (2) in the front Skid, loosen and unscrew the bolt (3) in the rear Skidt. Shift the rear sole part so that
the hole in Skid overlaps with opening No. II on the deck. Place the bolt (3) through both openings and the saddle washer (4).
Screw-in the self-locking nut from the inner deck side and tighten the connection. Then tighten the bolt with self-locking nut
(2) in the front of the Skid.
Perform the same procedures when rearranging the second Skid. Both Skids must be adjusted to the same height! Fig. 4.
The machine can be adjusted to a specific terrain.
3. Starting the Engine
Adjust the accelerator control lever (3), Fig. 3, to the “START” position for a cold engine, to the “MAX” position for a warm
engine and start the engine. Observe instructions provided in the instructions for use of the engine throughout the operation.
The accelerator is located in the central section of the upper handlebar part.
During engine start-up, both clutch levers on the handlebars need to be released. Adjust max. Engine revolutions by the
accelerator lever.
Grab the handlebar grip. Press the lever (2), Fig. 3, on the right handlebar side. Keep pressing the lever up very slowly in
order for the mowing blade to start turning and the engine to keep running. Blade start-up is accompanied by partial slipping
of the vee-belt and during blade start-up it’s normal to experience vibration and related effects (rattling and whistling).
Upon start-up of the mowing Blade, press the lever completely toward the handle.
Engaging of the drive is performed by a lever (1), Fig. 3, on the left handlebar side. Press the lever to the handle and the
machine starts moving.
Speed of the drive on version 0125317 AG can be changed by positioning the control lever 4 (image 11) on the left side of
the handlebars the control lever can be adjusted to 7 positions.
The travel speed may be changed only with the engine running!
THERE IS A RISK OF MACHINE DAMAGE IF THIS IS NOT ADHERED TO!!
4. Stopping the Mulching Machine
Release the left lever and the machine stops. The mowing Blade drive is shut down immediately upon release of the right
lever. The safety brake stops the mowing knife within a very short time. During turning or backward movement with the
machine it is not necessary to stop the mowing Blade in order to prevent wasting of energy extra wear on belts and pulleys of
the mowing system. The engine is stopped by moving the accelerator lever (3), Fig. 3, to position “0”.
In case of a critical situation, immediately release both levers on the handlebar. The levers return to the zero position, the
drive and the mowing knife come to a halt.
VI. Adjustment and Maintenance
1.Replacement of the Mowing Blade
Switch off engine and remove Spark plug Cap, Tip the Machine backwards so the handle bars are the ground and the
front of the deck it pointing to the sky.
Loosen and unscrew the Blade bolt (1) with the washer (2), knife washer (3) and the disk washer (4) that fixes the mulching
knife (5) to the knife nave (6). Have the knife sharpened or exchange it. Perform assembly in reverse order of Fig. 8.

(GB)
Never mow with a damaged knife. Have a dulled Blade sharpened and balanced at a service dealer. Replace a
heavily damaged blade with a new, original OREGON part supplied by Sherpa Tools.
2. Tensioning of the drive system belt and inspection of the belt tension gear of the mulching Blade drive.
Dismantle the lower cover (5), loosen two nuts (2), the engine contracting flange and the stretcher (4) and stretch the
drive belt (9) by the nut (3). Tighten so that the belt slack is 10 –15 mm and the Blade drive belt (8) stays loose. Perform
assembly in reverse order of Fig. 7.
When taking up slack in the belt drive 9 (image 7) of the 0125317AG type the process is as follows:
- loosen two nuts 2 (image 7) after demounting the bottom cover
- push the engine towards the handlebars
- tighten nut 3 to the metal housing contact position and further tighten the nut by 1.5 –2 turns
- tighten up nuts 2 and install back the bottom cover
Remove the plastic cover shielding the front mulching machine part. Check correct adjustment of the rotor drive belt
stretching pulley toward the mulching machine case regularly once a month. When placing a ruler to the upper case borehole
area, Fig. 9, the upper pulley edge has to be approx. 8 mm below the upper case plane. Adjustment is performed by
mechanical clinching. When the lever on the right handlebar is completely pressed, the pulley has to sufficiently stretch the
belt (the spring on the string has to be sprung by approx. 2 mm compared to the released state). You can adjust tension by an
adjusting screw (1), Fig. 5, and the bolt in the upper handlebar part.
3. Drive String Adjustment
Adjust the drive Drive Belt so that it is not under tension when the left-hand side lever on the handlebar (1), Fig. 3,
is released. Adjustment may be performed by an adjusting screw (2), Fig. 5, and the adjusting screw in the upper handlebar
part.
4. Belt Replacement
Remove the plastic cover of the mulching machine. Dismantle the lower cover, the vee-belt stretcher and remove the
belts from the belt pulley. Remove the engine. and pull out the belts from the case.
Perform assembly in reverse order.
Stretch the drive belt according to Chapter VI/2. Before remounting the plastic cover, check the stretching pulley operation
according to Chapter VI/2. This is not a DIY fitment It`s recommended Belts are replaced by Service technicians or
competent persons NB Belts and blades are wearing parts and not covered warranty!
When replacing belts of the mowing Blade drive performing the clutch function, only an original belt may be used,
supplied by Sherpa Tools and mounted by a service dealers. When using none genuine belts, may cause damage to the
machine and invalidate warranty
5. Engine
Abide by the engine manufacture instructions for use separate to this manual.
6. Gear-Box
The drive gear-box is filled with a permanent filling of class SAE 90 gear oil. When cleaning the machine, we
recommend performing an inspection for oil leaks around the gear-box. Inspection is performed by means of two sight holes
in the rear case part (6), Fig. 7. In case you should an oil leakage, it may be necessary to replace worn-out shaft seal-rings.
This is not a DIY procedure We recommend replacement by a service dealer. Adjustment of the drive clutch is described in
Chapter VI/3.
7. Machine Lubrication
At the end of a season, dismantle the drive wheels from the axle, clean these and fill with LM Grease lubricant. Replace any
worn parts. Also lubricate the wheel front with balls and the free-wheel surfaces (4), Fig. 6. When re-mounting, do not

(GB)
fully tighten the nut, the wheel has to turn with little clearance. Secure the nut with a new pin. Lubricate the stretching pulley
journal, Fig. 9, with a forced-feed lubricator.
Lubricate cables with GT85 or silicone spray oil.
8.Ending Operation
Let the engine cool down after each mowing, clean the machine and inspect it. Replace worn-out or damaged parts.
Pay attention to all bolt joints being tightened.
9.Machine Storage
Let the engine cool down. Clean and wash the machine (not by jet pressure washer) from grass, check engine
lubricant and fuel. Check whether all bolt joints are tightened in order to ensure that the machine is in safe operating
condition. Inspect the machine and for security reasons, replace worn-out or damaged parts. Do not store the machine with
fuel in the tank inside buildings where petrol vapors are within reach of open fire or sparks. If the machine is not going to
be used for more than 30 days use fuel additive B3C Fuel Stabiliser with 'Ethanol Shield' to protect your engine. In
case you are going to store the machine without fuel, empty the fuel tank in an open space and only keep the fuel in a
container designed for fuel storage and abide by valid regulations for safe storage of petrol. Preserve the engine surface and
parts subject to corrosion.
Place the machine in a covered, ventilated area and protect against climatic influences and humidity. The machine has to be
at a sufficient distance from agents causing corrosion like garden chemicals or de-icing salts.
VII. Product Disposal
In case you should not use the machine any longer, you have to drain the fuel and oil fillings into closed containers. Store and hand-
over the machine for physical disposal to a professional competent organization, including technical liquids.
Storage or discarding of the product at an uncontrolled dump is punishable, including discharge of technical liquids in open
air or sewage system.
VIII. Disposal of Wrapping
Paper wrapping:
-Deliver to a repurchase point of secondary raw materials
-Dispose at collection points in containers
Plastic wrapping:
-Dispose at collection points in containers
Wood:
-Dispose of by burning or crushing
IX. Warranty Terms and Conditions
1.Warranty Subject
The warranty applies to products and goods supplied by Sherpa Tools
2.Warranty Period
The basic warranty period is 24 month from the date of sale to the buyer, except when the certificate of warranty states
otherwise. Time from claiming the right for liability for defects up to the time when the user was obliged to take over the
item upon termination of repairs does not count towards the warranty period. The seller is obliged to issue a certificate
(Contained in the manual) to the buyer concerning when the right has been exercised, as well as concerning the repair
performed, and its duration. In case the product is replaced, the warranty period of the given assembly unit begins anew from
the point of product acceptance.
3.Extent of Manufacturer’s Liability
The manufacturer is liable for the product having characteristics common for the given product type and specified parameters
during the whole warranty period. The manufacturer is not liable for product defects caused by ordinary wear and tear or use
of the product for other purposes than those for which it has been designed.

(GB)
4.Warranty Extinction
The warranty claim becomes void if:
a. the product was not used and maintained according to the instructions for use, or was damaged by negligence of the
user
b. the product was used under different conditions or for other purposes than those for which it was designed
c. a product warranty certificate or purchase invoice cannot be presented
d. some part of the product was replaced by an unoriginal part
e. damage to the product or excessive wear occurred due to insufficient maintenance
f. the product broke down or was damaged by force majeure
g. a change to the product was made without the manufacturer’s consent
h. defects were caused by natural or ordinary operating wear of the product
i. the product was connected or operated with a device not approved by the manufacturer.
5.Lodging of Claims
The claim is lodged by the buyer at the seller. The buyer is obliged to present a duly filled-in warranty certificate or purchase
invoice during the claim. Warranty repairs are performed by the seller or service points appointed by him. The buyer is
obliged to always contact the nearest warranty service point of the seller.
6.Warranty Exclusions
The warranty does not apply to wearing parts worn-out during machine use, or those that must be replaced within the
framework of specified maintenance.

EC DECLARATION OF CONFORMITY (GB)
Hersteller: MOTOR JIKOV Strojírenská a.s. / Division der Mechanisierung
Manufacturer: Zátkova 495 / 392 01 Soběslav II / Tschechische Republik
Betriebsstätte / Kněžskodvorská 2277/26 / 370 04 České Budějovice
www.motorjikov.cz
wir erklären hiermit, dass die unten angeführten Produkte mit folgenden Richtlinien übereinstimmen:
Electromagnetic Compatibility Directive 2004/108/EC
Machinery Directive 2006/42/EC
Noise Emission 2000/14/EC
An der Beurteilung der Konformität nach der Regierungsverordnung Nr. 9/2002 Slg. Beteilegtes Subjekt: NB 1017, TÜV CZ s.r.o.
Novodvorská 994, 140 00 Prague 4, Tschechei
we declare that the below-mentioned products are in accordance with the following directives:
Electromagnetic Compatibility Directive 2004/1087/EC
Machinery Directive 2006/42/EC
Noise Emission 2000/14/EC
Entity participating in conformity assessment pursuant to NV 9/2002 Coll: NB 1017, TÜV CZ s.r.o.
Novodvorská 994, 140 00 Prague 4, Czech rep.
Typ
MHR 550
Motor
Briggs-Stratton
850 Series
Honda GVC 160
Honda GCV 190
Gemessener Schallleistungspegel Lwa, (dB)
Measured acoustic power level Lwa (dB)
88,7
91,6
93,3
Garantierter Schallleistungspegel Lwa, G (dB)
Guaranteed acoustic power level Lwa (dB)
90
92
94
České Budějovice, 12.10.2011 Dipl. Ing. Papež Josef
Direktor der Division der Mechanisierung
------------------------------------------- ----------------------------------------------------- ------------------------------
Ausgabedatum und –Ort Name und Funktion der berechtigten Person Unterschrift
date and place of issue name and position of authorized person signature

č.v. 0100502B
Sherpa Tools Company
Magic House
Station Road
North Hykeham
Lincoln
LN6 9AL
www.sherpatools.co.uk
Table of contents
Other Sherpa Lawn Mower manuals