Shinano Kenshi PTX1 Pro User manual
1
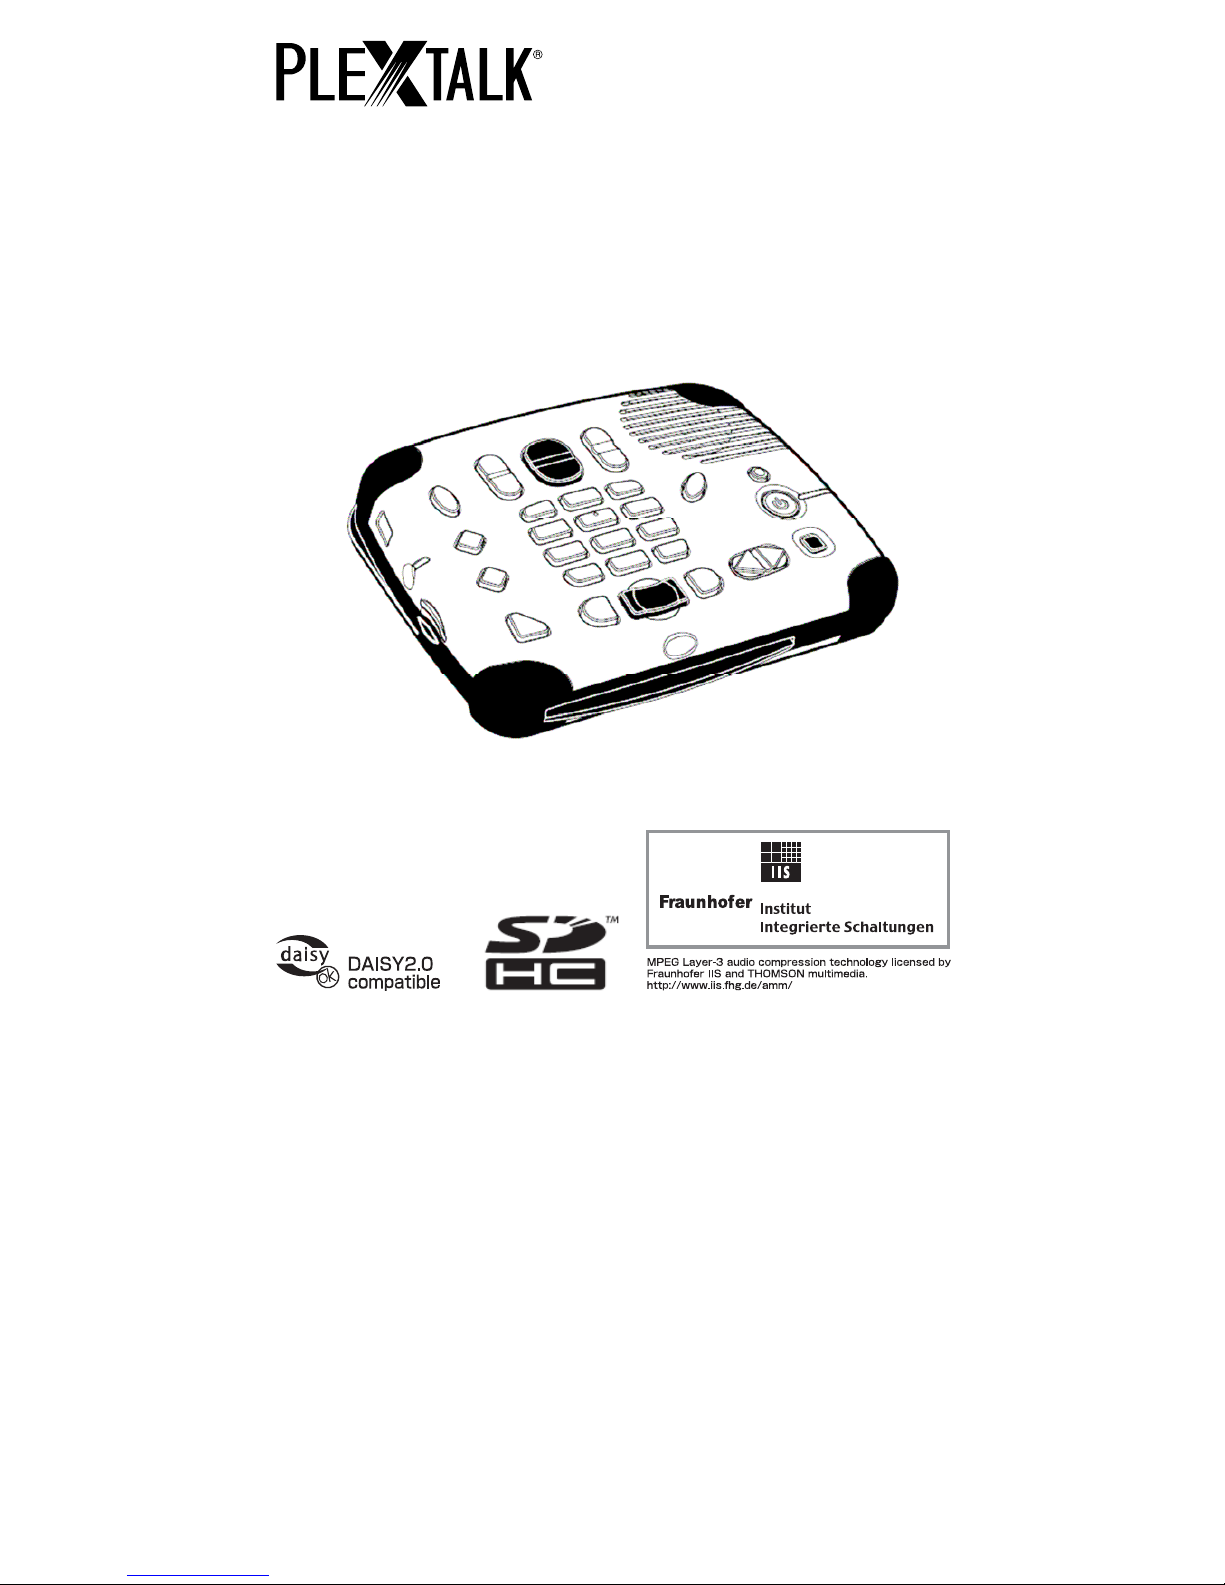
PLEXTALK PTX1 Pro
User’s Guide
©2009 Shinano Kenshi Co., Ltd.

2
IMPORTANT NOTICES
FCC NOTICE
Declaration of Conformity
Model Number: PTX1
Trade Name: PLEXTALK
Responsible party: Shinano Kenshi Co., Ltd.
Address: 6-15-26 Chuo, Ueda-shi, Nagano-ken 386-0012 JAPAN
This device complies with Part 15 of the FCC Rules; Operation is
subject to the following two conditions:
(1) This device may not cause harmful interference, and
(2) This device must accept any interference received, including
interference that may cause undesired operation.
This equipment has been tested and found to comply with the limits
for a Class B digital device, pursuant to part 15 of the FCC Rules.
These limits are designed to provide reasonable protection against
harmful interference in a residential installation. This equipment
generates, uses and can radiate radio frequency energy and, if not
installed and used in accordance with the instructions, may cause
harmful interference to radio communications. However, there is no
guarantee that interference will not occur in a particular installation. If
this equipment does cause harmful interference to radio or television
reception, which can be determined by turning the equipment off and
on, the user is encouraged to try to correct the interference by one or
more of the following measures:
• Reorient or relocate the receiving antenna.
• increase the separation between the equipment and receiver.
• Connect the equipment into an outlet on a circuit different from
that to which the receiver is connected.
• Consult the dealer or an experienced radio / TV technician for
help.
N
OTE: THE MANUFACTURER IS NOT RESPONSIBLE FOR ANY RADIO OR
T
V INTERFERENCE CAUSED BY UNAUTHORIZED MODIFICATIONS TO THI
S
E
QUIPMENT. SUCH MODIFICATIONS COULD VOID THE USER’S
A
UTHORITY TO OPERATE THE EQUIPMENT.

3
CAUTION:
Any changes or modification not expressly approved by the party
responsible for compliance could void the user’s authority to operate
the equipment.
Canadian Department of Communications Statement
This digital apparatus does not exceed the Class B limits for radio
noise emissions from digital apparatus set out in the Radio
Interference Regulations of the Canadian Department of
Communications.
This class B digital apparatus complies with Canadian ICES-003.
Cet appareil numerique de la classe B est conforme a la norme NMB-
003 du Canada.
CAUTION:
Use of controls or adjustments or performance of procedures other
than those specified herein may result in hazardous radiation
exposure.
TABLE OF CONTENTS
IMPORTANT NOTICES ..................................................................... 2
FCC NOTICE.................................................................................. 2
Canadian Department of Communications Statement.................... 3
TABLE OF CONTENTS..................................................................... 3
1. About this guide. ......................................................................... 6
2. Legal and copyright information................................................ 7
2.1. Copyright information about this guide.................................... 7
2.2. Licenses and trademarks........................................................ 8
2.3. Restrictions on copying........................................................... 8
3. Introduction to DAISY. ................................................................ 9
3.1. What is DAISY? ...................................................................... 9
3.2. Main features of DAISY. ......................................................... 9
3.3. Types of DAISY book............................................................ 10
T
o maintain compliance with FCC RF exposure requirements, use device
t
hat maintain a 20cm separation distance between the user's body and the
h
ost. MPE limit for RF exposure at prediction frequency is 1mW/cm2. The
M
PE for 2.4GHz is 0.023 mW/cm2. It satisfy RF exposure compliance.
RF exposure information:

4
3.4. DAISY navigation features.................................................... 10
4. Overview of your new PLEXTALK............................................ 13
4.1. General concept.................................................................... 13
4.2. Features of the PLEXTALK................................................... 13
5. Getting started........................................................................... 14
5.1. Terminology and conventions used. ..................................... 14
5.2. What you get in the box. ....................................................... 15
5.3. The User's Guide CD............................................................ 15
5.4. Description of the unit. .......................................................... 16
5.5. Inserting the battery. ............................................................. 20
5.6. Charging PLEXTALK. ........................................................... 21
5.7. Maintenance and battery care. ............................................. 21
5.8. Turning PLEXTALK on and off.............................................. 22
5.9. Key Describer function.......................................................... 23
5.10. Inserting and ejecting SD card, USB memory and CD........ 23
5.11. Changing operation mode................................................... 25
6. Introduction to the menu system............................................. 26
6.1. Overview of the menu and its operation................................ 26
6.2. Accessing and navigating the menu. .................................... 27
6.3. Getting help when in the menu system. ................................ 28
7. Quick start instructions. ........................................................... 28
7.1. Basic control of the unit......................................................... 28
7.2. Playing DAISY titles. ............................................................. 30
8. Setting up your PLEXTALK. ..................................................... 32
8.1. Setting up the text to speech options.................................... 32
8.2. Setting the date and time. ..................................................... 33
8.3. Selecting a preferred waiting sound...................................... 35
9. Power management features.................................................... 35
9.1. Battery low warning............................................................... 35
9.2. Automatic power off function................................................. 36
9.3. Compulsory power off function. ............................................ 36
9.4. Sleep timer function. ............................................................. 37
10. Playing features common to all formats. .............................. 37
10.1. Reinserting an SD card, USB media or a CD. .................... 38
10.2. Start and stop playback. ..................................................... 39
10.3. Changing the playback volume........................................... 39
10.4. Changing the guide volume. ............................................... 40
10.5. Changing the playback speed............................................. 41
10.6. Changing the audio tone..................................................... 41

5
10.7. Accessing the Navigation menu.......................................... 42
10.8. Understanding how PLEXTALK groups files and folders. ... 43
10.9. Selecting the SD card, USB media, Internal Memory or CD.
...................................................................................................... 44
10.10. Getting information about your SD card, USB media,
Internal Memory or CD.................................................................. 45
10.12. Fast forward or fast rewind. .............................................. 45
10.13. Using bookmarks. ............................................................. 46
10.14. The built in help file. .......................................................... 50
11. Playing DAISY titles. ............................................................... 51
11.1. Getting heading, page and title information. ....................... 52
11.2. Heading navigation. ............................................................ 53
11.3. Moving to the beginning or end of a DAISY title. ................ 54
11.4. Page navigation. ................................................................. 55
11.5. Group navigation................................................................. 56
11.6. Phrase navigation. .............................................................. 57
11.7. Playback mode. .................................................................. 58
12. Playing Audio Files or Music CDs.......................................... 58
12.1. About audio files. ................................................................ 59
12.2. About playing sequences.................................................... 59
12.3. Restrictions on Audio files................................................... 60
12.4. Getting file and album information. ..................................... 60
12.5. Track navigation.................................................................. 61
12.6. Moving to the beginning of an album. ................................. 62
12.7. Album navigation. ............................................................... 63
12.8. Selecting a playback mode. ................................................ 64
13. Playing Text Files. ................................................................... 64
13.1. Getting text file information. ................................................ 65
13.2. Differences between plain text and HTML files................... 65
13.3. Navigating by percentage. .................................................. 66
13.4. Moving to the beginning or end of a text file. ...................... 66
13.5. Navigating by paragraph, sentence, word or character....... 67
13.6. Navigating by level (HTML files only).................................. 68
13.7. Playback mode. .................................................................. 68
14. Media management features. ................................................. 69
14.1. Available media................................................................... 69
14.2. Deleting a title. .................................................................... 69
14.3. General backup and move information. .............................. 70
14.4. Backing up or moving DAISY titles. .................................... 70

6
14.5. Backing up or moving audio files/music CD........................ 72
14.6. Backing up or moving a text file. ......................................... 75
15. Other useful features. ............................................................. 76
15.1. Checking system properties................................................ 76
15.2. “Skippable” settings. ........................................................... 77
Appendix A - Main specifications. ................................................ 79
Appendix B - Menu hierarchy........................................................ 83
Appendix C - Troubleshooting. ..................................................... 86
Appendix D - Glossary. .................................................................. 90
Index................................................................................................ 95
1. About this guide.
Congratulations on the purchase of your new PLEXTALK. This guide
contains all the information you will need to get started with your new
PLEXTALK. It has been written in a way, which will allow you to learn
progressively, starting with the basic concepts and building up to the
more technical operations that you can try as you gain in confidence.
The guide is provided in DAISY 3 text format and as electronic files in
text and Microsoft Word formats. The DAISY text version is built in to
the PLEXTALK itself as a help file. The MS Word and the text
versions are on the User's Guide CD which is included in the box with
your PLEXTALK. The electronic files are located in a folder called
"Manual".
Once you get to know the structure of the guide, you should find it
easy to navigate to any section you wish to read. If you are a
beginner to the DAISY format, it is recommended that you read
through the guide sequentially, learning as you go. If you are an
advanced user, or have had experience of using the PLEXTALK, you
may wish to bypass some of the preliminary information. In either
case, before continuing, you may find it useful to review Chapter 4
which gives an overview of the features of your new PLEXTALK.
For those who wish to get started quickly, you may wish to read the
"Quick start instructions" in Chapter 7. This gives you an introduction

7
to the features required for using PLEXTALK as a player. If you
prefer to learn about the features in more detail, you can bypass this
section and work your way more carefully through the main chapters
of the guide.
Note: The Quick Start chapter does not cover features in depth, so
please be aware that many of the details have been omitted.
Note: Whether you wish to get started quickly or more methodically,
you should ensure that you read Chapter 2 and Chapter 5 before
progressing. These chapters detail the legal and copyright
restrictions, getting started information, safety information and issues
relating to looking after your PLEXTALK properly.
2. Legal and copyright information.
This chapter contains important information regarding copyright,
licences and trademarks. It also outlines the restrictions, which apply
when using the PLEXTALK for copying or recording digital sound.
You are strongly advised to read this chapter thoroughly before
continuing.
2.1. Copyright information about this guide.
Shinano Kenshi reserves the right to modify the products described in
this guide at any time without prior notice.
Shinano Kenshi makes no representation or warranties with respect
to the contents hereof and specifically disclaims any implied
warranties of merchantability or fitness for any particular purpose.
Further, Shinano Kenshi Co., Ltd. reserves the right to revise this
guide and to make changes in its content, without obligation to notify
any person or organization of such revision or change.
This guide is copyright. All right reserved. It may not be copied,
photocopied, translated, or reduced to any electronic medium or
machine-readable form without prior permission from Shinano Kenshi.

8
Manual copyright 2009 Shinano Kenshi Co., Ltd.
2.2. Licenses and trademarks.
All licenses and trademarks are the property of their respective
owners.
2.3. Restrictions on copying.
Before using your PLEXTALK, you should review the following
important information to ensure that you understand the legal
restrictions that apply to its use for certain operations.
2.3.1. General information.
This PLEXTALK device is designed to help you record and reproduce
sound works, to which you own the copyright, or where you have
gained permission from the copyright owner or the rightful licenser.
Unless you own the copyright or have gained the appropriate
permission from the copyright owner or the rightful licenser, your
unauthorized recording, reproduction or distribution thereof, may
result in severe civil and criminal penalties under copyright laws and
international copyright treaties. If you are uncertain about your rights,
contact your legal advisor.
Under no circumstances will Shinano Kenshi be responsible for the
consequences of any illegal copying performed using this PLEXTALK
recorder.
2.3.2. Music CDs.
Copies of Music CDs are for individual enjoyment and, under the
Copyright Act, cannot be used otherwise, without the authorization of
the copyright holder.

9
3. Introduction to DAISY.
This chapter gives an overview of the DAISY format and some of the
terminology used. If you are new to the DAISY format, you should
read this chapter thoroughly. If you are an experienced DAISY user,
you may wish to skim read the chapter or bypass it altogether.
3.1. What is DAISY?
DAISY is an acronym, which stands for Digital Accessible Information
System. It is the format, which is being developed as the
international standard for digital talking books. DAISY books can be
played on a dedicated hardware player or on a computer equipped
with the appropriate software.
3.2. Main features of DAISY.
The main features of the DAISY format are as follows:
• Compression of information - with high levels of compression
available, it is possible to store up to 90 hours of digital audio
on a single CD (700MB).
• Flexible Navigation - the DAISY format includes a range of
features, which enable the reader to quickly access the parts
of the book they wish to read. These features include
navigation on 6 levels, by pages, by groups and phrases.
These items will be discussed in more detail later in this
chapter.
• Multi-media capability - in addition to digital audio, the DAISY
format is able to incorporate text, graphics and even video to
provide the reader with a fully synchronized, multi-media
reading experience.

10
3.3. Types of DAISY book.
The DAISY format allows for 6 types of DAISY book, which range
from audio books with no navigation structure to books with text and
no audio. A brief description of each type is given below:
• Type 1 - Audio without structure: The simplest type of book.
Direct navigation to the points within the book is not possible.
• Type 2 - Audio and structure: A marked up text file contains
the structure of the book and provides links to features such as
headings and page numbers. This allows the reader to
navigate directly to those points. The marked up file is called
the Table of Contents or ToC.
• Type 3 - Audio with structure and partial text: As well as
containing the structure, the marked up file contains some text
from the book, for example, for a glossary or index. If listening
to the book on a pc the text will appear on screen and the
reader will be able to search for words within the text.
• Type 4 - Audio and full text: This is the most time consuming
type of book to produce but provides the most accessibility.
Audio and text are fully synchronised throughout the book, so
that the correct text appears on screen as the audio is being
read.
• Type 5 - Full text and partial audio: the book has structure and
complete text but only limited audio. The marked up file
contains the structure and the text of the book, but there is only
audio for part of the text.
• Type 6 - Full text and no audio: This is electronic text structure;
there are no audio files.
3.4. DAISY navigation features.
The DAISY format gives the reader a number of options about how to
navigate a DAISY book. This section gives brief details about the
most common navigation features.

11
3.4.1. Navigation levels.
A DAISY book can have up to 6 levels of navigation. The number of
levels in a book will depend on the structure of the original book. The
levels are hierarchical with Level 1 the highest and Level 6 the lowest.
This can be thought of as being similar to the hierarchy of a contents
listing in a book, in the sense that there are major items and then sub
items within them and so on. Every heading that has been coded into
a DAISY book will have an associated navigation level between 1 and
6.
There are no fixed rules about how the DAISY navigation levels
should be used and people's views on how this should be done would
vary. For simple books, which only have chapters, it is likely that only
one level will be used. For more complex books, which may have
chapters, sections and sub sections, there might be 3 levels used
(Level 1 for chapters, Level 2 for sections and Level 3 for sub
sections). Once the book has been created, the levels of navigation
are fixed and cannot be altered by the reader.
When trying to find a specific part of a book, the reader would tend to
use a higher level (perhaps Level 1 or Level 2) to find the main area
of interest, and would then change to a lower level of navigation to
home in on the information they are looking for. This allows them to
bypass large portions of the book that they have no interest in at that
time.
3.4.2. Headings.
In order to use the navigation levels mentioned above, the location of
all relevant navigation points have to be marked in the recording. In
the context of this guide, these markers are called headings. Once a
heading has been inserted into the DAISY recording, it can then be
assigned a navigation level depending on the structure of the original
book. When headings are inserted, they are numbered automatically
from 1 upwards, in the physical order that they appear in the
recording.

12
3.4.3. Pages.
If a DAISY book has been marked for page navigation, the reader can
go direct to specific pages or can skip backwards or forward a page
at a time. To make this possible, the producer of the book must
include the page markers when they create the book. The pages will
be automatically numbered from 1 upwards starting from the
beginning of the recording. The reader cannot add pages.
Note: Page markers in a DAISY book should always be placed at the
start of the text on the relevant print page and not at the bottom,
where the page number often appears. This means that, when you
go to a page in the finished DAISY book, you will always be at the top
of the page when it starts to play.
3.4.4. Groups.
The group marker can be used to identify items in the book that the
reader might wish to go to independently of the other navigation
structures. For example, diagrams, tables, points of note, safety
information and so on. When it used carefully, it could be extremely
useful. Groups cannot be specified by the reader and must be
inserted by the DAISY book producer.
3.4.5. Phrases.
When the book is being recorded, the audio files may be
automatically divided into segments called "phrases". The recording
software will decide on where a phrase starts and ends based on the
amount of silence between one piece of audio and the next. The
length of silence permitted before a new phrase is created is called
the "pause time" and can be adjusted by the person making the
DAISY recording. In order to break the audio up into phrases that are
not too long or short, a fast reader might require a short pause time
and a slower reader a longer pause time. When the recording is
finished, the reader can use the phrases as an additional navigation
feature.

13
3.4.6. Sections.
A Section refers to the segment of audio between one heading and
the next. A section is generally made up of a number of phrases but
can have as few as one phrase. Each section will have a heading
and an associated navigation level. Do not get confused between
sections in a DAISY recording and sections of this guide.
3.4.7. Bookmarks.
Once the book is complete, the reader can add bookmarks at relevant
places to enable them to find the marked locations at a later stage.
The number of permitted bookmarks will depend on the DAISY player
used but generally there will be more capacity than the reader
requires. Bookmarks are the only navigation item that the reader can
insert and remove.
4. Overview of your new PLEXTALK.
This chapter gives you an overview of the PLEXTALK and its main
features.
4.1. General concept.
The PLEXTALK PTX1Pro is a rugged design table top type DAISY-
compliant audio/text book player. It offers multiple ways to get DAISY-
compliant audio or text books and user-friendly interface of hardware
design with features that support unsurpassed accessibility for those
who have sighted problem.
4.2. Features of the PLEXTALK.

14
The main features of the PLEXTALK are as follows:
• DAISY Book Playback
• Text/HTML Contents Playback using Embedded Text-To-
Speech Engine
• Music CDs Playback
• MP3 Music Playback
• Support for removable 32GB SD cards and USB flash memory
• Media transfer from USB without PC
• High Quality Speaker
• Battery Rechargeable via AC adapter
5. Getting started.
You are now ready to start using your new PLEXTALK. This chapter
will give you information about the terminology which is used
throughout the guide. It details the items that you should have
received in the box and explains the physical layout of the PLEXTALK
unit. It also details how to insert the battery, charge the unit and care
for the battery. Basic operations such as turning the unit on and off,
and inserting and ejecting SD cards are also described.
5.1. Terminology and conventions used.
This section details the terminology and conventions used throughout
this guide. The details are as follows:
• WARNING: A warning notice denotes a hazard that could
result in personal injury.
• CAUTION: A caution notice denotes a hazard that could
damage or destroy the PLEXTALK product, destroy the
recording media, destroy or affect your data or computer
configuration.
• Note: A note is used to give additional important information
about a feature that has not already been mentioned.
Generally these are listed after the instructions for reference.

15
• Reminder: A reminder is used to refresh your memory about
points that have been mentioned earlier in the guide. They are
generally written before the information to which they refer.
• SD Card: PLEXTALK is able to use both “SD” and “SDHC”
cards. In this User’s Guide, both cards are called “SD cards”.
• All key names and function names have been written with
initial capitals.
• Menu options have been written with double quotes around the
menu option names and an initial capital has been used.
• In order to make the list of instructions more concise, the guide
does not always explain every operation in detail. In many
cases, PLEXTALK's built in speech gives you sufficient detail
that operating features and functions should be clear.
5.2. What you get in the box.
Below is a list of all the items you should find in the box with your
PLEXTALK. Please make sure that all items are included. If there
are any missing items, please contact your local agent.
• 1 PLEXTALK PTX1 Pro
• 1 Mask
• 1 AC adaptor
• 1 Rechargeable battery
• 1 User's Guide CD
• 1 Quick Reference guide
• 1 Safety Instruction guide
Note: It is strongly recommended that you retain all packaging, in
case you need to return your PLEXTALK for any reason in the future.
5.3. The User's Guide CD.
The User's Guide CD, which has been included in your package,
contains the following items:

16
• User's Guide in Microsoft Word format - this version of the
guide can be found in a folder on the User's Guide CD called
"Manual". The file name is "PTX1 Pro Users Guide.doc".
• User's Guide in text format - this is a plain text version of the
User's Guide. this version of the guide can be found in a folder
on the User's Guide CD called "Manual". The file name is
"PTX1 Pro Users Guide.txt".
5.4. Description of the unit.
This section describes the physical look of the PLEXTALK and the
layout of the keys and other controls to enable you to locate them
when referred to in later chapters. The names and main purposes
are also detailed here.
Holding the unit carefully, take a few moments to locate the top and
bottom surfaces. The top has 27 rubber keys on it whereas the
bottom has only 5 rubber feet, four of which are near to the corners
and one which is the long straight foot. When you have found the
bottom of the unit, place the unit carefully down, on the five rubber
feet, on a flat surface in front of you.
Locate the perforated surface of the speaker grill of PLEXTALK.
Keep the feet downwards and rotate it until the speaker grill is upper
right from you. The PLEXTALK should now be set up in its normal
operating position. You can confirm this by feeling the longest side is
nearest to you. There should be a narrow, but noticeable, straight dip
in this edge. It is the CD slot.
5.4.1. Top surface.
PLEXTALK has 27 rubber keys on the top surface. These are
grouped in 5 blocks - a column of 4 keys on the left side, a
rectangular block of 12 keys in the centre, a row of 3 keys below the
rectangular block, a row of 3 keys above the rectangular block and a
column of 5 keys on the right side.

17
In the column of four keys on the left side, the top key is ellipse
shaped key and the bottom key is a triangle shaped key. Remaining
two keys in the centre is diamond shaped key.
From top to bottom, the four keys are:
• Menu key - used to access the Main Menu.
• Bookshelf key – not used at this moment.
• GoTo key - used for page and heading navigation.
• Bookmark key, used for bookmark navigation, insertion and
deletion.
The rectangular block of 12 black keys is generally called the Number
key and is located the centre of the top surface. It is laid out exactly
like a push button telephone keypad with 4 rows of 3 keys. The first
row has numbers 1, 2 and 3. The second row has numbers 4, 5 and
6. The third row has numbers 7, 8 and 9 and the fourth row has the
Star key, Number 0 key and the Hash key. The number 5 key has a
small raised dot on it to help you locate it.
The Hash key, which is located at the bottom right of the Number Pad,
is used for decision, so it will be called the Enter key throughout this
guide. Similarly, the Star key, which is located at the bottom left of
the Number key, is used to cancel, and will be called the Cancel key.
Some of the keys have secondary functions and these are listed
below:
Number 2 = Arrow Up or Cancel
Number 4 = Arrow Left or Move Back
Number 6 = Arrow Right or Move Forward
Number 8 = Arrow Down or Enter
Number 9 = Backup files or Move files
Star = Undo
Hash = Redo
Underneath the Number key is the row of 3 keys. The two outside
keys are semi circular in shape. The centre key is rectangular in

18
shape and has a distinctive recessed top surface for easy location.
From left to right, the names and the uses of these three keys are as
follows:
• Rewind key - Back or Fast Rewind (if held)
• Play/Stop key - Play/Stop
• Fast Forward key - forward or Fast Forward (if held)
Above the Number key is the row of 3 keys. The two outside keys
are vertically long ellipse in shape and the centre key is larger ellipse
in shape. They are divided into the top and the bottom at the centre.
From left to right, the names of these keys are as follows:
• Tone key - the upper side is called "Tone up key", the lower
side is called "Tone down key."
• Volume key - the upper side is called "Volume up key", the
lower side is called "Volume down key."
• Speed key - the upper side is called "Speed up key", the lower
side is called "Speed down key."
The last group of keys on the top surface is the 5 keys on the right
hand side. The key, which is located in immediate right of the
Number 3 or 6 key, is the Information key. It is inclined ellipse in
shape. The key, which is located in immediate right of the Fast
Forward key, is the Title key. It is divided into the right and the left at
the centre. The right side is called "Next Title key", the left side is
called "Previous Title key." The uses of these keys are as follows:
• Information key - used to get the information of the DAISY
book, audio files and text files. Press and hold the key to hear
the current date and time.
• Title key – used to switch media by pressing the right side and
left side together. To switch titles, press the right side called
"Next Title key" or the left side called "Previous Title key."
The other three keys are arranged linearly on the right side of the unit.
The top key is a small round shaped and the bottom key is a small
square shaped. The centre of the two keys is a larger round shaped
key, which is slightly sunken.

19
From top to bottom, the three keys are:
• Sleep timer key - used to set sleep timer
• Power button - used for power on/off
• Eject key - used for ejecting CDs.
5.4.2. Front face.
The CD Insertion/Ejection Slot is located at the front of the unit. Insert
your DAISY book CD, music CD or MP3CD into the slot. Once the
CD has been inserted, the CD will be taken into the unit automatically.
5.4.3. Left side.
On the left side of the unit there are three items. From front to back,
there are the SD card slot, the headphone jack and the USB slot.
The SD card slot is for both the SD card and SDHC card. The USB
slot can be used for USB flash memory.
5.4.4. Right side.
There are no items on the right side of the unit.
5.4.5. Back face.
There are two items on the back face of the unit. Nearest to the back
left corner, in a square shaped housing, is the LAN cable connector.
On the centre is a small round hole in a square shaped housing. This
is the DC input terminal, which is the socket to take the AC power
supply.

20
5.4.6. Bottom surface.
Carefully turn over your PLEXTALK and place it face down on the flat
surface, keeping the front of PLEXTALK towards you.
A little leftwards from the centre of the bottom surface, there are 3
raised ridges. These are at the right end of the battery cover. The
battery cover is fixed with the screw located at the lower left of the
battery cover. To open the battery cover, remove the screw at first.
Then put the thumb of your hand on the 3 ridges, to slide the battery
cover to the left only a little, and open the battery cover from the left
edge of the cover. It should release fairly easily without putting extra
pressure.
5.5. Inserting the battery.
In order to insert or replace the battery, do the following:
• Turn off the power and remove the power adapter.
• Carefully turn over your PLEXTALK and place it face down on
the flat surface, keeping the front of PLEXTALK towards you.
• Open the battery cover, as described in the previous section,
and pick up the old battery using the projecting part, which is
on the left side of the battery.
• Locate the new battery and orientate it so that the one edge,
which has five small holes, is facing to your right and the
projection is facing to the top.
• Carefully place the battery into the battery slot vertically.
• Close the battery cover and push it from the left side to the
right side to close tightly.
• Fix the cover with the screw.
WARNING: You should only use the recommended battery with this
unit. Failure to do so may cause an explosion or fire.
Table of contents
Other Shinano Kenshi Handheld manuals


