Shinco SDZ-10D User manual

Manual of dehumidifier
Model No. SDZ-10D

1
Dear customer
Thank you for having chosen a Shinco product.
The Shinco products have been produced to think about the welfare of the
consumer privileging the most raised standards of quality, functionality and
assign. We are sure you will be happy with this appliance.
Before using the appliance for the first time please read carefully and
thoroughly through these operating instructions and the safety advice,
completely familiarising yourself with the appliance. Keep these instructions for
future reference and pass them on to whoever might acquire the appliance at a future
date.
Intended use
The appliance is designed and produced for domestic use only. Use this
appliance only as described in this instruction manual. As with all electrical
equipment, whilst the instructions aim to cover as many eventualities as possible.
Caution and common sense should be applied when operating and installing this
appliance.
For safety reasons, alterations or modifications of the device are prohibited.
General Safety Instructions
To reduce the risk of fire, electrical shock, or injury when using your appliance, follows
these basic precautions:
WARNING:
Do not touch the plug at the mains cable with wet or
moist hands when connecting or disconnecting. Risk of
death by electric shock!
In case of emergency, unplug the device immediately.
Hold the plug when disconnecting the mains cable; do not pull the cable.
Disconnect the plug before cleaning or servicing.
Regularly check the device and cable for signs of damage. Do not continue to
operate the device in case of damage.
A damaged mains cable must be replaced by the manufacturer or a
technician and without any delay. Do not use the device with a damaged cable or
plug.

2
Do not repair the device by yourself. Please contact authorized personnel. In order
to avoid hazards a damaged mains cable must be replaced with an equivalent
cable by the manufacturer or qualified specialist.
Except for cleaning and maintenance work described in this manual, no other
alterations of this device must be executed.
Do not operate the device with an external timer or separate remote control system.
CUATION!
In order to ensure your children’s safety, please keep all
packaging (plastic bags, boxes, polystyrene etc.) out of their
reach.
Do not allow small children to play with the foil as there is a
danger of suffocation!
This appliance can be used by children aged from 8 years and
above and persons with reduced physical, sensory or mental
capabilities or lack of experience and knowledge if they have been
given supervision or instruction concerning use of the appliance in a
safe way and understand the hazards involved.
Cleaning and user maintenance shall not be made by children unless they are
older 8 years and supervised.
Keep the appliance and its cord out of reach of children less than 8 years.
The packaging must be undamaged. Check the device for any possible
transport damage. Do not install a damaged device. In case of damage, please
contact your distributor.
Do not install the appliance in rooms containing gas, oil or sulphur. Do not install
near sources of heat.
Do not use the appliance on sloping surfaces.
Keep the appliance at least 50 cm away from flammable substances
(alcohol etc) or pressurised containers (e.g. aerosol cans).
Do not rest heavy or hot objects on top of the appliance.
Always transport the appliance upright or resting on one side. Remember to drain
the condensate tank before moving the appliance. Wait at least 1 hour after
transporting the appliance before starting it.
R134a refrigerant complies with European environmental standards. However,
you should avoid perforating the refrigerant circuit. At the end of its working
life, consign the appliance to a specialist collection centre.

1
3
2
4
5
6
7
3

4
Environmental Information
This unit contains fluorinated greenhouse gases covered by the
Kyoto Protocol. Maintenance and disposal must be carried out by
qualified personnel only. (R134a, GWP=1430).
The materials used for packaging can be recycled. You are therefore
recommended to dispose of them in special differentiated waste collection
containers.
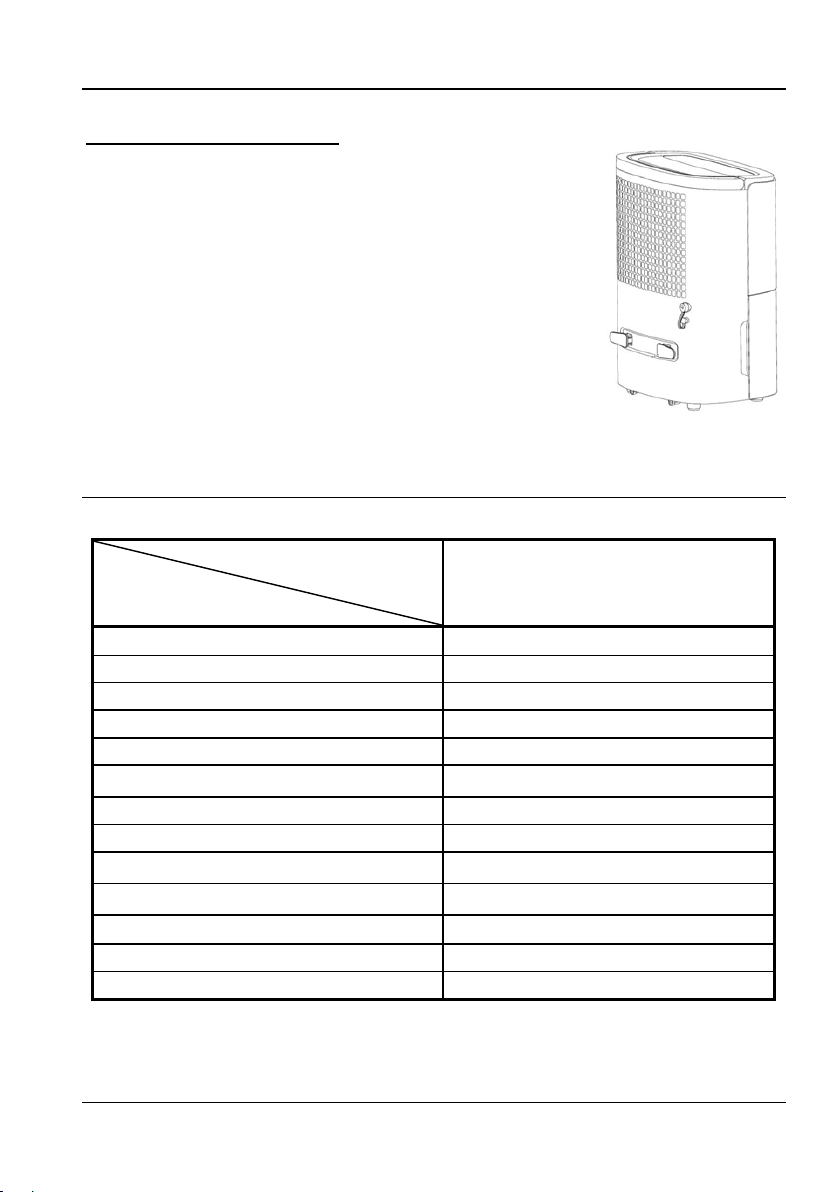
Product description
1. Control Panel
3. Water tank
5. Air outlet
7. Wires hook
2. Air filter
4. Handle
6. Continuous drain port
Installation
Location
Position the appliance in the room to be dehumidified. A free space of at least
50 cm must be left at the front of the dehumidifier, so as not to block the air
outlet.
For efficient ventilation
a space of about 20
cm should be left at
the back of the
appliance.

5
Electrical connection
Warning: Improper use of the grounded plug can result in the risk of
electrical shock. If the power cord is damaged, have it replaced by
an authorized service.
After moving the appliance, wait at least an hour before turning it on again.
Before plugging the appliance into the mains socket, check that:
–The mains power supply corresponds to the working voltage indicated on the
rating plate.
–The power socket and electrical circuit are adequate for the appliance.
–The power socket matches the plug. If this is not the case, have the plug
replaced by a qualified electrician.
–The mains socket is adequately earthed.
The plug, together with the grounding conductor, must fit into the wall socket.
The mains plug must be freely accessible.
Do not cut or remove the ground wire from the power cord supplied under any
circumstances.
Use of extension cords is not recommended.
Operating Instructions
IMPORTANT: Before connecting the appliance to the power source, let
it stand upright for approximately 1 hour. This will reduce the possibility
of a malfunction in the cooling system from handling during
transportation.
IMPORTANT: In case you disconnect the device or in case of power
failure, wait for 3 minutes before restarting the device.
Before switching on your appliance, make sure that:
-the appliance is positioned in accordance with these instructions,
-the air inlet and outlet grills are completely unobstructed,
-the appliance is placed on a flat and stable surface,

6
Control Panel
Notes:
-Water tank must be correctly installed for the dehumidifier to operate.
-Do not remove the tank while unit is in operation.
-If you want to use drain hose to drain water away, please install the hose
according to section “continuous external draining”.
Operation Method
-Power button
Press this button to turn the dehumidifier on or off. First time to turn on, by default,
the mode is dehumidifying automatically and low wind.
-Mode button
When power or timing is on, press this button to choose auto dehumidifying or
continuous dehumidifying mode (dry cloth function). The lights will flash when
choose the modes.
-Humidity Setting Button
The humidity level can be set within a range of 30% RH (Relative Humidity) to
80% RH (Relative Humidity) in 5% reduce or at continuous operation.
NOTE:
-If Continuous is selected, the dehumidifier will operate continuously at its
maximum dehumidification settings if attached to a hose to drain or until the
water tank is full.
-For drier air, press the button and set to a lower percent value (%).For
damper air, press the button and set to a higher percent value (%).When you
first use the dehumidifier, the humidity control is by default to 50%.

7
-Allow at least 24 hours for the dehumidifier to achieve the humidity level. If you
still have damper air than desired, set the humidity level to a lower setting or
select Continuous for maximum dehumidification.
-After a period of working, when the environment humidity is lower than the
selected humidity by 5%, the compressor will stop and fan stops working after
a presetting time later. When the environment humidity is equal to or higher than
the selected humidity by 5%, the compressor will restart once the preset
compressor protection time is over.
-Humidity Setting & Timer Indicator display
In Auto dehumidifying or cloth dry mode, it will indicate the actual room
humidity. In timing mode, it indicates the setting time.
-Fan speed button & Indicator light
Set the fan speed to HIGH for maximum moisture removal. When the humidity has
been reduced and quiet operation is preferred, set the fan speed to LOW.
-Internal drying function
Press the key to start the inside drying funciton to prevent mold in the machine.
-Timer button – 24 hours timing
Press the key, to set the timing off or timing on, timing range is from 1 to 24hours, it
will increase 1hour by each press. Press the key again to cancel.
Turning off
When unit is working, press Timer button to start the function, then press
Humidity setting button to set hours from 1 to 24hours. When time is up to
your setting, unit will turn off. After setting, timer button flashes 5 times for
confirmation.
Turning on
When unit is in standby (power on), press Timer button to start the function, then
press Humidity setting button to set hours from 1 to 24hours. When time is up to
your setting, unit will turn on. After setting, timer button flashes 5 times for
confirmation.

Other instructions
-Water tank full indicator light
Glows when the tank is ready to be emptied, or when the tank is removed or not
replaced in the proper position after a few minutes.
Auto shut off
The Water Level Control Switch shuts off the dehumidifier when the water tank is
full, or when it is removed or not replaced in the proper position.
Auto Defrost
When frost builds up on the evaporator coils, the compressor will cycle off and the
fan will continue to run about 5-8 minutes to defrost.
Power Outage
In the case of a power outage or interruption, the unit will automatically restart, in the
settings last used, after the power is restored.
Draining Instructions
Draining water can be storage in the water tank, or be continuous drained by PVC
tube. (The PVC tube is not included in the product.)
A) In the water tank
When the drainage tank is full, the tank full indicator light will turn on and the
buzzer will beep 10 times to alert the user, the operation will stop
automatically. The water needs to be emptied from the drainage tank.
Emptying the drainage tank
1. Lightly press on the sides of the tank with both hands and pull out gently.(see
Fig. 1)
2. Discard the collected water.
3. Once it is empty, replace the tank in the appliance. When replacing the
drainage tank, press the tank firmly into place with both hands. If the tank is not
positioned properly, the Water-full sensor will be activated, and the
dehumidifier will not operate. (see Fig. 2)
8

9
Fig. 1 Fig. 2
B) Continuous external draining
If the appliance is to be operated for long periods but you are unable to empty the tank
regularly, you are recommended to use the continuous drain facility.
1. Plug a plastic pipe (with an inner diameter of 9mm) to draining hole.
2. Draining tube should place lower than the draining hole to let water flow out.
Note: Water pipe cannot be too long (usually 0.6m or 1m), the height cannot
surpass the height of drainage mouth, or there will be water leakage.

Cleaning and Maintenance
-Clean the appliance using a damp cloth then dry with a dry cloth.
-Do not use petrol, alcohol or solvents to clean the appliance.
-Do not spray liquid insecticide or similar products as they may deform the
plastic.
If the filter is dirty, air circulation is compromised and the efficiency of the
dehumidifying and air purifying functions decreases. It is therefore good
practice to clean the filter at regular intervals. The frequency depends on the
duration and conditions of operation. For a daily use, you are recommended to clean
the filter once a week.
1. Remove the filter by sliding it downwards and wash it with tap water. (Fig.1)
2. Run a vacuum cleaner lightly over the surface of the air filter to remove dirt. If the
air filter is exceptionally dirty, wash it with warm water and s mild cleaner and dry
thoroughly. (Fig.2)
Fig. 2
Fig. 1
Always unplug the appliance from the power socket before performing any
cleaning or maintenance operations.
For safety reasons, never wash the dehumidifier using a jet of water.
Cleaning the cabinet
Cleaning the air filter
10
11
Storing the dehumidifier
Properly store the unit when it is not being used for an
extended period of time
1. Discard any water left in the drainage tank.
2. Fold up the power supply cord and secure it to the
wires hook.
3. Clean the air filter
4. Store the unit upright in its original packaging to
keep it free of dust. Store in a cool and dry
place.
Specifications
Model
Specification
SDZ-10D
Power Supply 220-240V~50Hz
Power Input 240W
Rated current 1.3A
Refrigerant / Charge R134a/80g
GWP / CO2 equivalent 1430 / 0.1144t
Dehumidify capacity (30℃ RH80%) 10 Litres/day
Noise 42dB (A)
Net Weight 9.5Kg
Degree of Protection IPX1
High / Low Pressure 1.5 / 0.5 MPa
Applicable temperature 5°C-32°C
Water Tank Capacity 1.8L
Body size (W x D x H) mm 296 x 217 x 416

12
Troubleshooting
You can solve many common problems easily, saving you the cost of a possible
service call. Try the suggestion below to see if you can solve the problem before
calling service centre.
Problem Possible Cause Solution
The unit doesn't
operate
Has the power cord been
disconnected?
Plug the power cord into
the outlet.
Is the tank full indicator
light? (The tank is
full or in a wrong position.)
Discard the water in the
drainage tank and then
reposition the tank.
Is the temperature of the
room above 32°C or below
5°C?
The protection device is
activated and the unit
cannot be started.
The
dehumidifying
function
doesn't work
Is the air filter clogged?
Clean the air filter as
instructed under
"Cleaning and
Maintenance".
Is the intake duct or
discharge duct obstructed?
Remove the obstruction
from the discharge duct
or intake duct.
No air is
discharged Is the air filter clogged?
Clean the air filter as
instructed under
"Cleaning and
Maintenance".
Operation is
noisy
Is the unit tilted or
unsteady?
Move the unit to a stable,
sturdy location.
Is the air filter clogged?
Clean the air filter as
instructed under
"Cleaning and
Maintenance".
13
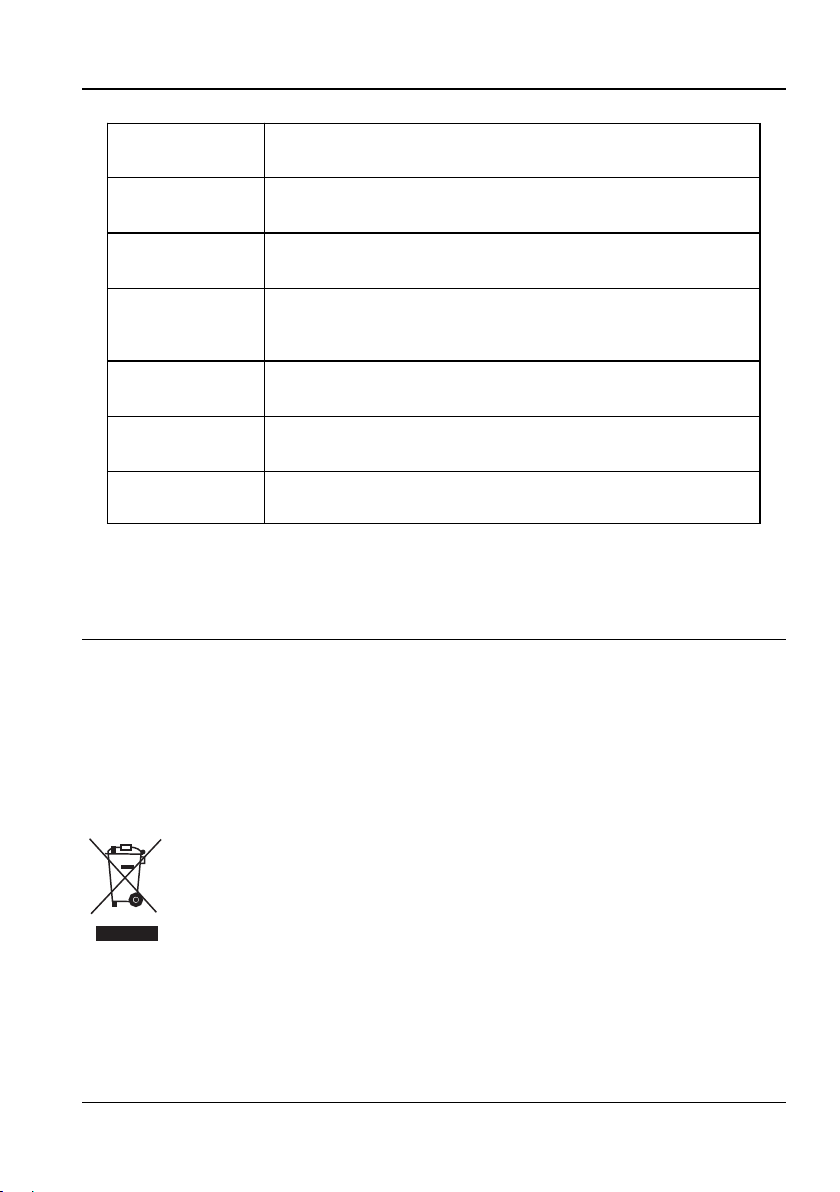
Disposal – Environment policy
Disposal
The appliance is manufactured using recyclable material.
By ensuring this product is disposed of correctly, you will help prevent
potential negative consequences for the environment and human health,
which could otherwise be caused by inappropriate waste handling of this product.
This symbol on the product, or on the documents accompanying the
product, indicates that this appliance may not be treated as
household waste. Instead it shall be handed over to the applicable
collection point for the recycling of electrical and electronic
equipment.
Display code Instrustion
FL The water tank is full
E1 The coil sensor has error,abnormal
E2 The temperature sensor has error,abnormal
P1 The unit is in the defrosting state,normal
CL The unit is in the internal drying state,normal
LC Child lock funtcion starts

14
Guarantee
TO OBTAIN WARRANTY SERVICE:
Sales support: [email protected]
Working Time : From 8:30AM to 5:00PM Monday through Friday
WARRANTY PERIOD:
Labor: 1 Year from the Date of Purchase.
Parts: 1 Year from the Date of Purchase.
YOAU Electric Co., Ltd reserve rights to upgrade products without
user notice.
The packaging material is entirely recyclable, and marked with
the recycling symbol. Follow local regulations for
scrapping. Keep the packaging materials (plastic bags,
polystyrene parts, etc.) out of reach of children, as they are
potentially dangerous.
Before disposal, make the appliance unusable by cutting off the power cable.
Disposal must be carried out in accordance with local environmental
regulations for waste disposal. Deliver the appliance immediately to an
authorized dump; do not leave it unattended even for a few days, since it is
potentially dangerous for children.
For more detailed information about treatment, recovery and recycling of this
product, please contact your local city office, your household waste disposal service
or the shop where you purchased the product.
Packing
Table of contents
Other Shinco Dehumidifier manuals


