SHINE Bathroom Assistant User manual

满足无卤要求;
满足不含有邻苯二甲酸盐要求。
此文件及附页属公司机密文件,版权属通力电子控股有限公司所有,
任何人未经允许不得复制、抄袭。任何部门如有需求,须向通力电子研发申请。
These files are confidential documents in company, The copyright totally belongs
to Tonly electronic holdings Limited, Anybody who are unauthorized is forbidden
to copy and plagiarize the files. Any Department must get permission from the
Tonly R&D if they need to use them.
FOR HUAWEI:
必须满足RoHS2.0、REACH要求;
必须符合TCL通力《公司环境管理物质标准》要求;
美国走向必须满足CP65要求
72-SHNE00-QSGB2
SHINE
QSG
2020-11-21
V1.0
是
2
SHINE
N/A
N/A
N/A
N/A
N/A
N/A
N/A
N/A
XXXX
N/A
XXXX
N/A
N/A
XXXX
76-XXXXXX-XXXXX JAN
TCL
N/A
XXXX
8P
XXXX
风琴折
单黑印刷
400mm 100mm
80g书纸 80g书纸
xx
xx xx
xxxx
xx xx
XXXX
xxx
xx
N/A
N/A
71-XXXXXX-XXXXX
2019-09-06
v 6.9
工艺说明(尺寸单位:毫米(mm)):
宋瑶
增加型号,删除蓝牙信息

1Download the Shine Bathroom App
Download the Shine Bathroom App and create your account to
get started. Follow the on-screen instructions to complete the
setup of your Bathroom Assistant.
2Clean Toilet Bowl Rim
Using the supplied wipe, clean the rim of your toilet bowl. It is
important to have a clean surface to attach the spray bar to.
Allow the rim to dry for 3 minutes.
3Attach Spray Bar & Water Sensor
This pre-measured pod is what helps us create our powerful
cleaning solution. A single pod should provide enough cleaning
solution for an entire month.
4Power On Device
Twist the battery into the unlock position and remove the
battery into the lock position, the LEDs will light up.
Quick Start Guide
Get Ready
to Shine
Bathroom Assistant Manual
STOP
Download the
Shine Bathroom App
Before You Begin
Model: SHINE-BA-01
The app is available to download for free from the App Store or
Google Play. You can get links to download the app at
www.shinebathroom.com/shineapp
Before You Begin
Download the Shine Bathroom App
BEFORE YOU BEGIN:
Download the Shine Bathroom App from the App Store (iOS) or Google
Play (Android) and create an account using the email address you used to
purchase your device.
will take you through the steps below to set up your new device.
Inside the Box
(A) Assistant Body (x1)
(B) Battery (x1)
(C) Spray Bar (x1)
(D) Water Sensor (x1)
(E) Cleaning Pod (x3)
Assistant Lid (x1)
Spray Tubing (x1)
Adhesive Tab (x1)
Alcohol Wipe (x1)
User Manual (x1)
A
B
C
D
E
1 2 3 4

Certain features of the Bathroom Assistant require a compatible mobile device and
active Shine App customer account. For example, scheduling toilet cleaning times
requires an active account and a compatible mobile device. The Shine Bathroom
Assistant requires a Wi-Fi Network and a compatible mobile device. Minimum OS
requirements are available at shop.shinebathroom.com/pages/req. Availability
and performance of certain features and services are service-, device-, and
network-dependent and may not be available in all areas. Subscription(s) may be
required, and additional terms, conditions and/or charges may apply. The Shine
notice or obligation. © Shine Bathroom Technologies, Inc. Shine Bathroom, Shine
Bathroom Assistant, SAM (Shine Automation Manager), and their respective logos
are trademarks of Shine Bathroom Technologies, Inc. Other trademarks and trade
names are those of their respective owners. All rights reserved. For compliance
individual country notices visit the following website
http://www.shinebathroom.com/compliance.
Operating Information:
Recommended Battery Charging Temperature Range:
5-35°C (Conducive to Cell Protection)
Product Temperature Range:
0 - 45°C (For Water Pump Operation)
Storage Temperature:
-10 - 60°C
to turn on the device. On the side of the device, you’ll see two lock icons—
rotate the battery while holding the Assistant Body to line up the “unlocked”
rotate the battery pack back into the “locked” position. The device should light up
indicating it’s on and ready to pair.
5. Fill the Bathroom Assistant with water. Using a measuring or drinking
cup, add 1,000 ml of water through the opening at the top. The water level should
be above the vents in the center column.
setup process. You will complete the setup process by following the directions
in the app.
Setup Instructions
1. Remove the Bathroom Assistant and accessories from the box.
Carefully remove the packing materials, being careful not to pull on the Water
Sensor or Spray Bar as they’re attached to the Bathroom Assistant. Remove the
2. Place and install the Bathroom Assistant and Water Sensor (D).
You can place the Bathroom Assistant anywhere near your toilet, your only
limitation is the length of the Spray Bar tubing and Water Sensor cable. Take the
Water Sensor and clip it onto the outside of your toilet’s water inlet pipe (it’s the
Carefully wipe down the center backside of your toilet’s rim with the included
alcohol wipe. Let the area dry for at least 3 minutes before continuing.
3. Install the Spray Bar (C). Peel away the backing on the double-sided tape
pressing the Spray Bar down on the rim of the toilet for 30 seconds.
Optimal placement is the middle on the backside of your toilet rim (see black
oval in diagram). You can place the Spray Bar anywhere in the back quarter of
the toilet bowl rim and still be effective.
SBA-09022020_revA
Support
Need help getting started? Have questions about your device?
Our team is ready to answer any questions and help get you
going with your Bathroom Assistant.
Email Us
team@shinebathroom.com
Chat With Us
Available at www.shinebathroom.com
Call or Text Us
+1 (805) 272 - 7600
Call, Message, and Data rates may apply.
Mounts & Accessories
See the latest mounts and accessories for your Bathroom
Assistant by visiting www.shinebathroom.com today.
56 7 8

FCCStatement
ThisequipmenthasbeentestedandfoundtocomplywiththelimitsforaClassBdigitaldevice,
pursuanttopart15oftheFCCRules.Theselimitsaredesignedtoprovidereasonableprotection
againstharmfulinterferenceinaresidentialinstallation.Thisequipmentgenerates,usesandcan
radiateradiofrequencyenergyand,ifnotinstalledandusedinaccordancewiththeinstructions,
maycauseharmfulinterferencetoradiocommunications.However,thereisnoguaranteethat
interferencewillnotoccurinaparticularinstallation.Ifthisequipmentdoescauseharmful
interferencetoradioortelevisionreception,whichcanbedeterminedbyturningtheequipment
offandon,theuserisencouragedtotrytocorrecttheinterferencebyoneormoreofthe
followingmeasures:
—Reorientorrelocatethereceivingantenna.
—Increasetheseparationbetweentheequipmentandreceiver.
—Connecttheequipmentintoanoutletonacircuitdifferentfromthattowhichthereceiveris
connected.
—Consultthedealeroranexperiencedradio/TVtechnicianforhelp.
FCCRadiationExposureStatement
ThisdevicecomplieswithFCCradiationexposurelimitssetforthforanuncontrolled
environmentanditalsocomplieswithPart15oftheFCCRFRules.Thisequipmentmustbe
installedandoperatedinaccordancewithprovidedinstructionsandtheantenna(s)usedforthis
transmittermustbeinstalledtoprovideaseparationdistanceofatleast20cmfromallpersons
andmustnotbeco‐locatedoroperatinginconjunctionwithanyotherantennaortransmitter.
End‐usersandinstallersmustbeprovidedwithantennainstallationinstructionsandconsider
removingtheno‐collocationstatement.
ThisdevicecomplieswithPart15oftheFCCRules.Operationissubjecttothefollowingtwo
conditions:
(1)thisdevicemaynotcauseharmfulinterference,and
(2)thisdevicemustacceptanyinterferencereceived,includinginterferencethatmaycause
undesiredoperation.
Caution!
Anychangesormodificationsnotexpresslyapprovedbythepartyresponsibleforcompliance
couldvoidtheuser'sauthoritytooperatetheequipment.
CanadaStatement
Thisdevicecontainslicence‐exempttransmitter(s)/receiver(s)thatcomplywithInnovation,
ScienceandEconomicDevelopmentCanada’slicence‐exemptRSS(s).Operationissubjecttothe
followingtwoconditions:
(1)Thisdevicemaynotcauseinterference.
(2)Thisdevicemustacceptanyinterference,includinginterferencethatmaycauseundesired
operationofthedevice.

L’émetteur/récepteurexemptdelicencecontenudansleprésentappareilestconformeauxCNR
d’Innovation,SciencesetDéveloppementéconomiqueCanadaapplicablesauxappareilsradio
exemptsdelicence.L’exploitationestautoriséeauxdeuxconditionssuivantes:
1)L’appareilnedoitpasproduiredebrouillage;
2)L’appareildoitacceptertoutbrouillageradioélectriquesubi,mêmesilebrouillageest
susceptibled’encompromettrelefonctionnement.
Thedevicemeetstheexemptionfromtheroutineevaluationlimitsinsection2.5ofRSS102and
compliancewithRSS‐102RFexposure,userscanobtainCanadianinformationonRFexposure
andcompliance.
Ledispositifrencontrel'exemptiondeslimitescourantesd'évaluationdanslasection2.5deRSS
102etlaconformitéàl'expositiondeRSS‐102rf,utilisateurspeutobtenirl'information
canadiennesurl'expositionetlaconformitéderf.
Thistransmittermustnotbeco‐locatedoroperatinginconjunctionwithanyotherantennaor
transmitter.Thisequipmentshouldbeinstalledandoperatedwithaminimumdistanceof20
centimetersbetweentheradiatorandyourbody.
CetémetteurnedoitpasêtreCo‐placéounefonctionnantenmêmetempsqu'aucuneautre
antenneouémetteur.Cetéquipementdevraitêtreinstalléetactionnéavecunedistance
minimumde20centimètresentreleradiateuretvotrecorps.
This appliance can be used by children aged from 8 years and above and persons with
reduced physical, sensory or mental capabilities or lack of experience and knowledge if they
have been given supervision or instruction concerning use of the appliance in a safe way and
understand the hazards involved. Children shall not play with the appliance. Cleaning and user
maintenance shall not be made by children without supervision.
The instructions for appliances having a part of class III construction supplied from a
detachable power supply unit shall state that the appliance is only to be used with the power
supply unit provided with the appliance. The instructions for class III appliances shall state that
it must only be supplied at safety extra low voltage corresponding to the marking on the
appliance. This instruction is not necessary for battery-operated appliances if the battery is a

primary battery or secondary battery charged outside of the appliance.
The instructions shall give information regarding charging. The instructions for appliances
incorporating batteries that are intended to be replaced by the user shall include the following:
– the type reference of the battery; – the orientation of the battery with regard to polarity; – the
method of replacing batteries; – details regarding safe disposal of used batteries; – warning
against using non-rechargeable batteries; – how to deal with leaking batteries.
Instructions for appliances containing non User-replaceable batteries shall state the substance
of the following:
The appliance contains batteries that are only replaceable by skilled persons.
Instructions for appliances containing non-replaceable batteries shall state the substance of
the following:
This appliance contains batteries that are non-replaceable.
Replacement:
The instructions shall contain the quantity and details of the electrolyte to be used and details
of the chemical reactions that occur in the electrolyser.
Table of contents
Popular Bathroom Fixture manuals by other brands

Glacier bay
Glacier bay 20120-0527H2 Use and care guide

KEUCO
KEUCO Royal Lumos 14305 171351 Instructions for use

Jula
Jula Cur Aqua 434-219 User instructions

Valley
Valley SD10N-90 installation guide
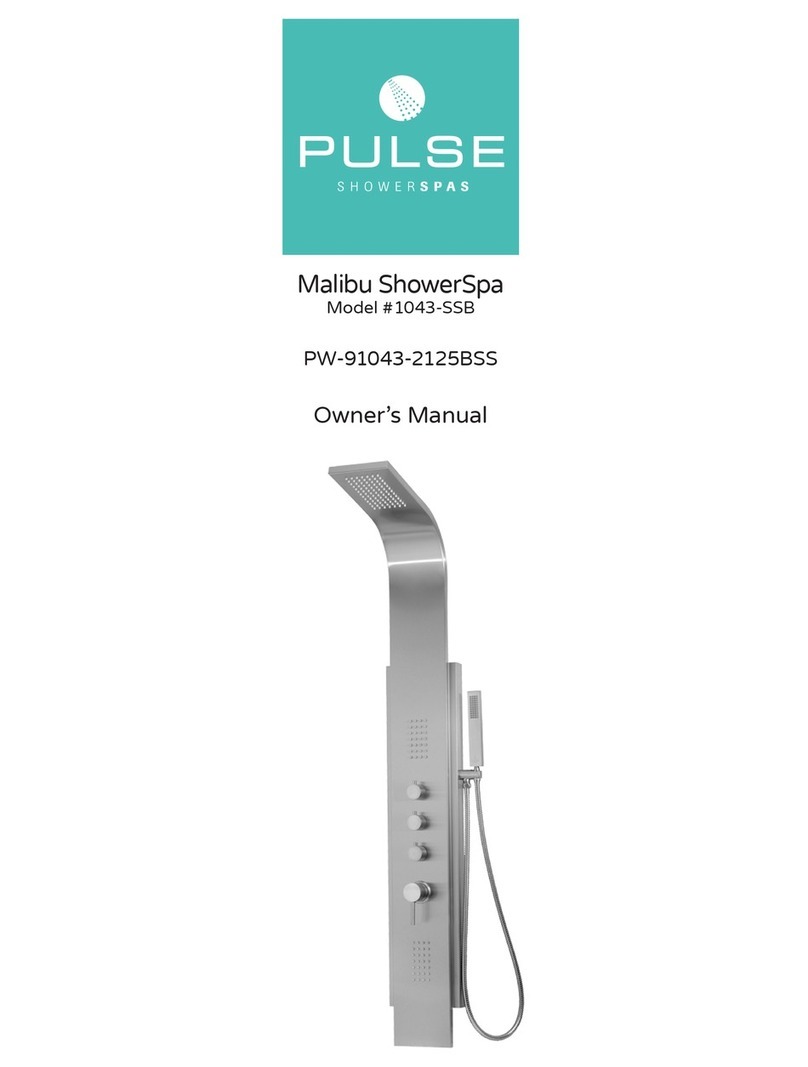
Pulse Shower Spas
Pulse Shower Spas Malibu ShowerSpa 1043-SSB owner's manual
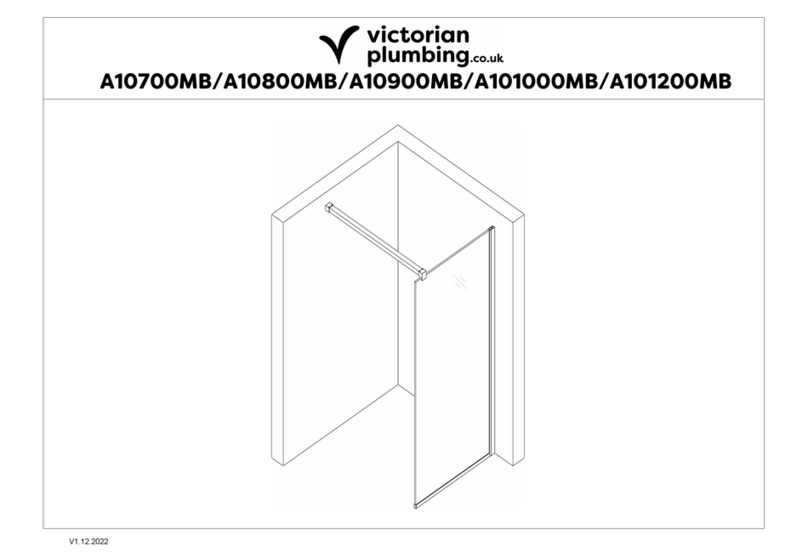
Victorian Plumbing
Victorian Plumbing A10700MB manual

Mira
Mira Minilite BIR Installation and user guide
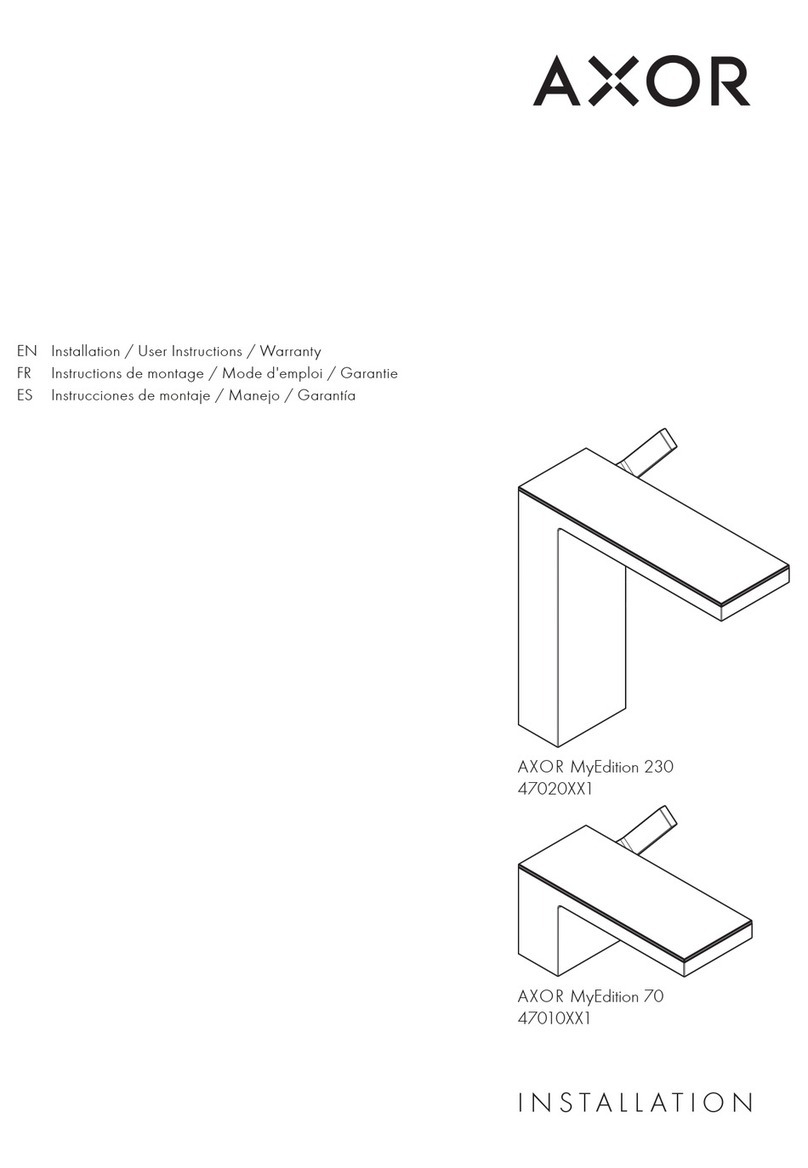
Axor
Axor MyEdition 230 47020 1 Series Installation/User Instructions/Warranty

Vaunn Medical
Vaunn Medical M725N-DLWH-CHVM user manual
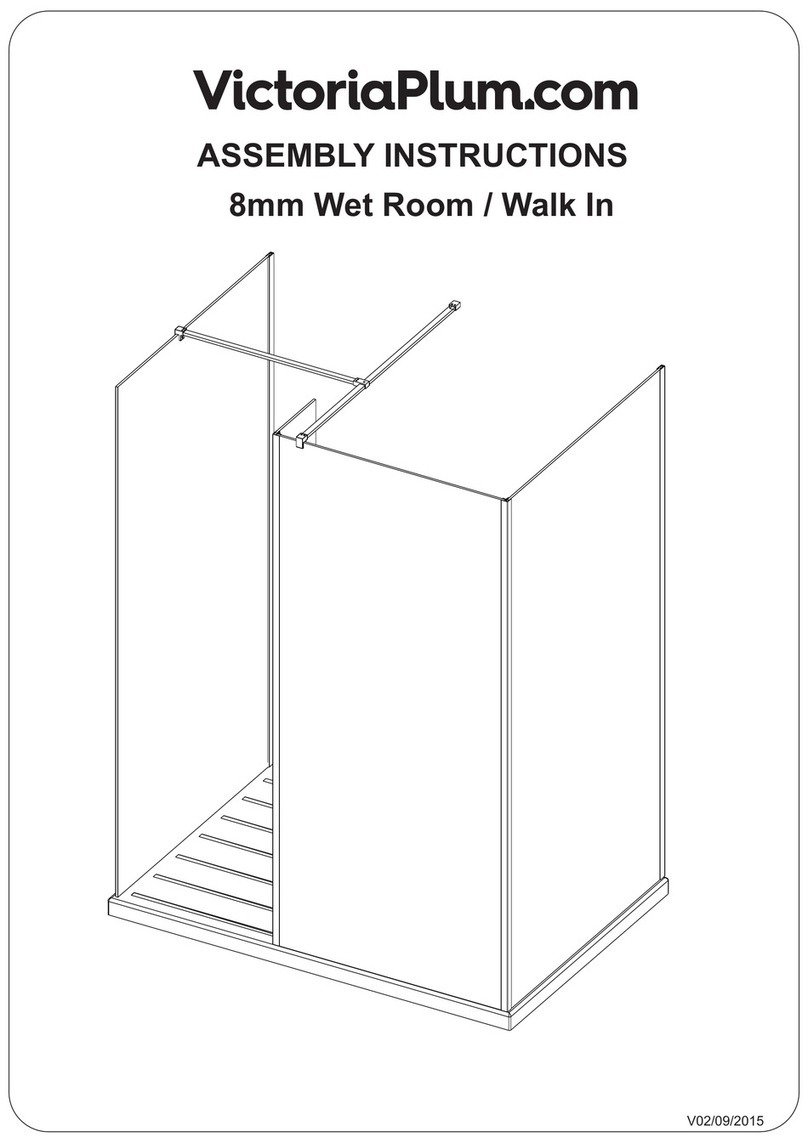
VictoriaPlum
VictoriaPlum V8+ Assembly instructions

Kohler
Kohler Revival K-16131 Homeowner's guide
Durovin Bathrooms
Durovin Bathrooms Ravenna 17-2 DR04 installation manual
