manuals.online logo
Brands
  1. Home
  2. •
  3. Brands
  4. •
  5. Victorian Plumbing
  6. •
  7. Bathroom Fixture
  8. •
  9. Victorian Plumbing A10700MB User manual

Victorian Plumbing A10700MB User manual

This manual suits for next models

4

Other Victorian Plumbing Bathroom Fixture manuals

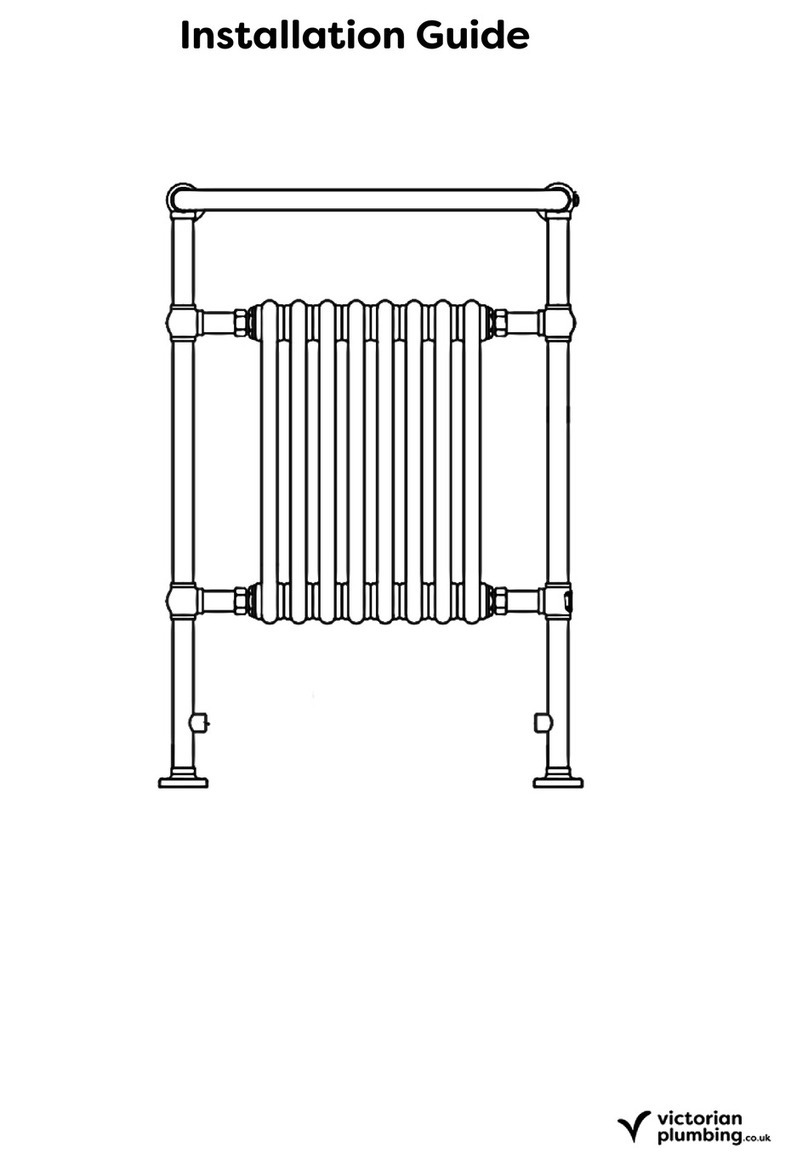
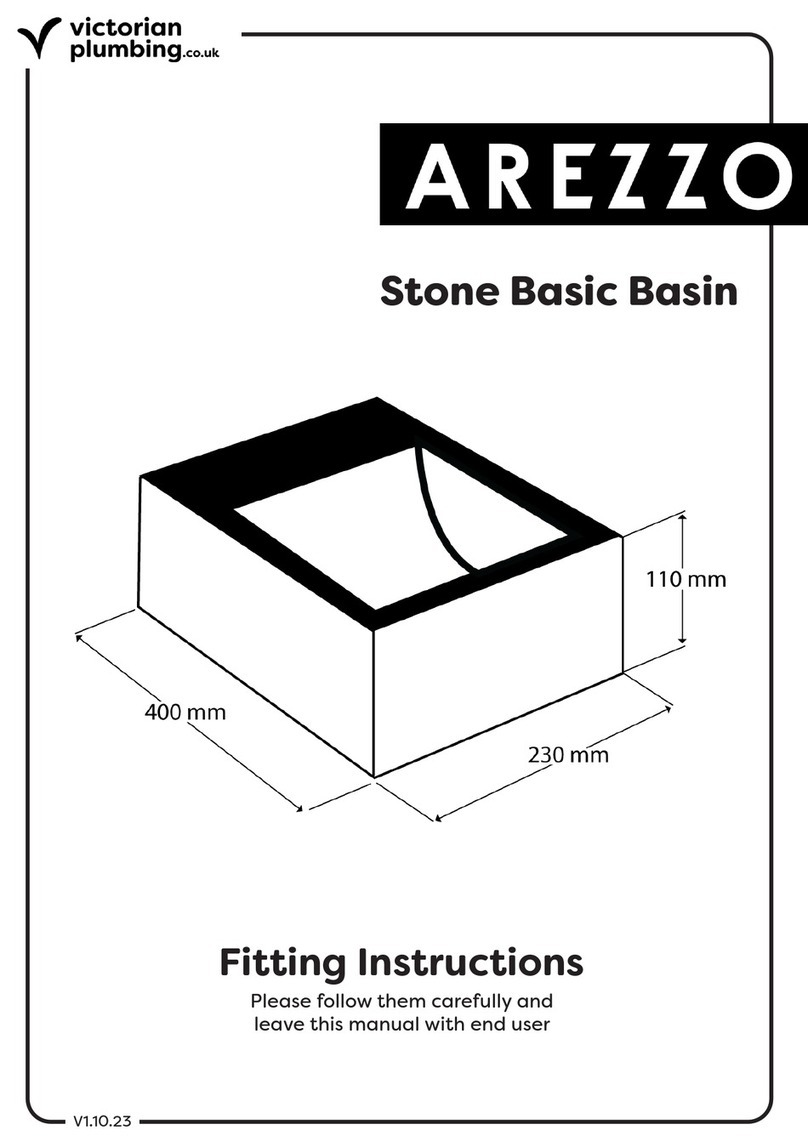
Victorian Plumbing Arezzo User manual

Victorian Plumbing

Victorian Plumbing Arezzo User manual

Victorian Plumbing Chatsworth Traditional VP003 User manual

Victorian Plumbing

Victorian Plumbing Chatsworth Traditional VP003 User manual

Victorian Plumbing bower User manual

Victorian Plumbing

Victorian Plumbing bower User manual

Victorian Plumbing Arezzo User manual

Victorian Plumbing

Victorian Plumbing Arezzo User manual

Victorian Plumbing AREZZO AZ4NC01 User manual

Victorian Plumbing

Victorian Plumbing AREZZO AZ4NC01 User manual

Victorian Plumbing Aurora Pearlstone User manual

Victorian Plumbing

Victorian Plumbing Aurora Pearlstone User manual

Victorian Plumbing SQRGT12 User manual

Victorian Plumbing

Victorian Plumbing SQRGT12 User manual

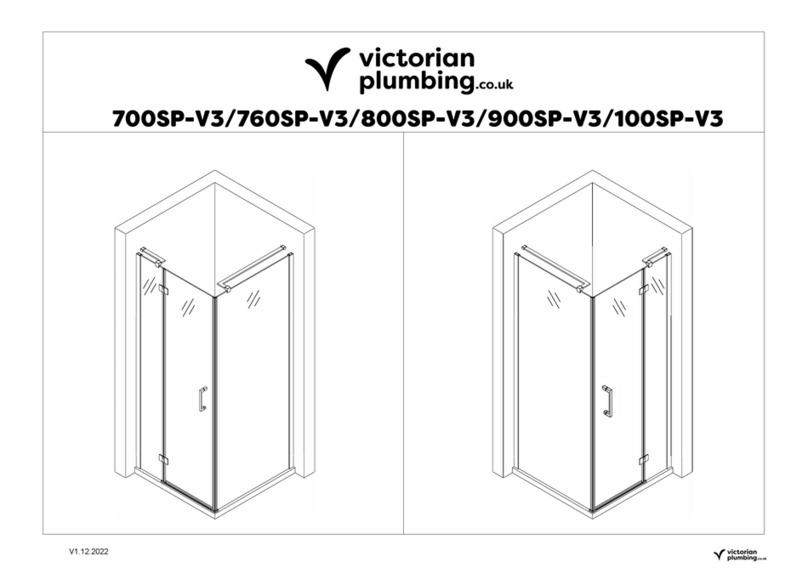
Victorian Plumbing 700SP-V3 User manual

Victorian Plumbing

Victorian Plumbing 700SP-V3 User manual

Victorian Plumbing Arezzo User manual

Victorian Plumbing

Victorian Plumbing Arezzo User manual

Victorian Plumbing X504 User manual

Victorian Plumbing

Victorian Plumbing X504 User manual

Victorian Plumbing GATFCBB User manual

Victorian Plumbing

Victorian Plumbing GATFCBB User manual

Victorian Plumbing MODE BATHROOMS BWRG80 User manual

Victorian Plumbing

Victorian Plumbing MODE BATHROOMS BWRG80 User manual

Victorian Plumbing CHATSWORTH User manual

Victorian Plumbing

Victorian Plumbing CHATSWORTH User manual

Victorian Plumbing Arezzo User manual

Victorian Plumbing

Victorian Plumbing Arezzo User manual

Victorian Plumbing N82DQ-PKA User manual

Victorian Plumbing

Victorian Plumbing N82DQ-PKA User manual

Victorian Plumbing Arezzo User manual

Victorian Plumbing

Victorian Plumbing Arezzo User manual

Victorian Plumbing AREZZO Palermo User manual

Victorian Plumbing

Victorian Plumbing AREZZO Palermo User manual

Victorian Plumbing Arezzo AZ03TZBLA User manual

Victorian Plumbing

Victorian Plumbing Arezzo AZ03TZBLA User manual

Victorian Plumbing Arezzo User manual

Victorian Plumbing

Victorian Plumbing Arezzo User manual

Popular Bathroom Fixture manuals by other brands

Kohler Mira Sport Max J03G Installation and user guide

Kohler

Kohler Mira Sport Max J03G Installation and user guide

Moen 186117 Series installation guide

Moen

Moen 186117 Series installation guide

Hans Grohe Raindance Showerpipe 27235000 Instructions for use/assembly instructions

Hans Grohe

Hans Grohe Raindance Showerpipe 27235000 Instructions for use/assembly instructions

Signature Hardware ROUND SWIVEL BODY SPRAY 948942 Install

Signature Hardware

Signature Hardware ROUND SWIVEL BODY SPRAY 948942 Install

fine fixtures AC3TH installation manual

fine fixtures

fine fixtures AC3TH installation manual

LIXIL HP50 Series quick start guide

LIXIL

LIXIL HP50 Series quick start guide

KOLO ATOL PLUS installation manual

KOLO

KOLO ATOL PLUS installation manual

Hans Grohe PuraVida 15073000 Instructions for use/assembly instructions

Hans Grohe

Hans Grohe PuraVida 15073000 Instructions for use/assembly instructions

Toto TS111B8 Installation and owner's manual

Toto

Toto TS111B8 Installation and owner's manual

Kohler K-1158-H2 Homeowner's guide

Kohler

Kohler K-1158-H2 Homeowner's guide

Coram Showers OFFSET QUADRANT manual

Coram Showers

Coram Showers OFFSET QUADRANT manual

baliv DU-2010 manual

baliv

baliv DU-2010 manual

odass OD-1710 instruction manual

odass

odass OD-1710 instruction manual

Oxygenics Evolution Easy installation instructions

Oxygenics

Oxygenics Evolution Easy installation instructions

Bradley Express SS Series installation instructions

Bradley

Bradley Express SS Series installation instructions

Helvex TH-974 installation guide

Helvex

Helvex TH-974 installation guide

DURAVIT C.1 C15240 0090 Instructions for mounting and use

DURAVIT

DURAVIT C.1 C15240 0090 Instructions for mounting and use

Sunshower PURE SOLO manual

Sunshower

Sunshower PURE SOLO manual

manuals.online logo
manuals.online logoBrands
  • About & Mission
  • Contact us
  • Privacy Policy
  • Terms and Conditions

Copyright 2025 Manuals.Online. All Rights Reserved.

A10700MB/A10800MB/A10900MB/A101000MB/A101200MB
V1.12.2022
1
2
3
4
5
6
7
V1.12.2022
5Pcs
D6x30 ST4X30
Ø6mm
Ø3.2mm
2.5 mm
5Pcs
561 2 3 4
Tools:
ST4X12 1Pcs 1Pcs 1Pcs
BRSF-X01
7
4Pcs
1Pcs
BDKWM-B01 BRSF-W04
BRSF-X02
4 mm
880
V1.12.2022
1
900
1-2
1-3
1-4
1-1
4
Ø6X40mm
Inside
Outside
1 x4
2 x4
2-1
Inside
Outside
2-2
Inside
Outside
0-10MM
2-3
2-4
2
3 x4
V1.12.2022
5
6
7
3
W
W
800
900
1000
700 600
1200
1400
700
800
900
1100
1300
3-1
Ø6X40mm
3-2
3-3
3-4
W
1 x1
2 x1
5
Care Instructions:
Do not use your shower enclosure within
24 hours of assembly . Do not use caustic
cleaning products or abrasive material
whencleaning your shower enclosure.
V1.12.2022
Important information for fitter:
•It is recommended that only approved/qualified plumbers should install the product.
•Incorrect installation of the enclosure will invalidate guarantee.
Carefully check the product for transport damage prior to installation.
Never install damaged panels as there is a risk of spontaneous glass breakage. The supplied
fixings/wall plugs are only for mounting directly on solid walls.
It is essential that the solid, masonry/walls be inspected for adequate load-bearing capacity
prior to every installation. The supplied fixings/wall plugs are not for use with stud walls such as
plaster board, wood, metal or fiber board.
Always seek professional advice to confirm wall type and appropriate type of fixing to be used
for installation. Always check walls for concealed utility lines (power, gas, and water) prior to
drilling the fixing holes.
•Always protect all glass edges from damage.
•Never stand the glass on its corners throughout the installation! Place the packing material
beneath the glass panel; never place the glass on tiles, concrete floors or similarly hard
surfaces
•It is mandatory to check each glass panel for damage prior to installation. Never install
damaged glass panels as this could cause spontaneous glass breakage!
•If the glass panel is damaged during use it must be replaced without delay. (Failure could
cause a risk of spontaneous glass breakage!)
Prevent damage to glass or operation of the product.
•Ensure fittings do not hinder the movement of the door.
•Ensure that no objects are within the range of the door opening/ closing area.
•Avoid hitting the panels with hard objects such as mops when cleaning or tools during
assembly. Damaged panels must be replaced as failures may cause latent glass breakage.
•Do not hit against the glass edge with hard or pointed objects (e.g. with mop handle)
Damaged panels must be replaced; damage may cause spontaneous glass breakage.
•Do not use panels or handles to hang or support items such as drying towels or clothes.
Do not use steam cleaners, caustic or aggressive cleaning and scouring
agents, cleaners that corrode plastics, or solvents containing acetone
or turpentine or neat bleach.
•Do not use any cleaning agents, which according to the
manufacturer's specifications may corrode aluminium or light alloys.
•Do not use glass cleaning pastes and micro-fibre cloths to prevent
damage to glass coating system.
•In order to prevent the build-up of lime scale, remove any remaining
drops of water after showering using a squeegee, soft cloth without
any cleaning agent.
•After use, carefully rinse off all residue such as; liquid soaps, shampoos,
shower gels or similar cosmetic product with water to avoid deposits.
Important: Never apply the cleaning agent for longer than necessary.
After cleaning, check all the moving elements are sufficiently greased, re-
grease, if necessary.
Recycling and disposal
Please recycle the packaging in accordance with your local government
regulations on waste handling, and follow the same advice at the end of
the products life.
For more Information
Visit: victorianplumbing.co.uk
Service/repair and inspection for safety.
•After cleaning, check all the moving elements are sufficiently greased,
re-grease, if necessary only use acid-free grease.
Maintenance Information
Cleaning
Safety information prior to and during installation
Special information on handling glass
Safety Information for User & Installer
V1.12.2022