SignVideo SV88 User manual

The SignVideo
8x8 Component Video Routing Switcher
with stereo audio
Operations Manual
Copyright © 2004 by Sign video Ltd.
This Class B digital apparatus complies with Canadian ICES-003.
Cet Appareil numerique de la classe B est conforme a la norme NMB-003 du Canada.
Note: This equipment has been tested and found to comply with the limits for a Class B digital
device, pursuant to part 15 of the FCC Rules. These limits are designed to provide reasonable
protection against harmful interference in a residential installation. This equipment generates, uses
and can radiate radio frequency energy and, if not installed and used in accordance with the
instructions, may cause harmful interference to radio communications. However, there is no
guarantee that interference will not occur in a particular installation. If this equipment does cause
harmful interference to radio or television reception, which can be determined by turning the
equipment off and on, the user is encouraged to try to correct the interference by one or more of the
following measures:
Reorient or relocate the receiving antenna.
Increase the separation between the equipment and receiver.
Connect the equipment into an outlet on a circuit different from that to which the receiver is
connected.
Consult the manufacturer, dealer or an experienced radio/TV technician for help.
Included Items:Routing Switcher, 1 AMP AC adapter, manual & warranty
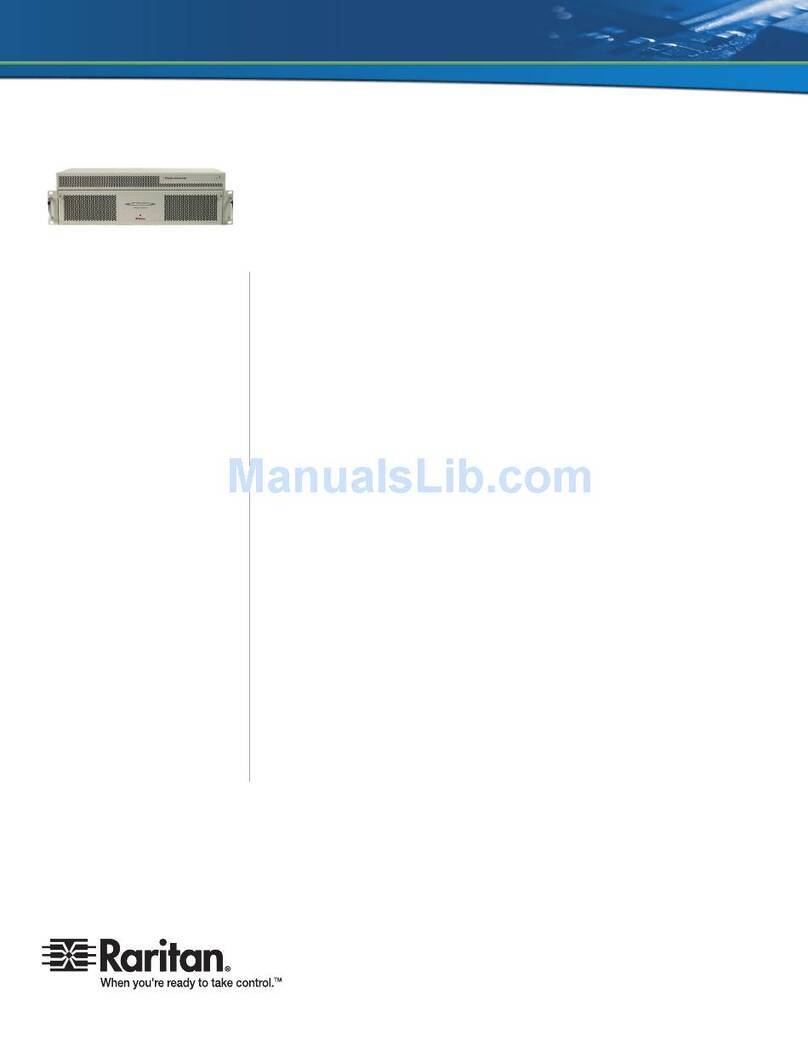
Description:Eight in, eight out component video (rca) plus stereo audio electronic routingswitcher
HOOK UP
Connect to Power .
Find the small plug on the end of the cable on the 1 Amp AC power adapter. Go to the back panel of the switcher and
connect this plug to the small jack which is labeled 9 vac 1a. Plug the AC adapter itself into a 110V power receptacle.
Press the power button on the front of the switcher. The power LED should light.
Connect Equipment
There are 8 sets of video and stereo audio inputs and outputs. Video is comprised of three components, and there are
three connections for each video channel. The sets are all on the switcher back panel and are numbered 1 through 8.
These correspond to the FROM and TO push buttons on the front panel which are likewise numbered 1 through 8.
Generally, first connect items of video/audio equipment which will be both sending and receiving signals. Connect
these to both the inputs and outputs of one numbered set. Next, connect video/audio equipment which will be only
receiving or only sending signals. Connect these only to one of the output sets or one of the input sets, respectively.
You may wish to number each piece of equipment to correspond to the numbered connections.
OPERATION
Select Mode (Switching Protocol)
One of 3 red LEDs will light to indicate switching mode
Press Button to Select Mode
A/V for video and audio to switch together (audio follow video)
V to switch video only
A to switch audio only
Route Signal
1Select and press a numbered FROM button to select source
2Select and press a numbered TO button to select destination
3Directly above the TO number, the selected FROM number will display, indicating which source signal has been
sent to that destination.

Loop Through
To send a signal to a destination and loop the signal through one or more pieces of equipment on the way, use a series
of Souce/destination selections.
EXAMPLE:You wish to send a signal from a video camera through a video processing amplifier and an image
enhancer on its way to your non-linear editor. First select the Video Camera using the corresponding FROM button.
Then select the Processing Amplifier using the TO button. NEXT select the same Processing Amplifier using the
appropriate FROM button. Then select the Image Enhancer using the TO button. NEXT select the same Image
Enhancer using the FROM button. Then select the Non-linear Editor using the TO button. The signal now has been
routed from the video camera, through the Processing Amplifier, on through the Image Enhancer, to the Non-linear
Editor.
Feed Multiple Outputs From A Single Source
To send the same signal to two or more destinations at the same time, complete a series of destination routings, using
the same source (FROM button) each time, but different destinations (TO buttons) each time.
EXAMPLE:You wish to duplicate three VHS copies from a master on the hard drive in your non-linear editor. First
select the Non-linear Editor using the corresponding FROM button. Then select the first VHS deck using the TO
button. NEXT select the Non-linear Editor again using the FROM button. Then select the second VHS deck using the
TO button. NEXT select the Non-linear Editor once more using the FROM button. Then select the third VHS deck
using the TO button. The signal now has been distributed simultaneously to all three VHS decks, and you are ready to
duplicate three tapes from your hard drive master.
If you need more than eight simultaneous outputs, or if too many outputs are tied up with other equipment, you can
expand the number of simultaneous outputs by adding a SignVideo distribution amplifier. Connect the distribution
amp to one of the routing switcher outputs and add up to sixteen outputs, depending on the model you choose.
Multiple Routings
All routing is independent, allowing you to perform more than one routing simultaneously. You can send one source to
one destination, while sending a second source to another destination, while sending a third source through a
distribution amplifier and on to three destinations at once, and so on, all at the same time, all going through the same
routing switcher.
Configuration Recall
Once you have defined a routing configuration, you can memorize it and recall it later with the push of a button. You
can store up to eight such configurations, making it easy to switch between various editing, duplication, viewing and
other setups.
Once you have established a routing configuration you wish to store:
Press STORE.
THEN Select and press one of the eight FROM buttons.
The configuration will be stored under the number of the button you chose.
To recall the configuration:
Press RECALL.
Press the FROM button which has the number of your stored configuration.
To erase the configurationjust enter a new configuration.
SPECIFICATIONS:Video Bandwidth: 40 Mhz, 3200 lines resolution, Video S/N better than: 68 db,
Differential Gain: .06, Differential Phase: .15, Crosstalkworst case: 60 db, FequencyResponse: 5Hz to 3 Mhz, Audio
S/N: 100db, Power: 9 volts AC, 1 amp, Dimensions 9 ¼” x 4 ¼” x 7”, Made in USA.
ONE YEAR LIMITED WARRANTY
Sign video Ltd. warrants this product (including accompanying accessories) and all parts thereof, except as set forth below, for a
period of one year from the original date of purchase. Should the product be found to be defective, Sign Video Ltd. will repair or
replace the product at no charge.
To obtain warranty service telephone one of the numbers below or log on www.signvideo.comto obtain the current telephone
number for warranty repair.
The duration of any implied warranties is limited to the duration of the express warranty herein. This warranty does not cover
cosmetic damage or damage due to acts of god, accident, misuse, abuse, alteration, negligence, improper installation, tampering,
criminal acts, negligence, lack of reasonable care, or if serviced or repaired by anyone other than Sign video Ltd. or a repair facility
authorized by Sign video Ltd.
Sign Video Ltd. shall not be liable for any loss of use, or incidental or consequential damages resulting from the use of this product
or the failure or inoperability of this product in any respect, including from any cause whatsoever, or from breach of any express or
implied warranty. In no event shall Sign video Ltd. be liable for any amount in excess of the purchase price paid for the product,
except to the extent prohibited by applicable law.
Some states do not allow the exclusion or limitation of incidental or consequential damages, or permit limitations on how long an
implied warranty lasts, so these exclusions and limitations may not apply to you. This warranty gives you specific legal rights and you
may also have other rights which vary from state to state.
Sign Video Ltd. (800) 373-8910 (503) 236-0000 www.signvideo.com
This manual suits for next models
2
Table of contents
Popular Switch manuals by other brands
Goobay
Goobay 64874 user manual
Extron electronics
Extron electronics MTPX Plus Series user manual
Omron
Omron E2EZ-X D instruction sheet

Moeller
Moeller CI-PKZ 0 installation instructions
Dakota Computer Solutions
Dakota Computer Solutions Vista Installation and operation manual
Vimar
Vimar EIKON 20181 manual

DOLD
DOLD SAFEMASTER BG 5925 Series Translation of the original instructions
D-Link
D-Link xStack reference guide
ANTAIRA
ANTAIRA USB-HUB4K installation guide
IMC Networks
IMC Networks IE-iMcV-MuxDemux/4 Operation manual
D-Link
D-Link DWS-3160 Series Configuration guide
TerraTec
TerraTec MIDI HUBBLE manual
