First, press & hold the ● zone selector button for 3 seconds to enter
the pairing mode. Press the ● zone selector button to move to the
desired zone you want to delete. Press & hold the ● zone selector
button & ♫ melody selector button together for 3 seconds to delete
the memory. The receiver will generate a tone to indicate the
transmitter on the specific zone selected has been deleted.
First, press & hold the ● zone selector button for 3 seconds to
enter the pairing mode. Press the ● zone selector button to move
to the desired zone then press the ♫ melody selector button to
select the melody desired. Press the ● zone selector button until
the pairing mode is exited.
CODE PAIRING & MELODY SELECTION
Zone select button
Melody selector button
Clearing the transmitter memory of the Receiver
Change the melody in desired zone
4
* PLESE NOTE THE DOORBELL BUTTON & CHIME UNIT ARE
PAIRED & READY TO USE.
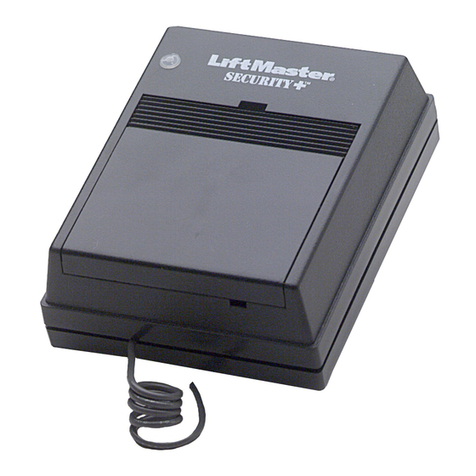
To stop the Chime while the receiver (chime unit) is alerting press
the reset button.
S t e p 1 : I n s e r t t h e b a t t e r y i n t o t h e
tr ans mi tte r to be us ed ( Doorb ell
button)
Step 2: I n s er t t h e b a tt e r i e s i n to t h e
receiver (chime unit).
S tep 3 : E nt e r p a ir i n g m o de f o r t h e
receiver (chime unit). Press & hold
the ● zone selector bu tton for 3
seconds. The LED in zone #1 will
flash.
Step 4: Press the ● zone selector button
again to move to the zone you wish to
pair with. Press the ♫ melody selector
button to scroll through the melodies.
Once you hear a melody you prefer,
do not press any button as the melody
is set for that zone.
Step 5: Once the zone & melody are selected, press the
Doorbell button once to pair. If successful, the receiver
(chime unit) will generate two short tones. Press the ● zone
selector button to exit the pairing mode, the system is now
ready to use.push button once to pair. If successful, the
receiver (chime unit) will generate a short tone. Press the
button to exit pairing mode, the system is ready to use.
Zone ID
To cancel any alert on the remote receiver press the reset button. The reset
button is located on the back of the receiver behind the flasher.
Parts & Function
Setup
VIBRATION PAD
Vibrator Wire
plug
This vibration pad only works with the Wireless Multi-Alert Receiver (Chime
Unit), when using the vibration function.
5
Battery low indicator
If a zone LED light is blinking, that indicates that the battery is low
for this transmitter. You must replace the battery as soon as
possible. If the white flash at the top of the chime blinks every 5
seconds, this indicates the receiver batteries are very low. When
you see the white flash every 5 seconds, you must replace the
batteries of the receiver immediately.
Notes
#1 DC jack: If using the vibration pad, you must plug in the 12V power
supply into the DC 12V Input first.
#2 Vibration pad On/Off: Slide this switch to turn the vibration function
On/Off.
#3 Vibration Out: Insert the vibration pad plug into the pad out jack.
#4 12V ready indicator: This indicator will light up red, when the 12V
adaptor is connected correctly.
#5 Pad ON indicator: If the vibration pad On/Off switch is moved to the
“ON” position, the LED indicator will light up red to indicate the
Vibration function is “ON”.
#1DC jack
#2 Vibration Pad
On/Off
Switch #3 Vibration out
On
Off
Pad Pa d
On 12V
Read y
#4 12V ready indicator
#5 Pad On indicator
6
RoHS
2002/95/EC
FCC Statement:
This equipment has been tested and found to comply with the limits for a Class B digital
device, pursuant to part 15 of the FCC Rules. These limits are designed to provide
reasonable protection against harmful interference in a residential installation. This
equipment generates, uses and can radiate radio frequency energy and, if not installed
and used in accordance with the instructions, may cause harmful interference to radio
communications.
However, there is no guarantee that interference will not occur in a particular
installation. If this equipment does cause harmful interference to radio or television
reception, which can be determined by turning the equipment off and on, the user is
encouraged to try to correct the interference by one or more of the following measures:
* Reorient or relocate the receiving antenna.
* Increase the separation between the equipment and receiver.
* Connect the equipment to an outlet on a circuit different from that to which the
receiver is connected.
This device complies with part 15 of the FCC rules. Operation is subject to the following
two conditions: (1) This device may not cause harmful interference, and (2) this device
must accept any interference received, including interference that may cause
undesired operation.
Note: Modifications to this product will void the user's authority to operate
this equipment.
Notes
The Vibration Pad will not work without the power supply being
connected.
When the vibration pad is activated, it will run for 15 seconds.
Both the 12V ready indicator & Pad On indicator will light up Red when
they are in use.
To cancel any alert on the remote receiver press the reset button. The
Chime Only
Chime/Strobe
Strobe Only
For Customer Support Please Contact:
Silent Call / MyAlert
Sales@Silentcall.com /1-800-572-5227
scdirectsales.com for DIY instructional videos and User Guides
