Silvercrest 56861 User manual

3GB
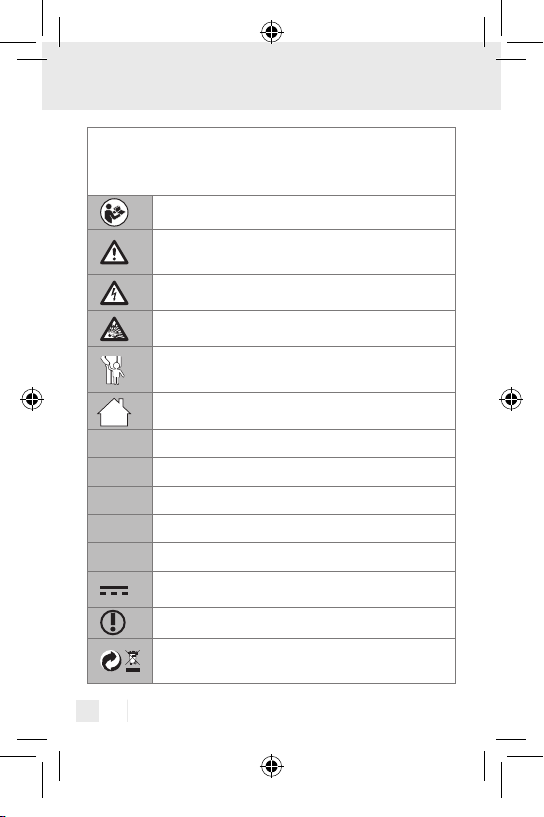
Table of Contents
Introduction
Proper Use ....................................................................................Page 7
Supply Scope ...............................................................................Page 8
Description of Parts.......................................................................Page 8
Technical Data..............................................................................Page 9
Safety Instructions ...................................................................Page 10
Before you start.........................................................................Page 15
Set the time ...................................................................................Page 16
Operation
Connecting the electrical appliance to be tested.......................Page 17
Current measurement...................................................................Page 17
Maximum current .........................................................................Page 18
Measure power consumption......................................................Page 19
Maximum power consumption....................................................Page 19
Delete maximum values ...............................................................Page 20
Set the overload warning value ..................................................Page 20
Measure mains voltage................................................................Page 21
Measure mains frequency ...........................................................Page 22
Show power factor.......................................................................Page 22
Set electricity rate 1 and 2 ..........................................................Page 23
Set electricity flat-rate ................................................................... Page 25
Total energy consumption............................................................Page 27
Time measurement function..........................................................Page 28
Show energy costs ....................................................................... Page 29
Set the Energy consumption/Time measurement function /
Total cost display to 0.................................................................. Page 30
Changing the batteries.................................................................Page 30
Restore delivery condition............................................................Page 31
Cleaning and Care....................................................................Page 32
Disposal..........................................................................................Page 32
Warranty and Service
Warranty Declaration..................................................................Page 34
Service Address............................................................................ Page 34
Declaration of Conformity............................................................Page 35
Manufacturer................................................................................Page 35
56861_Energiekostenmessgeraet_Content_GB-HU-SI-DE.indd 3 30.11.10 14:12

4 GB
kWh
8
12
13
18
7
9
11
10
19
18
17
16
A
UP DOWN PRICE SET
45
20
1415
1
236
56861_Energiekostenmessgeraet_Content_GB-HU-SI-DE.indd 4 30.11.10 14:12

5GB
21
B22
56861_Energiekostenmessgeraet_Content_GB-HU-SI-DE.indd 5 30.11.10 14:12
6 GB
Introduction
The following pictograms are used in these
operating instructions /on the device:
Read instruction manual!
Observe caution and safety notes!
Caution– electric shock! Danger to life!
Risk of explosion!
Keep children away from electrical devices!
For use in dry rooms only.
V~ Volt (AC)
WWatts (Effective power)
Hz Hertz (mains frequency)
AAmp
kWh Kilowatt hour
Direct current (Type of current and voltage)
Proper procedure and handling.
Dispose packaging and appliance in an
environmentally-friendly way!
56861_Energiekostenmessgeraet_Content_GB-HU-SI-DE.indd 6 30.11.10 14:12

7GB
Introduction
Energy Monitor
Q
Introduction
Familiarise yourself with the product before using
it for the first time. Please read the following
operating manual and safety instructions carefully.
Always use the instrument only as described and for the stated
areas of use. Keep this manual in a safe place. Make sure
that all documents accompany the instrument if you pass it
on to anyone else.
Q
Proper Use
The appliance is designed to measure the power consumption
of electrical appliances and to calculate electricity and oper-
ating costs. Any other use or modification of the instrument
constitute improper use and carry a serious risk of accident.
The manufacturer is not liable for damage caused by improper
use. The instrument is not intended for commercial use.
56861_Energiekostenmessgeraet_Content_GB-HU-SI-DE.indd 7 30.11.10 14:12

8 GB
Introduction
Q
Supply Scope
1x wattmeter
2x round cell batteries (Alkaline LR44, 1.5V )
1x operating manual
1x warning labels for the battery compartment cover in
other languages
Q
Description of Parts
1LC display
2SET button
3PRICE button
4DOWN button
5UP button
6Socket
7OVERLOAD/overload symbol
8Watt symbol/ overload warning value power consump-
tion (W)
9Ampere symbol/ overload warning value current
consumption (A)
10 Volt symbol
11 Hz/mains frequency symbol
12 TIME/time symbol
56861_Energiekostenmessgeraet_Content_GB-HU-SI-DE.indd 8 30.11.10 14:12

9GB
Introduction
13 €/cost symbol
14 2nd electricity tariff
15 symbol (setting the time)
16 Total symbol
17 Kilowatt-hours symbol
18 Power factor/power factor symbol
19 PRICE kWh/price per kWh symbol
20 Max symbol
21 Battery compartment cover
22 Plug
Q
Technical Data
Model: EM240-A DE
Input voltage: 230V~, 50Hz
Max. permissible load: 16A~, 3500W
Type of battery: 2x LR.44 (Alkaline)
1.5V
Lower limit range
for current measurements: 0.005A
Ampere indicating range: 0.00-16A
Volt indicating range: 190-276V~
Watt indicating range: 0-3500W
Kilowatt hour indicating range: 0.00-9999kWh
56861_Energiekostenmessgeraet_Content_GB-HU-SI-DE.indd 9 30.11.10 14:12

10 GB
Introduction/ Safety Instructions
Mains frequency indicating range: 40-70Hz
Resolution: 0.5W
Enviromental conditions:
Altitude: max. 2000m
Temperature: +5 °C- + 40 °C
Relative humidity: max. 90%
Tolerance range:
in volts: ±3%
in amperes: ±3%, ±0.01A
in watts: ±3%, ±2W
Dimensions of LCD: 3.2 x 3.2cm (W x H)
Safety Instructions
WARNING!Please read all the safety information
and instructions. Failure to observe the safety information
and instructions can result in electric shock, fire and/ or
serious injury.
PLEASE RETAIN ALL SAFETY INFORMATION AND
INSTRUCTIONS FOR FUTURE REFERENCE.
56861_Energiekostenmessgeraet_Content_GB-HU-SI-DE.indd 10 30.11.10 14:12

11GB
Safety Instructions
How to avoid fatal injury
by electric shock!
J Inspect the wattmeter, additional equipment and the
electrical appliances you wish to test before every use to
ensure that they are intact. Damaged electrical appliances
and buckled/kinked mains leads or bare wires increase
the risk of an electric shock.
J Do not operate the wattmeter if mains leads or mains
plugs on the electrical appliances you wish to test are
damaged.
CAUTION! Damaged mains leads pose a risk of fatal
injury by electric shock.
J The connector plug 22 of the wattmeter must fit into the
outlet. The connector plug 22 must not be modified in any
way. Do not use adapter plugs in conjunction with earthed
electrical appliances. Using unmodified mains plugs and
proper outlets reduces the risk of an electric shock.
J Avoid physical contact with earthed surfaces such as those
of pipes, heaters, ovens and fridges. There is an increased
risk of an electric shock if your body is earthed.
J Keep the wattmeter away from rain and
moisture. If water enters the wattmeter there
is an increased risk of an electric shock.
56861_Energiekostenmessgeraet_Content_GB-HU-SI-DE.indd 11 30.11.10 14:12

12 GB
Safety Instructions
J Only operate the wattmeter in dry clothing and preferably
shoes with a rubber sole or standing on an insulating mat.
J Only measure voltages of over 25V~in compliance
with the relevant safety instructions for the electrical
appliance you wish to test.
J Never under any circumstances open up the housing of
the wattmeter. If the wattmeter does not work properly
or is damaged, please have it repaired immediately by
a specialist.
J Do not operate the wattmeter outdoors.
J Always remove the electrical appliances you are testing
from the socket 6directly by the mains plug and never
using the mains lead.
J Remove the wattmeter from the outlet when you have
finished using it.
How to avoid personal injury and
damage to the product!
J
RISK OF FATAL INJURY AND ACCIDENTS
FOR INFANTS AND CHILDREN! Never
leave children unattended with the packaging
materials or the product. The packaging material carries
a risk of suffocation and there is a risk of fatal injury by
56861_Energiekostenmessgeraet_Content_GB-HU-SI-DE.indd 12 30.11.10 14:12
Table of contents
Languages:
Other Silvercrest Monitor manuals


