SilverNet Pro RANGE 95 User manual

Pro Range 95 User Manual 1.33 Page 1 of 36
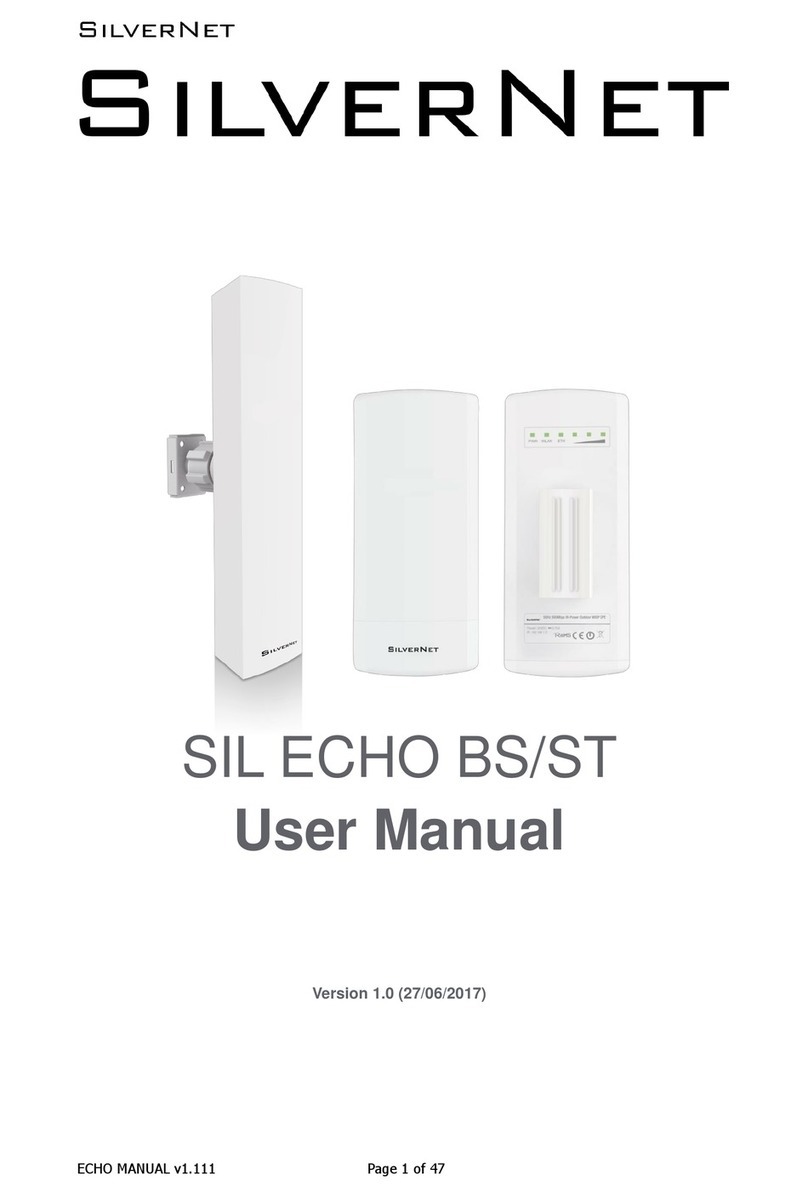
PICO 95 MICRO2 95
LITE 95 MAX 95
Pro RANGE 95
User Manual
Version 1.3 (27/03/2017)

Pro Range 95 User Manual 1.33 Page 2 of 36
Radio frequency Interference Requirements
The operation of this device in the 5.15 GHz to 5.25 GHz frequency range is
restricted to indoor use. FCC regulations require this product to be used indoors
while operating at 5.15 GHz to 5.25 GHz to reduce the potential for harmful
interference. However, the operation of this device in the 5.25 GHz to 5.35 GHz
frequency range is allowed for both indoor and outdoor use. High power radars are
allocated as primary users of the 5.25 GHz to 5.35 GHz and 5.65 GHz to 5.85 GHz
bands. These radar stations can cause interference with and/or damage to this
device.
FCC Warning
This equipment has been tested and found to comply with the limits for a Class B
digital device, pursuant to Part 15 of the FCC Rules. These limits are designed to
provide reasonable protection against harmful interference in a residential
installation. This equipment generates, uses, and can radiate radio frequency
energy and, if not installed and used in accordance with the instructions, may cause
harmful interference to radio communications. No guarantee exists that
interference will not occur in a particular installation. If this equipment does cause
harmful interference to radio or television reception (determined by turning the
equipment off and on), the user is encouraged to try to correct the interference by
one or more of the following measures:
•Reorient or relocate the radio/TV receiving antenna.
•Increase the separation between the equipment and the radio/TV receiver.
•Connect the equipment into an outlet on a circuit different from that to which
the radio/TV receiver is connected.
•Consult the dealer or an experienced radio/TV technician for help.
Modifications made to the product, unless expressly approved by SilverNet
Limited, could void the user’s authority to operate the equipment.
RF Exposure Requirements
To ensure compliance with FCC RF exposure requirements, the antenna used for this
device must be installed to provide a separation distance of at least 20 cm from all
persons and must not be co-located or operating in conjunction with any other
antenna or radio transmitter. Installers and end-users must follow the installation
instructions provided in this user guide.

Pro Range 95 User Manual 1.33 Page 3 of 36
CE Statement
The Pro Range 95 is intended to be used by suitably trained individuals or
organisations that are familiar with the requirements of the R&TTE directive. In
particular the client must ensure that appropriate antennas and transmit power
levels are selected to ensure that all power limits are met. Hereby, SilverNet Limited
declares that this device is in compliance with the essential requirements and other
relevant provisions of the R&TTE Directive 1999/5/EC. However, the use of the
following warning symbol
Means that this equipment is subject to restrictions of use in certain countries and
selection of the correct country of operation (country code) will ensure that the
device operates only on the frequencies permissible within that country. It is also
the operator’s responsibility to ensure that appropriate licenses have been sought
when operating on licensed frequencies, for example UK Band C, 5725-5850 MHz
Copyright Information
Copyright ©2017 all rights reserved. No part of this publication may be reproduced,
adapted, stored in a retrieval system, translated into any language, or transmitted
in any form or by any means without the written permission of the supplier.

Pro Range 95 User Manual 1.33 Page 4 of 36
Table of Contents
Radio frequency Interference Requirements.....................................2
FCC Warning.........................................................................................................................2
RF Exposure Requirements.............................................................................................2
CE Statement.......................................................................................................................3
Copyright Information ......................................................................................................3
Declaration of Conformity..............................................................................5
Introduction ...........................................................................................................6
Getting Started....................................................................................................................7
Navigation .............................................................................................................................8
Status Tab................................................................................................................9
Overview..............................................................................................................................10
Realtime Graphs ...............................................................................................................11
Admin Tab..............................................................................................................12
System..................................................................................................................................12
Administration ...................................................................................................................13
Web................................................................................................................................13
SNMP.....................................................................................................................................14
General Settings .......................................................................................................14
Trap................................................................................................................................14
LED Configuration ............................................................................................................15
Backup/Flash Firmware..................................................................................................16
Backup / Restore ......................................................................................................16
Flash new firmware..................................................................................................16
Services Tab .........................................................................................................17
Ping Watchdog...........................................................................................................17
Auto Reboot................................................................................................................17
Dynamic DNS.............................................................................................................18
Network Tab.........................................................................................................19
LAN/WAN Interfaces........................................................................................................20
Wireless................................................................................................................................23
5MHz and 10MHz Channel Spectrum Width...................................................26
Advanced settings ....................................................................................................27
Interface Configuration ..................................................................................................28
General Setup............................................................................................................28
Wireless Security ......................................................................................................30
MAC-Filter....................................................................................................................32
Advanced Settings ...................................................................................................33
VLANS ...................................................................................................................................34
VLAN Activation.........................................................................................................34
VLAN Entries...............................................................................................................34
Contact Us .............................................................................................................35
Online Resources ..............................................................................................................36

Pro Range 95 User Manual 1.33 Page 5 of 36
Declaration of Conformity
SilverNet Limited declares the following:
Product Name: Pro Range 95
Model No.: PICO 95/MICRO2 95/LITE 95/MAX 95 conforms to the following Product
Standards:
This device complies with the Electromagnetic Compatibility Directive (89/336/EEC)
issued by the Commission of the European Community. Compliance with this
directive implies conformity to the following European Norms (in brackets are the
equivalent international standards.)
Electromagnetic Interference (Conduction and Radiation): EN 55022 (CISPR
22)
Electromagnetic Immunity: EN 55024 (IEC61000-4-2, 3, 4, 5, 6, 8, 11)
Low Voltage Directive: EN 60 950: 1992+A1: 1993+A2: 1993+A3: 1995+A4:
1996+A11: 1997.
Therefore, this product is in conformity with the following regional
standards:
FCC Class B: following the provisions of FCC Part 15 directive,
CE Mark: following the provisions of the EC directive.
SilverNet Limited also declares that:
The wireless card in this product complies with the R&TTE Directive (1999/5/EC)
issued by the Commission of the European Community. Compliance with this
directive implies conformity to the following:
EMC Standards: FCC: 47 CFR Part 15, Subpart B, 47 CFR Part 15, Subpart C
(Section 15.247); CE: EN 300 328-2, EN 300 826 (EN 301 489-17)
Therefore, this product is in conformity with the following regional
standards:
FCC Class B: following the provisions of FCC Part 15 directive,
CE Mark: following the provisions of the EC directive.

Pro Range 95 User Manual 1.33 Page 6 of 36
Introduction
This User Guide describes the firmware version 2.41.19 which is integrated into all
Pro Range 95 products provided by SilverNet Ltd.
Supported Products
This manual covers all Pro 95 products listed below:
• PICO 95
• MICRO2 95
• LITE 95
• MAX 95
For more information, visit www.silvernet.com
Pro Range Wireless Modes
The Pro Range supports the following wireless modes:
• Station
•Station WDS
• Access Point
• Access Point WDS
System Requirements
• Windows XP, Windows Vista, Windows 7, Windows 8, Windows 10, Linux, or Mac
OS X
• Web Browser: Mozilla Firefox, Apple Safari, Google Chrome, or Microsoft Internet
Explorer 9 (or above)

Pro Range 95 User Manual 1.33 Page 7 of 36
Getting Started
To access the Pro Range Configuration Interface, perform the following steps:
1. Configure the Ethernet adapter on your computer with a static IP address on the
192.168.0.x subnet (for example, IP address: 192.168.0.100 and subnet mask:
255.255.255.0
2. Launch your web browser and enter the default IP address of your device in the
address field. IP Address
Pro Range products are pre-configured to IP address 192.168.0.229/192.168.0.228
If the unit has reset, it will go to the default IP address of 192.168.1.1. You
will need to change your Ethernet adapter IP address to 192.168.1.x
subnet.
3. Enter admin in the Username field and password in the Password field, and click
Login.

Pro Range 95 User Manual 1.33 Page 8 of 36
Navigation
The Pro Range Configuration Interface contains four main tabs, each with sub tabs
which provide a web-based management page to configure a specific aspect of the
SilverNet device:
•Status The “Status Tab” displays device status, system logs, and real-time
graphs.
• Admin The “Admin Tab” configures system management services: Ping
Watchdog, Simple Network Management Protocol (SNMP), Spanning Tree Protocol
(STP), and configuration backup.
• Services The “Services Tab” allows you to configure services such as Ping
Watchdog and/or auto reboot.
• Network The “Network Tab” configures the network operating mode; Internet
Protocol (IP) settings, DHCP settings, basic wireless settings, including the wireless
mode, Service Set Identifier (SSID), 802.11 mode, channel and frequency, output
power, data rate module, and wireless security.
•Logout The “Logout Tab” allows you to logout of the unit.
Apply Settings To apply any settings to the radio, click Save and Apply

Pro Range 95 User Manual 1.33 Page 9 of 36
Status Tab
The Status tab displays a summary of the link status information, current values of
the basic configuration settings (depending on the operating mode), network
settings and information, and traffic statistics.
AP status page
Station status page
The alignment buzzer is only available on the station end of the link
The max number of beeps is 4; this means you have a good link.

Pro Range 95 User Manual 1.33 Page 10 of 36
Overview
Wireless This shows you the SSID, operating mode, channel frequency, bitrate,
BSSID, encryption status, the ACK (acknowledgment timeout) and the DFS status.
In station mode you will also see TX CCQ, RX Rate and TX Rate.
Associated Stations Displays the MAC address, SSID and signal information of
any stations connected to the AP.
System Displays the name of the device, the firmware version and the current
system date and time. The date and time are displayed in DAY-MONTH-YEAR
HOURS:MINUTES:SECONDS format.
Network Displays local device information including the current uptime, MAC
address and IP address.
DHCP Leases shows MAC and IP addresses of connected computers with static
DHCP leases.
Wireless parameters
SSID Displays the name of the wireless network that the AP is transmitting, the
Service Set Identifier (SSID), is what you will see if you scan with your laptop.
Mode This is “Master” if the device is set in AP mode or AP WDS Mode.
This will show as “client” if the device is in station mode or station WDS mode.
Channel Shows the channel number and frequency that the device is using.
Bitrate This is the maximum bitrate supported by the radio
BSSID Displays the MAC address of the device
Encryption Displays the wireless encryption used
ACK Timeout shows the maximum acknowledgment time in microseconds
DFS status If DFS is enabled, the device will automatically switch channels if any
radar is detected on the current channel it is using.
Associated stations parameters
MAC address Displays the MAC address of the device
Network States the name of the wireless network
Device name Shows the name of the device
Last IP Shows the most recent IP address of the associated device as seen by the
router
Signal Displays the received signal strength
Signal Chains Shows the received signal strengths of each antenna e.g. -52, -49,
-51 dBm. If the device only has 2 antennas you may see one value as -95 dBm.
Noise Displays the received noise power at the AP
TX Rate shows the transmit bitrate of the device.
RX Rate shows the receive bitrate of the device.
TX CCQ Displays the transmission quality in %. A higher percentage means better
wireless connection quality.

Pro Range 95 User Manual 1.33 Page 11 of 36
Realtime Graphs
There are four different graphs, you can view Load, Traffic, Wireless and connection
graphs.

Pro Range 95 User Manual 1.33 Page 12 of 36
Admin Tab
The Admin tab contains administrative options. This page enables the administrator
to reboot the device, reset it to factory defaults, upload new firmware, back up or
upload the configuration, and configure the administrator account.
System
Local Time Displays the local time according to the time zone
Host Name Enter a name for your device
Time zone Select the correct time zone from the drop-down menu
Enable NTP Client Check to enable NTP
NTP Server Enter your preferred time server
NTP Server Candidates These are the sources where you get your time
information. We recommend you enter at least three for accurate time
synchronisation.

Pro Range 95 User Manual 1.33 Page 13 of 36
Administration
Password Enter a new password
Confirmation Re-enter your new password
Web
Protocol Pick from HTTP and HTTPS.
Port Specify the listening port of the Web server.
Interface You can choose to only enable web access from the ticked interfaces.
This is very useful when using a management VLAN.

Pro Range 95 User Manual 1.33 Page 14 of 36
SNMP
General Settings
Enable SNMP Enable SNMP
SNMP V2c Read Password Sets the community string for read-only access (to the
carriables on the SNMP agent) by the Network Management Station (NMS). The
NMS is the software that runs on the SNMP manager. (default: public)
SNMP V2c Write Password Sets the community string for read-write access by
the SNMP manager. (default: private) A community string identifies a group of
SNMP agents. It is sent in clear text. It should be changed from the default string
“public” or “private”. The variables on the SNMP agent can be classified into
read-only or read-write variables.
SNMP V3 Username Sets the username for authentication. (default: admin)
SNMP V3 Auth Algorithm Shows the authentication algorithm used e.g. MD5.
SNMP V3 Auth Password Configures the password for user authentication.
(default: password)
SNMP V3 Privacy Algorithm Shows the data encryption algorithm used e.g. DES.
SNMP V3 Privacy Password Sets the password for data encryption. (default:
password)
Trap
Enable SNMP Trap Allows the SNMP agent to notify the SNMP manager of events.
SNMP Trap IP Address Sets the IP address of the SNMP manager which receives
the trap messages.
SNMP Trap Port Sets the port number.

Pro Range 95 User Manual 1.33 Page 15 of 36
LED Configuration
You can configure the LEDs on the device to light up when received signal levels
reach the values defined in the four fields.
Signal strength indicator interface Choose the wireless interface (wireless
network name) to display LEDs for.
Signal strength indicator LEDs Sets the received signal strength thresholds (in
dBm), if the signal is above the threshold, the LED will light up.

Pro Range 95 User Manual 1.33 Page 16 of 36
Backup/Flash Firmware
Backup / Restore
Download Backup Click to save down the configuration file of the device.
Reset to defaults This will reset the device to the default factory settings (IP
address 192.168.1.1)
Restore Backup Select the configuration file you wish to upload and click the
restore button.
Flash new firmware
Keep settings Enable to keep the current settings after firmware upgrade.
Choose File Select the firmware file you wish to upgrade and click upload to begin
the update process.
Please be patient, as the firmware upgrade routine can take 5-10 minutes.
The device will be un-accessible until the firmware upgrade is completed.
Do not switch off the device! Do not reboot and do not disconnect the
device from the power supply during the firmware upgrade process as
these actions will damage the device!

Pro Range 95 User Manual 1.33 Page 17 of 36
Services Tab
The Services tab provides useful and enhanced functions to help assist device
operations.
Ping Watchdog
Enable Ping Watchdog Default is disabled. Check on box to enable
IP Address to Ping Target IP address to ping
Ping Interval Default is 5 seconds (minimum). This is Ping test duration.
Startup Delay Default is 60 seconds (minimum). One time delay after device
“start-up” procedure
Failure Count to Reboot Default is 5. This is the number of ping failure counts
before the device begins the reboot process.
Auto Reboot
Enable Auto Reboot Default is disabled. This mode lets you preset a timer to
automatically force a reboot. Timer can in fixed number of hours or at a specified
time of day.
Mode Select by Number of Hours or By Time
Number of Hours Enter the number of hours the device will run for before starting
the reboot process.
By Time Enter the specific time of day in hh:mm (24-hour format) to start the
reboot process.

Pro Range 95 User Manual 1.33 Page 18 of 36
Dynamic DNS
The domain name system (DNS) translates a URL like www.silvernet.com to an IP
address like 206.190.36.45.
Dynamic DNS (DDNS) allows the device to be reached from the internet via a URL
even if its IP address is dynamically changing. (The device must have a public IP
address)
Enable Enables the dynamic DNS.
Event interface Chooses the interface, e.g. LAN or WAN, to run the DDNS script
process.
Service Chooses the DDNS service provider e.g. no-ip.com.
Hostname Specifies the hostname e.g. y0033.no-ip.biz.
Username Sets the username registered for the DDNS service.
Password Sets the password registered for the DDNS service.
Source of IP Address Configures the source of the IP address information. The
default is URL.
URL Sets the URL of the source of the IP address information, e.g.
http://checkip.dyndns.com
Check for changed IP every The default is to check the IP address every 1
minute.
Force update every The default is to force an update every 72 hours.

Pro Range 95 User Manual 1.33 Page 19 of 36
Network Tab
The Network tab contains everything needed to set up the wireless part of the link.
This includes SSID, channel and frequency settings, device mode, data rates, and
wireless security.
Note Click the edit button to enter the set-up page for LAN or WAN interface

Pro Range 95 User Manual 1.33 Page 20 of 36
LAN/WAN Interfaces
Protocol Here you can enable DHCP Client or Static (default)
DHCP Client If enabled, your device will get an IP address automatically from
the network. There must be a DHCP server on your network for this to work.
Static Allows you to enter a static IP address.
IPv4 address Enter the IP address you wish to give to the device. You will use this
IP address to access the device interface.
IPv4 Netmask Enter the class for the IP address. The default is a class C value of
255.255.255.0
IPv4 Gateway (optional) Enter the gateway IP address of the network the device
is connected to.
IPv4 broadcast (optional) Specifies the IPv4 broadcast address
Use custom DNS servers Enter the IP address for the DNS server you wish to use
Accept router advertisements Check to enable
Send router solicitations Check to enable
IPv6 address (optional) Enter the IPv6 address you wish to give to the device. You
will use this IP address to access the device interface.
IPv6 Gateway (optional) Enter the gateway IPv6 address of the network the
device is connected to.
DHCP Server disabled if ticked, un-tick to enable.
This manual suits for next models
4
Table of contents
Other SilverNet Microphone System manuals
