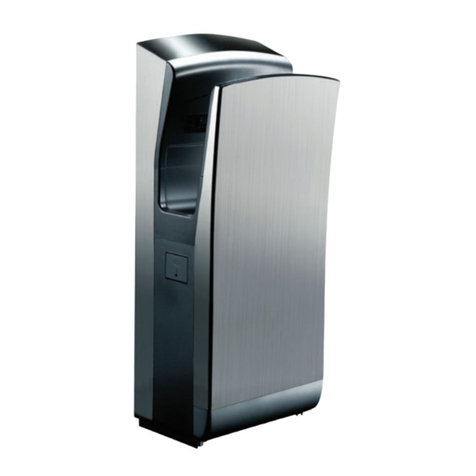
• This unit must be isolated from the power supply during routine maintenance.
• This unit should be serviced every 3 months or more frequently to remove dust, fluff
or any other build up from the filter inlet and outlet grill areas (see label on unit).
• Do not attempt to disassemble unit as this may void the product warranty.
Figure A Figure B
155mm
1300mm
212mm
Floor Surface This product is guaranteed by Simx Ltd for 24 months from the date of purchase
against faulty materials or workmanship which affects its design ability to switch and
operate. During this period if the product has a defect of this nature it will be repaired
or replaced free of charge by Simx with the same item, or a similar one of higher
specifications, ON THE CONDITIONS THAT:
The buyer returns it to the seller from whom it was bought, freight paid.
The product has been bought by the user, i.e. a receipt/sales invoice is produced
as a proof of purchase.
The product has not been misused or handled carelessly, installed in anyway
contrary to the installation instruction, or installed in any unusually exposed or harsh
environmental conditions.
This guarantee excludes liability for any discolouration or delamination of paint or
plastic, or any user replacement parts. It does not confer any rights other than those
expressly set out above and does not cover any claims for consequential loss or
damage.
Our Goods come with guarantees that cannot be excluded under the Australian and
New Zealand Consumer Law. You are entitled to a replacement or refund for a major
failure and for compensation for any other reasonably foreseeable loss or damage.
You are also entitled to have the Goods repaired or replaced if the Goods fail to be of
acceptable quality and the failure does not amount to a major failure.
Note: This unit must be fixed to a solid supporting wall. Mounting above shelves or
over stainless steel/reflective surface counters may interfere with sensor operation
and is not recommended.
To ensure the ease of installation and subsequent maintenance of this unit, the
horizontal distance to any adjacent wall should not be less than 200mm.
1. Unscrew front panel from the bottom of the unit.
2. Disconnect power indicator plug from the BASE (see Figure A).
3. Align base of unit on desired wall location and mark mounting hole locations
(see Figure B).
4. Drill holes and installed supplied wall plugs.
5. Fix base to the wall using screws provided.
6. Install power indicator plug back into the BASE and reinstall front panel.
7. Plug unit into approved power point.
8. Check hand dryer operations.
Front Panel
Base
Unplug indicator
light here
INSTALLATION INSTRUCTIONS
SERVICING AND MAINTENANCE
WARRANTY


