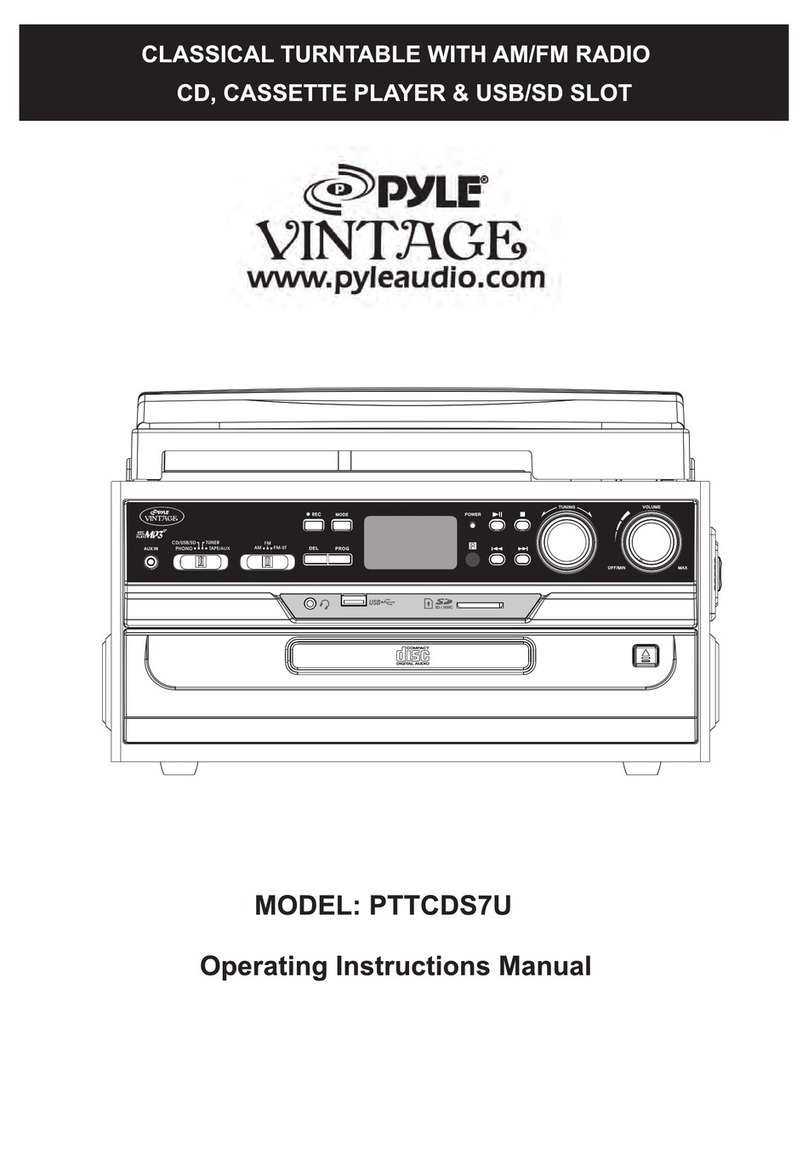
Singing Wood VP42AS User manual

Bluetooth Turntable Hi-Fi with Speaker
Tocadiscos Bluetooth Hi-Fi con altavoz
Tourne-disque Bluetooth Hi-Fi avec haut-parleur
User Manual (P.1-11)
Manual de Usuario (P.12-22)
Manuel de l'Utilisateur (P.23-33)
Model: VP42AS
Please read this manual carefully before operating and save it for future reference.
Lea atentamente este manual antes de utilizarlo y guárdelo para consultarlo en el futuro.
Veuillez lire attentivement ce manuel avant de l'utiliser et conservez-le pour référence future.


1
Table of contents
Package contents …..……………………………………….……..1
Overview of controls ……..…………………………….…………. 2
Install the platter and counterweight …..……………….…………. 4
Adjust the counterweight …………………………………………… 5
Connecting the included speakers …...…………………………… 5
Connecting an audio device …..……………………….………… 6
Connecting the power ……………………………………………… 6
Basic operation ……….…………………………………………….. 6
Playing a record …………………………………………………….. 7
Bluetooth operation ……….……………………………………… 7
Recording audio tracks on your computer ……..………………. 8
Maintenance ………………………………..……………………... 8
Specifications …………………….……………………………… 10
User safety guide / Warranty …………………………………….. 11
Package contents
Turntable x 1
Dust Cover x 1
Slip Mat x 1
Platter x 1
Drive Belt x 1
Red Ribbon x 1
Belt Hook x 1
45 RPM Adapter x 2
Counterweight x 1
Power Adaptor x 1
Speaker x 2
Speaker Wire x 2
RCA Audio Cable x 1
USB Cable for PC Link x 1

2
Overview of controls

3
1. Hinge
2. Motor Pulley
3. Drive Belt
4. Spindle
5. Platter
6. Counterweight
7. Tracking Force Dial
8. Tonearm Lift Lever
9. Tonearm Clip
10. Tonearm Rest
11. Tonearm
12. Stylus Cartridge
13. Off/ 33/ 45 Knob
14. Volume Control
15. Mode Indicator
16. Mode Button
17. Ground Connector
18. Power Input Jack
19. Phono/Line Out Switch
20. RCA Audio Output Jack
21. USB Port for PC Link
22. Speaker Output Terminals
23. Power Switch
24. Speaker Input Terminals

4
Install the Platter and Counterweight
1. Place the turntable on a flat and level surface.
2. Carefully place the platter (with drive belt) on the spindle
3. Use the red ribbon and belt hook to hook the drive belt around the motor
pulley.
Remark: Make sure not to twist the drive belt. After looping the belt, do not
forget to remove the red ribbon.
4. Place the slip mat on the platter. Ensure the logo is facing up when placing
the slip mat.
5. Push the counterweight onto the end of tonearm with tracking force dial facing
toward the front of the turntable.

5
Adjust the Counterweight
1. Release the tonearm clip, gently hold the tonearm and move it away from the
tonearm rest. At this point, the tonearm is unbalanced and free to swing.
2. Return the tonearm to the tonearm rest and lock the tonearm clip.
3. While holding the counterweight steady without any rotation, rotate carefully
only the tracking force dial until the “0” on the scale lines up with the
centerline marked along the top of the tonearm.
4. Rotate the counterweight including the tracking force dial counter-clockwise
(as seen from the front of the turntable) to adjust the pressure to the stylus
manufacturer recommendations.
5. Carefully rotate the Counterweight towards the front of the turntable until the
tonearm is horizontally balanced and hovers freely just above the platter
without the stylus touching the platter surface.
Remark:
- Each mark on the scale represents 0.05 g (gram).
- The recommended pressure for the factory-installed cartridge is 3.5 g+/-0.5g.
- The cartridge pressure goes up to 2g for one rotation of the tracking force dial.
Connecting the Included Speakers
1. Connect each speaker using the speaker wire to the turntable’s speaker
output terminals and the speaker input terminals.
2. Make sure that the turntable’s positive (red) terminal is connected to the
speaker positive (red) terminal. The turntable’s negative (black) terminal is
connected to the speaker negative (black) terminal.

6
Connecting an Audio Device
1. Set Phono/Line Out Switch according to the jacks of your stereo system
(amplifier or active speakers).
2. When your stereo system has Phono input jacks (connect to Phono input
jacks) and set to PHONO. The Equalizer function is off.
3. When your stereo system does not have Phono input jacks (connect to AUX,
VIDEO input jacks, etc.) and set to LINE. The Equalizer function is on.
4. Connect the RCA audio cable with the white plug to the white (L) jack and
connect the cable with the red plug to the red (R) jack.
Connecting the Power
1. Connect the Power adaptor to the power input jack on the back of the
turntable firmly.
2. Plug the Power adaptor into a wall outlet.
Basic Operation
1. Adjust the volume control to minimum level, and switch the power on.
2. Press the mode button to navigate between operations:
Turntable -> Bluetooth
Remark:
- Every time you turn on the turntable, it will switch to the last playback mode
you selected.
- Press and hold the mode button, the turntable will enter into standby mode.
- Press and hold the mode button again to resume operation.

7
Playing a Record
1. Remove the protector from the stylus cartridge.
2. Press the mode button to select turntable operation. The mode indicator turns
green.
3. Place a record on the platter. Use the 45 RPM Adapter if necessary.
4. Turn the Off/ 33 /45 knob to select 33 or 45 RPM speed according to the type
of record. The platter will start spinning.
5. Release the tonearm clip and set the tonearm lift lever to the up position.
6. Gently move the tonearm over the record where play is desired to begin. Set
the tonearm lift lever to the down position, the tonearm will descend slowly
onto the record and begin to playback.
7. Adjust the volume level as desired.
8. When the record is finished playing, set the tonearm lift lever to the up
position and then return it to the tonearm rest.
9. Turn the Off/ 33 /45 knob to Off position, the platter will stop spinning.
Bluetooth Operation
1. Press the mode button to select Bluetooth operation. The mode indicator
turns blue.
2. Choose the Bluetooth menu in your Bluetooth device, and from the found
devices, select the “Singing Wood VP42”. If you are prompted to enter the
PIN code, please enter "0000" (four zeros).
3. The Bluetooth is connected after successful connection.
4. Play from the Bluetooth device.

8
Recording Audio Tracks on your Computer
You can record audio tracks of a record or Bluetooth playback on your computer.
1. Connecting the turntable and your computer using the supplied USB cable.
2. Download the Audacity software and complete installation.
3. You can download the current version from
http://www.audacityteam.org/download/
4. For more information, see the instructions of Audacity software.
Maintenance
Cleaning the Turntable
1. Clean the turntable periodically using a soft dry cloth.
2. Keep the dust cover closed to ensure the turntable remains dust free.
Replacing the Stylus
To remove the stylus
1. Switch the power off and unplug the Power Adaptor of the turntable.
2. Hold the stylus cartridge tightly.
3. Grasp the stylus holder and pull it downward.

9
To install the stylus
1. Grasp both sides of the stylus holder, then insert the stylus grip into the stylus
cartridge receptacle.
2. Push up the stylus holder until it clicks so that it locks completely.
3. Make sure there is no gap between the stylus holder and the stylus cartridge.

10
Specifications
Turntable
Drive system Belt-drive
Motor DC motor
Speeds 33 1/3 RPM, 45 RPM
Platter Aluminium
Speed Variance ±1.5%
Wow and Flutter
0.15%
Signal to noise ratio 60dB
Tracking Force Range 3-5g
Power supply AC power adapter, DC output 18V 3000mA
Power consumption
25W
Dimensions (W x D x H)
14.41” x 13.98” x 3.62” (360 x 355 x 92mm) (dust
cover closed)
Weight 9.48lb (4.3kg)
Stylus
Model Audio-Technica AT3600L
Frequency Response 20Hz ~ 20kHz
Channel Balance <2.5dB
Output Separation >18dB
Output Voltage 2.5mV
Recommended Load Resistance
47kΩ
Amplifier Connection MM (Moving Magnet) - input
Recommended Tracking Force 3.5±0.5g
Speaker
Output Power 22W x 2
Speaker Units Woofer: 4", Tweeter: 2"
Impedance 4 Ω
Frequency Response 55Hz ~ 20KHz
Dimensions (W x D x H)
5.24" x 7.16" x 8.86" (133 x 182 x 225mm)
Weight 8.6lbs (3.9kg)
Design and specifications are subject to change without notice.

11

12
Tabla de contenido
Contenidos del paquete ………………………………….…………..12
Descripción general de los controles …………………….…………. 13
Instale el plato y el contrapeso ….…..…………………..…………. 15
Ajustar el contrapeso ……………………………………….………… 16
Conexión de los altavoces incluidos ...………………….………… 16
Conexión de un dispositivo de audio …………………….………… 17
Conexión de la alimentación …………………………….………… 17
Operación básica …….…………………………………….……….. 17
Reproducción de un registro …………………………….………….. 18
Operación Bluetooth …….…………………………………………… 18
Grabación de pistas de audio en su computadora ………………. 19
Mantenimiento .…………………………..…………………………... 19
Especificaciones ……………….…………………………………… 21
Guía de seguridad del usuario / Garantía ……………………... 22
Contenidos del paquete
Tocadiscos x 1
Guardapolvo x 1
Alfombrilla antideslizante x 1
Plato x 1
Correa de transmisión x 1
Listón rojo x 1
Gancho para cinturón x 1
Adaptador de 45 RPM x 2
Contrapeso x 1
Adaptador de corriente x 1
Altavoz x 2
Cable de altavoz x 2
Cable de audio RCA x 1
Cable USB para enlace de PC x 1

13
Descripción general de los controles

14
1. Bisagra
2. Polea del motor
3. Correa de transmisión
4. Husillo
5. Fuente
6. Contrapeso
7. Dial de fuerza de seguimiento
8. Palanca de elevación del brazo fonocaptor
9. Clip de brazo fonocaptor
10. Descanso del brazo
11. Brazo
12. Cartucho de lápiz óptico
13. Perilla de apagado/33/45
14. Control de volumen
15. Indicador de modo
16. Botón de modo
17. Conector de tierra
18. Conector de entrada de alimentación
19. Interruptor de salida de línea/fono
20. Conector de salida de audio RCA
21. Puerto USB para enlace de PC
22. Terminales de salida de altavoz
23. Interruptor de encendido
24. Terminales de entrada de altavoz

15
Instale el plato y el contrapeso
1. Coloque el tocadiscos sobre una superficie plana y nivelada.
2. Coloque con cuidado el plato (con la correa de transmisión) en el eje.
3. Use la cinta roja y el gancho para cinturón para enganchar la correa de
transmisión alrededor de la polea del motor.
Observación: asegúrese de no torcer la correa de transmisión. Después de
enrollar el cinturón, no olvide quitar la cinta roja.
4. Coloque la alfombrilla antideslizante en el plato. Asegúrese de que el logotipo
esté hacia arriba cuando coloque el tapete antideslizante.
5. Empuje el contrapeso en el extremo del brazo fonocaptor con el dial de fuerza
de seguimiento mirando hacia la parte delantera del tocadiscos.

16
Ajustar el contrapeso
1. Suelte el clip del brazo fonocaptor, sostenga suavemente el brazo fonocaptor
y aléjelo del reposabrazos. En este punto, el brazo fonocaptor está
desequilibrado y puede moverse libremente.
2. Vuelva a colocar el brazo fonocaptor en el reposabrazos y bloquee el clip del
brazo fonocaptor.
3. Mientras mantiene firme el contrapeso sin ninguna rotación, gire con cuidado
solo el dial de fuerza de seguimiento hasta que el "0" en la escala se alinee
con la línea central marcada en la parte superior del brazo fonocaptor.
4. Gire el contrapeso, incluido el dial de fuerza de seguimiento, en el sentido
contrario a las agujas del reloj (visto desde el frente de la plataforma giratoria)
para ajustar la presión según las recomendaciones del fabricante de la aguja.
5. Gire con cuidado el contrapeso hacia la parte delantera del tocadiscos hasta
que el brazo fonocaptor esté equilibrado horizontalmente y flote libremente
justo por encima del plato sin que la aguja toque la superficie del plato.
Observación:
- Cada marca en la escala representa 0,05 g (gramos).
- La presión recomendada para el cartucho instalado de fábrica es de 3,5
g+/-0,5 g.
- La presión del cartucho sube a 2 g por una rotación del dial de fuerza de
seguimiento.
Conexión de los altavoces incluidos
1. Conecte cada altavoz utilizando el cable de altavoz a los terminales de salida
de altavoz del tocadiscos y a los terminales de entrada de altavoz.
2. Asegúrese de que el terminal positivo (rojo) del tocadiscos esté conectado al
terminal positivo (rojo) del altavoz. El terminal negativo (negro) del tocadiscos
está conectado al terminal negativo (negro) del altavoz.

17
Conexión de un dispositivo de audio
1. Configure el conmutador Phono/Line Out de acuerdo con las tomas de su
sistema estéreo (amplificador o altavoces activos).
2. Cuando su sistema estéreo tiene conectores de entrada Phono (conéctelos a
los conectores de entrada Phono) y esté configurado en PHONO. La función
de ecualizador está desactivada.
3. Cuando su sistema estéreo no tiene conectores de entrada Phono
(conéctelos a los conectores de entrada AUX, VIDEO, etc.) y ajuste en LINE.
La función de ecualizador está activada.
4. Conecte el cable de audio RCA con el enchufe blanco al conector blanco (L) y
conecte el cable con el conector rojo al conector rojo (R).
Conexión de la alimentación
1. Conecte firmemente el adaptador de alimentación al conector de entrada de
alimentación en la parte posterior del tocadiscos.
2. Enchufe el adaptador de corriente a un tomacorriente de pared.
Operación básica
1. Ajuste el control de volumen al nivel mínimo y encienda la alimentación.
2. Presione el botón de modo para navegar entre las operaciones:
Tocadiscos -> Bluetooth
Observación:
- Cada vez que encienda el tocadiscos, cambiará al último modo de
reproducción que seleccionó.
- Mantenga presionado el botón de modo, el tocadiscos entrará en modo de
espera.
- Mantenga presionado el botón de modo nuevamente para reanudar la
operación.

18
Reproducción de un disco
1. Retire el protector del cartucho de la aguja.
2. Pulse el botón de modo para seleccionar el funcionamiento del tocadiscos. El
indicador de modo se vuelve verde.
3. Coloque un disco en el plato. Use el adaptador de 45 RPM si es necesario.
4. Gire la perilla Off/ 33 /45 para seleccionar la velocidad de 33 o 45 RPM según
el tipo de registro. El plato comenzará a girar.
5. Suelte el clip del brazo fonocaptor y coloque la palanca de elevación del brazo
fonocaptor en la posición superior.
6. Mueva suavemente el brazo fonocaptor sobre el disco donde desea que
comience la reproducción. Coloque la palanca de elevación del brazo
fonocaptor en la posición hacia abajo, el brazo fonocaptor descenderá
lentamente sobre el disco y comenzará la reproducción.
7. Ajuste el nivel de volumen como desee.
8. Cuando termine de reproducirse el disco, coloque la palanca de elevación del
brazo fonocaptor en la posición superior y luego vuelva a colocarla en el
reposabrazos.
9. Gire la perilla Off/ 33 /45 a la posición Off, el plato dejará de girar.
Operación Bluetooth
1. Pulse el botón de modo para seleccionar el funcionamiento de Bluetooth. El
indicador de modo se vuelve azul.
2. Elija el menú de Bluetooth en su dispositivo Bluetooth y, de los dispositivos
encontrados, seleccione “Singing Wood VP42”. Si se le solicita que ingrese el
código PIN, ingrese "0000" (cuatro ceros).
3. El Bluetooth está conectado después de una conexión exitosa.
4. Reproducir desde el dispositivo Bluetooth.
Table of contents
Languages:
