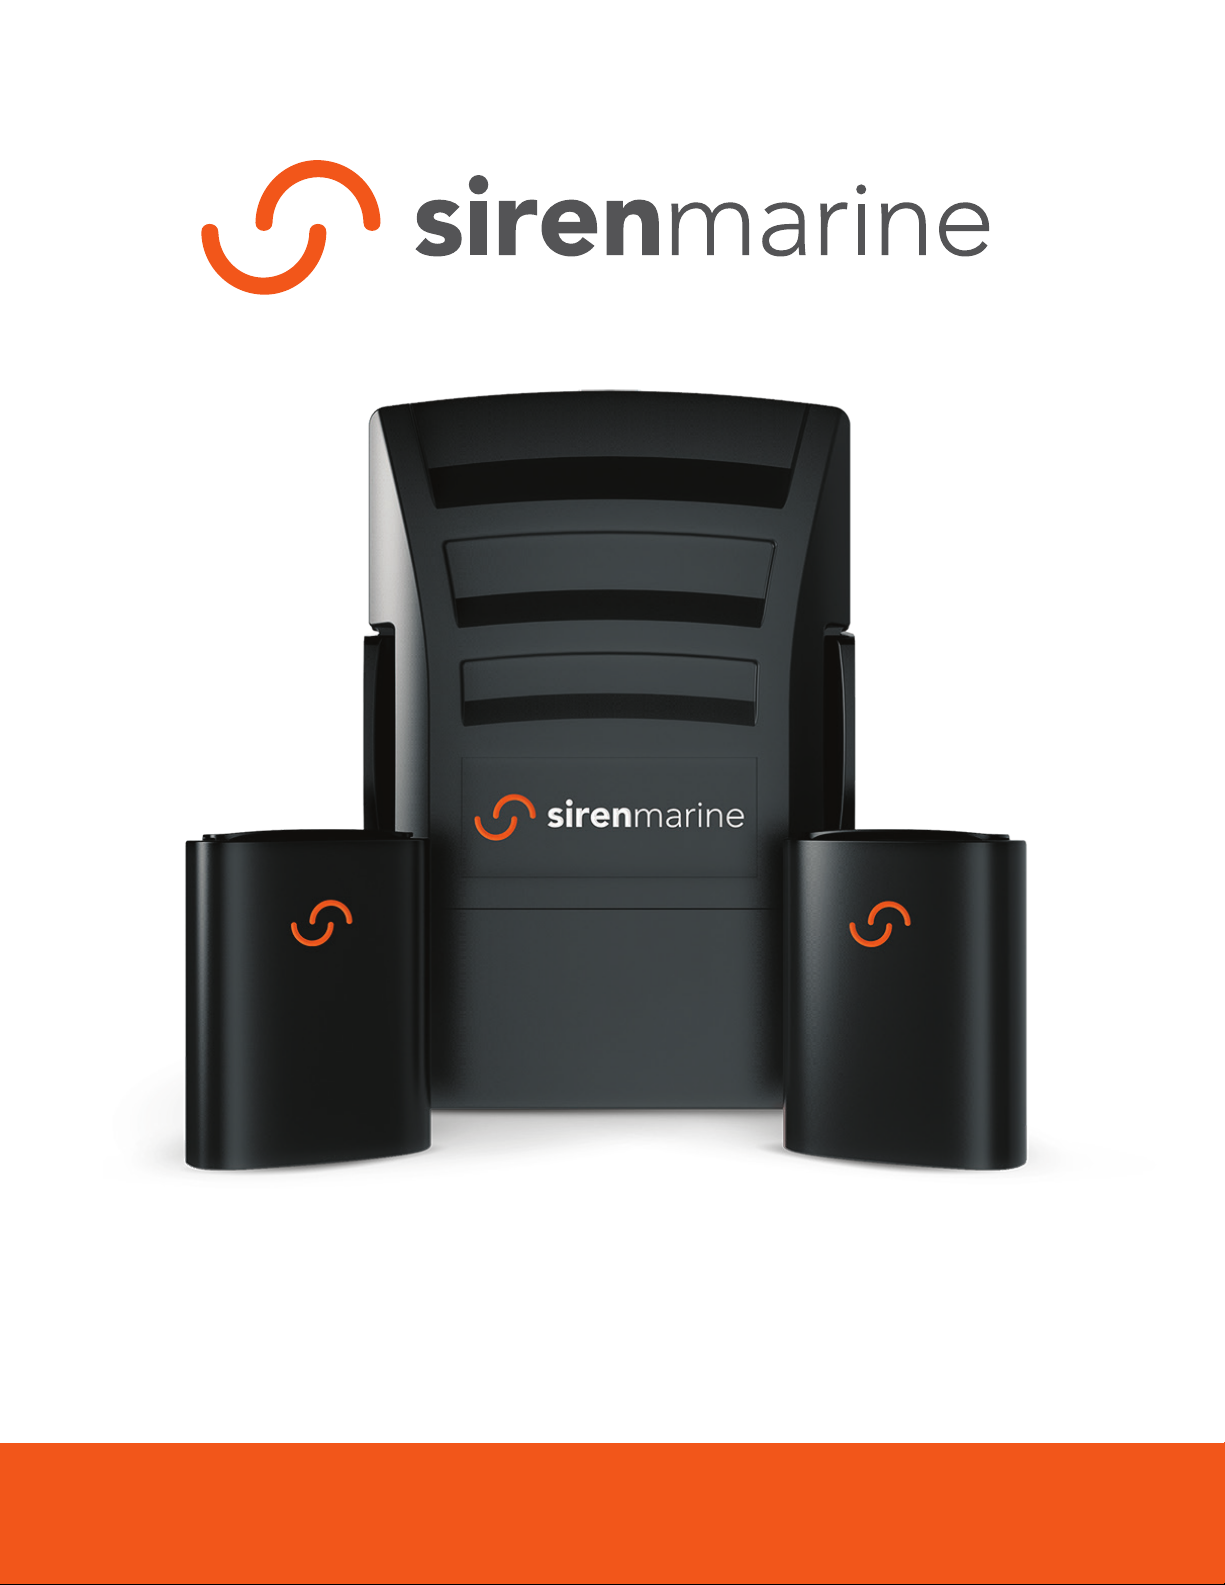
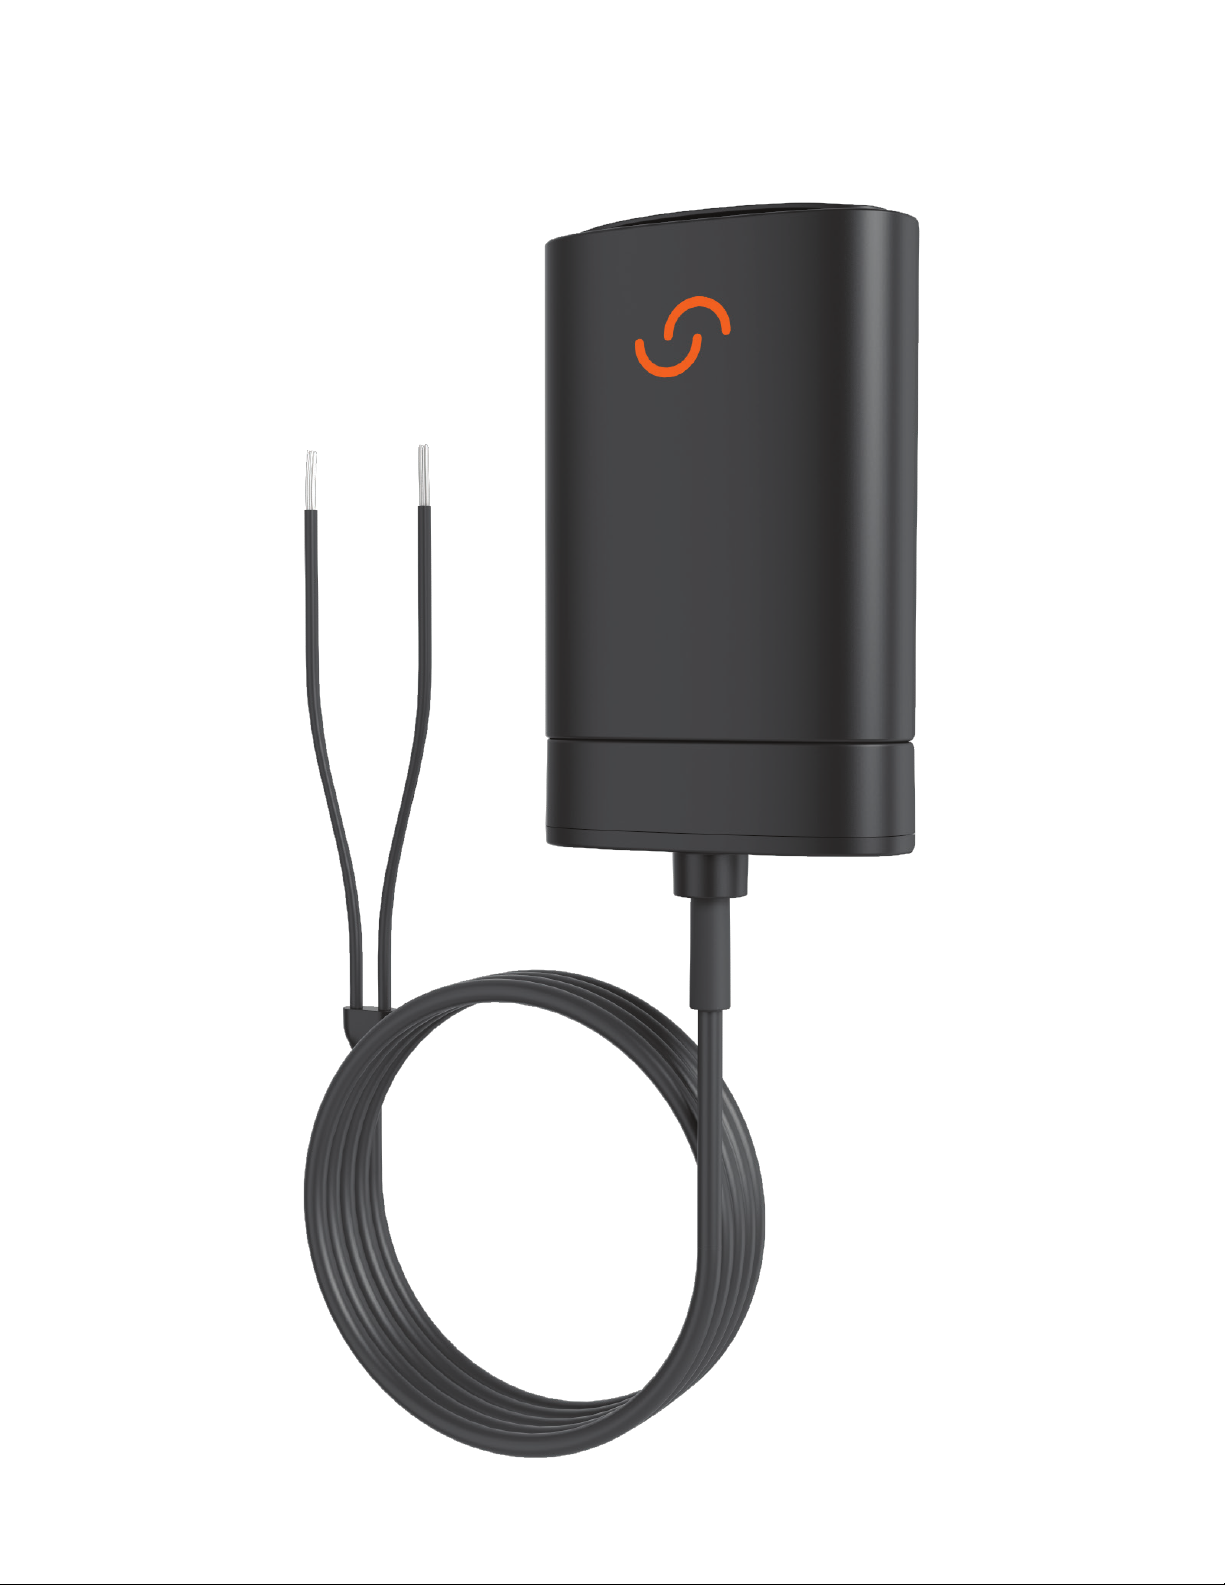
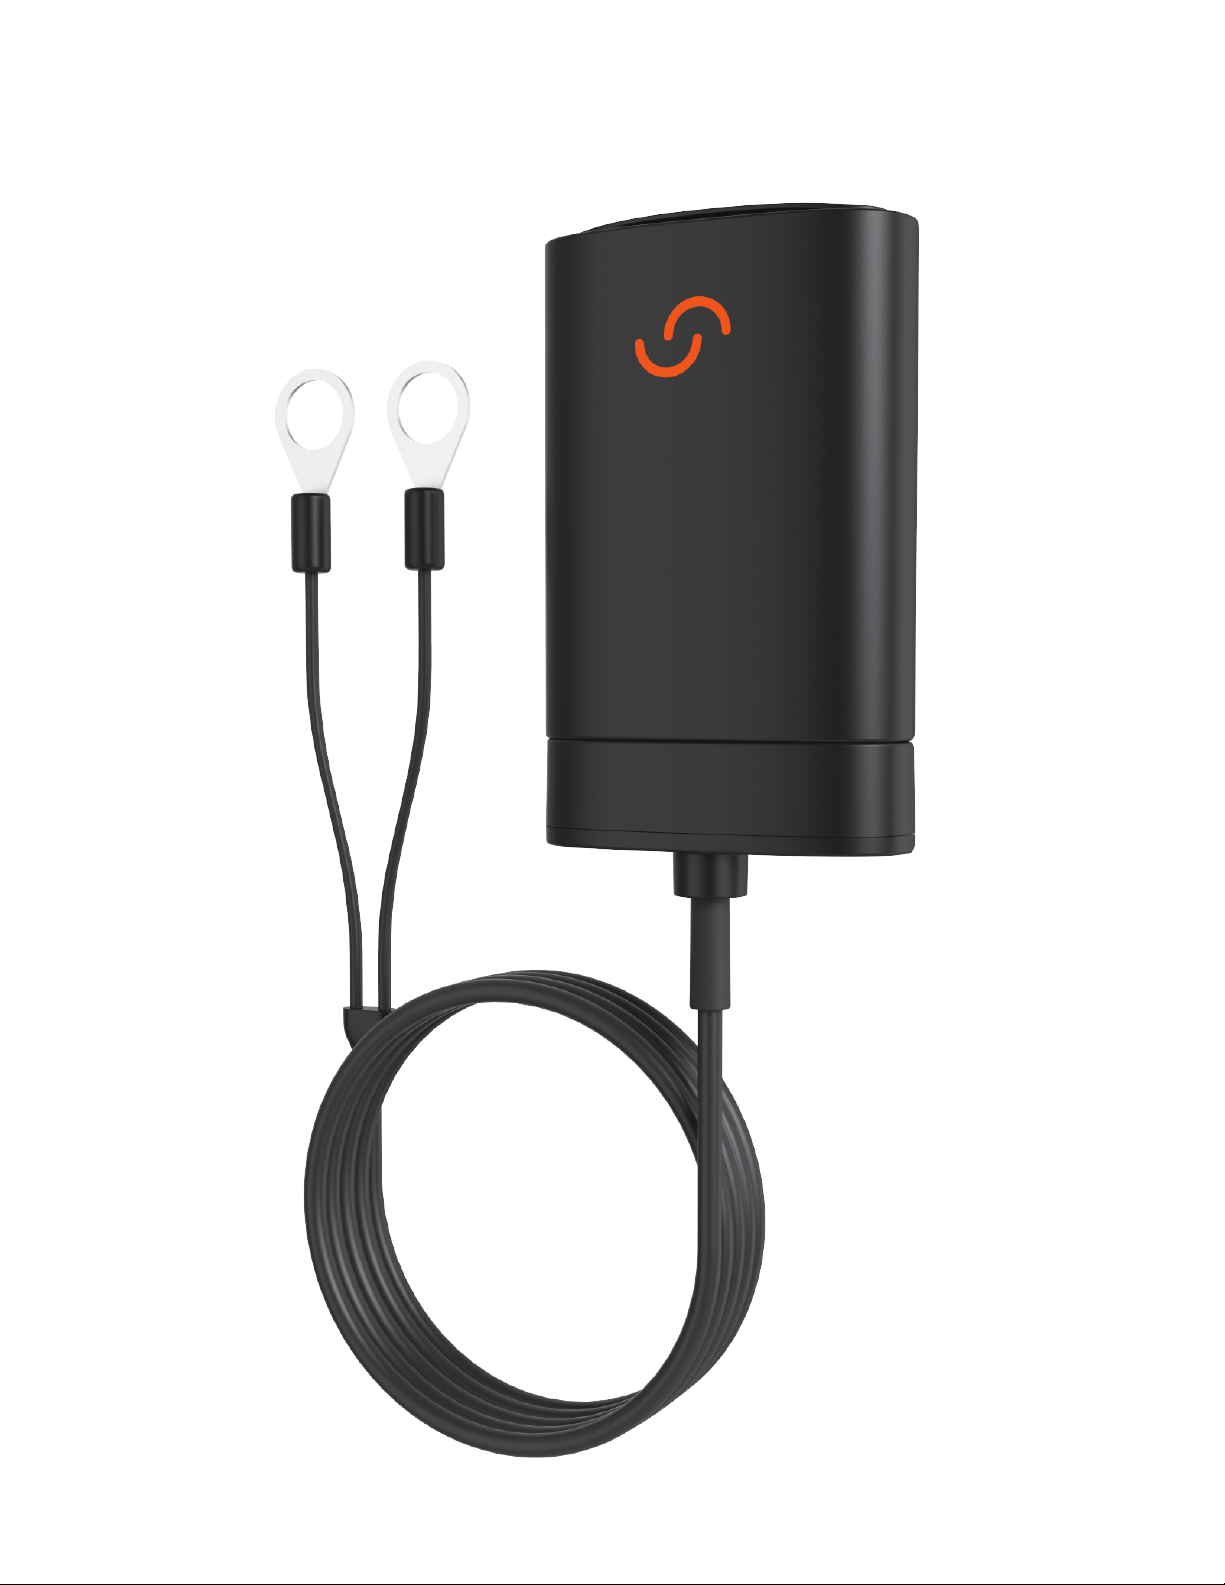
Siren Marine SM-WLS-BATT User manual

Wireless Sensor
Guide

Table of Contents
Siren Marine Wireless Sensors .....................4
Bilge Pump Sensor .....................................4
Entry Sensor................................................6
Battery Sensor.............................................8
High-Water Sensor....................................10
Temperature Sensor..................................12
Battery Installation ......................................14
Pair Wireless Sensors to Siren Marine MTC
....16
Wireless Sensor Installation........................17
Mounting with a Bracket...........................18
Mounting with Adhesive Strip ..................19
Battery Replacement...................................20
Technical Specications...............................22

Meet The Wireless Sensors
Siren Marine Wireless Sensors are easy to
install and ideal for hard-to-access areas.
Easy
to Install
Peel & Stick
Mounting
Monitor
Temperature
IP67
Waterproof
2-Year
Battery Life
Up to 200
Foot Range

4
Bilge Pump Sensor
Monitor bilge-pump activity and receive alerts
if your boat is taking on water.
There are two ways for the wireless sensor to
monitor bilge pump activity:
1.
Connect the Positive(+) and Negative(-)
leads from the sensor directly to the
Positive(+) and
Negative(-) leads off
your bilge pump.
2.
Connect the Positive(+) and Negative(-)
leads
from the sensor directly to the bilge
indicator light at your helm.
Secure the sensor by using the supplied
Mounting Bracket or Adhesive Strip.
Insert the Bilge Pump Tail into the wireless
module and tighten the two hex screws.
Pair the Wireless Module to the MTC unit.
Note: This sensor is polarity sensitive.

5

6
Entry Sensor
Protect against unauthorized entry. Perfect for
securing lockers, doors and hatches.
Mount the Wireless Entry Sensor Mounting
Bracket to a hatch, locker or other entry point
using the supplied Screws or Adhesive Strip.
Click the Wireless Entry Sensor into the
Mounting Bracket.
Mount the Open/Close Magnet directly
opposite the wireless module using the
supplied Adhesive Strip.
Pair the Wireless Module to the MTC unit.
Note: When the hatch, locker or entry point
is opened, a notication will be sent to the
Siren
Marine app and an audible alarm can be
triggered.

7

8
Battery Sensor
Monitor additional batteries without a
hard-wired
connection to the MTC unit.
Connect both the Positive(+) and
Negative(-) leads of the Battery Sensor
directly to the Positive(+) and Negative(-)
posts on your battery.
Secure the Wireless Battery Sensor using
the supplied Mounting Bracket.
Plug the Battery Tail into the wireless
module and tighten the two hex screws.
Pair the Wireless Module to the MTC unit.
Note: This sensor is polarity sensitive.
Notications will be sent to the Siren Marine
app if the voltage drops below or exceeds
present levels.

9

10
High-Water Sensor
Detects if there is water in the bilge.
Mount the High-Water Wireless Module
in an area above the High-Water Line in
the bilge.
Secure the High-Water Sensor at the
desired height in the bilge using the
supplied Adhesive Strip.
Plug the High-Water Tail into the wireless
module and tighten the two hex screws.
Pair the Wireless Module to the MTC unit.
Note: Notications will be sent to the Siren
Marine app if the water level in the bilge rises
above the preset level.

11

12
Temperature Sensor
Monitor the temperature of your cabin,
engine room, bait locker or fridge.
The Wireless Temperature Sensor
works with and without the detachable
Temperature Probe.
To monitor temperature without the
Temperature Probe
, simply mount the
Wireless Module in the area to be
monitored
and link to the MTC unit.
To monitor the temperature of a specic
area or piece of equipment (e.g. engine
block or inside a fridge), attach one end
of the Temperature Probe to what you
want to monitor, plug the other end of the
tail into the wireless module and tighten
the two hex screws.
Pair the Wireless Module to the MTC unit.
Note: Notications will be sent to the Siren
Marine app if the temperature falls below or
exceeds the preset levels.

13

14
Battery Installation
Important: Your wireless sensor comes with
a CR2430 internal battery which will need
to be installed prior to pairing the wireless
sensor with the MTC unit.
Please be sure to follow the steps below:
Remove the four screws on the back of the
wireless module.
Insert the CR2430 battery into the battery
holder. Be sure that the Positive(+) side of
the battery is facing up.
Replace the back of the sensor and tighten
the four Phillps screws. Use care when closing
up the wireless module. Make sure to tighten
the screws snugly and that all seals and
O-rings are secure and in place.
Note: Do not over-tighten.
!

15

16
Pair Wireless Sensors to
Siren Marine MTC
Make sure the battery has been installed in
the wireless sensor.
(See instructions on page 14)
Pair the wireless sensor prior to mounting in
it’s permanent location.
Go to the Settings page on the Siren Marine
app and select Add Wireless Sensor.
Scan the QR Code on the back of your
wireless sensor to proceed.
Select the wireless sensor type.
In the dialog box, rename the sensor
description and select Add.
To add additional sensors, repeat above steps.
Note: All elds must be lled in or selected.

17
Wireless Sensor Installation
READ BEFORE STARTING
Important information on maintenance
and installation:
All wireless sensors should be checked and
inspected on a regular basis.
Keep all wired connections to battery
terminals and bilge pumps clean and tight.
Battery life expectancy is two years, however
we recommend replacing the internal battery
of your wireless sensor every year.
The wireless sensors should be installed on a
smooth at surface.
Siren Marine adhesive strips are very strong
and cannot be easily repositioned. Before
you press and hold it for 30 seconds, be sure
the wireless sensor is aligned correctly and is
communicating with your Siren Marine MTC.
!

18
Wireless Sensor Installation
Mounting with a Bracket:
If your surfaces are rough, dirty or prone to
high heat or humidity, install your wireless
sensor with the supplied bracket and screws.
Remove the wireless sensor from its supplied
mounting bracket to expose the screw holes.
Align the mounting bracket in the desired
location. Be sure to drill a pilot hole to avoid
any cracking or chipping on the surface.
Secure the mounting bracket using the
supplied mounting screws.
Snap the wireless sensor into the mounting
bracket.
Plug the wireless sensor into the wireless
module and tighten the two hex screws.

19
Wireless Sensor Installation
Mounting with Adhesive Strip:
Make sure the surface is clean and dry.
Peel the protective cover off the adhesive
strip on the back of the mounting bracket.
Align the mounting bracket in the desired
position and press evenly with your palm.
Hold in place for at least 30 seconds.
Snap the wireless sensor into the mounting
bracket.
Plug the wireless sensor into the wireless
module and tighten the two hex screws.

20
Battery Replacement
The wireless sensor will notify you via the
Siren Marine App when the internal battery
voltage is low.
If a sensor (e.g. high-water probe) is attached
to the wireless module, it must be removed
before the module can be removed from the
mounting bracket.
Use the supplied Allen Key to undo the
two hex bolts that attach the sensor tail to
the wireless module. Carefully separate the
tail from the module, being careful not to
lose the screws.
If the wireless module is mounted using the
mounting bracket, unclip the sensor from
the bracket.
This manual suits for next models
4
Table of contents
Other Siren Marine Accessories manuals