SkyBean ChaseCam User manual

User guide (rev. 1904)
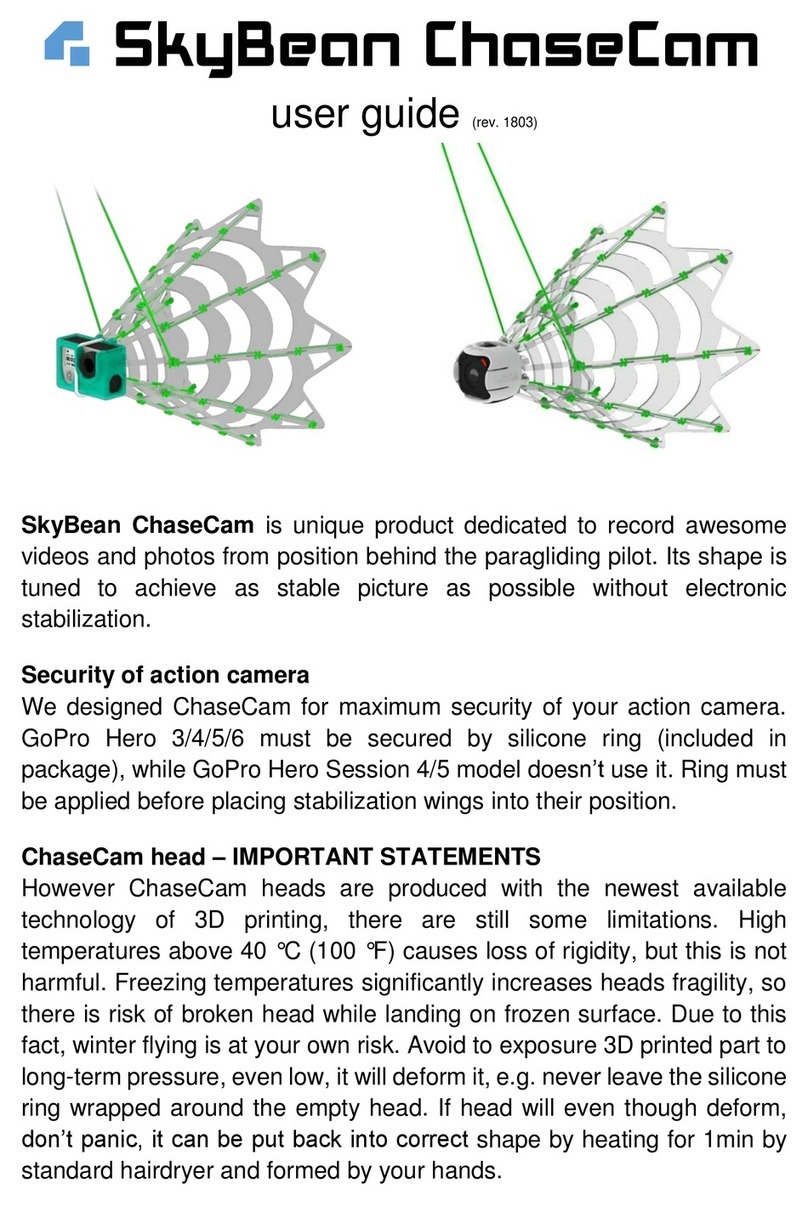
SkyBean ChaseCam is an original product
developed to record awesome photos and videos
from behind pilot. Its shape is tuned to achieve
as stable picture as possible without any
electronic stabilization.
Assembly
To keep compact size of package for transport, chasecam comes unassembled inside
box. Therefore, you will need to assembly your chasecam before its first flight.
content of the package

Head
Classic shaped Gopro camera (Hero 3-7 versions, not cube) needs to be secured
inside head by white silicone ring. Place it around chasecam head, into groove on
head’s back. Cubic shaped Gopro cameras (Session 4 or 5) don’t need silicone ring,
camera is secured inside head by flexible flaps on the sides. Universal model of
chasecam uses standard adhesive holder attached to flat base plate. You can place it
after chasecam’s assembly (see picture). We also recommend to use some kind of
safety stripe in case of camera’s holder failure. For this purpose, there are holes in
universal platform.
Hero 3, 4 Hero 5, 6, 7 universal platform
Wings
Put 8 wings inside apertures in
direction marked by little
arrows on chasecam’s head.
Make sure that wingtip hooks
are opened in heads apertures.
If they won’t open, help them
by pen tip (see picture).
Binding
In the next step, you need to bind the wings. Hero 3, 4 and Session models – start
binding at 2
nd hole, leave 1
st free. GoPro 5, 6, 7 and universal model – start binding in
1
st
hole, leave 3
rd
free.
Hero 3, 4 and Session Hero 5, 6, 7 and universal

Make a simple tight knot few millimeters from beginning of binding line and tighten it.
Continue binding according to pictures. End of binding is also secured by simple knot,
make it as close as possible to wing to keep binding tight.
outer side of binding
inner side of binding
Try to bind chasecam tightly enough to achieve solid shape. If binding will be too
loose, chasecam’s shape won’t have the best aerodynamic characteristic. We
recommend to bind wings in 4 separated pairs and after connect these pairs. Push
wings a little to stay against straight (each other), when binding them together.

Cut lines 1 cm behind the last knot and melt it a little with lighter (see pictures).
Main line connection
Hero 3, 4 and Session models use single main line (one connecting point on each
side). Pass hanging line through bungee crimped loop and make simple knot close to
it (1cm). Make sure that both ends of line have the same length.
Insert both halves from outer side into
upper free hole on each chasecam’s
side and make simple knot from inner
side and tighten it. Now insert camera
into chasecam’s head and check from
front view if chasecam is in horizontal
position. Evenly adjust – move one of
knots. Due to slightly different weight of
cameras, some adhesive weights are
attached. Correct position of balanced
chasecam is slightly head up (10-20
degrees). If chasecam is slightly head
down or horizontal, put weight to flat end
of bottom wing to achieve desired
position. Don’t worry, chasecam will be
in horizontal position during flight.

Hero 5, 6, 7 and universal models use double line connection, there are two hanging
lines, one of each side of chasecam, left and right. First attach a small metal ring to
bungee rope. Insert loop into ring and drag it over. Rotate ring into position, where its
ends sit under bungee rope loop (see red circle on picture). This will ensure smooth
movement of hanging lines. Finally tighten bungee loop to hold metal ring in its
position.

Place camera into the head and secure it with silicone ring. Make tight knot on the end
of hanging line, insert line through upper free hole on wing from left inner side, and
then go through small metal ring and through hole in chasecam’s head from the left
inner side. Finally, make tight knot on the end of line. Do this also for the right side.
Chasecam can now move around crosswise horizontal axis, so produced drag during
flight will balance it in perfect horizontal position. No adhesive weights are needed.

In case you will use very heavy
camera with universal chasecam
(e.g. Hero 7), place camera as
close as possible to base
platform. We recommend holder
type shown on picture.
Mount and adjustment
Hang chasecam on middle eye
on canopy’s trailing edge, where
brake line is connected. Bungee
rope length should be adjusted
to achieve best possible
footage. We equipped SkyBean
ChaseCam by 6m long bungee
rope, which should be suitable for
most glider types, you can adjust
length with tiny black plastic
piece (see tension fuse chapter).
We recommend to start with line
1.5m shorter than brake lines and
make several short flights during
length tuning. The point is to tune
the length of bungee rope to fit pilot at bottom and glider at top of the scene. You
should avoid to let the ChaseCam fly in turbulence behind the pilot. Particularly PPG
pilots should give attention to avoid longer rope. There is real possibility that
chasecam can hit revolving propeller during landing if rope is too long! Use wide
setting of your camera, we recommend 1440p or 1080s at 30fps.

Launch
There are several options how to take off with chasecam. If you have Hero 3-7
version, always use the rubber ring to secure camera in its position inside of the
head.
Assisted take-off - If there is somebody helpful available, this is the best option to get
awesome shot during takeoff. The assistant should stay behind prepared wing. Some
distance is required to ensure safety and also to fit you and the glider into scene. Wide
angle setting on your camera will help. Assistant should hold chasecam lightly and
after pilot rises the glider and moves forward, chasecam will fly away from assistant’s
hand. Be sure when asking somebody to assist, that she/he will hold the chasecam
lightly and that she/he will release it!
Rocket launch – In perfect take-off conditions with light wind and suitable take-off
surface (without sharp stones) you can use the “rocket launch”. Place the ChaseCam
facing by cameras lens to the sky, between pilot and trailing edge of the glider, about
1m from glider. It is recommended to place the bungee rope snaked or coiled between
ChaseCam and trailing edge. You will get a very nice footage of rising glider above the
camera and it will record the whole launch.
Harness launch – If you are not sure about smooth launch or if you are time stressed
on take-off place by many pilots waiting for launch, use the harness launch. Prepare
your glider and ChaseCam on the side of take-off place and snap it to Hook-and-Loop
fastener on arm strap of your harness. After take-off, when you are a away from
take-off place and you are safely sitting in the harness, detach chasecam from
Hook-and-Loop fastener, smile to camera and let it fly out. This type of launch won’t
make a video during takeoff, but always remember - safety first!

Landing
If there is wind on the landing area and therefore it is possible to keep the glider up
after landing, you can catch the chasecam into the hand, which is very impressive on
video. Anyway, you can let chasecam land without any action. Please note that
ChaseCam is made from durable material, there is always risk of damage if you are
landing on rough place.
Bungee rope
The pilot must check the integrity of the bungee rope before each flight. Do not use it
in case of any cracks, splits or scratches! Bungee rope core is made from rubber and
it is sensitive to UV rays coming from sun, therefore in case of frequent use (50
h/year), it is recommended to change the bungee rope annually. SkyBean team is not
responsible for loss of ChaseCam and camera while using worn out bungee rope.
Transport and storage
Assembled chasecam keeps its best flying properties when its shape is undeformed
and symmetric. We recommend to use some soft stuff, like gloves or jacket to put
them inside the chasecam and together put it into the helmet, when packing
paragliding backpack. Bungee rope can be placed inside chasecam’s body or
wrapped around its neck. If you decide to wrap, please don’t tension the bungee
rope. Even small force used to wrap will be multiplied by number of turns and total
force will deform wings and chasecam’s head. This deformation can be harmful to
your camera. If you recognize any problems while camera slide into or out of head –
heat chasecam’s head by standard hair dryer for one minute and eventually form it
back in shape. Try to slide camera in and out again, it must slide easily. Never use
extended force to press camera into unheated deformed head, you can damage
it!
Tension fuse
Some pilots, particularly PPG or speed-ride ones, fly aggressively very close to
obstacles, like trees, buildings or just to each other. In this case, there is a real danger
that flying chasecam can stuck or tangle somewhere. For this reason, we include
tension fuse, which holds chasecam safely during normal flight, but will break under
extreme force and release stuck chasecam. In normal flight chasecam produces drag
around 2.5N (10N at 100kph). We tested drag up to 200 kph, where tension fuse
starts to open at 20N drag. If you decide to use it, please disconnect two small
keyrings close to attachment hook and place larger slender keyring between them
(see picture). Please note, SkyBean team is not responsible if you will lose your
chasecam with camera onboard when this tension fuse will disconnect chasecam
from your glider.

Tips and tricks
Once you takeoff, you cannot touch your camera, so we recommend to use remote
control during long XC flights. You will save power and you can capture just interesting
and nice footage from your flight, e.g. 30s clips are a good choice. When you are
getting closer to nice scene, give camera some time to wake up and connect to your
remote control from power off state. If you want to get more from glider into scene,
push speedbar. Increased speed will produce more drag, so chasecam will fly further
behind you. Set camera to 1440p to get picture from whole CMOS sensor. You can
squeeze the footage to 1080p by software during post processing.
ChaseCam head – IMPORTANT STATEMENTS
However ChaseCam heads are produced with the newest available technology of 3D
printing, there are still some limitations. High temperatures above 40 °C (100 °F)
causes loss of rigidity, but this is not harmful. On the other hand, freezing
temperatures increases heads fragility, so there is risk of broken head while landing
on hard frozen surface. Avoid the exposure chasecam’s head to long-term pressure –
never leave the silicone ring wrapped around the empty head. If head will be even
though deformed, don’t panic, it can be put back into correct shape by heating for a
while by standard hairdryer (see Transport and storage chapter).
Production material for chasecam heads is cloudy colorless, slightly taking a yellow
tone when exposed to sunshine. Therefore we mix a little amount of color pigment to
original resin. Some little tone differences between individual heads are possible,
because pigment is so effective, that we mix only several drops per liter.

Safety note
We spent hundreds of hours by development to reach the most stable chasecam
behavior in the air. We tested it for several years during normal paragliding flight
conditions without any dangerous situation. However, any official safety tests are
missing (because there is no standard for testing), we did most of SIV maneuvers
without any problem (you can watch the video on our youtube channel). However we
cannot guarantee your inviolable safety and every pilot uses SkyBean ChaseCam at
her/his own risk. No member of SkyBean team is responsible for non-standard
situations or injuries. Responsibility for any damages or injuries to third parties is
completely covered by pilot of paragliding glider while using SkyBean ChaseCam.
Contact information
If you have any doubts how to assembly or use SkyBean ChaseCam, please visit our
YouTube channel at youtube.com/c/SkyBeanVarios
If there is still something wrong with the device or if you need more detailed
explanation, please write us by email or contact us via email. Please share your
experiences with us, we are looking forward to your feedback!
email: website: facebook page:

Other manuals for ChaseCam
2
Table of contents
Other SkyBean Camera Accessories manuals
Popular Camera Accessories manuals by other brands

Filmcity
Filmcity FC-A7RS-CSH Assembly manual
Sanyo
Sanyo VSE-2300 Series instruction manual
City Lion
City Lion External battery instruction manual
Visceral Psyche Films
Visceral Psyche Films Leeming LUT PRO Setup guide
Cambo
Cambo Wide RS 1600 Series instruction manual

GreenWorks
GreenWorks GL 200 owner's manual
