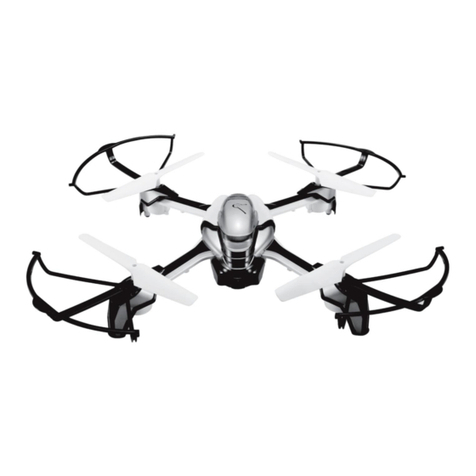
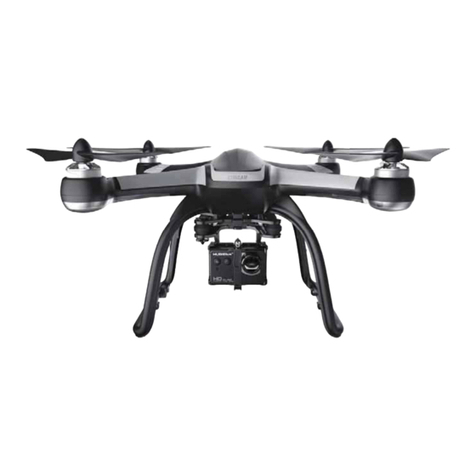
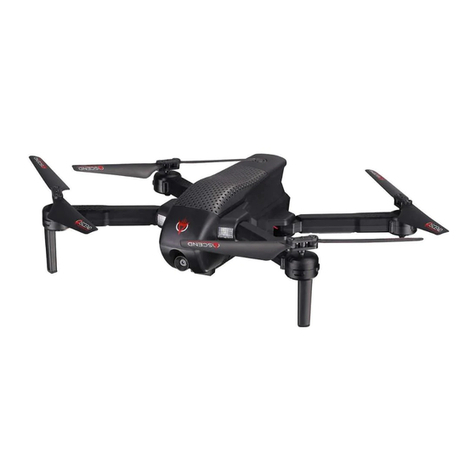
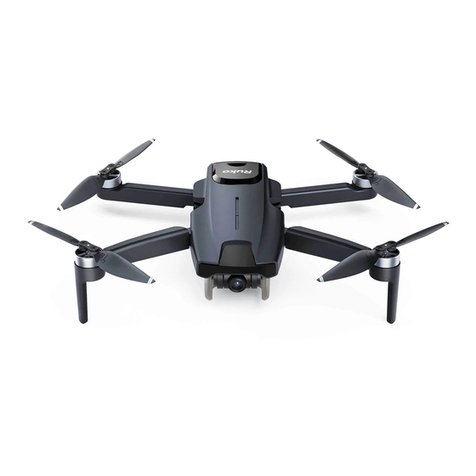
SKYEINTELLIGENCE ORBIT User manual

Orbit User Manual
Orbit
User Manual
V1.0
Model ORBTX2

2
Contents
Package Contents 4
Video Tutorial 4
Drone 5
Drone Introduction 6
Flight mode 6
Flight Status indicator 6
Propellers 6
Battery 7
Tracker 10
Tracker overview 11
Introduction 11
On/Off Switch 11
Indictor 11
Charging 12
Using the Tracker 13
Skye+ App 14
Download the Skye+ App 15
App Main Screen 15
Play 16
Buttons/Icons 17

3
Connecting Skye+ App with the Drone via Wi-Fi 21
Gallery 21
Social Community 24
Me 24
Firmware Upgrade 24
Powering off the Drone 24
Flight 25
Flight Restrictions & No-fly zones 26
Fight Environment Requirements 26
Preflight Preparations 26
Powering On/Off 27
Connecting to Mobile Devices 27
Digital Compass Calibration 27
One-click Takeoff/Landing 29
Flight by Skye+ app 30
Auto-follow Mode 31
Photography/Video Recording 32
One-click Return 32
Auto Hovering 32
Smart Low Battery Landing 33
Failsafe Hovering 33
Flight by Remote Controller(Optional)33

4
FAQ 34
Appendix 41
FCC Compliance 42
IC Compliance 43
Safety Warnings 43
WEEE Directive 44

5
In the Box
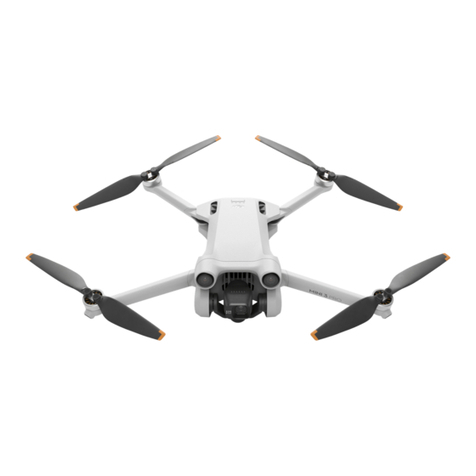
1. Orbit Drone x1
2. Tracker(including strap)x1
3. Propeller Pair x4
4. Intelligent Flight Battery x1
5. Battery Charger x1
6. Power Cabel Set (incluiding a micro USB cable) x2
7. 《Orbit User Manual》
8. 《Skye Orbit Disclaimer and Operation Guidance》
9. 《Orbit Quick Start Guide》
10. 《Orbit Intelligent flight Battery Safety Guidelines》
Before you fly, please read 《Orbit User Manual》、《 Skye Orbit Disclaimer
and Operation Guidance》、《 Orbit Quick Start Guide》and《Orbit
Intelligent flight Battery Safety Guidelines 》for detailed product
information and operation guidelines.
Video Tutorials
Please watch the tutorial videos by scanning the QR code below, which
demonstrates how to use Orbit safely:

6
Drone
This chapter introduces the main
functionalities and features of the
drone together with propeller
installation and intelligent battery
operation guidelines.

7
Device Overview
Orbit drone is composed of the following major parts: flight controller, communication
system, tracking system, location system and intelligent battery. Each of the above-
mentioned part will be introduced in detail.
Fight Mode
Orbit equips the newest generation flight controller, which support the following
mode :
APP mode:Control the drone with Skye+ app
RC mode:Control the drone with remote controller.
Drone Status Indicators
To indicate the on/off status, Orbit drone is equipped with one breathe light on the
top of the body, and another two light bands located at both sides.
Propellers
Orbit drone propellers measure 9.5inches,black-capped,and the screw threads inside
the caps are painted black and white to indicate different rotation directions.
propeller
Black screw threads
White screw threads
diagram
Installation location
To be installed on the
motor with dotted axis
To be installed on the
motor with undotted axis
Legends
lock:locking direction for attaching the propellers
to motor
Unlock :unlocking direction for detaching the
propellers from motor。

8
Attaching the Propellers:
Mount the propellers with black propeller screw threads to the motors with black dots.
Mount the propellers with white propeller screw threads to the motors without black
dots. Press the propeller down onto the mounting plate and rotate in the lock direction
until it is secured in its position, use one hand to fasten the propeller and another to
hold the motor.
Please ensure the propellers are attached to the matching motors.
Please manually ensure the propellers are firmly fastened to prevent
potential safety hazard
Handle the propellers with caution to prevent cutting hazard from the thin propeller
blades.
Use only the propellers provided by Skye. Do not mix up propellers from other origins
than Skye.
Propellers can be consumable, please order additional ones as needed
Detaching the Propellers
Hold the motor in place with one hand, then spin the propeller in the indicated
unlock direction.
Check that the propellers and motors are installed correctly and firmly before
every flight.
Ensure that all propellers are in good condition before each flight. DO NOT use aged,
chipped, or broken propellers.
To avoid injury, STAND CLEAR of and DO NOT touch propellers or motors when they
are spinning.

9
Battery
Introduction
Intelligent flight battery, dedicated for Orbit drone, has a capacity of 5100mAh, a
voltage of 11.4V and balance management functionality. Intelligent flight battery
contains newly designed high performance cells, and an advanced battery
management system to supply abundant electric power. Intelligent flight batter must
only be charged by a Skye official charger.
Intelligent Flight Battery Charger
Intelligent Flight Battery Functions
1. Balanced Charging: Automatically balances the voltage of each battery cell when
charging.
2. Overcharge Protection: Charging automatically stops when the battery is fully
charged.
3. Charging Temperature Protection:NO charging immediately after usage, wait until
the battery cools down.
4. Over Current Protection: The battery stops charging when high amperage (more
than 4.5 A) is detected
5. Over Discharge Protection: To prevent over-discharge damage, discharging
automatically stops when the battery voltage reaches 9 V.
6. Short Circuit Protection: Automatically cuts the power supply when a short circuit
is detected.
7. High voltage charging protection :Battery life can be shortened by frequent
charging. Charging does not proceed if a battery has already 90% or more charged.
8. Communication: Information pertaining to the battery’s voltage, capacity, current,
etc. is transmitted to the ‘setup’ section of the Skye+ App.
Before the first flight, ensure the battery is fully charged. Before operating the
battery, please read and abide to the instruction, liability waiver and sticker on
battery surface. Skye does not assume any responsibility for any consequences
caused by not following this document.

10
Install/Remove Battery
Open the back cover of the drone and push the battery into the matching slot (two
clicks on each side to securely lock the battery in place)
To remove,pull the battery while holding the two side clips.
1. When operated under low temperature(-10 ~-5 ), battery capacity reduces
significantly and the flight time is severely reduced as a result. Temperature can be
increased by rotating the propeller at a lower speed, and fly can proceed once the
temperature is higher. Please fully charge the battery before fly.
2. It is not recommended that the battery be used in extremely low temperature (< -
10°C) environments.
3. It is recommended to stop flying if APP prompts “low voltage warning”
4. In low temperature environment, it is recommended to preheat the battery to 5 to
20 degrees.
5. Before flying under low temperature environment, preheat the battery for 1-2min
Charging
1. Connect the charger to an AC outlet(100~240V,50/60Hz;If needed, please use
a power plug adaptor )。
2. Charger indicator:White light indicates undergoing charging; blue light indicates
fully charged status; red light indicates charging anomaly.
3. To prevent damage from frequent charging,capacity >90% won’t allow additional
charging and charger light turns blue
4. After each flight, wait until battery cools down to charge
5. It takes 1.5 hours to fully charge a battery
Please use the official charger, and charge one device at a time.
Please use the official charger to charge the intelligent flight battery, and Skye
does not take any responsibility for non-official chargers.
Switch off the drone before removing the battery.

11
Discharging
Slow discharging :install the battery and switch on the drone, then stationary
discharging is triggered and continues to discharge the battery lower than 30%
capacity. Remaining capacity can be read from APP. It is not recommended to turn on
the motor to discharge.
Fast discharging :fly outdoor until “low voltage warning” lands the drone.

12
Tracker
This chapter introduces functions,
features and use of tracker

13
Tracker Overview
Skye tracker is a hand-held device which serves as data transmitter. Short range data
transmission is implemented for certain compatible receivers chosen by users.
Tracker Introduction
[1] Skye logo
[2] Charging port
[3] Power button
[4] Tracker base
[5] Wrist Band
[6] Indicator
[7] Charging Indicator
ON/Off
Switching on
To switch on, press and hold power button for 4sec. The device switches on
successfully when LED light turns on with one beeping sound and one vibration.
If the tracker does not switch on,check the battery level or press and hold
power button for 15s.
Switching off
To switch on, press and hold power button. Switching off successful when LED lights
turn off one by one with beeping sound and vibration.
Indicator
Indicator has 4 LED lights in a row,to show GPS reception and tracker battery level.
The details are summarized as follows:
GPS indicator
[1]
[2]
[3]
[4]
[5]
[6]
[7]

14
When switched on,4 LED lights shows the number of effective GPS satellites. It is
recommended to operate when the number of effective satellites is greater than 4。
Light(●indicates ON ◎Indicates Off)
Effective # of GPS
satellites
●
●
●
●
≥16
●
●
●
◎
12~15
●
●
◎
◎
8~11
●
◎
◎
◎
4~7
◎
◎
◎
◎
<4
Intermittent beeping accompanied by vibration indicates loss of connection
between tracker and receriver.
Capacity Indictor
Under tracking mode, gently press the power bottom,then 4 lights indicate the
remaining battery capacity. After 3 seconds, the lights return to be GPS indicator。
When battery level is low, left-most light blinks.
Light(●indicates ON ◎Indicates Off)
Battery Level
●
●
●
●
75%~100%
●
●
●
◎
50%~75%
●
●
◎
◎
25%~50%
●
◎
◎
◎
5%~25%
◎
blinks
◎
◎
◎
Low battery

15
Charging
Tracker is powered by a rechargeable battery with duration 2h. To charge tracker,
connect charging port with Skye charger. Red indicator shows charging in progress;
blue indicator shows charging completed. A full charge takes 1.5h,and please
unplug the charger once charged.
How to use tracker
Wear
User needs to wear the tracking for tracking
1. Wear the tracking,revealing Skye logo, and make sure no obstruction between
receiver and tracker.
2. Check GPS indictor for sufficient reception.
3. Check battery indicator for sufficient charge level.

16
Skye+ App
This section introduces the four
tabs of the Skye+ app

17
Download the Skye+ App
To operate the drone, users must first download the Skye+ iOS app. Scan the following
QR code or enter https://itunes.apple.com/us/app/skye+/id1116011347 in your
browser to download the app in Apple Store:
Users can also search for our company “Skye Intelligence” in Apple Store to find the
Skye+ app.
Skye+ app requires iOS 8.0 or above (The android version will be coming soon to
Google Play and other major android stores, please check our company website for
latest news).
App Main Screen
Skye+ is an app specifically designed to work with the Skye drones. Users can use
Skye+ to conduct flight control, Gimbal adjustment and photo/video shooting, flight
parameter settings, and to turn the drone on/off; users can also use the app to browse
and edit the photos/videos from the drone, and share them instantly to social
networks at any time.

18
[1] Drone connection light
[2] Drone connection state
[3] Enter flight control screen
[4] Power off the drone
[5] Drone control tab
[6] Media gallery tab
[7] Social tab
[8] Me tab
PLAY
In the “Play” screen, users can perform One-Click Take-off, routine flight controls, One-
Click Landing, Auto-Follow Recording and Camera Settings for the drone; users can
also view live-streamed images from the drone’s first-person perspective.

19
[1] Back to main screen [13] Drone battery indicator
[2] Settings [14] One-Click Take-Off/Landing
[3] Map [15] Flight speed indicator
[4] Tracker signal indicator [16] Flight altitude indicator
[5] Wi-Fi connection indicator [17] Tracker distance indicator
[6] Drone signal indicator [18] Drone battery progress bar
[7] Photo/Video switch [19] Flight direction buttons
[8] Camera settings [20] One-Click Return
[9] Photo Shutter/Video Record [21] Auto-Follow mode
[10] Flight direction buttons [22] Gimbal pitch angle adjustment
[11] Mobile device battery indicator [23] Gimbal pitch angle indicator
[12] Tracker battery indicator
Buttons/Icons
Click [2] to select related flight settings.
Settings
App Screenshot
Operating Instructions
Tracking Range
Slide the progress bar up
and down to set tracking
range (5m ~50m).

20
Joystick Setting
Choose between Mode 1,
Mode 2, or Mode 3 for the
virtual joysticks, or
customize based on
personal preferences.
Joystick Sensitivity
Choose between a fixed or
a moving virtual joystick.
Also, select the sensitivity
level of the joystick from
Low, Medium, to High.
Wi-Fi Setting
Click on “SSID” to change
the drone’s Wi-Fi name.
Click on “Password” to
change the network’s
password (8~16
characters). Click on “Save”
to complete setting.
Battery
Est. Time Remaining:
remaining flight time
based on battery level.
Total Capacity: total
battery capacity.
Remaining Capacity:
remaining battery.
Battery Life: number of
times that the battery can
be discharged/recharged
before it must be replaced
Temperature: Current
battery temperature
Time Charged: number of
times that the battery has
been charged
Other manuals for ORBIT
2
This manual suits for next models
1
Table of contents
