-1-
Table of Contents
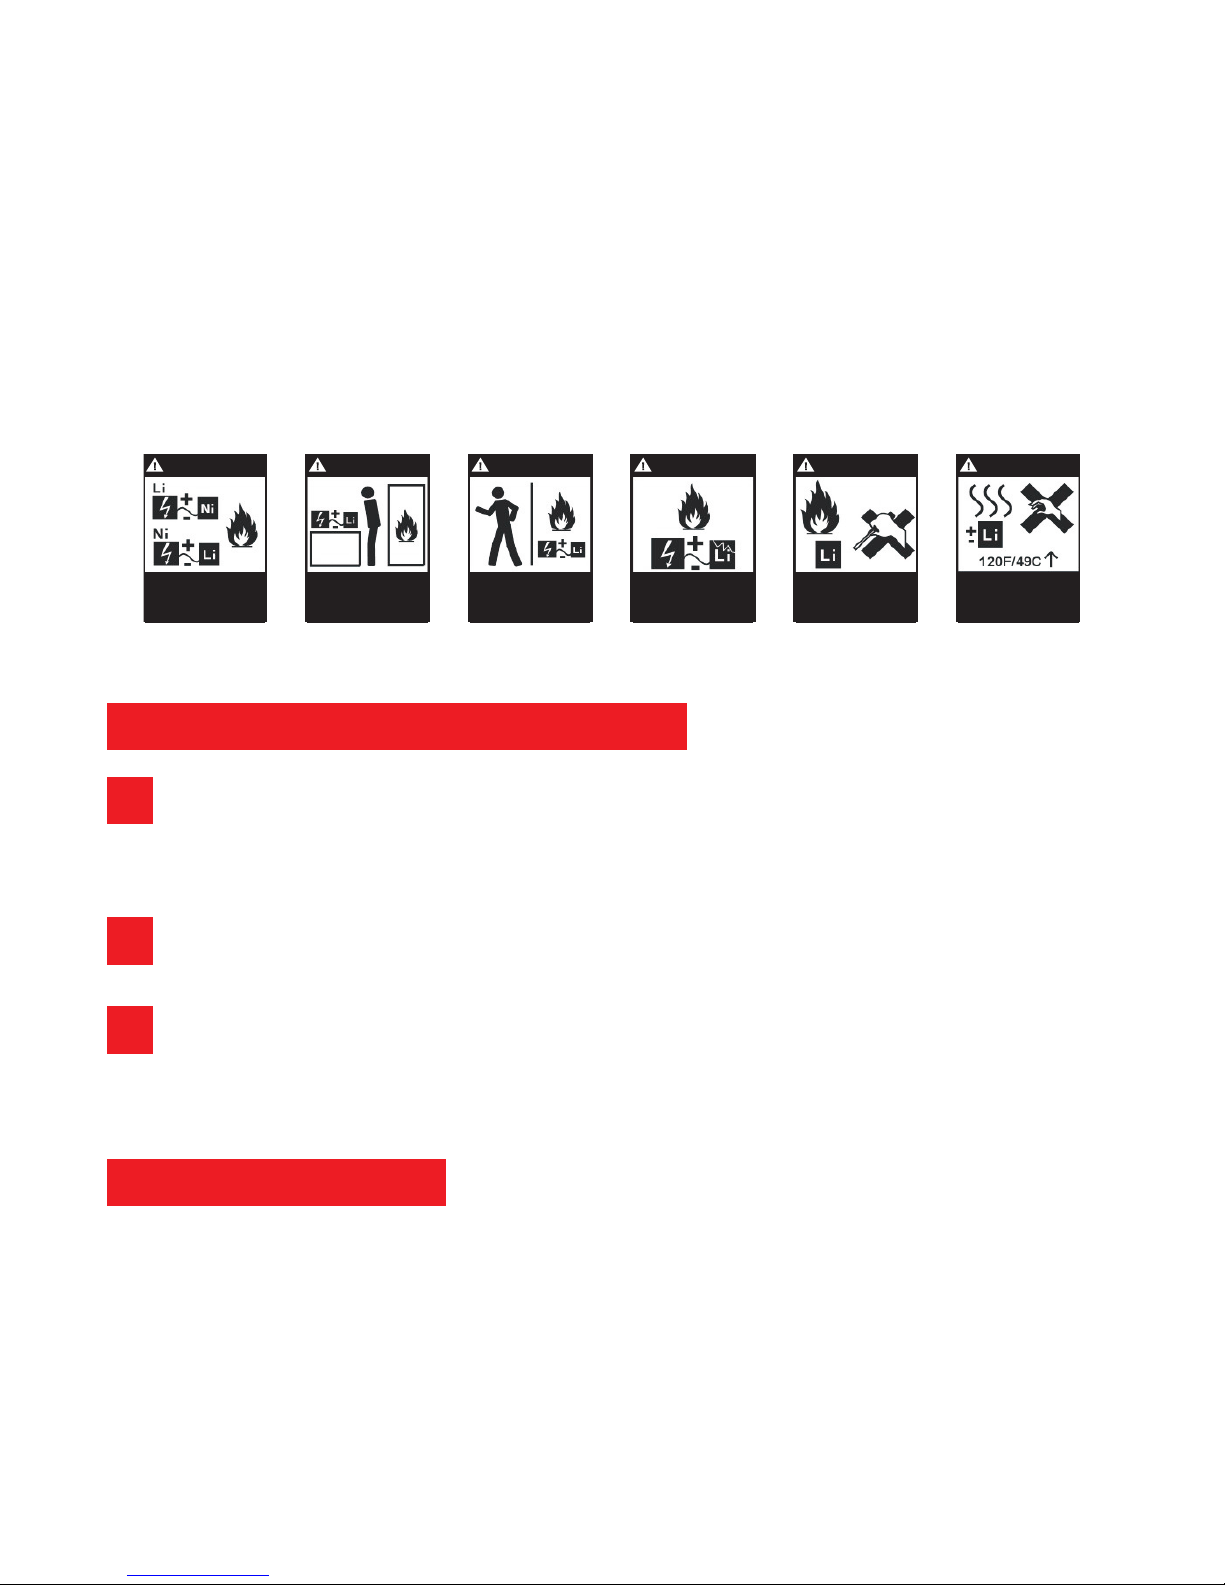
Li-po battery
- By owning, charging or using the LiPo battery, you assume all risks associated with the use of lithium batteries.
- Always keep out of reach of children.
- Never leave the battery unattended while charging.
- Never leave the battery charged for more than 1 hour.
- Use only the USB charger provided in the pack. Never use a Ni-Cd or Ni-Mh charger.
- Before charging the battery, check that it is not damaged. Check that the battery has not swollen or that the battery
compartment is not punctured. If you notice any of these situations: DO NOT CHARGE THE BATTERY!
- A used battery must be removed from the unit and replaced.
- If you notice that the battery starts to swell during charging, disconnect the battery immediately and do not use it again.
Continued use of an inated or deteriorated battery may cause an explosion.
- Make sure that the output voltage of the charger matches the battery voltage. Do not charge at a higher current than
Table of Contents .......................................................................................................................................1
Li-po battery..............................................................................................................................................1
ATTENTION / WARNING / WAARCHUWING .....................................................................................................2
Precautions for use.....................................................................................................................................2
Warning ....................................................................................................................................................3
Flight environment......................................................................................................................................3
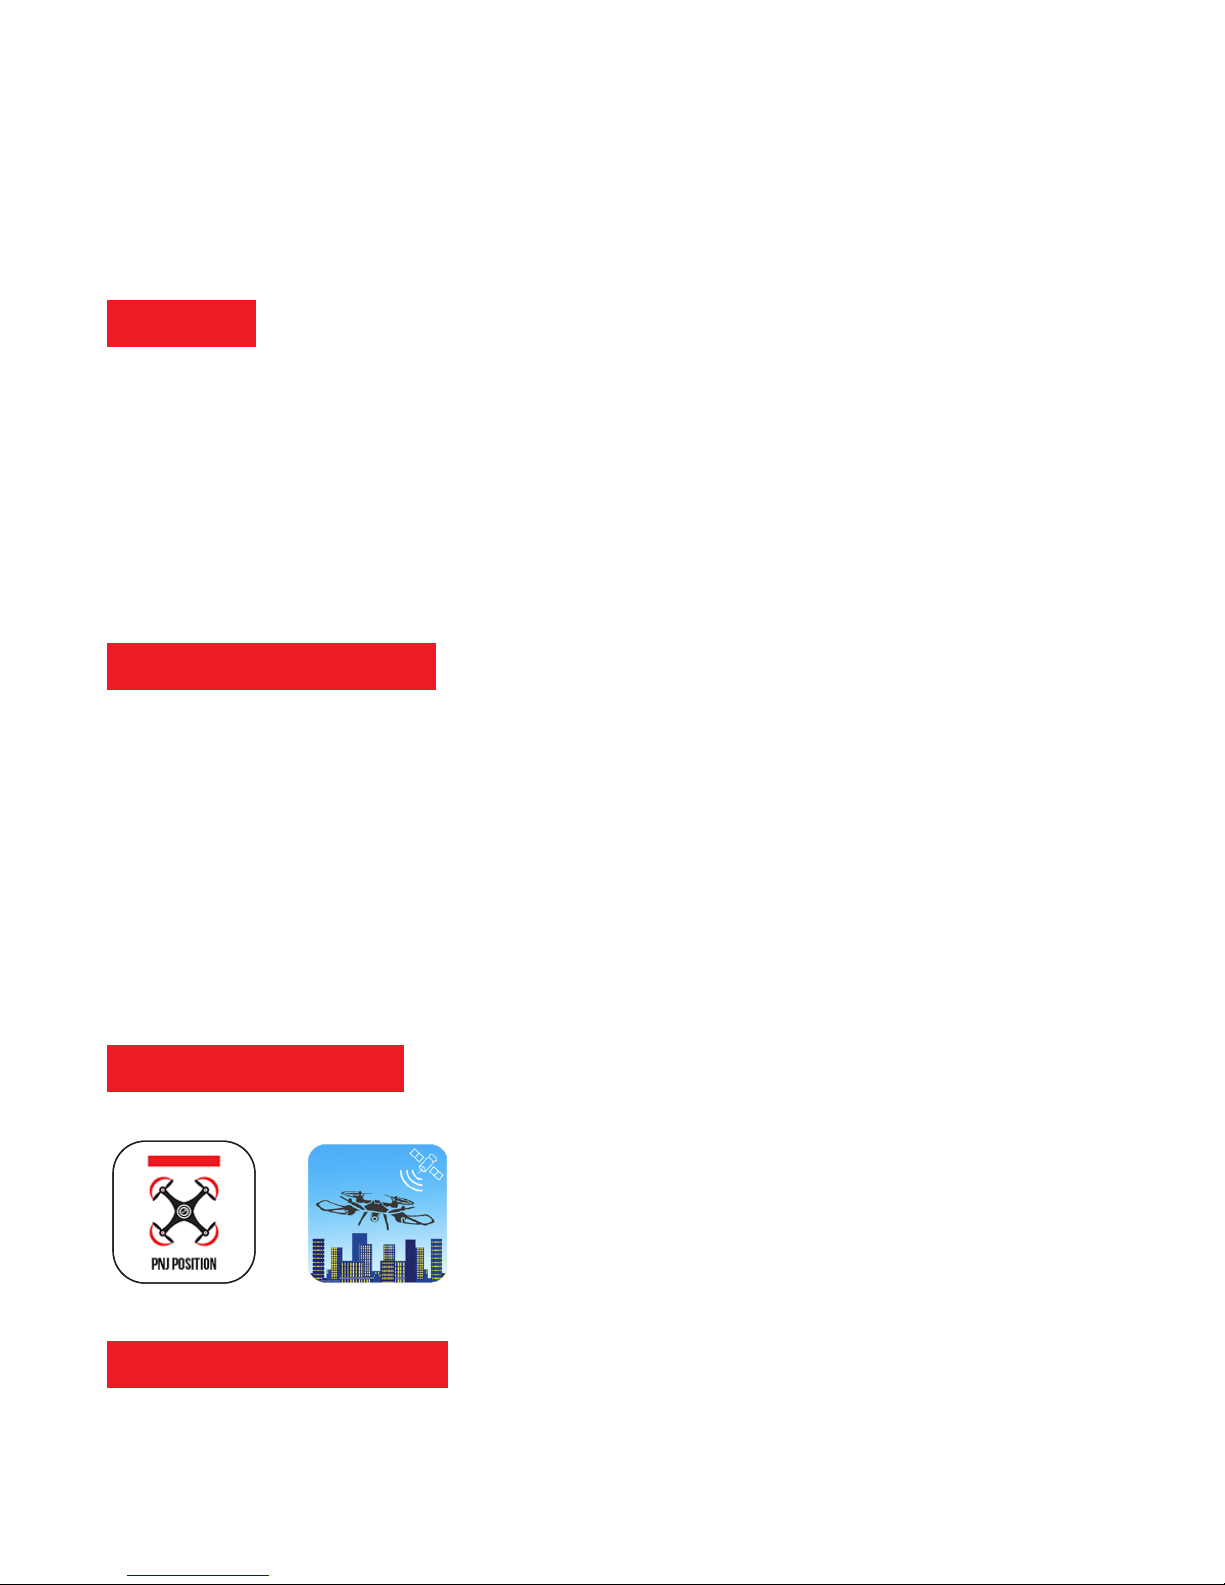
Download the App.......................................................................................................................................3
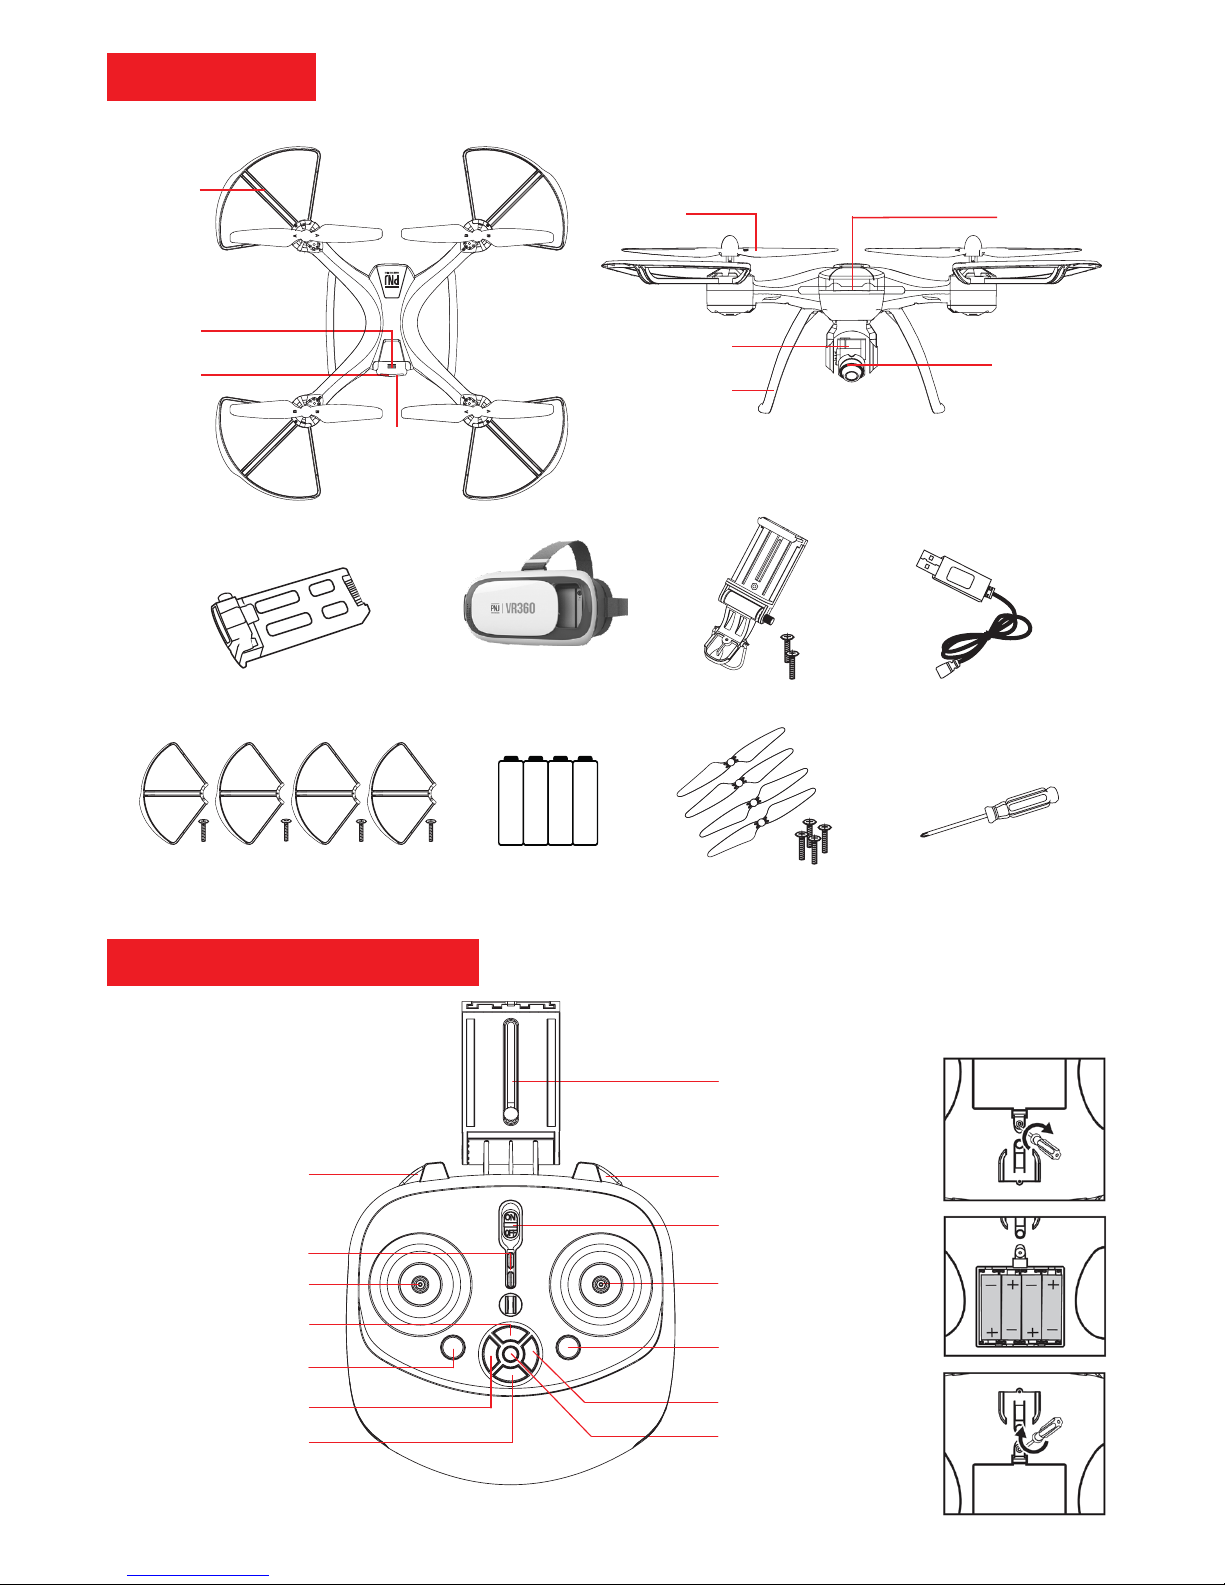
Included in the pack....................................................................................................................................3
Drone parts................................................................................................................................................4
Radiocontroller 2.4 Ghz ...............................................................................................................................4
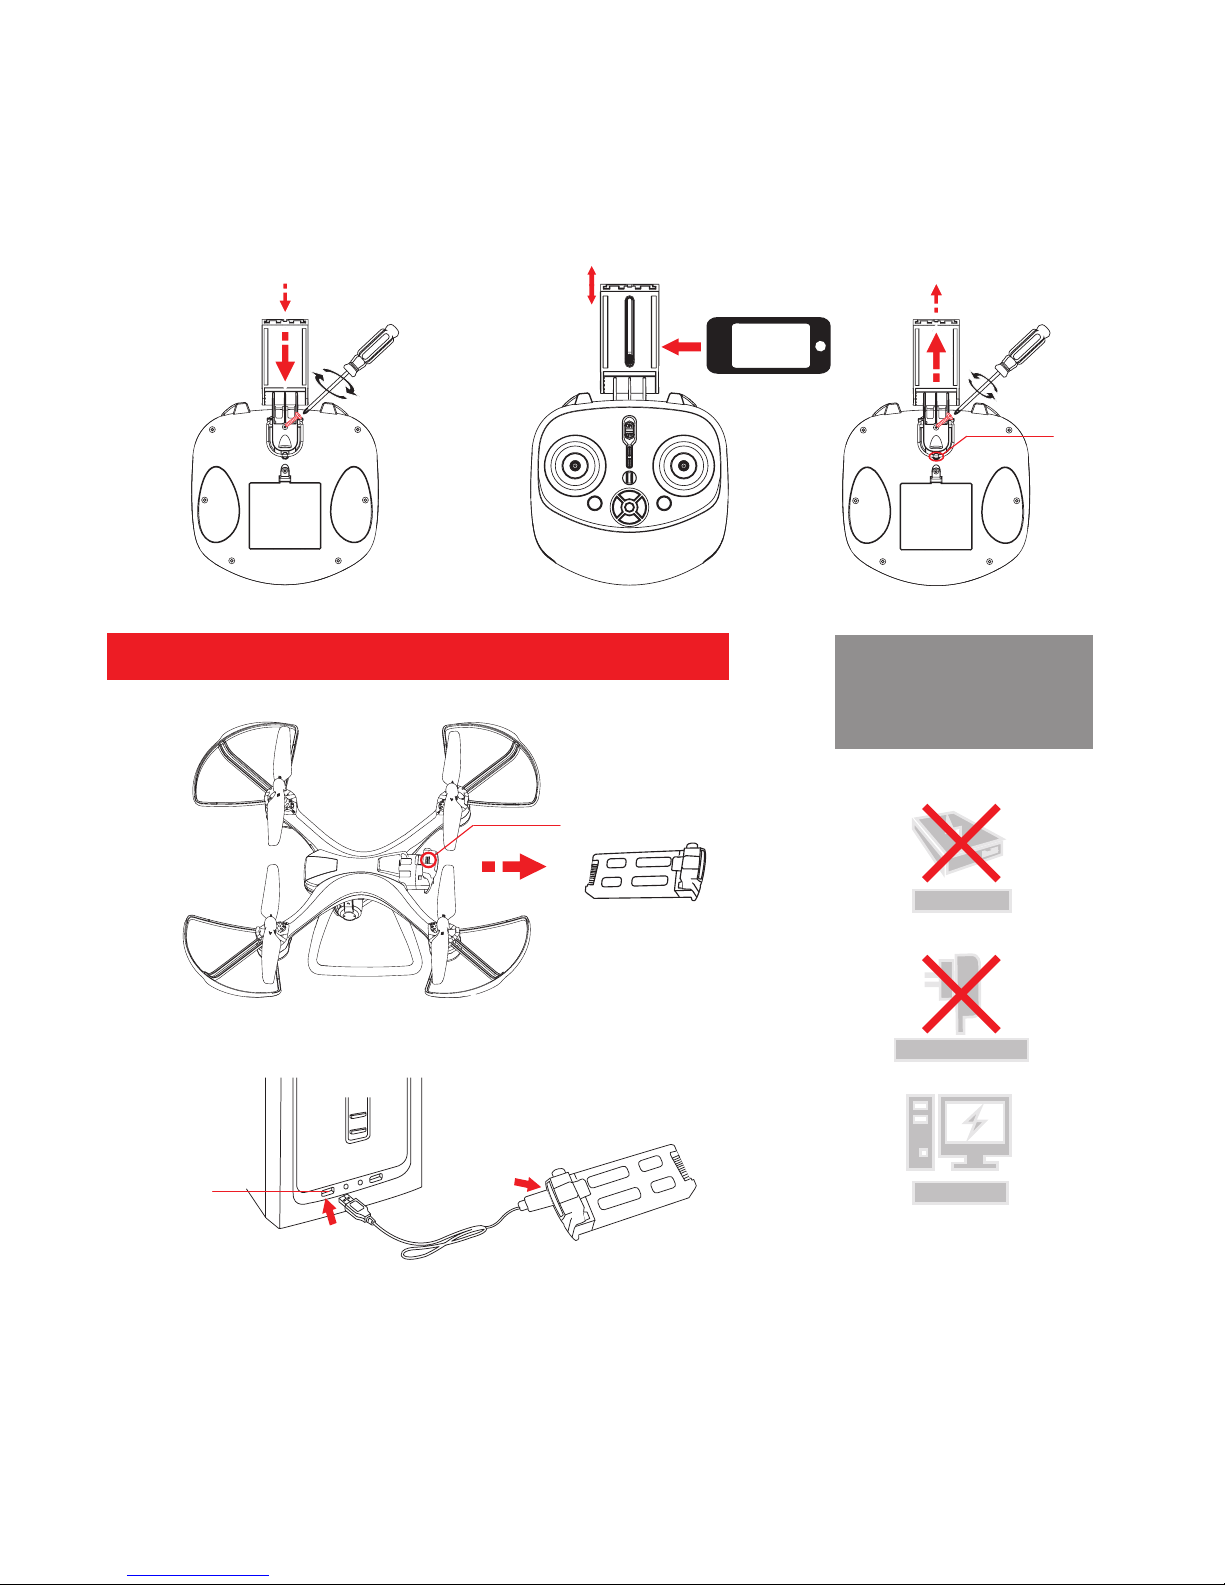
How to install and charge the battery .............................................................................................................5
Warning ....................................................................................................................................................6
How to install the camera.............................................................................................................................6
How to install propellers ..............................................................................................................................7
How to install propellers guards....................................................................................................................7
Start to y (without the app).........................................................................................................................8
Start to y (radiocontroller + app) .................................................................................................................9
Automatic take off and landing (with the app) ............................................................................................... 10
Manual take off ........................................................................................................................................ 10
Speed selector ......................................................................................................................................... 10
Headless mode ........................................................................................................................................ 11
return to home ......................................................................................................................................... 11
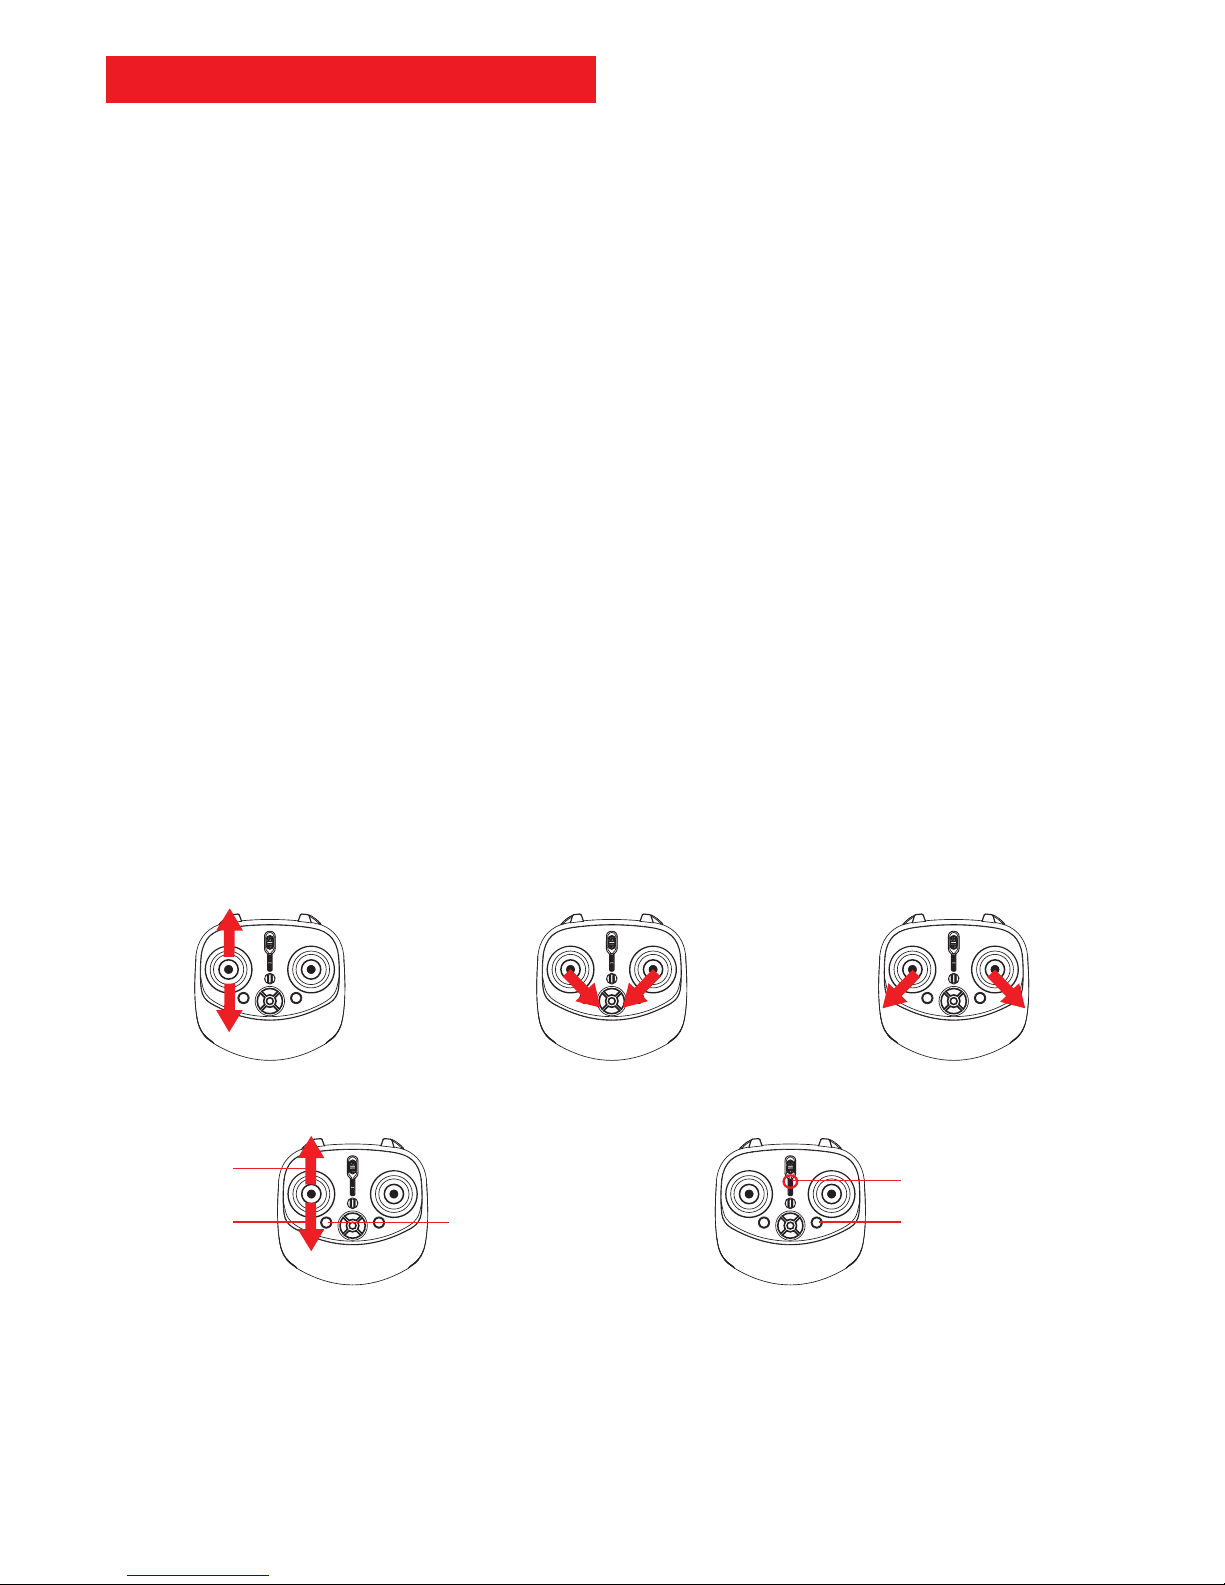
How to use joysticks ................................................................................................................................. 12
Emergency stop and vertical crash .............................................................................................................. 13
Photos & Videos....................................................................................................................................... 13
Import photos and videos........................................................................................................................... 13
App - Control interface .............................................................................................................................. 14
Orbital ight ............................................................................................................................................ 15
Follow Me (GPS)....................................................................................................................................... 15
Flight route.............................................................................................................................................. 16
Maintenance............................................................................................................................................ 16
Warranty ................................................................................................................................................. 17
French legislation ..................................................................................................................................... 17
Flying association..................................................................................................................................... 18
Recylcling ............................................................................................................................................... 18
Declaration of conformity .......................................................................................................................... 18
trademark ............................................................................................................................................... 19
Modications........................................................................................................................................... 19
Notebook .................................................................................................................................. 19/20/21/22


 user manual")