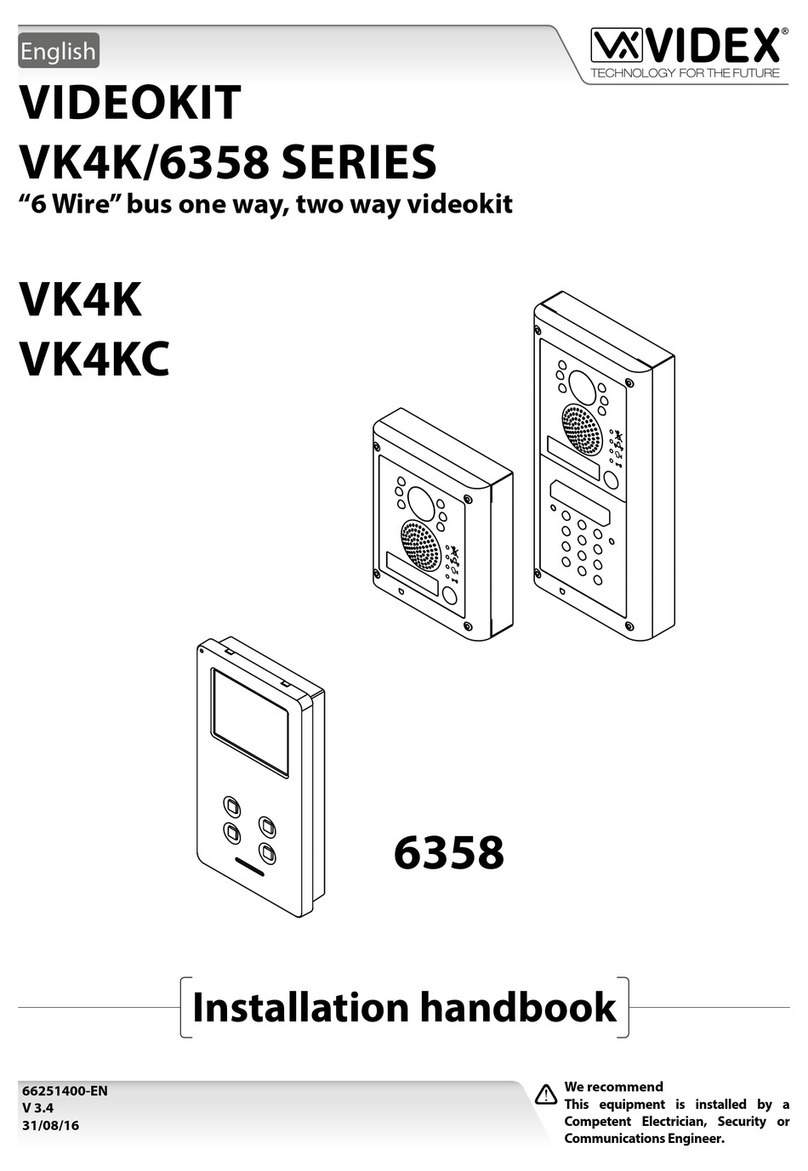
SkyLine IVW3012-0x10 User manual

Instruction manual
skyline
TM
Video indoor station with 14.5 cm (5.7“) display,
in anodised aluminium
IVW3012-0x10
BRUskyline
version 1.0
H:\Dokumenter\02 PB Scantron dørtelefoni\05 Hustelefoner\Skyline\Arbejdsfiler for Skyline

Congratulations on your new video indoor station with
optional external image buer, camera control* and more!
LED 6 | blue
LED 5 | green
LED 4 | red
LED 3 | yellow
LED 2 | red
LED 1 | green
menu button
menu control buttons (UP, DOWN, LEFT, RIGHT)
door release button
speech button
call OFF button
image buer button
function key
image button
microphone
loudspeaker
digital TFT color
display for displaying
the video image and
the OSD menu
* conguration by a qualied electrician required
BRUskyline
version 1.0
Side 1

Calling up the OSD menu
Press the menu button to call up
the main menu resp. to choose and
conrm menu items.
see page 5 and 6
UP
DOWN
RIGHT
LEFT
Controlling the OSD menu
These buttons are needed to navi-
gate the OSD menu.
see page 5 and 6
Congratulations on your new video indoor station with
optional external image buer, camera control* and more!
BRUskyline
version 1.0
LED indications
LED 1 | green
is ON connected sensor is active
* ends the voice communication after 4 seconds.
automatic call cut-o after 2 minutes.
LED 2 | red
is ON door release automatic or
call diversion is activated
LED 3 | yellow
is ON external image buer is activated
Use
A ring tone signals an
incoming call.
The green LED 5 is ON.
Speaking
Press the speech button shortly
to accept the call or longer than 1
second in order to switch on simplex
communication during voice commu-
nication.
The green LED 5 is ON.
Press the speech button again short-
ly or the blue door release button*
to end the voice
communication.
* ends the voice communication after 4 seconds.
automatic call cut-o after 2 minutes.
Open the door
Press the door release button shortly
to open the door.
Switch-o the ring tone
Press the call OFF button. In case of
an incoming call, no acoustic signal
sounds.
The red LED 4 is ON.
Switching lights
Press the function key shortly to
switch the lights.
With the function key you can make internal calls,
trigger a control function, (de-)activate call diversion
or door release automatic. This requires the congu-
ration by a qualied electrician – see congurable
functions.
Switching the image
Press the image button shortly to
show the image of the front-door
station on display.
also see additinal functions
Storing an image
Press the image buer button
shortly when the image is activated
in order to manually store an image.
Press the image buer button when
the image is switched-o and the
yellow LED is blinking in order to call
up stored images. By holding the
key, you (de-) activate the automatic
image recording when a door call is
made.
The yellow LED 3 is ON.
see page 9
LED 4 | red
is ON call OFF is activated
LED 5 | green
is ON incoming door or internal call
activated voice communication
blinks speech / video channel is busy
LED 6 | blue
is ON device is operational
ickers error message
Side 2

Settings in the OSD menu
1. Press the menu button . The main menu is called up.
2. With the help of the navigation buttons LEFT or RIGHT, the menu ring tone
parameter can be chosen. Conrm the selection by pressing the menu button
again.
3. You're now in the
menu ring tone parameter.
With the help of the navigation buttons LEFT or RIGHT, the required ring tone
parameter can be chosen. Press the navigation buttons UP or DOWN to select
the ring tone.
When selecting a ring tone the ring tone is reproduced immediately.
When selecting the ring tone volume the current ring tone is reproduced in the
selected volume immediately after the change.
The menu is deactivated automatically after 10 seconds if no button is pressed.
Shortly press the function key to deactivate the menu immediateley.
Setting the ring tone volume and the ring tones
The setting of ring tone volume and the selection of the required ring tones can be realised quickly and easily in the OSD
menu of the display when in stand-by mode (speech and video are o).
ring tone volume
for door calls
ring tone selection
for oor door calls
ring tone selection
for internal calls
ring tone selection
for sub ring tone
1, 2, 3, 4
ring tone volume
selected parameter menu
main menu
selected
parameter menu
toolbar for parameter menu selection
selected parameter
menu
ring tone parameter
adjusted value of the
selected parameter
0, 1, 2, ..
toolbar for parameter selection
control function*
internal call*
external image buer
ring tone parameter
BRUskyline
version 1.0
selected parameter menu
date / time
external image buer
delete external
image buer
* symbol appears only
after conguration, not
in factory setting
Side 3

Adjust the date and time for external image buffer
The setting of date and time for stored images is also quickly and easily realised in the OSD menu of the display when in
stand-by mode (voice and video are o).
1. Press the menu button . The main menu is called up.
2. With the navigation button RIGHT, select the symbol
IMAGE BUFFER SET MENU.
Conrm the selection by pressing the menu button again.
3. The image buer set menu appears. The white back-lit number can be
changed with the navigation buttons UP and DOWN.
With the navigation button RIGHT you can forward to the next position.
4. If setting the date is nished, pressing the menu button again calls
up the time setting. Proceed as described in date settings.
5. By pressing the menu button again the menu is deactivated and the
settings are stored in the image buer.
selected parameter menu
main menu
selected
parameter menu
toolbar for parameter menu selection
menu date / time image buer
BRUskyline
version 1.0
Side 4

The fading in of the video images is realised immediately after presseing the image button or after receiving a door call.
The fade-in of the toolbar in the video image is realised
automatically.
Optionally, the speech button can be pressed for activating also speaking / hearing besides the video image.
The symbols are faded out after 3 seconds.
1. Shortly press the image button . The image of the video front-door station
appears on the display.
2. Shortly press the menu button . The menu for the setting is fadad in.
3. Press the navigation buttons RIGHT or LEFT to switch to the next parameter.
4. Press the navigation buttons UP or DOWN to change the paramter value. The
change is showed immediately in the bar chart and displayed in the video image.
The menu is deactivated automatically after 10 seconds, if no button is pressed.
Shortly press the function key to deactivate the menu immediateley.
Setting brightness, contrast, color
The setting of image contrast, brightness and color intensity of the display is realised quickly and easily in the video image that
is faded in.
Setting the video image
brightness
contrast
color intensity
image of the camera or
video front-door station
no. 05
zoom mode activated
ring tone OFF
BRUskyline
version 1.0
Zoom or reduce an image section
The zoom mode can only be activated if a camera with zoom feature is connected.
The zooming resp. reducing of the image section can only be realised in a faded in
video image.
1. Press the image button longer than 4 seconds. The symbol ZOOM MODE
ACTIVATED appears in the video image.
2. With the navigation buttons
UP and DOWN the image can be zoomed or reduced.
3. With the navigation buttons RIGHT or LEFT the zoom mode is deactivated
again. An automatic deactivation is realised after 4 seconds.
call diversion activated
image buer activated
door release automa-
tic activated
Side 5

BRUskyline
version 1.0
In connection with an external central image buer FVM1000-0400 up to 64 images can be stored.
1. When in stand-by mode (voice and video o) or when an image is
shown, press the image buer button until an acknowledgement tone
sounds and the yellow LED 3 is continously ON. The automatic image
recording is activated. The symbol IMAGE BUFFER ACTIVATED appears
when an image is shown.
If images are stored together with an incoming door call and these images
have not been, the yellow LED 3 blinks.
2. Press the image buer button until an acknowledgement tone
sounds and the symbol IMAGE BUFFER ACTIVATED disappears in order to
deactivate the automatic image recording.
Store images automatically
An image can be stored automatically by an incoming door call.
Store images
Store images manually
1. In order to store an image, shortly press the image buer button
when a video image is shown. An acknowledgement tone sounds.
If images were stored that have not yet been seen, the yellow LED 3
blinks.
Side 6

1. Press the button to store images to show the image of the image buer.
You can also choose the image buer via the menu (see page 4).
2. Browse through all new recorded images with the navigation buttons LEFT and RIGHT.
3. To delete the shown image, press the navigation button DOWN for 4 seconds. A short acknowledgement tone
sounds. The image is deleted. The image stored before is shown.
View stored images
If the LED of the image storage blinks, new images were recorded during a door call.
Delete all images
All images can be quickly and easily deleted in the OSD menu when in
stand-by mode (voice
and video o).
1. Press the menu button . The main menu is called up.
2. Select the symbol DELETE IMAGE BUFFER with navigation
buttons LEFT or RIGHT. Conrm the selection by pressing the
menu button again.
3. The menu delete image buer appears. Select the check-
mark with the navigation buttons RIGHT or LEFT.
4. Conrm the selection by pressing the menu button .
The image buer is now completely deleted.
menu
delete buer
selected parameter menu
main menu
selected
parameter menu
toolbar for parameter menu selection
Call and delete images
BRUskyline
version 1.0
Side 7

Another indoor station
To call another indoor station, press the function key . A
short acknowledgement tone sounds if the call reached its call
destination.
If the called device accepts the call, a voice communication is
established.
More than one further indoor station
In case of more than one further indoor stations* (max. 10) the
call destination is selected over the main menu and called by
pressing the menu button . An acknowledgement tone
sounds.
If the call is accepted by the called device, another acknow-
ledgement tone sounds and the voice communication will be
established.
BRUskyline
version 1.0
Congurable functions
The following functions can be congured on your video indoor station and for the use of further
indoor stations. Therefore please contact your qualied electrician.
Switching lights, internal calls, call diversion and door release automatic can be only used alternatively with the function key. The indoor
station can be congured that the menu for internal calls or control functions is called up directly after pressing the function key.
The menu switches o automatically
after 5 seconds.
menu
internal call
menu
internal call
selected
internal
send internal calls via the menu internal call
display of the internal caller in the menu internal call
Call indoor station(s) and receive internal calls
Recieve internal calls
Press the speech button ,
a voice communication is established.
The green LED 5 is ON.
If your video indoor station receives an internal call from
a known indoor station, the name of this indoor station is
shown*.
* conguration by a qualied electrician is needed
Side 8

Call diversion
The incoming call is diverted to a second indoor station. Shortly
press the function key activated,
The red LED 2 is ON.
Shortly press the function key again deactivated
A call cannot be diverted to all Scantron indoor stations. The diverting indoor station is not
signalling the diverted call.
Open the floor door
If the oor push-button at the oor door is pressed, the oor door
can be opened with the door release button (instead of the front
door) within 30 seconds.
Door release automatic
An incoming door call directly eects the opeing of the door if this
function is activated.
Shortly press the function key activated,
The red LED 2 is ON.
Shortly press function key again deactivated
Switching lights with the door release button
if no voice communication is established.
Parallel call
A second indoor station
sounds with the rst one in case of an incoming door, oor or inter-
nal call. The ring tone sounds at both indoor stations.
Parametermenü
Internruf
menu
control function
selected
control function
(de-)activate control functions in the menu control function
Send control function
If control functions are programmed (max. 10), those can be (de-)activated in the menu con-
trol function. The switching modes of the control functions (ON/OFF) are indicated by with
colored points (red/green).
Further configurable functions
The menu display switches o auto-
matically after 5 seconds.
Observe during the conguration:
With the technical installation of
internal call destinations resp. control
functions, their nomination is xed
too. These can be changed only by a
qualied electrician.
BRUskyline
version 1.0
Side 9

BRUskyline
version 1.0
Additional functions
Cleaning
Video surveillance
Press the image button shortly to show the image of the front-door station on the
display. By pressing again and again further possible cameras can be selected.
Error indication
If the LED 6 ickers continously short and are there beep tones when pressing the
buttons, there is an error at the device or within the system.
Please inform your qualied electrician.
Avoid water from entering the device! Do not use any abrasive detergents!
Information on disposal
The adjoining symbol shows, that the device has to be disposed separa-
tely from domestic waste. Th materials used are recyclable. Please do help
protecting our environment and dispose the device via a collection point
for electronic scrap.
Clean the device with a dry or slightly wet cloth.
Stronger soillings remove with a mild household cleaner.
Side 10
Table of contents
