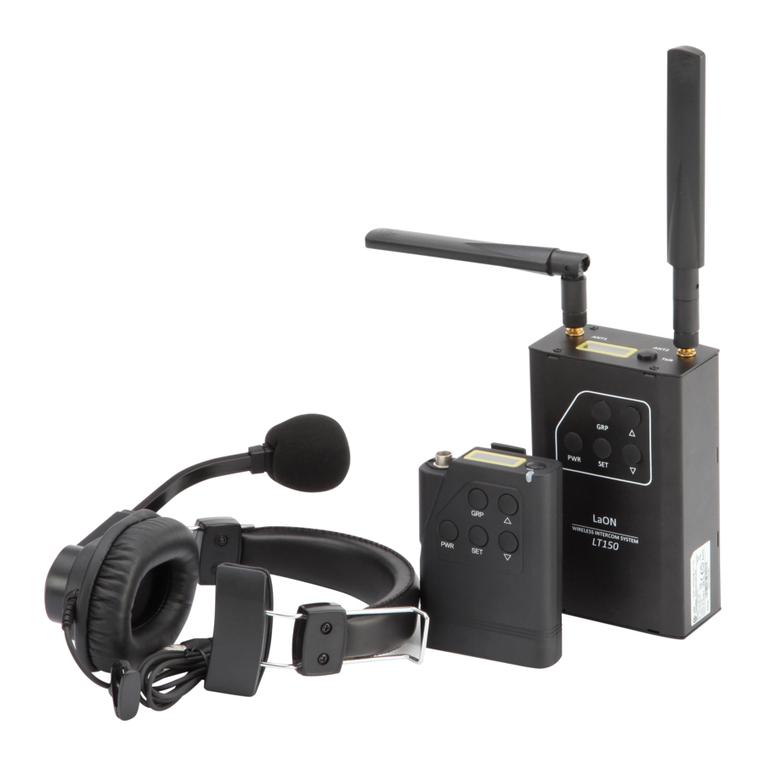
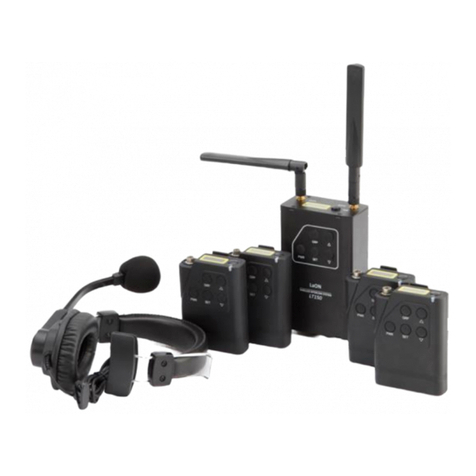
1. Confirm all the equipments are prepared. LTWI-BS550 Base Station with Antenna, Power cord and Adapter, LTWI-BP550 Belt Packs
with Battery and LAON provided Headsets are the very basic equipments required for the actual operating. Either LAON designated
fully charged battery pack, LTWI-BAT50 or freshAA 1.5V alkaline batteries can be used for Belt Pack.
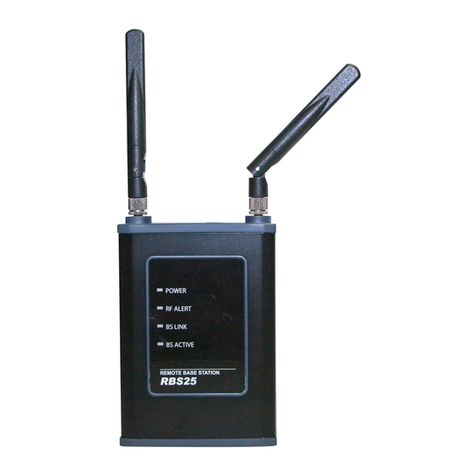
2. Select the best location available in the site to place the Base Station with Antenna where is in the center of the coverage as high as
possible and away from any obstructions such as wall, metal reflector and electric equipments that may affect or create radio
interferences.
3. Put up twoAntennas and plug the power cable to the Base Station. Make sure the Antenna is connected firmly and positioned upright.
4. One of the communication manager may use and operate LTWI-BS550 Base Station by connecting a Headset to the Base Station.
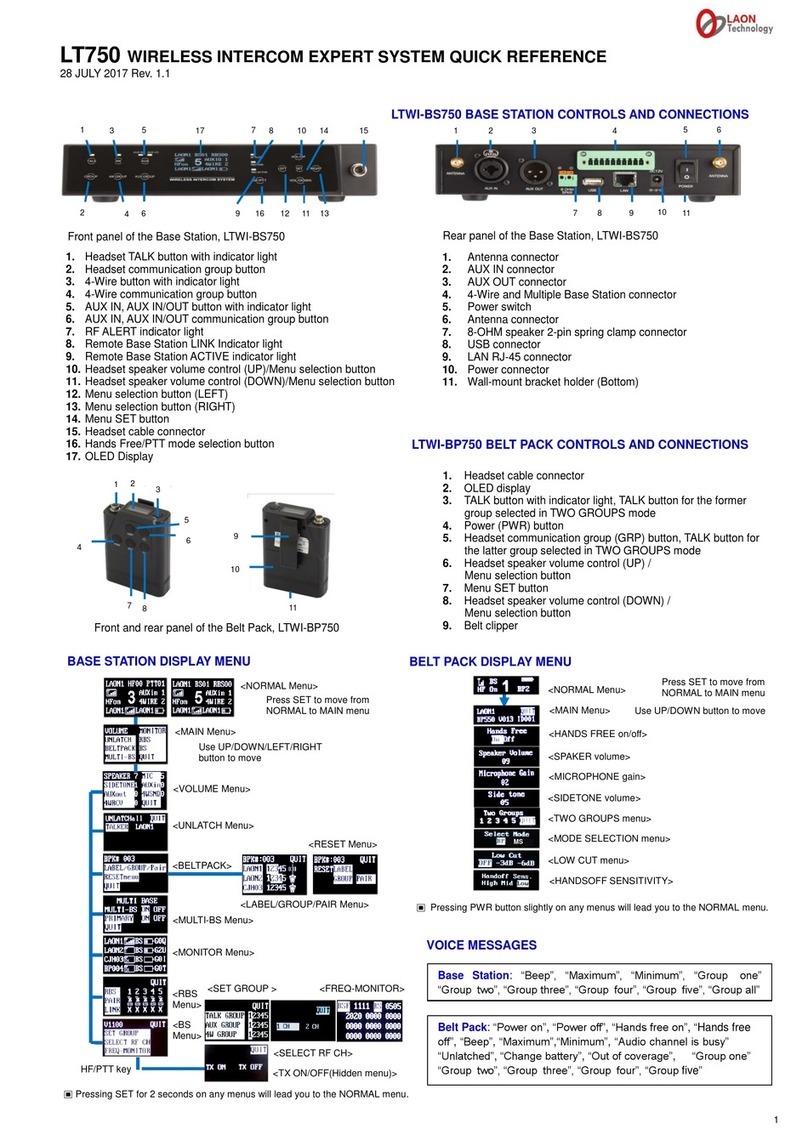
Connect a Headset to the Base Station and toggle the power switch to turn on the Base Station. The indicator light on top of the TALK
button will be slowly flashing in green and the NORMAL menu will be displayed on the front panel of the Base Station once the „DFS
detecting‟is completed.
5. When initially using, the Base Station and Belt Packs should go through a paring process. Make sure that the Belt Pack should be near
from the Base Station not going further than 1 meter (3 feet) from the Base Station as possible while processing the paring up. Press
SET while the NORMAL menu is displayed on the Base Station to move to the MAIN menu and select Belt Pack menu under the MAIN
menu by pressing UP or DOWN button.
6. Set the maximum number of Belt Packs you want to pair up with the Base Station by selecting „BPK#‟in the first row of Belt Pack menu
and enter the number with UP or DOWN button. Save the input with SET button and move to LABEL/GROUP/PAIR menu.
7. Move to the Belt Pack Label column in the second row with LEFT or RIGHT button and input a distinguished name for the Belt Pack to
be paired up with UP or DOWN button. The display shows alphabets and numbers sequentially. Press SET to save and move to the
next column, Communication Group numbers, and select single or multiple, up to five(5) desired group numbers as you want to allocate
to the applicable Belt Pack by pressing SET button on each number one by one.
8. Connect a Headset to Belt Pack end to be paired up. Reboot the Belt Pack power if it is turned on, and turn on if it is turned off.
9. Go back to the Base Station. On the menu display, move on to the paring icon, next to the Communication Group number section
and press SET on it to execute paring then the icon will be changed to .
10. Make sure the NORMAL menu is displayed on the Belt Pack top panel. While you press and hold the PWR (Power) button of the Belt
pack, quickly press the SET button and release both buttons. By doing this, the Belt Pack will be in pairing mode as well and the
message, “Pairing…” appears on the Belt Pack display.
11. If the paring is completed properly, the Belt Pack display shows the paired up Belt Pack Label and ID number and the message,
“Paring Completed” appear within 20 seconds. And, paring icon, is displayed in the Base Station menu display. Repeat the same
process for each additional Belt Pack. If the paring is failed, the message “Paring Failed”appears in the Belt Pack display after 20
seconds. Try the paring process again after rebooting the Belt Pack. If any changes are made on the Belt Pack Label and
Communication Groups, the paring process should be done again to reflect the changes.
12. On the Main Menu of the Base Station, move to BS menu for the Communication Group setting of the Base Station‟s Headset. Move to
„GROUP SET‟under the BS menu and select „TALK GROUP‟for the setup of Base Station Headset and select single or multiple, up to
five(5) desired group numbers as you want to allocate to the Base Station. Select QUIT to save and back to the MAIN menu.
13. When communicating between the Base Station and Belt Packs which have been paired up, make sure the Belt Packs should go
further than 2 meter (6.5 feet) from the Base Station.
HANDS FREE / PUSH-TO-TALK(PTT) MODE SETUP AND OPERATION
For Base Station, select the desired mode with HF/PTT button on the front panel. In hands free mode, press TALK button for „Listen and
Talk‟mode then the green light will be on steady. By pressing TALK button again, it will be changed to „Listen only‟mode with the green light
flashing. In PTT mode, press and hold the TALK button while speaking.
For Belt Pack, move to HANDS FREE display menu under the MAIN menu with UP or DOWN button and select a desired mode. In hands
free mode, press TALK button for „Listen and Talk‟mode then the green light will be on steady. By pressing TALK button again, it will be
changed to „Listen only‟mode with the green light flashing. In PTT mode, press and hold the TALK button while speaking.


