SkyZone Gee Bee 4377SZ User manual
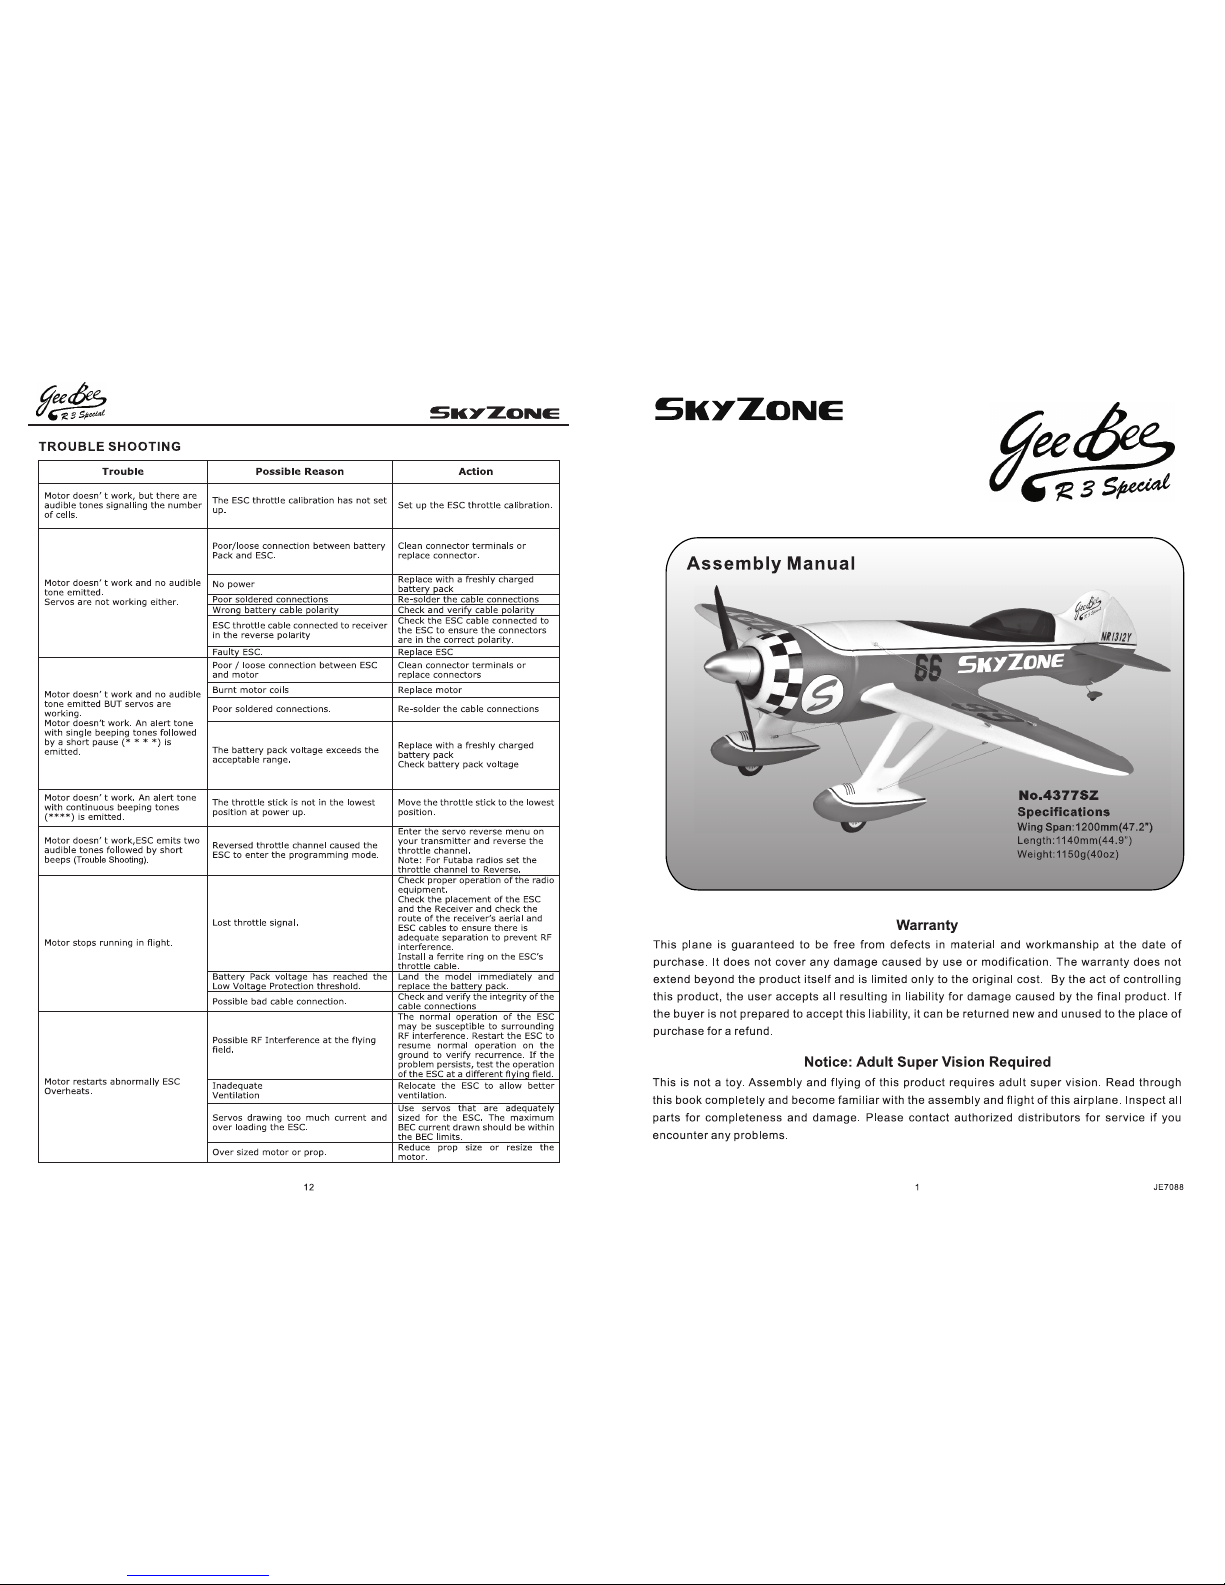
Pylon Racer

INTRODUCTION
!Congratulations on the purchase of the EPO Pylon Racer, the Gee Bee R3. Replica from the most popular
pylon racer in the world that will make you outstand at your local flying field. Please follow the manual and
complete the final assembly, we hope you can enjoy the flying of this racer.
CAUTION
Before beginning the assembly read the instructions thoroughly to give an understanding of the sequence
of steps and a general awareness of the recommended assembly procedures. By following these
instructions carefully and referring to the corresponding pictures, the assembly of your model will be both
enjoyable and rewarding. The result will be a well built, easy to fly plane.
The Gee Bee R3 is designed for intermediate to advance pilots and it requires basic flying skill.
PRE-ASSEMBLEY NOTES
1.Please assemble your model according to this instruction manual. Do not attempt to modify or change
your model in any way as doing so may adversely change its flying characteristics. Doing so will be out
of warranty.
2.The plane is almost assembled, a lot of assembly steps are finished by factory craftsman. Only a few
final assembly steps that will need user to do.
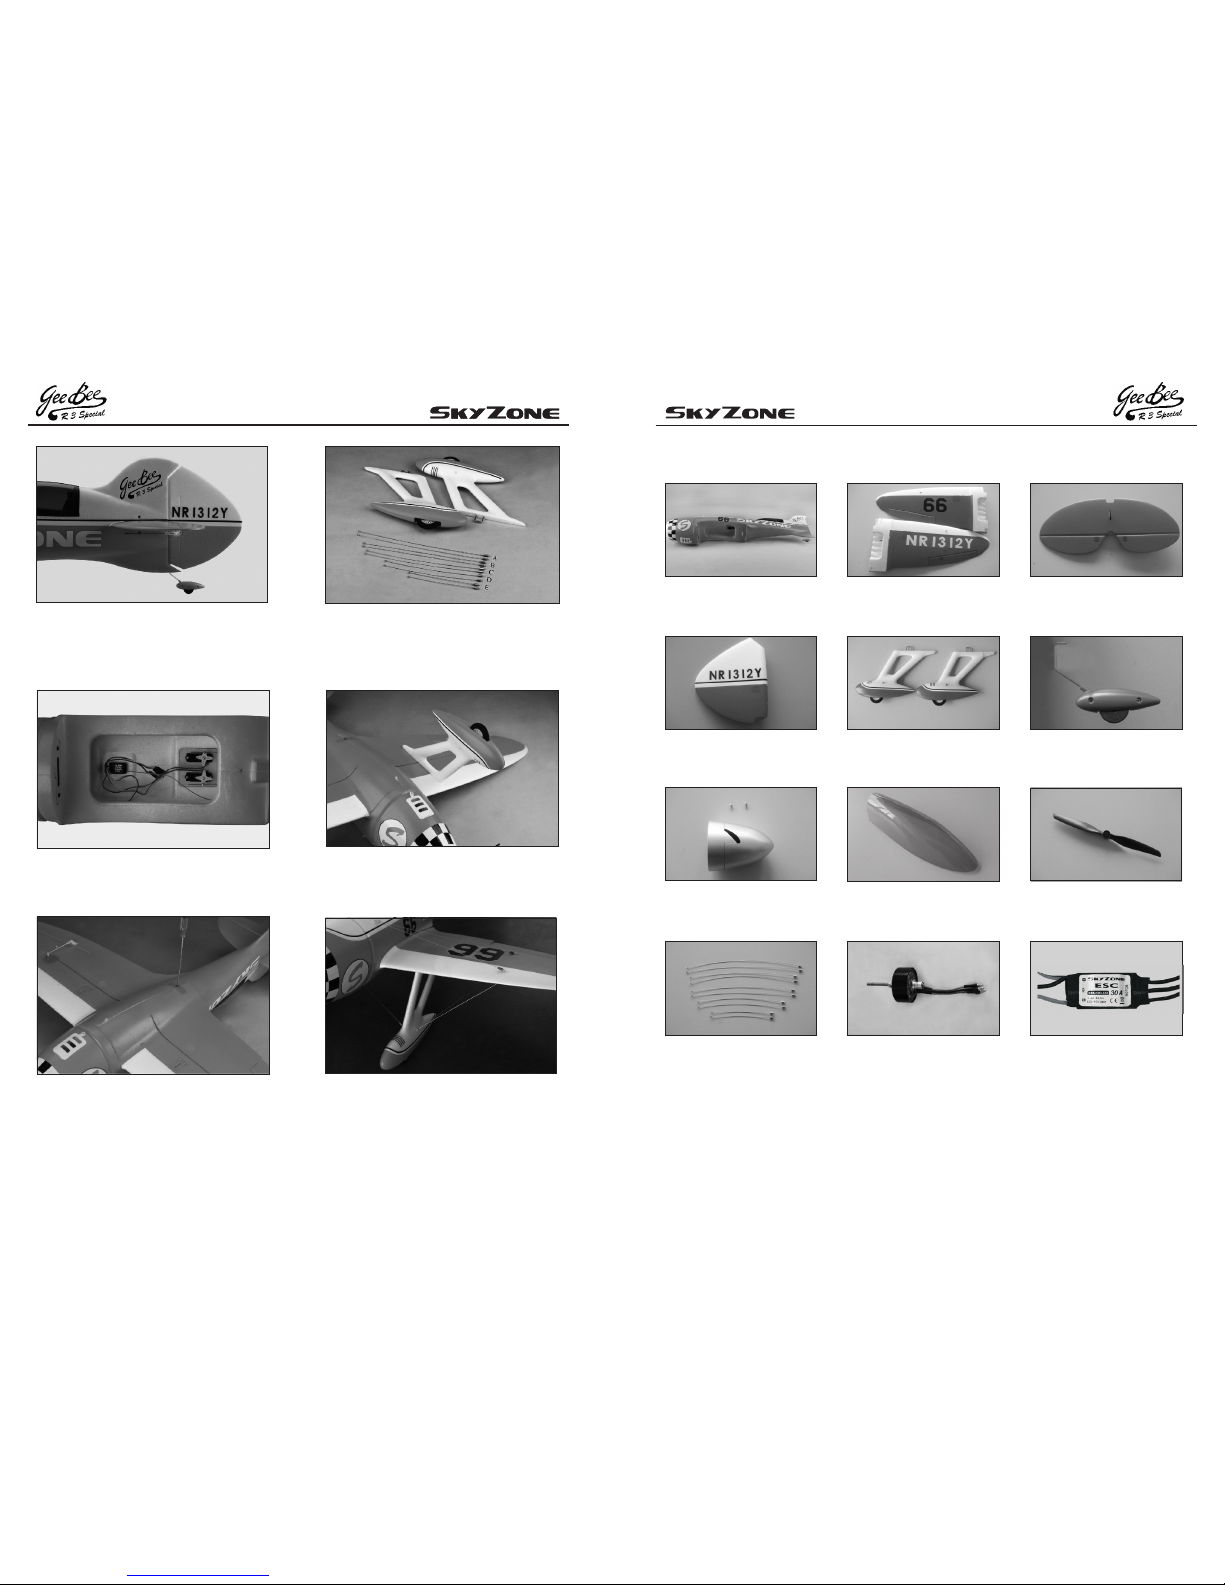
3.Before you begin please check entire contents of this kit against the exploded photos on the side panel
of the color box. If you find that any parts are either missing or damaged, please contact our dealer
immediately for replacement. Note: Your dealer cannot accept kit from return if assembly has begun.
COMBO PLUS VERSION CONTENTS
Semi- assembled Airplane
Motor: Outrunner 800KV (AS9270SZ)
BLC-30: Skyzone BLC-30A ( AS9271SZ)
Servo: 2 Micro ( AS9233SZ), 2 Mini Servos( AS9272SZ)
OTHER ITEMS REQUIRED FOR COMBO PLUS VERSION
Radio: A 4CH Radio control system
Battery: 3S1P 11.1V 2200mAh Lipo Battery
Charger: Equivalent 3S Balance Charger
USING YOUR NEW ESC
Improper polarity or short circuit will damage the ESC, this beyond our warranty.
Alert Tone s
The Skyzone ESC is equipped with audible alert tones to indicate abnormal conditions at power up.
1.Continuous beeping tone (****) Indicates that throttle stick is not in the minimum position.
2.Single beeping tone followed by a one second pause (* * * *) Indicates that the battery pack voltage
exceeds the acceptable range. (The ESC automatically checks and verifies the battery voltage once
the battery is connected).
BUILT-IN IN TELLIGENT ESC SAFETY FUNCTIONS.
1.Over-heat protection: When the temperature of ESC exceeds 110℃ until it below 110℃.
2.Throttle Signal Lost Protection: The ESC will automatically cut off the power to the motor when it
detects a lost of throttle signal for 2 seconds, then the motor will emit continuous beeping tone.
POWERING UP THE ESC FOR THE FIRST TIME & SETTING THE AU TOMATIC
THROTTLE CALI BRATION
Features Automatic Throttle Calibration to attain the smoothest throttle response and resolution
throughout the entire throttle range of your transmitter. This step is done once to allow the ESC to “learn
and memorize” your transmitter's throttle output signals and only repeated if you change your
transmitter.
1.Switch your transmitter ON and set the throttle stick to highest position.
2.Connect the battery pack to the ESC. Wait for about 2 seconds, the motor will beep for twice, then put
the throttle to the lowest position, the motor will also beep, which indicates that your ESC has got the
signal range of the throttle from your transmitter.
The throttle is now calibrated and your ESC is ready for operation.
ENTERING THE PROGRAMMING MODE
1.Switch your transmitter ON and set the throttle to its highest position.
2.Connect the battery pack to the ESC.
3.Wait until you hear two short beeps (●● ●● ●● ●●) , the ESC is now in programming mode.
4.With the throttle stick at highest position, there will be another beeps(_●) about 5 seconds, the
Programming is ready to start the sequence as reference table that you can set up the desired function.
5.When reaching the desired function by recognizing the tones, move throttle stick to lowest position.
6.The ESC will emit two beeps (_●) and the function is stored.
7.The programming procedure is stop as it allows one setting of function each time.
8.Switch off the power for few seconds before next setting or using.
GENERAL SAFETY PRECAUTIONS
1.Do not install the propeller (fixed wing) or drive pinion(helicopter) on the motor when you test the ESC
and motor for
the first time until you make sure the settings on radio is correct.
2.Never use ruptured or punctured battery cells.
3.Never use battery packs that are known to overheat.
4.Never use short circuit battery or motor terminals.
5.Always use proper insulation material for cable insulation.
6.Always use proper cable connectors.
WRONG BATTERY POLARITY WILL DAMAGE THE ESC AND VOID THE WARRANTY
1.Use only batteries that are supported by the ESC and ensure the correct polarity before connecting.
2.Always TX power on first and power off last.
3.Ensure the throttle stick is in the lowest position before connecting the battery pack.
4.Only connect your battery pack just before flying and do not leave your battery pack connected after
flying.
5.Handle your model with extreme care once the battery pack is connected and keep away from the
propeller at all
times. Never stand in-line or directly in front of any rotating parts.
6.Do not get wet of your ESC.

3
1.Lo cate the main wing halv es then use the
enclosed adhesive to glue two wing halves together.
Make su re the wing root co ntact each ot her
perfectly. Glue the wing protector in place as shown.
4.Secure the motor in place firmly with the retaining
screw which you loosed.
2.Locate the fuselage then loose the retaining screw
from the motor mount by a Phillips Screw Driver.
5.Insert the horizontal tail in place with the plywood
mount faced up then secure the tail in place with
M3x22mm.
3.Next insert the speed controller to the battery
compartment from the cowling.
6.Apply tiny glue at the bottom hole of the rudder
then insert the torque rod of tail wheel into the hole.
Wipe away the excess glue.
FINAL ASSEMBLY
10
INTRODUCTION
Thank you for purchasing SKYZONE Brushless Electronic Speed Controller,
Skyzone has no control over the use, installation, application, or maintenance of these products, thus no liability
shall be assumed nor accepted for any damages, losses of costs resulting from the use of this item. Any claims
arising from the operating, failure or malfunctioning etc. will be denied. We assume no liability for personal injury,
property damage or consequential damages resulting from our product or our workmanship. As far as is legally
permitted, the obligation for compensation is limited to the invoice amount of the
Product in question.
please read this manual carefully.
FACTORY DEFAULT SETTING
Brake: OFF
Battery Type Detect: LiPo with Automatic Cell
Low Voltage Cutoff Threshold: Medium (3.0V/60%)
Timing Setup: Automatic
Soft Acceleration Start Up: Soft Acceleration
Governor Mode : RPM OFF
Frequency : 8kHz
Low Voltage Cutoff Type:Reduce power
SPECIFICATION
Output : Continuous Current 30A ,
Burst Current 40A for 10 seconds
Battery Cell :5-12NC / 2-4 Lipo
Weight:28g
BEC Output:5V/3A
FEATURES
Extremely low internal resistance
Super smooth and accurate throttle linearity
Safety thermal over-load protection
Auto throttle shut down in signal lose situation
Supports high RPM motors
Power arming protection (prevents the motor from
accidentally running when switched ON)
New Advanced programming software
QUICK START UP
1.Switch your Transmitter ON and set the throttle to its lowest position.
2.Connect the battery pack to the ESC and the ESC is powered on.
3.It emits two sets of tones in succession indicating its working status.
* The first set of tones denotes the number of Battery cells. (Two beeps (**) indicates a 2 cell LiPo pack).
* The second set of tones denotes Brake status (one beep * stands Brake is “ON” and two beeps ( _ *) stands Brake
is “OFF”). The ESC is now ready for use.
49
No.AS9263SZ Rudder
No Landing Gear.AS9264SZ No Tail Gear.AS9265SZ
REPLACEMENT PART
No.AS9260SZ Fuselage No 9262 Horizontal Tail.AS SZ
No.9269SZ Spring Wire SetAS No.9270SZ Outrunner(KV 800)AS
No.AS9271SZ 30A Brushless Co ntroller
No Spinner.AS9266SZ
No Canopy.AS9267SZ No.9268SZ PropellerS
No.9261SZ Main WingAS
8.Well connect the servo wires, controller wire and Y
cord to the receiver.
7.Snap on the rudder hinges and make sure that it
works freely. Next attach on the clevises to the
c o n t r o l ho r n s o n t h e ru d d e r an d el e v a t o r
respectively when servos and control surfaces are
in neutral position.
9.Connect the aileron servos to the Y cord then trial
fit the main wing in place. Secure the wing with
M4x55mm when satisfied.
11.Install the landing gear in place. User may not
need to apply the glue at the contact area for easy
transportation.
10.Locate the landing gear set and spring wires as
shown. There are 10 wires in 5 different length.
12.Attach on the spring wires as photo indicated.
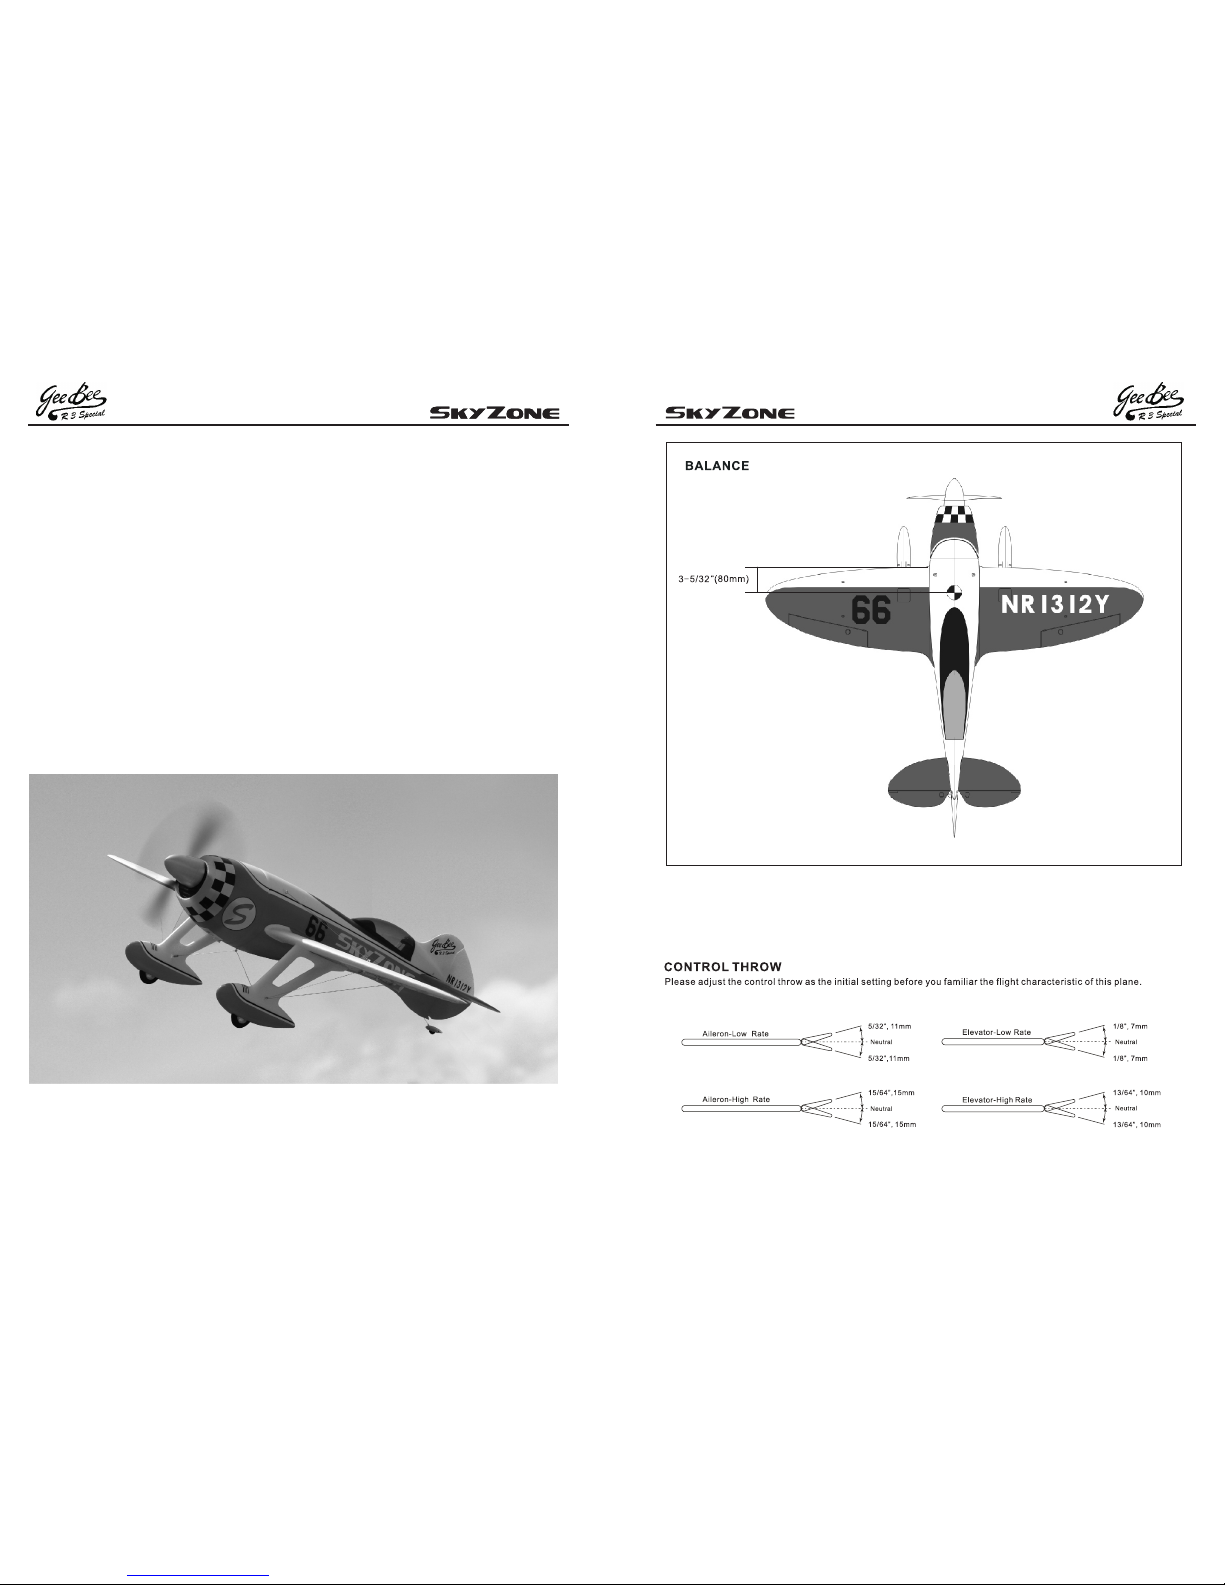
It is important to balance the plane to the correct CG before you fly. The balance point is about
from the leading edge at the wing root.
3-5/32"(80mm)
85
General: Check the airplane completely. Do the mechanical trim of all control surfaces to make the trim neutral in
position on transmitter. Add fuel or quick charge the battery then do the pre-flight checks again (F-K) if you Are
going to fly again.
Battery: Check battery if heavy landing or crashed, properly disposal the battery if battery is punched or damaged.
Storage: Discharge the battery, unplug the battery connector, clean the plane with rubbing alcohol and paper
towel then store the airplane indoors where is dry and without dust.
POST-FLIGHT CHECK
ACCIDENTS: ONCE YOU RUN INTO ANY ACCIDENTS THAT AIRPLANE LOOSE
CONTROL IN AIR
P .
Q.
R.
a. Have the audience notice this situation and try to stop engine or motor to minimize the damage.
b. Observe the crash point, get there and switch off the battery first then look into the airplane and try to find out
reason. Get some pictures of the plane if possible.
c. Pick up the wreckage of the plane and keep environment protected.
d. If any injury occurs please keep clam and process the correct procedure of “First Aid”.
Join the Model Association (modeler in US please contact Academy of Model Aeronautics) for insurance, flying flied
information and other details is strongly recommended.
It is important that you thoroughly understand the above cautions before you attempt your first flight.The expertise of
experienced modelers at flying field is always your good teachers. Just ask for help and always be aware of the
safety cautions that will help you to enjoy a safe and happy flight.
6
This manual suits for next models
2
Table of contents
Other SkyZone Toy manuals

Popular Toy manuals by other brands


Factory
Factory SCX-60CF instruction manual

LEGO
LEGO CHIMA 70132 Building instructions

Fisher-Price
Fisher-Price V1486 quick start guide

Accucraft trains
Accucraft trains Climax instruction manual

Accucraft trains
Accucraft trains WHITCOMB 45T SIDE ROD DIESEL ELECTRIC instruction manual

Bachmann
Bachmann Williams J CLASS LOCOMOTIVE & TENDER instructions