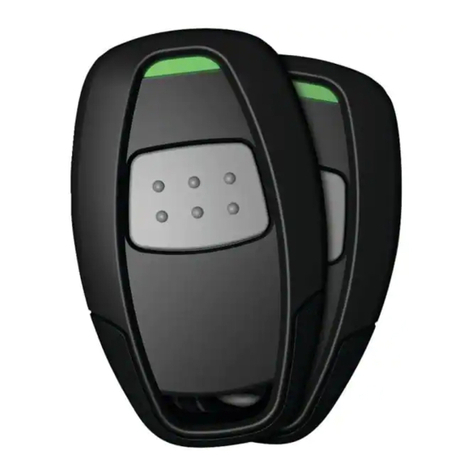
Smart Start BC-11 User manual

WHEN READY TO DRIVE (all systems)
While remote started, follow the “Key-Take-Over” procedures outlined below.
Procedure(s) with check mark apply to your vehicle.
V
Owner’s Guide
MODEL: BC 11
OE Integrated Remote Car Starter System
//
Date of Purchase/Installation
08
-The operating range may vary as a result of other radio transmissions, high voltage
lines in the area, objects including other vehicles and buildings blocking the
transmission and the remote control battery condition.
-VEHICLES WITH ANTI-THEFT IMMOBILIZER SYSTEMS:
When a new key must be added to your vehicle, some manufacturers require all other
keys to be reprogrammed during the learning procedure.
Any keys not present during the learning procedure will no longer start vehicle’s
engine. This ensures any lost keys are deleted from operating the vehicle.
If one original or one additional key was used for remote start installation, i
that key reprogrammed during this
procedure.
tisthe
vehicle owner’s responsibility to arrange
Please, call customer service/tech support for details.
!
The manufacturer warrants to the original purchaser of their remote starters and alarms, that the main
control module shall be free from defects in material and workmanship. However, should this product be
proven to be defective, within 12 months (one year) from the original date of purchase, the manufacturer
will, without charge to the purchaser (excluding any charges incurred to have the product delivered to the
manufacturer), repair or replace the main control module which the manufacturer agrees to be defective.
Repairs or replacement of defective modules shall remain at the discretion of the manufacturer.
LIMITED WARRANTY: ACCESSORIES
V
The manufacturer warrants to the original purchaser of the accessories, including but not limited to, remote
control transmitters, LCD display transmitters, antennas, bypass kits, databus modules, relays, sensors,
LED lights and sirens, that these should be free from defects in workmanship and material. However,
should any accessory be proven to be defective, the manufacturer will repair or replace these without
charge, within 12 months (one year) from the original date of purchase. This warranty applies to the original
purchaser and the vehicle in which the accessories are originally installed by a factory-authorized dealer.
Repair or replacement of the defective accessory shall remain at the discretion of the manufacturer.
[1] To obtain service through this warranty, the purchaser must contact factory-authorized dealer, request
Return Authorization, then return the product to the manufacturer, shipping pre-paid, accompanied by RA#
and a legible copy of bill of sale. [2] The product must be installed, serviced and reinstalled by the factory-
authorized dealer to qualify for the above warranties. [3] The above warranties do not cover labor costs for
maintenance, reprogramming, diagnostics, removal and reinstallation of the product in any
circumstances. [4] The above warranties do not cover any normal wear and tear, including the remote
control cases and batteries. [5] The above warranties are non-transferable. All warranties apply to the
original purchaser and the vehicle in which the product was originally installed. [6] Above warranties are
automatically VOID when: the installation and/or the product are damaged as a result of misuse, abuse,
neglect, or accident; any unauthorized repairs, modifications or alterations have been made to the product
and/or the installation; the unit’s date code or serial number is defaced missing or altered; product used
contrary to its intended purpose or other causes not arising out of defects in material or installation. [7]
Security systems are designed to act as a deterrent against possible theft. The manufacturer and the
installer do not offer any guarantee or insure against vandalism, damage or theft of the automobile, its parts
or contents; and hereby expressly disclaim any liability whatsoever, including without limitation, liability for
theft, damage and/or vandalism. [8] The extent of the liability under above warranty is limited to the repair
or replacement provided for above and, in no event, shall the total liability cost exceed the purchase price
paid by the purchaser for the product. [9] For service on an out-of-warranty product a flat rate fee by model
is charged. Contact your authorized dealer to obtain the service charge for your unit. [10] The
manufacturer and the installer shall not be responsible for any damages, including but not limited to, any
consequential damages, incidental damages, damages for the loss of time, loss of earnings, commercial
loss, loss of economic opportunity and the like. [11] These warranties are in lieu of all other guarantees,
expressed or implied, including the warranties of merchantability and fitness for particular purpose. [12]
The manufacturer and the installer neither assume nor authorize to assume for them any other liability in
connection with the sale of the product and installation. This warranty gives you specific legal rights. You
may have other rights that vary from State to State.
Limited three year warranty is available, at time of system installation, for new vehicles with under 6500
odometer miles. The manufacturer warrants to the original purchaser of their remote starters and alarms,
that the main control module shall be free from defects in material and workmanship. However, should this
product be proven to be defective, within 36 months (three years) from the original date of purchase, the
manufacturer will, without charge to the purchaser (excluding any charges incurred to have the product
delivered to the manufacturer), repair or replace the main control module which the manufacturer agrees
to be defective. Repairs or replacement of defective modules shall remain at the discretion of the
manufacturer.
WARRANTY TERMS AND CONDITIONS
V
LIMITED THREE YEAR WARRANTY
LIMITED ONE YEAR WARRANTY
SERIAL NO. 11
SMART
START
REMOTE STOP VEHICLE
This feature may not be available where the vehicle does not respond to the factory transmitter
while the engine is running.
(Option: press “LOCK” button 3 times)
1. Press & release the “LOCK” button on the factory transmitter twice within 3
seconds.
2. Park lights will flash and vehicle shuts down.
Note: Pressing on brake pedal will also stop the engine.
QUICK STOP MODE (not available on some vehicles)
(Option: press LOCK button 3 times)
1. While vehicle is running with key, press & release the LOCK button twice
within 3 seconds.
2. Park lights will turn “ON”. Turn ignition “OFF” and remove key.
3. Vehicle continues to run for 15 minutes, allowing you to run quick errands.
4. When you return, follow “WHEN READY TO DRIVE” procedure.
Condition #1
Advice
Parking lights flash 3 times and vehicle does not proceed to start...
The system is in “Service Mode” (see Service Mode procedure)
REMOTE START VEHICLE
1. Press & release the “LOCK” button on the factory
transmitter twice within 3 seconds.
2. Vehicle’s engine will start.
3. Park lights will remain “ON” while engine is running
4. Follow “When ready to Drive” procedure below.
5. Vehicle will run for 15 minutes and shut down.
(Option: press “LOCK” button 3 times)
2 times
Vehicle’s starter engages but engine does not start.
Parking lights flash 4-7 times and vehicle does not proceed to start...
Contact customer service for assistance at (847)338-7898.
Condition#2
Condition#3
Advice
REMOTE START [BC-116]
REMOTE START [BC-118]
Note
-On some vehicles, this system may also activate through the door lock switch just as with the OEM transmitter. On
these vehicles, it is normal and can not be prevented.
-When longer range is desired, this system can be upgraded to BC-118 that includes an optional antenna and a
separate, one-button remote control. Please, call customer service/tech support for details at (847)338-7898.
Ignition
“On”
When Ready to Drive: Regular Key
1. Turn ignition key to the “ON” or “RUN” position
2. Depress the brake pedal to shift out of “Park”
(second
click)
Note: Do not turn past the “ON” position to “START”!
(this automatically turns off remote start system)
Ignition
“On”
When Ready to Drive: “I-Key” (V1)
1. With I-Key inside vehicle, turn ignition switch to the “ON” or
“RUN” position
2. Depress the brake pedal to shift out of “Park”
(second click)
Note: Do not turn past the “ON” position to “START”!
(this automatically turns off remote start system)
Door open
When Ready to Drive: “I-Key” (V2-Securelock)
1. Open the driver’s door...
2. Engine turns off automatically (Remote Start shuts down)...
3. With I-Key inside vehicle, restart vehicle manually with
ignition switch.
Vehicle will not attempt to remote start with door open.Note:
START
STOP
When Ready to Drive: “I-Key” (V3)
1. With I-Key inside vehicle, push “START” button on
dashboard once, to turn to “ACC” position...
2. Push “START” button second time to turn to the “ON”
position...
3. Depress the brake pedal to shift out of “Park”
(this automatically turns off remote start system)
BRAKE
When Ready to Drive: All Vehicles
1. Depress brake pedal...
2. Engine turns off automatically (Remote Start shuts down)...
3. Restart vehicle manually with ignition switch.
V
BP KIT

Ignition
“On”
When Ready to Drive: Regular Key
1. Turn ignition key to the “ON” or “RUN” position
2. Depress the brake pedal to shift out of “Park”
(second
click)
Note: Do not turn past the “ON” position to “START”!
(this automatically turns off remote start system)
Ignition
“On”
When Ready to Drive: “I-Key” (V1)
1. With I-Key inside vehicle, turn ignition switch to the “ON” or
“RUN” position
2. Depress the brake pedal to shift out of “Park”
(second click)
Note: Do not turn past the “ON” position to “START”!
(this automatically turns off remote start system)
Door open
When Ready to Drive: “I-Key” (V2-Securelock)
1. Open the driver’s door...
2. Engine turns off automatically (Remote Start shuts down)...
3. With I-Key inside vehicle, restart vehicle manually with
ignition switch.
Vehicle will not attempt to remote start with door open.Note:
START
STOP
When Ready to Drive: “I-Key” (V3)
1. With I-Key inside vehicle, push “START” button on
dashboard once, to turn to “ACC” position...
2. Push “START” button second time to turn to the “ON”
position...
3. Depress the brake pedal to shift out of “Park”
(this automatically turns off remote start system)
BRAKE
When Ready to Drive: All Vehicles
1. Depress brake pedal...
2. Engine turns off automatically (Remote Start shuts down)...
3. Restart vehicle manually with ignition switch.
V
REMOTE STOP VEHICLE
1. Press & hold the “START” button for 4 seconds.
2. Park lights will flash and vehicle shuts down.
Note: Pressing on brake pedal will also stop the engine
QUICK STOP MODE (not available on some vehicles)
1. While vehicle is running with key, press & release the START button.
2. Park lights will turn “ON”. Turn ignition “OFF” and remove key.
3. Vehicle continues to run for 15 minutes, allowing you to run quick errands.
4. When you return, follow “WHEN READY TO DRIVE” procedure.
REMOTE START VEHICLE
1. Press & release the “START” button
2. Park lights will flash to confirm that remote start
command has been received
3. Vehicle’s engine will start.
4. Park lights will remain “ON” while engine is running
5. Follow “When ready to Drive” procedure below.
6. Vehicle will run for 15 minutes and shut down.
*
start
REMOTE RUNTIME EXTENSION
1. While vehicle is running with remote start, press & release the “START”
button to reset the timer and extend the runtime.
2. Park lights flash 1 time to confirm the extension of runtime (15 min timer restarts).
Condition #1
Advice
Parking lights flash 3 times and vehicle does not proceed to start...
The system is in “Service Mode” (see Service Mode procedure)
Vehicle’s starter engages but engine does not start.
Parking lights flash 4-7 times and vehicle does not proceed to start...
Contact customer service for assistance at (847)338-7898.
Condition#2
Condition#3
Advice
REMOTE START [BC-118]
SERVICE MODE
TO ACTIVATE SERVICE MODE
TO EXIT SERVICE MODE
1. Locate the “service” button inside the vehicle
2. Turn ignition key “ON”, then press and hold the “service”
button for 15 seconds.
3. Park lights flash 5 times.
4. Release the button and turn ignition key off.
5. Remote start functions will be disabled and LED light will
stay “on”.
1. Turn ignition key “ON”, then press and hold the “service”
button for 15 seconds.
2. Park lights flash 2 times.
3. Release the button and turn ignition key off.
4. Remote start functions will be enabled and LED light will
stay “off”.
(BC-118: on the windshield antenna)
(BC-116: inside fusebox or under dash)
(all systems)SERVICE MODE
-While Service Mode is activated, if you press the “start” button, the parking lights
flash three (3) times and vehicle does not remote start.
15 sec.
Ignition
“On”
15 sec.
OR
REMOTE START [BC-116]
FCC Notice
This device complies with Part 15 of the FCC rules. Operation of this device is subject to the following conditions: (1)
This device may not cause harmful interference, and (2) This device must accept any interference received, including
interference that may cause undesired operation. CAUTION: Changes or modifications not expressly approved by
the part responsible for compliance voids the users authority to operate this device.
-Service Mode must be used to disable Remote Start system for
vehicle servicing (i.e. oil changes, tune-ups, etc) or when
parking in an enclosed garage. Service Mode will disable the
Remote Start system from activating until Service Mode is
deactivated.
WHEN READY TO DRIVE (all systems)
While remote started, follow the “Key-Take-Over” procedures outlined below.
Procedure(s) with check mark apply to your vehicle.
V
Auto-Dimming
Rearview Mirrors
with Compass, Temperature
and HomeLink Options
Reversing Aid
Collision Avoidance System
with In-Bumper Sensors
Bluetooth Hands-free
Cellular Phone Car Kits
with Caller ID
Also available from
SMART
START
-Warning: Never Start any Vehicle in Enclosed Building or Garage
Carbon Monoxide may cause serious injury, even death!
-The Remote Start system must be placed into Service Mode before any
service/maintanance work is started or when parking in an enclosed area/garage. It is
the sole responsibility of the vehicle’s owner to ensure that this is done.
-Warning: Children should never play with vehicle’s keys or remote transmiters!
The manufacturer and the installation center accept no liability or responsibility for
accidental starting of the vehicle.
!
LED
LED
This manual suits for next models
2
Other Smart Start Remote Starter manuals
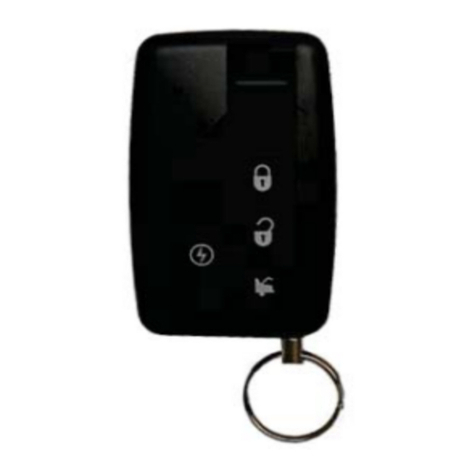
Smart Start
Smart Start AS-1880FM User manual
Smart Start
Smart Start AS-2471TW-FM User manual
Smart Start
Smart Start TRANSMISSION REMOTE STARTER User manual
Smart Start
Smart Start GS-2260TW User manual
Smart Start
Smart Start AS-2780U User manual
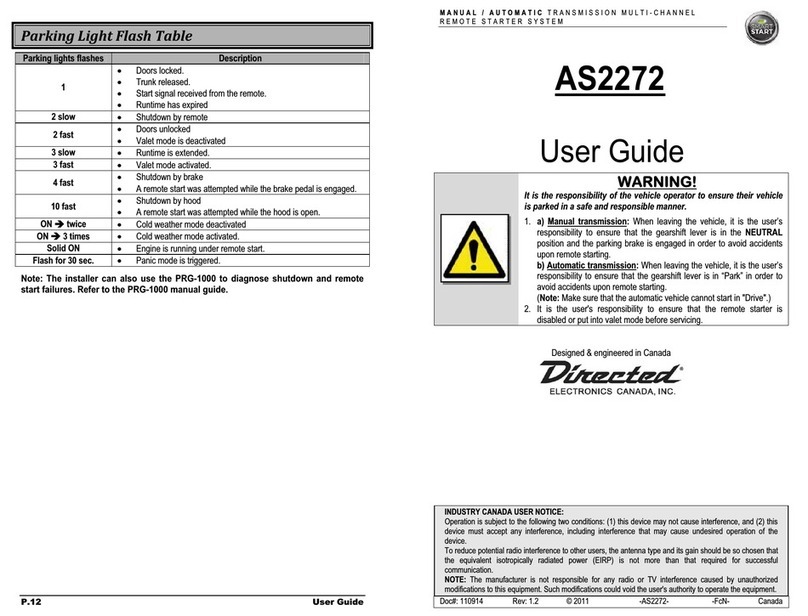
Smart Start
Smart Start AS2272 User manual
Smart Start
Smart Start ns1074 User manual
Popular Remote Starter manuals by other brands

CrimeStopper
CrimeStopper RS-800 installation instructions
ULTIMATE SPEED
ULTIMATE SPEED UPBS 8000 A1 Operation manual

Harbor Freight Tools
Harbor Freight Tools CEN-TECH 56349 Owner's manual & safety instructions
Firstech
Firstech DR-X1 user guide
Iiglo
Iiglo IICARSTART user manual
Bulldog Security
Bulldog Security RS302 Installation and owner's guide
