Smartflow Swap SPV8-A-M User manual

Swap ®ValVe
(molded body materials)
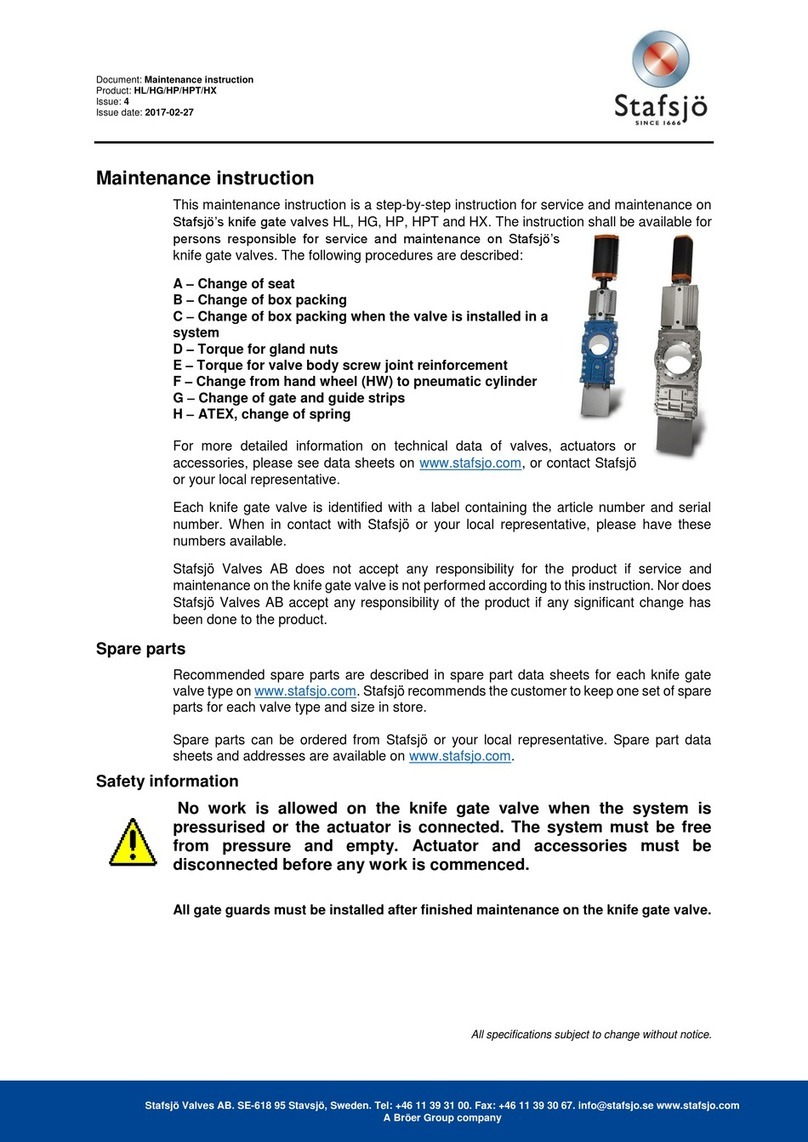
Installation and Operating Instructions
Applies to: SPV8-A-M and SPV8-L-M
General
The Smartflow SWAP Valve is a simple, manually
selectable device that supplies cooling water to the
mold during processing or air to purge the water
from the mold before a mold change.
The SWAP valve has three positions: WATER,
PURGE and VENT. The WATER position is
selected for normal processing. The PURGE
position is selected to evacuate the water before
mold change. The VENT position is selected to
bleed-off trapped pressure and drain residual water
before a mold change.
An optional spring-loaded locking pin is available
to prevent accidental movement of the valve
handle.
Assembly (as required)
1. Apply thread locking compound (Loctite 638 or
equivalent) to threaded end of valve handle.
Screw valve handle into center disk threaded
hole. See figure 1.
3. Thread manual vent into the hole as shown in
figure 1. (No additional thread sealant is
required. Do not over-tighten.)
Form #191 (05.16)
4500 E 142nd St. • Grandview, Missouri 64030 • Tel. (816) 878-6675 • Fax (816) 878-6683 • www.smartflow-usa.com
3/8"NPT(F)
Air Inlet
Manual Vent
Air/Water
Outlet
(back side)
Water
Inlet
Mounting
Holes
Valve
Handle
figure 1
Center Disk
Threaded
Hole Brass
Check Valve
for Water
Installation
The SWAP valve should be mounted to a suitable
surface using the mounting holes.
Line mounting to rigid water pipe instead of
bracket mounting is discouraged.
Connect water supply to the Water Inlet.
Connect shop air to the 3/8-inch NPT(F) Air Inlet with
either a permanent or quick-connect fitting.
Connect the Air/Water Outlet to the cooling water
Supply manifold.
Install the check valve (included) in the return water line
downstream from the Return water manifold as shown
in Figure 2. The check valve will prevent water from
back-flowing into the mold after purging. Depending on
your installation, it may be desirable to add a check
valve to the air inlet ahead of the SWAP Valve.
In closed loop systems air separator installation is
recommended to bleed off residual air introduced by the
SWAP Valve. See figure 2. See figure 3 for installation
without air separator.
Supply
Water In
Air In
Supply
Water Return
Check
Valve
(Included)
Return Manifold
Supply Manifold
Injection
Mold
Vent
SWAP
Valve
Optional
Mold
Heater
Optional Air
Check Valve
(not included)
Taco®
Air Separator
figure 2
Recommended Closed Loop Installation
With Air Separator

Select WATER.
Cooling Water is available to
the Supply manifold.
Purge Air is blocked.
Select PURGE.
Purge Air is available to the
Supply manifold.
Cooling Water is blocked.
Select VENT.
Press Manual Vent-Drain
Valve. Purge Air is blocked.
Cooling Water is blocked.
For Normal
Processing
To Evacuate
Cooling Water
See Note Below
To Bleed-Off
Trapped Pressure
and Drain
Residual Water
Operation
89mm
3.5"
76mm
3.0"
SWAP
Valve
dia
clearance for
1/4-20 bolts
7.1mm
.28"
Mounting Bracket
Hole Pattern
figure 5
2Burger & Brown Engineering, Inc. 800-764-3518
Manual Vent
with Drain
[10-32(F)]
Water
Outlet
3/8"NPT(F)
Air Inlet
Water Inlet
WATER PURGE
VENT
119mm
4.7"
119mm
4.7"
220mm
8.66"
Max.
Height
298mm
11.75"
Max. Operating Width
Dimensions
figure 4
Supply
Water In
Air In
Supply
Water Return
Check
Valve
(Included)
Return Manifold
Supply Manifold
Injection
Mold
Vent
SWAP™
Valve
Optional
Mold
Heater
Mold Heater Bypass
Temporary Hose
Quick-Disconnect
and Ball Valve
Quick-Disconnect
and Ball Valve
Optional Air
Check Valve
(not included) figure 3
Alternate Closed Loop Installation
Without Air Separator

Using a Smartflow Mold Temperature Regulator (MTR)
1. Stop the press.
2. Note the setting on the calibration scale, then move the knob to the “Flush” position (Clockwise to
the stop).
3. Perform the SWAP Purge Procedure (see OPERATION above).
4. On the MTR, return the knob on the calibration scale to the previous position. (It will be necessary to
rotate the knob more than one complete turn counterclockwise.)
5. Select Water after the new mold is installed and the cooling water connections are secure.
Using a TCU (temperature control unit in a closed loop system)
We recommend using a temporary bypass hose or TACO Air Separator per figures 2 & 3. Install bypass
hose and open ball valves on each end of the bypass before purging the mold (figure 3). An air
separator may be installed in the location shown at the highest point possible (figure 2).Your
installation may vary.
1. Stop the press.
2. Check the TCU manufacturer’s instruction for Purge position or Bypass instructions.
3. Perform the SWAP Purge Procedure (see OPERATION above).
4. Reset the TCU to the original operating configuration.
5. Select Water after the new mold is installed and the cooling water connections are secure.
Note: It is possible for the majority of the purge air to rush through the unrestricted water
passages, leaving some water in bubblers or baffles. After unrestricted mold passages have been
purged, close valves on these passages so more air is available to purge the restricted water
passages. It may be necessary to purge longer or to purge restricted passages individually to
completely evacuate the water.
Caution: confirm that the SWAP valve is selected to VENT and that the manual vent button has
been pressed to relieve trapped air pressure or residual water before disconnecting any water
lines. A drain tube can be connected to the Manual Vent-Drain and run to a suitable drain.
Burger & Brown Engineering, Inc. 800-764-3518 3

Abbeon Cal, Inc.
1363 Donlon Street Unit 1, Ventura CA 93003-8387
www.abbeon.com • Phone: 800-922-0977 • E-mail: [email protected]
4Burger & Brown Engineering, Inc. 800-764-3518
Troubleshooting
Symptom
Air or water does not flow through the system
Corrective Action
• Verify check valve direction
• Check that the valve handle is in the correct
position
Water leaks from the valve while in operation • Replace O-Rings
(Contact factory for repair or field replacement
procedure)
Mold does not evacuate completely • Check air pressure (80 to 125 psi required)
Replacement/Additional Parts
Description SPV8 (1-inch)
O-Ring Set .............................................................PVOSET-100M
Valve Handle Knob................................................PVKB-100
Air Check Valve 3/8".............................................PVCV-3
Return Check Valve ...............................................PVCV-100
Manual Vent...........................................................S15-2532
Abbeon Cal, Inc.
123 Gray Avenue, Santa Barbara, CA 93101-1809
This manual suits for next models
1
Table of contents
