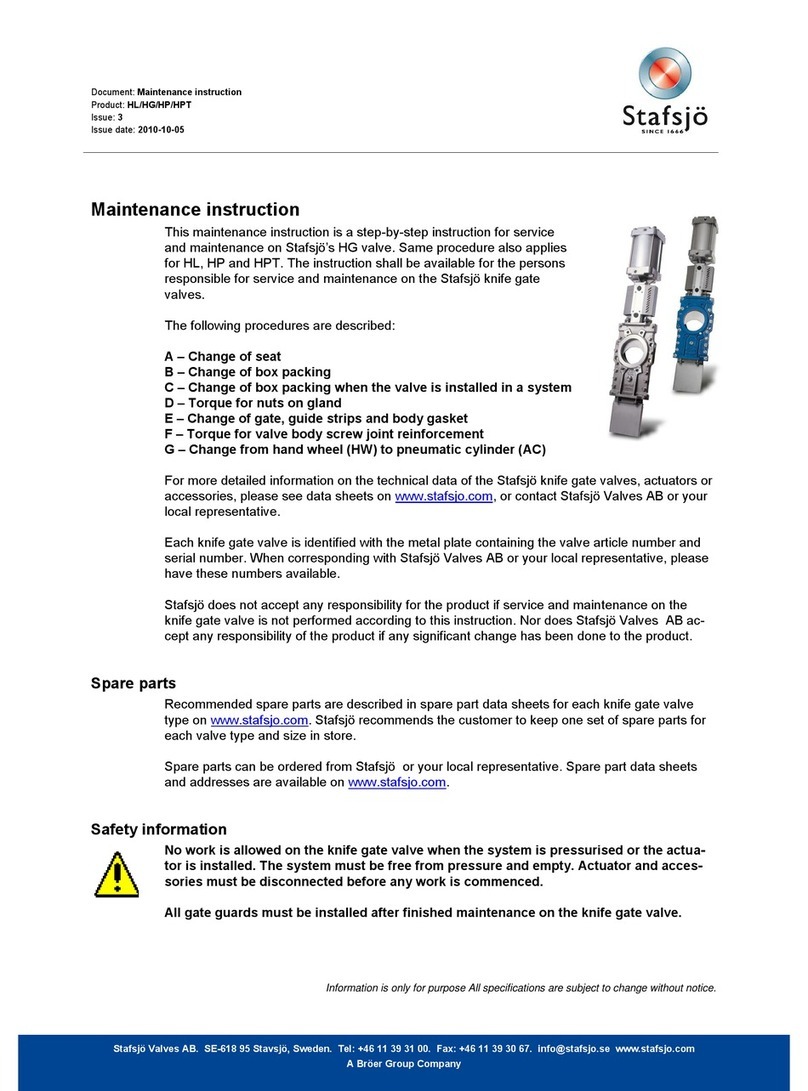
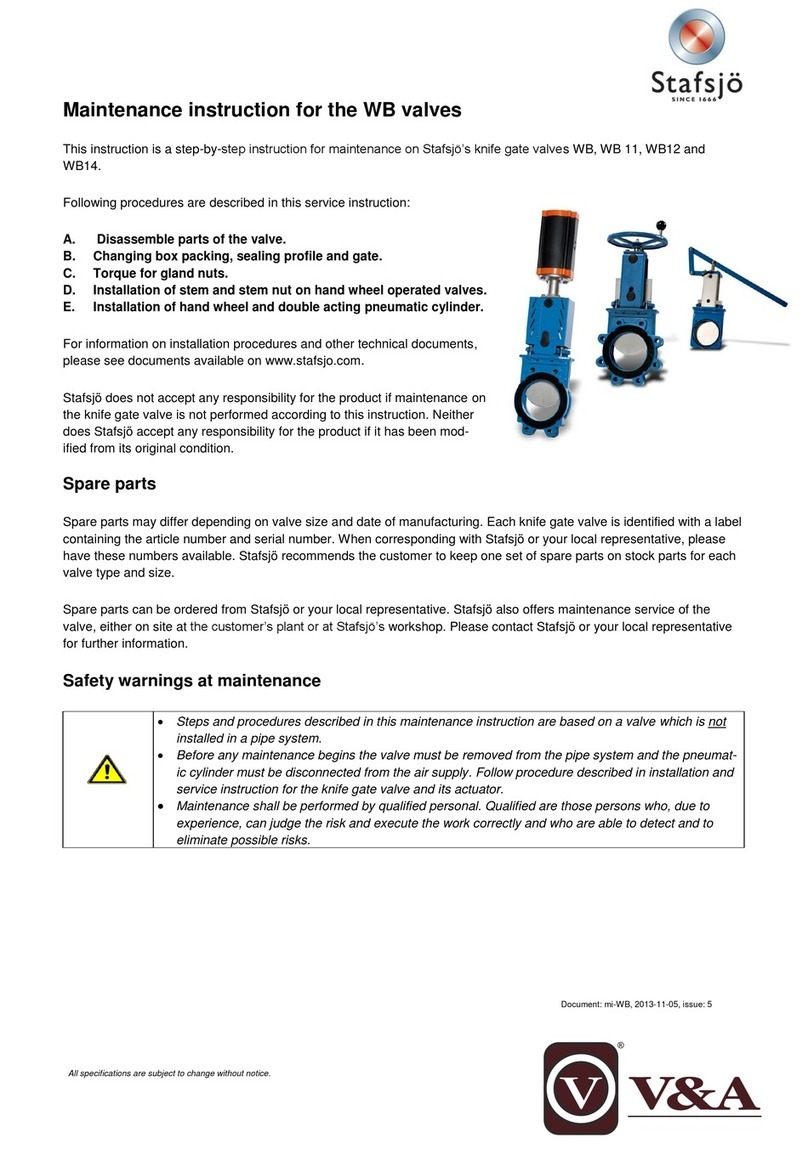
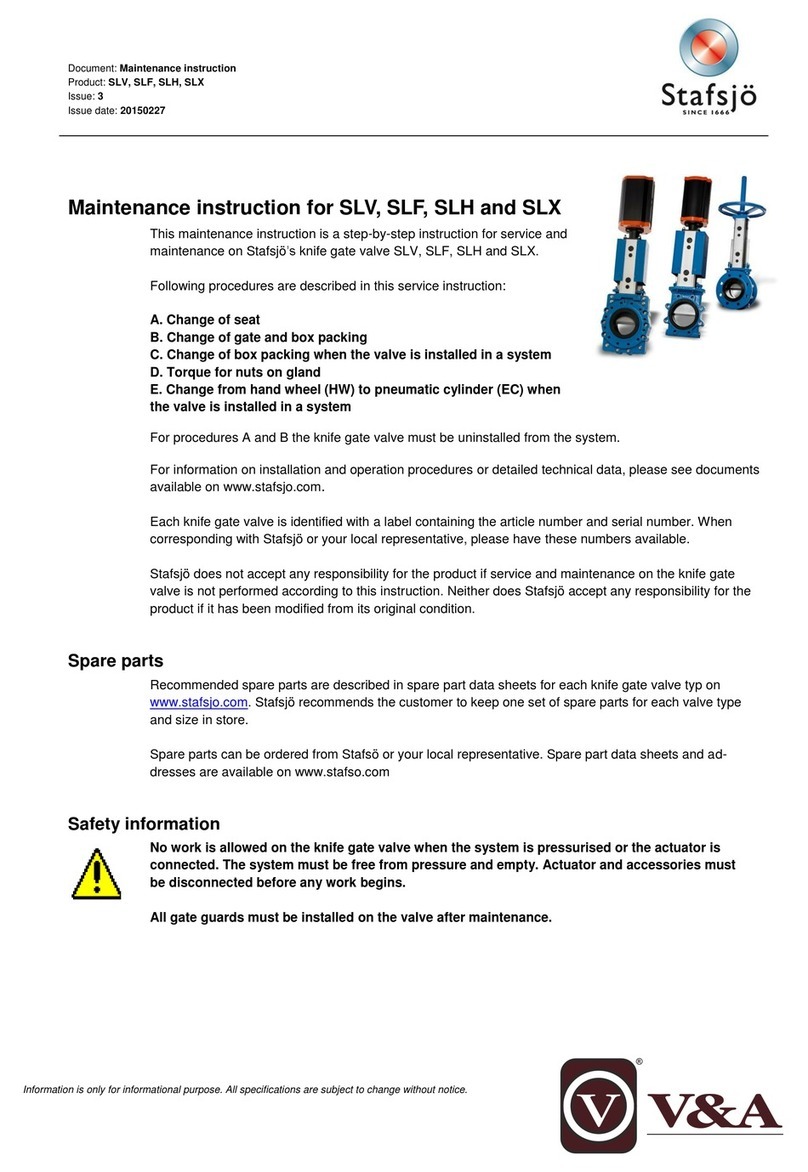
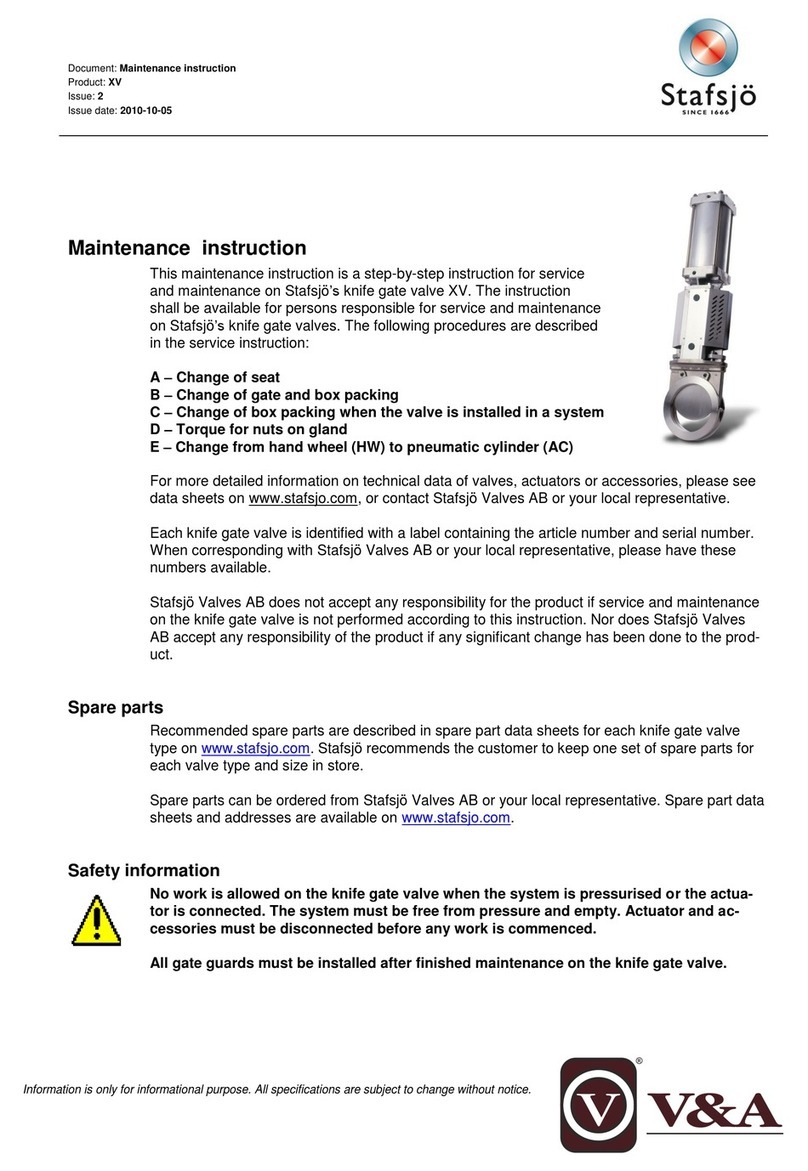
Stafsjö HL Operating and maintenance instructions

Document: Maintenance instruction
Product: HL/HG/HP/HPT/HX
Issue: 4
Issue date: 2017-02-27
Stafsjö Valves AB. SE-618 95 Stavsjö, Sweden. Tel: +46 11 39 31 00. Fax: +46 11 39 30 67. info@stafsjo.se www.stafsjo.com
A Bröer Group company
Maintenance instruction
This maintenance instruction is a step-by-step instruction for service and maintenance on
Stafsjö’s knife gate valves HL, HG, HP, HPT and HX. The instruction shall be available for
persons responsible for service and maintenance on Stafsjö’s
knife gate valves. The following procedures are described:
A –Change of seat
B –Change of box packing
C –Change of box packing when the valve is installed in a
system
D –Torque for gland nuts
E –Torque for valve body screw joint reinforcement
F –Change from hand wheel (HW) to pneumatic cylinder
G –Change of gate and guide strips
H –ATEX, change of spring
For more detailed information on technical data of valves, actuators or
accessories, please see data sheets on www.stafsjo.com, or contact Stafsjö
or your local representative.
Each knife gate valve is identified with a label containing the article number and serial
number. When in contact with Stafsjö or your local representative, please have these
numbers available.
Stafsjö Valves AB does not accept any responsibility for the product if service and
maintenance on the knife gate valve is not performed according to this instruction. Nor does
Stafsjö Valves AB accept any responsibility of the product if any significant change has
been done to the product.
Spare parts
Recommended spare parts are described in spare part data sheets for each knife gate
valve type on www.stafsjo.com. Stafsjö recommends the customer to keep one set of spare
parts for each valve type and size in store.
Spare parts can be ordered from Stafsjö or your local representative. Spare part data
sheets and addresses are available on www.stafsjo.com.
Safety information
No work is allowed on the knife gate valve when the system is
pressurised or the actuator is connected. The system must be free
from pressure and empty. Actuator and accessories must be
disconnected before any work is commenced.
All gate guards must be installed after finished maintenance on the knife gate valve.
All specifications subject to change without notice.

Document: Maintenance instruction
Product: HL/HG/HP/HPT/HX
Issue: 4
Issue date: 2017-02-27
2
Main components in the Stafsjö knife gate valve HL/HG/HP/HPT/HX
Figure 1 Main components

Document: Maintenance instruction
Product: HL/HG/HP/HPT/HX
Issue: 4
Issue date: 2017-02-27
3
Part list of the Stafsjö knife gate HX
Part list
Pos
Part
Pos
Part
Pos
Part
Pos
Part
1
Hand wheel
5a
Washer
10
Valve body
17
Cate clevis
2
Yoke
5b
Nut
11
Body gasket
18
Cylinder
2a
Bearing
6
Gate
12
Retainer ring
19
O-ring
2b
Bearing washer
7
Beam
13
Seat
20
Clevis pin
3
Stem
8
Gland
14a
Guide strip
21
Split pin
4
Stem nut
8a
Stud bolt
14b
Guide strip, top
25
Piston rod
4a
Washer
8b
Washer
15
Bushing
28
Locking nut
4b
Screw
8c
Nut
16
Gate guard
5
Tie rod
9/a/b
Box packing
16a
Gate guard
Figure 2 Part list of HX, numbering also applies to HL/HG/HP/HPT valves
in similar manner

Document: Maintenance instruction
Product: HL/HG/HP/HPT/HX
Issue: 4
Issue date: 2017-02-27
4
Service and maintenance
See figure 1-2 for identification of parts on the valves HL, HG, HP, HPT and HX valve. Parts
differ depending on the valve size. Please contact Stafsjö Valves AB or your local
representative if you have any questions.
For more information on installation and operation of the knife gate valve and pneumatic
cylinder, please see Operating instruction for knife gate valves and pneumatic cylinders on
www.stafsjo.com or contact Stafsjö Valves AB or your local representative.
Stafsjö Valves AB offers the customer service and maintenance of Stafsjö knife gate
valves, either in the customer’s plant or at the Stafsjö workshop. Please contact Stafsjö
Valves AB or your local representative for more information.
For procedures A, B, E, F and G the knife gate valve must not be installed in a system.
A –Change of seat
Place the valve horizontally on a work bench for an easier change of seats.
1. Disassemble the valve from the pipe system.
2. Open the valve with the mounted actuator.
3. Disconnect the supply for actuator.
4. Remove the retainer ring (12) by unscrewing the screws (12a) it is fastened with.
5. Lift of the Retainer ring (12). If the retainer ring is stuck, use a screw driver or similar
tool and bend carefully between the retainer ring and the valve body in several places
around the bore until the ring is loose.
6. Check the gate (6) for damages such as dents and scratches. If the gate is damaged
it can wear out the box packing (9) and the seat (13), causing leakage. Stafsjö
recommends changing the gate if it is damaged to ensure the function of the valve.
7. Clean the area of the seat and the valve body.
8. Install a new seat (13) on the retainer ring (12) and place the retainer ring in the valve
body (10). For PTFE or metal seat, O-rings (19) must also be installed, see figure 3.
Lubricate the seat and the O-rings with a synthetic lubricator to make the installation
easier.
9. Lock the retainer ring (12) in place with the screws (12a). The screws function is only
to hold the retainer ring in place. The function of the retainer ring will take effect when
the valve is mounted between pipe flanges.
10. Install the valve in open position in to the system according to the operating instruction.
11. Operate the valve a few times before the system is pressurised.

Document: Maintenance instruction
Product: HL/HG/HP/HPT/HX
Issue: 4
Issue date: 2017-02-27
5
Figure 3 Seat and O-rings

Document: Maintenance instruction
Product: HL/HG/HP/HPT/HX
Issue: 4
Issue date: 2017-02-27
6
B –Change of box packing
Place the valve upright in for example a screw vice to simplify changing the gate and box
packing. Large valves shall be placed on a horizontal work bench.
1. Close the valve.
2. Demount the actuator and top by:
Pneumatic cylinder (18)
1. Disconnect the air connections so that the cylinder (18) is depressurised.
2. Remove the gate guards (16).
3. Demount the split pins (21) and clevis pin (20).
4. Loosen the nuts (5b) keeping the cylinder in place.
5. Lift off the cylinder (18).
6. Demount the beam (7) and tie rods (5) from the valve
Hand wheel (1)
1. Demount the hand wheel (1).
2. Loosen the nuts (5b).
3. Lift off the bearing (2c), bearing washer (2b), yoke (2), bearing washer (2b)
and bearing (2a) from the stem (3).
4. Demount the beams (7) and tie rods (5).
5. Loosen the screw (4b) from the stem nut (4) and gate (6).
6. Lift off the stem (3) and stem nut (4).
3. Loosen the nuts (8c) on the gland (8).
4. Lift of the gland (8) from the stud bolts (8a).
5. Remove the box packing braid (9) and if any, box support (9a/b).
6. Clean the box from residues.
7. Check the gate (6) visually for damages such as dents and scrapes. Do not remove
the gate (6) from the valve body (10). If the gate is damaged it can wear out the box
packing (9) and the seat (13), causing leakage. Stafsjö recommends changing the
gate if it is damaged to ensure the function of the valve.
8. Check that the guide strips (14a/b) in the valve body are not worn out and in place.
9. If any, check the box support (9a/b) for damages. If the box support (9a/b) is damaged
Stafsjö recommends changing it. Place the box support (9b), in the valve body (10).
10. Begin assembling the first braid (9) on one of the long sides of the gate (6). Use a
blunt tool in plastic or wood and a hammer to push the braid into the box. Where the
braid ends meet, check that the short ends are opposite each other, not on top of each
other. It is important to push the first braid evenly into the bottom of the box. The joint
of next braid must be placed on the opposite long side of the joint of the previous braid.
If any, place box support (9a) on top of the braids.
11. Place the gland (8) on the stud bolts (8a).
12. Add the washers (8b) and nuts (8c).
13. Put force on the gland (8) by tightening the nuts (8c) gradually and crosswise. The
box packing must be equally compressed all around. Recommended torque for gland
nuts, see chapter D.
14. The gland (8) must put uniform force on the box packing (9) and be in level with the
top of the valve body (10).

Document: Maintenance instruction
Product: HL/HG/HP/HPT/HX
Issue: 4
Issue date: 2017-02-27
7
15. The gland (8) must also be in line with the gate (6) with the same distance between
the gland and the gate all around. Check that there is no metal contact between the
gland (8) and the gate (6).
16. Assemble the other components in reversed order, step 2.
17. Open the valve.
18. Disconnect the actuator and accessories.
19. Repeat steps 3-14 for the lower box packing.
20. Function test the knife gate valve.
21. Reinstall the valve in the system according to the operating instruction.
22. Operate the valve a few times before the system is pressurised.
Note:
The box packing may start to leak when the system is pressurised and the temperature
increases. This is caused by the box packing material which is a soft material that moves
depending on pressure and temperature and when the valve is operated. If the box packing
is leaking, tighten the gland nuts (8c) gradually and crosswise according to chapter D.
C –Change of box packing when the valve is installed in a system
No work is allowed on the Stafsjö knife gate valve when the system is pressurized
or the automatic actuator is connected. The system must be empty and free from
pressure before work begins. The actuator and accessories must be disconnected
before work begins.
Work on the knife gate valve when the system is under pressure can cause damages
on persons and equipment.
Check that the system is free from pressure by:
Observing the pressure measurement on the system
Opening the drain on the pipe
When the system is free from pressure and empty:
1. Open the valve making a distance between the gland (8) and the gate clevis (17) or
stem nut (4).
2. Disconnect the supply for actuator.
3. Loosen the nuts (8c) on the gland (8).
4. Lift the gland (8) and connect it to the gate clevis (17) or stem nut (4) with a wire to be
able to reach into the box packing (9).
5. Remove the box packing braids (9) and if any, box support (9a/b).
6. Clean the box from residues.
7. Check the gate (6) visually for damages such as dents and scrapes. If the gate is
damaged it can wear out the box packing (9) and the seat (13), causing leakage.
Stafsjö recommends changing the gate if it is damaged to ensure the function of the
valve.
8. If any, check the box support (9a/b) for damages. If the box support (9a/b) is damaged
Stafsjö recommends changing it. Place the box support (9b), in the valve body (10).
9. Begin assembling the first braid (9) on one of the long sides of the gate (6). Use a
blunt tool in plastic or wood and a hammer to push the braid into the box. Where the
braid ends meet, check that the short ends are opposite each other, not on top of each

Document: Maintenance instruction
Product: HL/HG/HP/HPT/HX
Issue: 4
Issue date: 2017-02-27
8
other. It is important to push the first braid evenly into the bottom of the box. The joint
of next braid must be placed on the opposite long side of the joint of the previous braid.
If any, place box support (9a) on top of the braids.
10. Let down the gland (8) on the stud bolts (8a).
11. Add the washers (8b) and nuts (8c).
12. Put force on the gland (8) by tightening the nuts (8c) gradually and crosswise. The
box packing must be equally compressed all around. Recommended torque for gland
nuts, see chapter D.
13. The gland (8) must put uniform force on the box packing (9) and be in level with the
top of the valve body (10).
14. The gland (8) must also be in line with the gate (6) with the same distance between
the gland and the gate all around. Check that there is no metal contact between the
gland (8) and the gate (6).
15. Repeat steps 2-12 for the lower box packing.
16. Operate the valve a few times before the system is pressurised.
Note:
The box packing may start to leak when the system is pressurised and the temperature
increases. This is caused by the box packing which is a soft material that moves depending
on pressure and temperature and when the valve is operated. If the box packing is leaking,
tighten the gland nuts (8c) gradually and crosswise according to chapter D.
D –Torque for gland nuts
The torque TGin the table below is a recommended value for tightening the gland nuts (8c)
when a new box packing has been installed and during operation if the box packing is
leaking.
HL/HG/HP
TG
DN
Nm
lbf x ft
50-80
20
15
100-150
25
18
200-300
30
22
350-
35
26
HX
TG
DN
Nm
lbf x ft
50-80
25
18
100-150
30
22
200-
35
26
If the gland nuts are pulled to hard, it shortens the lifetime of the box packing and the force
needed to operate the valve will increase and the valve function will be affected.
The box packing may leak because it is made of a soft material that moves depending on
pressure and temperature and when the valve is operated. If the box packing is leaking,
tighten the gland nuts (8c). Each nut shall be tightened gradually and crosswise until the
leakage stops. See figure 4.

Document: Maintenance instruction
Product: HL/HG/HP/HPT/HX
Issue: 4
Issue date: 2017-02-27
9
Check that the gland (8) is level to the top of the valve body (10). Check that there is no
metal contact between the gland (8) and the gate (6).
E –Torque for HL/HG/HP/HPT/HX valve body screw joint reinforcement
The torque Tsin the tables below is a recommended value for tightening the screw joint
reinforcement between the two HL/HG/HP/HPT/HX valve body sides.
HL/HG/HP
knife gate
DN
Screw joint
reinforcement
Sd
mm
Torque
TS
Nm
Torque
TS
lbf x ft
80
M12
75
55
100
M12
75
55
125
M12
75
55
150
M12
75
55
200
M12
75
55
250
M12
75
55
300
M12
75
55
350
M12
75
55
400
M16
190
140
450
M16
190
140
500
M16
190
140
600
M16
190
140
700
M20
350
258
800
M20
350
258
3
1
2
4
Figure 4 Crosswise tightening of nuts.

Document: Maintenance instruction
Product: HL/HG/HP/HPT/HX
Issue: 4
Issue date: 2017-02-27
10
HX
knife gate
DN
Screw joint
reinforcement
Sd
mm
Torque
TS
Nm
Torque
TS
lbf x ft
200
M12
75
55
250
M16
190
140
300
M16
190
140
350
M20
350
258
400
M20
350
258
500
M20
350
258
800
M20
350
258
F –Change from hand wheel (HW) to pneumatic cylinder
To be able to adjust the cylinder stroke, the pneumatic cylinder must be installed on the
knife gate valve when the valve is not installed in a system.
Large pneumatic cylinders installed horizontally must be supported to not cause tensions
in the valve which might affect the valve tightness and ability to maneuver.
1. Close the valve completely.
2. Demount the hand wheel actuator.
Hand wheel
1. Demount the hand wheel (1).
2. Loosen the nuts (5b) on the tie rods (5).
3. Lift off the bearing washer (2b), yoke (2) and bearing (2a) from the stem (3).
4. Lift off the beams (7).
5. Loosen the screw (4b) from the stem nut (4) and gate (6).
6. Lift off the stem (3) and stem nut (4).
3. Screw the locking nut (28) and the gate clevis (17) halfway on to the cylinder piston
rod (25).
4. Assemble new beams (7) with holes on the tie rods (5). The holes on the beam are
placed on different distances from the short side of the beam. The side of the beam
with the longest distance between the hole and the short side shall be placed against
the top of the valve body (10).
5. Mount the cylinder (18) on top of the beams and fixate with washers (5a) and nuts
(5b).
6. Attach the gate clevis (17) to the gate with the clevis pin (20) and the split pins (21),
by gently operating the cylinder in position.
7. Open the valve completely by gently operating the pneumatic cylinder (18). In this
position, the hole in the gate (6) should be in line with the retainer ring edge (12). If it
is not, close the valve, demount the split pins (21) and clevis pin (20) and adjust the
gate clevis (17) on the piston rod (25) until the gate hole and retainer ring edge are in
line with each other when the valve is open.

Document: Maintenance instruction
Product: HL/HG/HP/HPT/HX
Issue: 4
Issue date: 2017-02-27
11
8. Lock the gate clevis (17) with the locking nut (28).
9. Function test the knife gate valve.
10. Assemble the gate guards (16).
11. Install the valve in the system according to the operating instruction.
12. Operate the valve a few times before the system is pressurised.
G - Change of gate and guide strips
To be able to change gate and guide strips in the HL/HG/HP/HPT/HX knife gate valve, the
valve must not be installed in the system. Place the valve horizontally on a work bench.
The valve body sides do not require to be divided when only changing the gate.
The body gasket in the knife gate valve HL, HG, HP, HPT and HX differs depending on the
valve size and date of manufacture. Please contact Stafsjö Valves AB or your local
representative if you have any questions.
Previously has the body gasket been a traditional gasket between the valve body sides.
New sealing principles have gradually been introduced.
The traditional gasket has been replaced by graphite tape for smaller valves. For larger
sizes the body gasket is a round bar of PTFE in HL/HG/HP/HPT/HX. The PTFE bar is
mounted in a groove in between the valve body sides. It can be spotted in each end of the
bottom of the box. The following instructions describe change of guide strips and gate.
Traditional body gasket (old solution)
1. Remove the actuator (1/18) and box packing (9), see chapter B.
2. Remove the retainer ring (12) and seat (13), see chapter A.
3. Remove the gate (6) and check it for damages such as dents and scrapes. If the gate
is damaged it can wear out the box packing (9) and the seat (13), causing leakage.
Stafsjö recommends changing the gate if it is damaged to ensure the function of the
valve.
4. Clean the valve body (10) and gate (6) from residues.
5. Check and if necessary replace the guide strips (14a/b) in the valve body sides (10)
by dividing the valve body (10) into two valve body sides. Otherwise skip to step 12.
6. Attach the new gasket (11) with gasket glue on one valve body side. If the gasket is
cut from a large sheet, cut out a strip as wide as the gasket surface.
7. If the gasket does not have holes for the screw joint reinforcement, press a hole in one
corner and use a screw in each corner to fix the gasket strip while pressing out the
rest of the holes.
8. Put gasket glue on the gasket (11).
9. Mount the other side of the valve body and guide the gasket and valve body sides with
screws in the corners of the valve body.
10. Assemble greased screws, washers and nuts in the screw joint reinforcement.
11. Beginning in the middle, tighten the screws crosswise and gradually until they are fully
tightened. Recommended torque values are described in chapter E.
12. Place the gate (6) in the valve body. Check that the gate clevis hole is placed towards
the valve top and actuator.
13. Assemble the other components in reversed order, see step 1-2.
14. Install the valve in the system according to the operating instruction.
15. Operate the valve a few times before the system is pressurised.

Document: Maintenance instruction
Product: HL/HG/HP/HPT/HX
Issue: 4
Issue date: 2017-02-27
12
Graphite tape body gasket
1. Remove the actuator (1/18) and box packing (9), see chapter B.
2. Remove the retainer ring (12) and seat (13), see chapter A.
3. Remove the gate (6) and check it for damages such as dents and scrapes. If the gate
is damaged it can wear out the box packing (9) and the seat (13), causing leakage.
Stafsjö recommends changing the gate if it is damaged to ensure the function of the
valve.
4. Clean the valve body (10) and gate (6) from residues.
5. Check and if necessary replace the guide strips (14a/b) in the valve body sides (10)
by dividing the valve body (10) into two valve body sides. Otherwise skip to step 9.
6. Attach the new graphite tape (11) on one valve body side. The graphite tape must be
in one piece and one layer along the gasket surface. Do not overlap the graphite tape.
Put the graphite tape as close to the screw joint reinforcement as possible without
damaging the graphite tape.
7. Mount the other side of the valve body and guide the valve body sides with screws in
the corners of the valve body. Assemble greased screws, washers and nuts in the
screw joint reinforcement.
8. Beginning in the middle, tighten the screws crosswise and gradually until they are fully
tightened. Recommended torque values are described in chapter E.
9. Place the gate (6) in the valve body (10). Check that the gate clevis hole is placed
towards the valve top and actuator.
10. Assemble the other components in reversed order, see step 1-2.
11. Install the valve in the system according to the operating instruction.
12. Operate the valve a few times before the system is pressurised.
PTFE bar body gasket
1. Remove the actuator (1/18) and box packing (9), see chapter B.
2. Remove the retainer rings (12) and seats (13), see chapter A.
3. Remove the gate (6) and check it for damages such as dents and scrapes. If the gate
is damaged it can wear out the box packing (9) and the seat (13), causing leakage.
Stafsjö recommends changing the gate if it is damaged to ensure the function of the
valve.
4. Clean the valve body (10) and gate (6) from residues.
5. Check and if necessary replace the guide strips (14a/b) in the valve body sides (10)
by dividing the valve body (10a/b) into two valve body sides. Otherwise skip to step
14.
6. Check that the groove with the old body gasket (11) is clean and free from residues.
7. Mount the other side of the valve body and guide the valve body sides with screws in
the corners of the valve body. Use washers of 1-2 mm to keep the valve body sides
apart to be able to insert the PTFE bar (11).
8. Insert the new PTFE bar (11) in each groove in the valve body. The PTFE bar must
stick out 5-10 mm in the bottom of the box on each side.
9. Remove the washers.
10. Assemble greased screws, washers and nuts in the screw joint reinforcement.
11. Beginning in the middle, tighten the screws crosswise and gradually until they are fully
tightened. Recommended torque values are described in chapter E.
12. Grind off the PTFE bar 0,5-1 mm from the bottom of the box.
13. Seal the groove opening with a flexible sealant.

Document: Maintenance instruction
Product: HL/HG/HP/HPT/HX
Issue: 4
Issue date: 2017-02-27
13
14. Place the gate (6) on the valve body side. Check that the gate clevis hole is placed
towards the valve top and actuator.
15. Assemble the other components in reversed order, see step 1-2.
16. Install the valve in the system according to the operating instruction.
17. Operate the valve a few times before the system is pressurised.
H –ATEX, change of spring
Valves with ATEX classification have the gate (6) connected to the rest of the valve by a
spring (66) attached to a gland stud bolt (8a). An earth cable (69) is connected to a stud
bolt (8a) to make sure the valve is grounded in all situations. For procedures B, C and G
where the gland (8) or the gate (6) need to be removed in an ATEX valve, must also the
spring (66) and earth cable (69) be removed. See figure 5 for ATEX parts list. Note: The
appearance of the spring holders (67/68) in the knife gate valve differs depending on the
valve size. There are different categories of ATEX, the number of springs and earth cables
differ between categories.
1. Close the gate (6).
2. Disconnect the supply for actuator.
3. Before disassembling, document how the parts are installed to ensure proper
assembling.
4. Remove the earth cable (69) by unscrewing the top nut (8c) on the stud bolt (8a).
5. Unscrew the spring holders (67, 68) from the gate (6) and stud bolt (8a).
6. Remove the spring (66) and check for any defects. For security reasons Stafsjö
recommends changing the spring every 10 000 strokes to ensure the function of the
valve.
7. Assemble the spring holders (67, 68) with the spring (66).
8. Assemble the spring holder (67) on the longer stud bolt (8a). Make sure to use low
profile nuts (8c) to fasten the spring holder (67). Screw a low profile nut (8c) on the
stud bolt, place the spring holder (67) and use another low profile nut (8c) to fix the
spring holder in place.
9. Assemble the other spring holder (68) on the gate (6) with screws, washers and nuts
(68a, b, c).
10. Assemble the earth cable (69) by fixing it between two low profile nuts (8c) on the stud
bolt (8a) opposite of the spring.
11. Function test the knife gate valve by full open/close stroke. Check that the spring (66)
can operate freely.

Document: Maintenance instruction
Product: HL/HG/HP/HPT/HX
Issue: 4
Issue date: 2017-02-27
14
Parts list
Pos
Part
Pos
Part
8a
Stud bolt
68a
Screw
8c
Nut
68b
Washer
66
Spring
68c
Nut
67
Spring holder
69
Earth cable
68
Spring holder
Figure 5 Parts list for an ATEX valve
Other manuals for HL
1
This manual suits for next models
4
Table of contents
Other Stafsjö Control Unit manuals
Popular Control Unit manuals by other brands
Graco
Graco EM5 Series Instructions-parts list
Automationdirect.com
Automationdirect.com Productivity P1-04DAL-1 manual
Seav
Seav BeSUN 433 manual

Siemens
Siemens SITRANS FM MAG 8000 IIoT operating instructions

Pentair
Pentair Anderson Greenwood 93 Series Installation and maintenance instructions
Honeywell
Honeywell VQ400M Series Product handbook

