Smarti SHS300 User manual

External Wireless Solar Siren
Installation and Operating Instructions
Version 1
Please read these instructions carefully before using this product and keep the manual for
future reference.
SHS300-Manual-Final_Layout 1 15/10/2015 14:59 Page 1

Contents
Safety Notices .....................................................................................................3
Components...........................................................................................................5
Introduction.................................................................................................................5
Getting Starte ...................................................................................................6
Download the Android/iOS version of the Smart-i Protect App............................6
ake sure the SmartBox is connected to the Internet..........................................7
1. Pair the Solar Siren.................................................................................................8
2. Verify the Setup..................................................................................................9
How to install the Wireless Solar Siren........................................................9
1. Bracket Removal/Tamper Protection................................................................10
2. Siting the Wireless Solar Siren...........................................................................10
3. ounting the Wireless Solar Siren.....................................................................11
Function Settings............................................................................................12
1. Setting the alarm sound....................................................................................12
2. Setting the active alarm time...............................................................................13
Pro uct Specifications........................................................................................14
2
SHS300-Manual-Final_Layout 1 15/10/2015 14:59 Page 2

3
IMPORTANT SAFETY NOTICE
This information can help you safely use your security system. Follow and retain all information
included with your system.
Customer safety is important. Our products are developed to be safe and effective. However,
the Wireless Solar Siren is an electronic device. To reduce these risks, follow the instructions
included with your product, observe all warnings on the product and in the operating
instructions, and review the information included in this document carefully. By carefully
following the information contained in this document and provided with your product, you can
help protect yourself from hazards and create a safer operating environment.
Con itions that require imme iate action
Products can become damaged due to misuse or neglect. Some product damage is serious
enough that the product should not be used again until it has been inspected and, if necessary,
repaired by an authorised servicer.
As with any electronic device, pay close attention to the product when it is turned on. On very
rare occasions, you might notice an odour or see a puff of smoke or sparks from your product,
or you might hear sounds like popping, crackling or hissing. These conditions might merely
mean that an internal electronic component has failed in a safe and controlled manner, or they
SHS300-Manual-Final_Layout 1 15/10/2015 14:59 Page 3

might indicate a potential safety issue. However, do not take risks or attempt to diagnose the
situation yourself. Contact our Customer Support Team for further guidance.
Frequently inspect your security system and its components for damage/wear or signs of
danger. If you have any questions about the condition of a component, do not use the product.
Contact our Customer Support Team for instructions on how to inspect the product and have it
repaired, if necessary.
In the unlikely event that you notice any of the following conditions, or if you have any safety
concerns with your product, stop using the product and unplug it from the power source and
until you can speak to the Customer Support Team on 0871 222 1430 for further guidance.
POSSIBLE HAZARDS
• Signs of overheating, smoke, sparks or fire.
• Damage to a battery (such as cracks, dents, or creases), discharge from a battery or a buildup
of foreign substances on the battery.
• A cracking, hissing or popping sound, or strong odour that comes from the product.
• Signs that liquid has been spilled or an object has fallen onto the product.
• The product has been dropped or damaged in any way.
• The product does not operate normally when you follow the operating instructions.
4
SHS300-Manual-Final_Layout 1 15/10/2015 14:59 Page 4
5
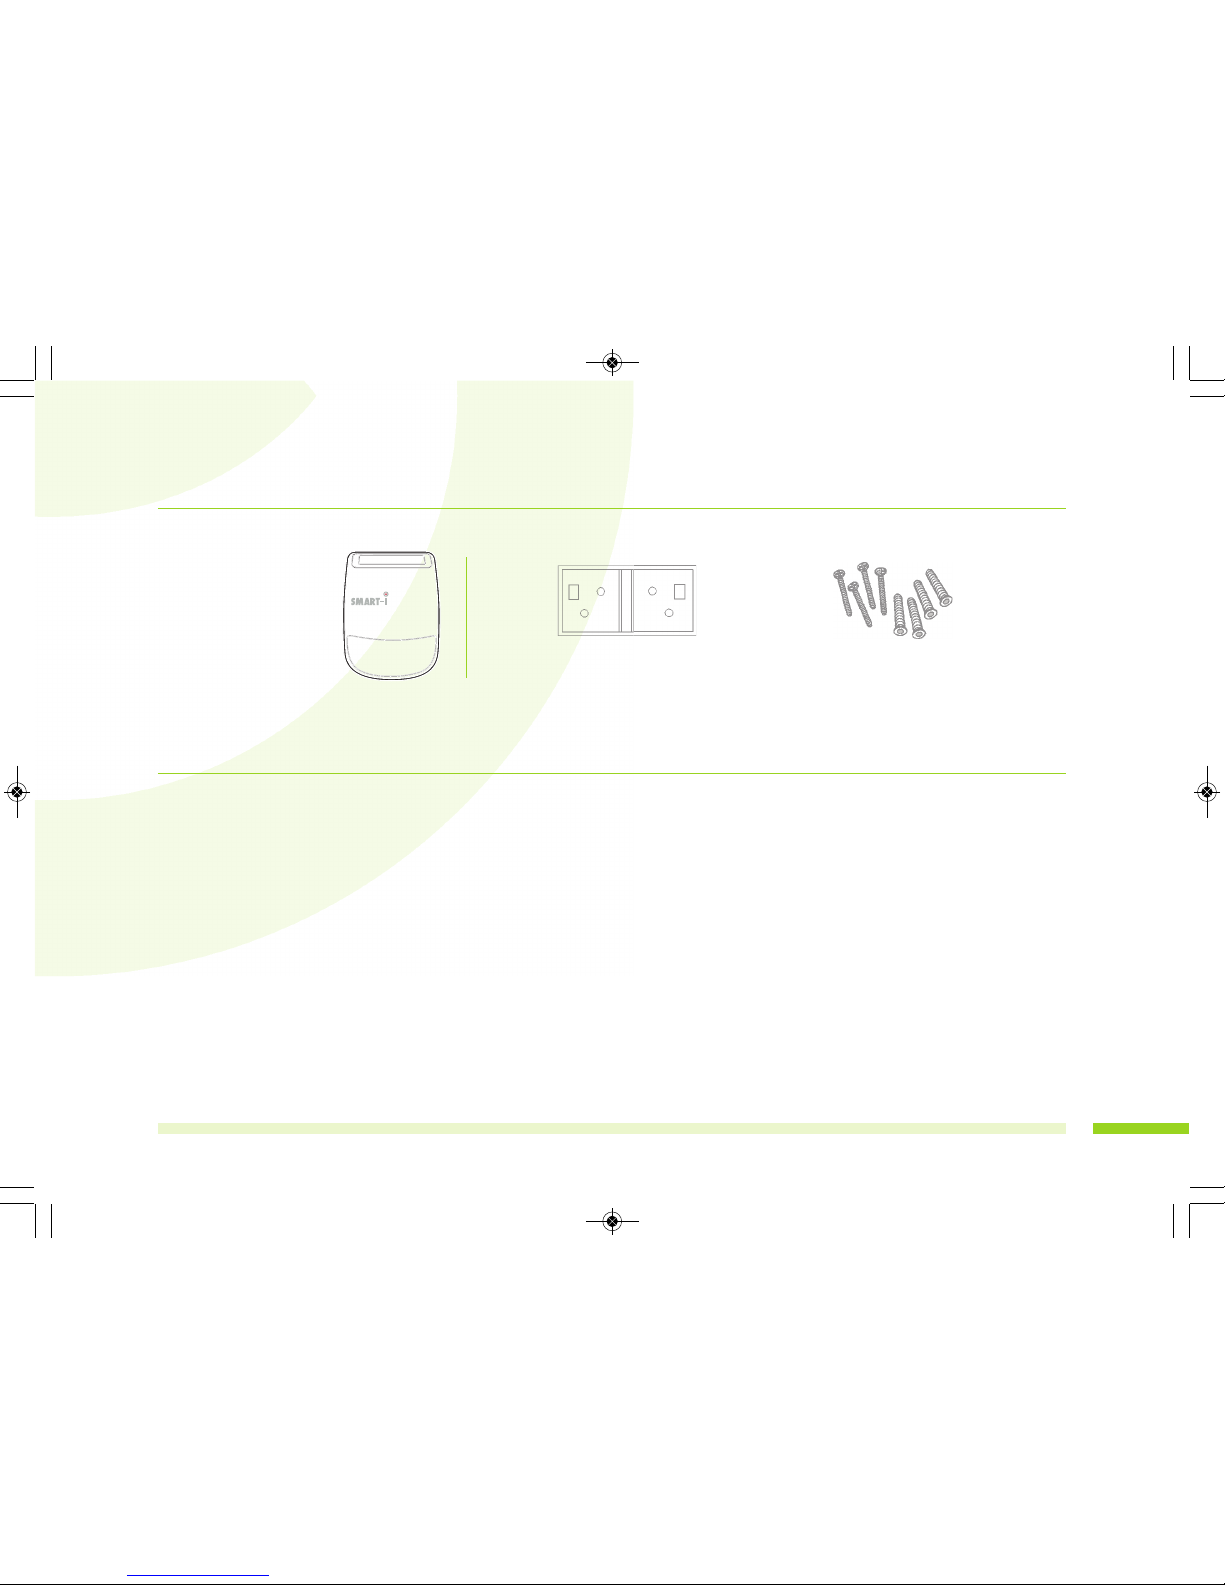
Components
Wall ount Set
Wireless
Solar Siren
SHS300
Wall Bracket
Intro uction
The Smart-i Wireless Solar Siren is designed for use with the SmartHome Security System. This
multi-use Wireless Solar Siren uses solar energy to power the built-in battery. Wireless solar
power and wireless signal transmission, enhance the flexibility of installation. You can add
multiple wireless sirens at different locations to get alarms simultaneously when the system is
triggered.
You can easily access the system from anywhere in the world via the Internet. The Smart-i
Protect iOS/Android app allows you to activate/deactivate the siren manually or automatically.
You can also create various scenarios to allow the system to automatically respond to the
situation even when you are not at home/office.
SHS300-Manual-Final_Layout 1 15/10/2015 14:59 Page 5

6
Getting Starte
The Wireless Solar Siren requires sufficient battery power to enable a successful pairing
process and normal operation afterwords. If you cannot pair the Siren to the SmartBox please
contact the Customer Support Team.
Downloa the An roi version of the Smart-i Protect App
Please go to the Google Play to search for 'Smart-i Protect' and install the app to your mobile
device or you can scan the QR code below to take you directly to the App.
Downloa the iOS version of the Smart-i Protect App
Please go to the Apple App Store to search for 'Smart-i Protect' and install the app to your mobile
device or you can scan the QR code below to take you directly to the App.
SHS300-Manual-Final_Layout 1 15/10/2015 14:59 Page 6

Make sure the SmartBox is connecte to the Internet
before procee ing with installation
(1) First connect the SmartBox to your Wi-Fi router via the Ethernet cable supplied, then power on
the SmartBox by using the power adaptor supplied. For more detailed information on setting up
your SmartBox Gateway, please refer to the manual "SmartHome Security System Installation and
Operating Instructions" - Page 16, onwards.
(2) The RED LED indicator will light up and beep twice to indicate successful power up.
Seconds later the SmartBox will again beep twice to indicate it is ready for setup via the 'Smart-i
Protect' App.
7
Steady RED
SHS300-Manual-Final_Layout 1 15/10/2015 14:59 Page 7

8
1. Pair the Solar Siren
(1) Open the ‘Smart-i Protect’ App and connect to your SmartBox Gateway. Once connected , tap
in the 'Status' section.
(2) Choose 'Siren' and to initiate the pairing process.
Status
Gi7-351
on Table Room
Book RoomHallway
PowerSwitch
Lounge
PIR
Back Door
Door Sensor
Remote Key
Siren
GO1-D-038
Status Scenario Event Setting
Select Device
Remote Key
Power Switch
Status Scenario Event Setting
Camera
Motion Sensor
Step 1 of 3
Status Scenario Event Setting
Please tap “Pair” to begin pairing
process
Door Sensor
Siren
Siren
anual Pairing ethod
Please make sure the unit is powered on using the switch on the rear of the
unit. Press the 'Pairing' button located on the back of the Solar Siren (bottom
right).
SHS300-Manual-Final_Layout 1 15/10/2015 15:00 Page 8

9
(4) Enter 'Device Name' and 'Location', tap 'Save' to complete the pairing process. The newly
paired siren will now display in the App's 'Status' section.
2. Verifying the Setup
From the 'Status' section, tap the Siren icon and turn the Siren's alert sound On and Off.
How to install the Wireless Solar Siren
SAFETY AND INSTALLATION TIPS
Do not attempt to open the unit with the power adapter plug connected to avoid any risk of
personal injury. When installing this device, always follow the manufacturer's advice when using
power tools, steps, ladders, etc. and wear suitable protective equipment (e.g. safety goggles)
when drilling holes. Before drilling holes through walls, check for hidden electricity cables and
water pipes. The use of cable/pipe detector is advisable.
The Wireless Solar Siren is designed for outdoor use only, please do not install it indoors. To
prevent a fire or electrical shock hazard, do not attempt to open the housing while the unit is
exposed to water or wet conditions. There are no user serviceable parts inside. Refer servicing
to qualified service personnel.
SHS300-Manual-Final_Layout 1 15/10/2015 15:00 Page 9
10
2. Siting the Wireless Solar Siren
(1) The Siren is designed to work on any aspect wall, but for optimum performance try to avoid
fixing it to a North facing wall, or to a wall with shadows cast by walls, trees and roof overhangs.
(2) For optimum wireless signal it should be sited as far as possible from large metal objects or
household appliances with high frequency interference.
1. Bracket Removal/Tamper Protection
The tamper protection feature of the Wireless Solar Siren is activated when the bracket is
removed from the rear of the unit. During setup and installation this will not trigger an alarm.
However, once the unit is fully charged and setup is complete, removing the unit from the
bracket will trigger an alarm.
NOTE: In strong sun light, the charging time is about 6 hours. In weak sun light or on a cloudy
day it will require approximately 12 hours.
SHS300-Manual-Final_Layout 1 15/10/2015 15:00 Page 10
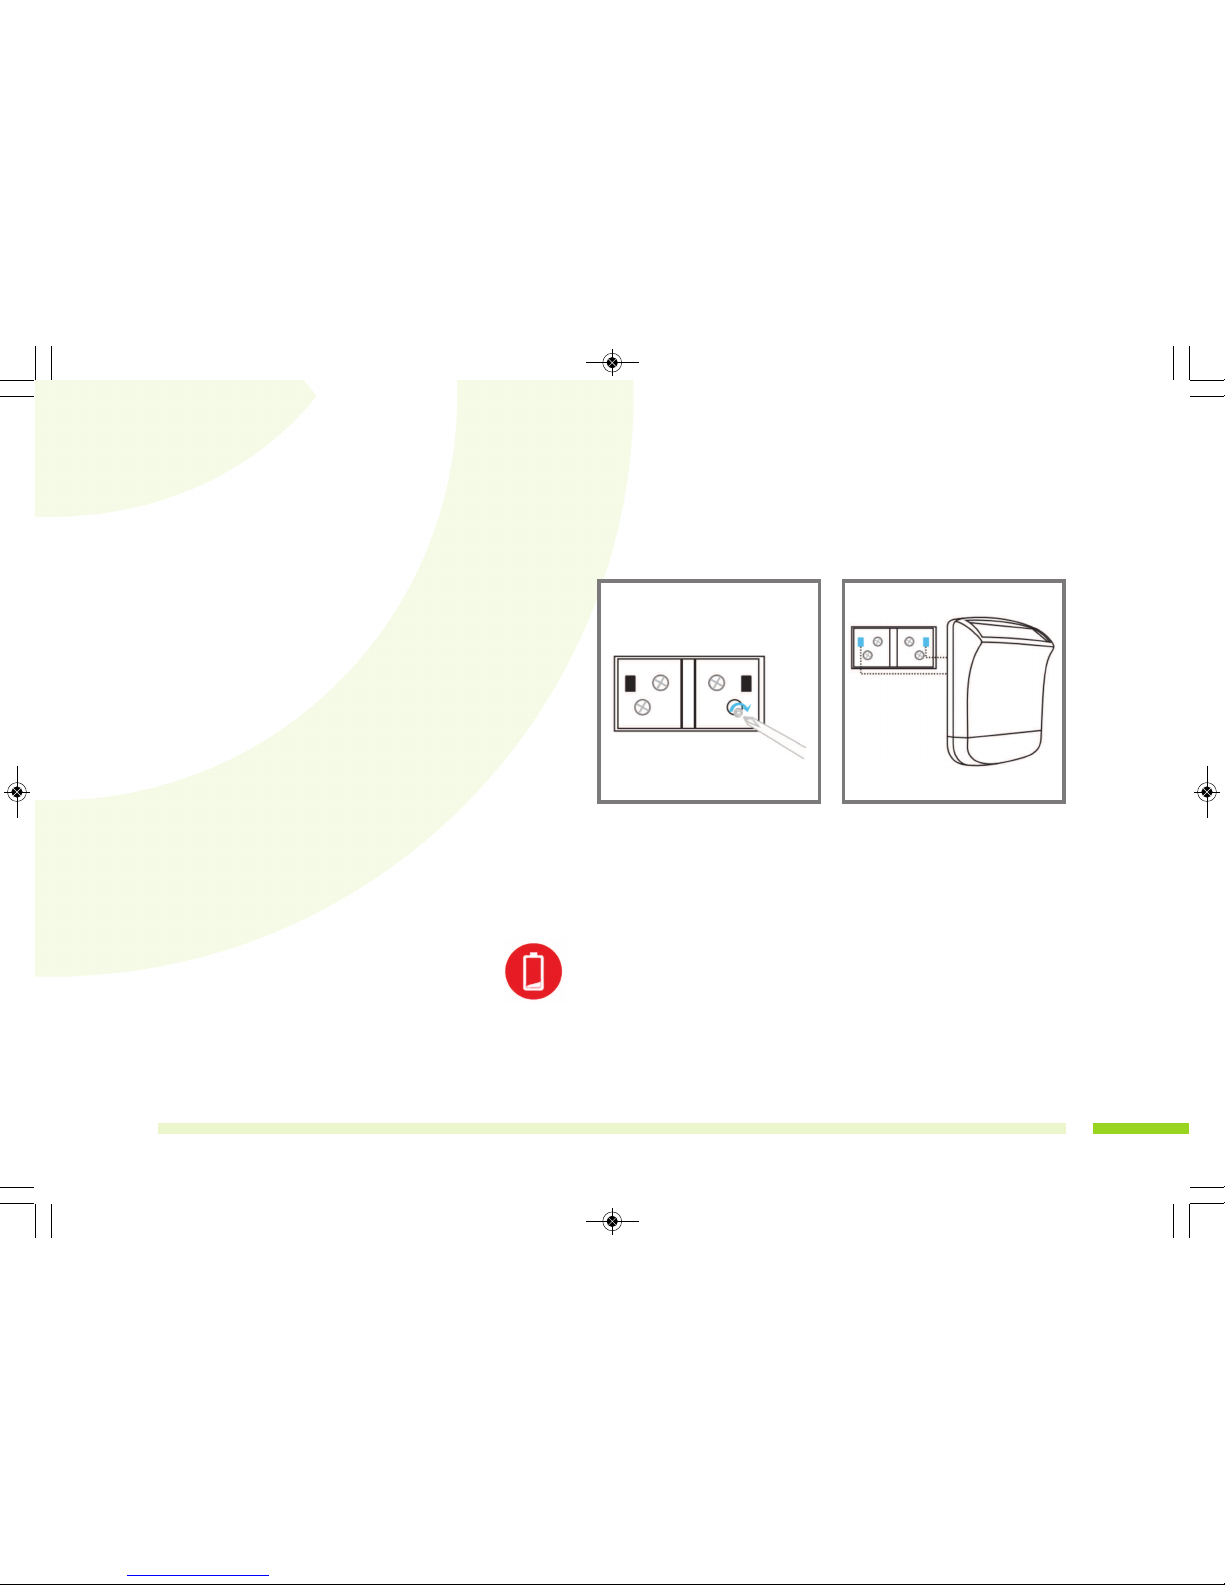
11
(1) Attach the siren’s wall bracket to a
wall and fix using the screws/plugs
provided.
(2) Align the locating lugs on the top
rear of the siren with the bracket and
mount the siren on to the wall bracket.
3. Mounting the Wireless Solar Siren
Choose a location on the outside of the building in a position that is clearly visible and at a height
which prevents the unit from tampering.
4. Low Battery Warning
When the Solar Siren has a low battery it will send a low battery alarm to the SmartBox Gateway.
The App will show a low battery icon.
21
SHS300-Manual-Final_Layout 1 15/10/2015 15:00 Page 11

12
Function Settings
1. Setting the alarm soun
The Solar siren has four different selectable tones/sounds. Unscrew the panel on the rear of the
unit (4 screws) to access the jumpers. Adjust the jumper settings as follows:
Sound 1
The factory default alarm sound is Sound 4.
Sound 2 Sound 3 Sound 4
SHS300-Manual-Final_Layout 1 15/10/2015 15:00 Page 12

2. Setting the active alarm time
The Solar Siren has three different selectable times. The Siren noise will switch off after 1, 3 or 5
minutes. Unscrew the panel on the rear of the unit (4 screws) to access the jumpers. Adjust the
jumper settings as follows:
1 minute
The factory default active alarm time is 3 minutes.
3 minutes 5 minutes
13
SHS300-Manual-Final_Layout 1 15/10/2015 15:00 Page 13

14
Pro uct Specifications
odel Number SHS300
Signal Frequency 868 Hz
RF Range 150 (open field conditions)
Power Source 3.7V/1200mA (1x Lithium Ion battery, built in)
Standby Battery Life Up to 25 days
Piezo Siren aximum 110dB
Low Battery Warning Yes
Tamper Detection Yes
Operating Temp. -30°~70°C
Operating Humidity 10%~80%RH
Operating Environment Outdoor (Weatherproof)
Dimensions (WxHxD) 195 x 262 x 61mm
SHS300-Manual-Final_Layout 1 15/10/2015 15:00 Page 14

15
SHS300-Manual-Final_Layout 1 15/10/2015 15:00 Page 15
TECHNICAL SUPPORT
For technical support, please contact your local distributor. Alternatively, call 0871 222 1430
anufactured exclusively for:
Smart-i UK, Unit 2 Valley Point, Beddington Farm Road, Croydon, Surrey CR0 4WP
SHS300-Manual-Final_Layout 1 15/10/2015 15:00 Page 16
Table of contents
Popular Inverter manuals by other brands

Stanley
Stanley PI800PS instruction manual

Clarke
Clarke Power CI400B Operating & maintenance instructions

Bolanmu Energy
Bolanmu Energy xtm 1500-12 quick guide

Njoy
Njoy Astris 3K/1P1T1 installation manual

Generac Portable Products
Generac Portable Products 005366-6 owner's manual

Benchmark
Benchmark 1150-002 manual

MULTIQUIP
MULTIQUIP Power WHISPERWATT DCA-45SSIU2 Parts and operation manual

Grape Solar
Grape Solar GS-540-KIT Quick connect guide

SMA
SMA SUNNY TRIPOWER X 20-US Quick reference guide

ABB
ABB UNO-2.0-TL-OUTD Quick installation guide

Fimer
Fimer T 422 instruction manual

Linea Light
Linea Light OH! SOLAR 15120 installation instructions


