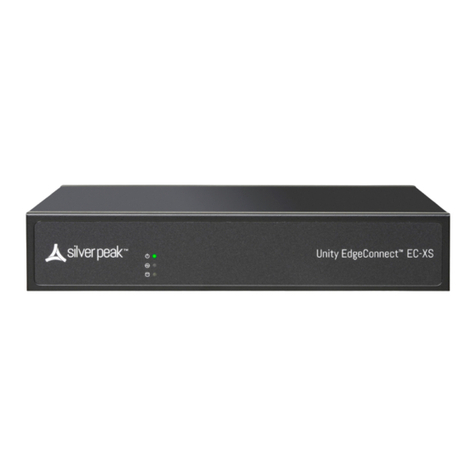
0.2 Step 2 - Start Exinda
There are two possible ways to start your Exinda Appliance:
0.2.1 Jumpstart from the web interface
By default, the Exinda appliance obtains an IP address from DHCP on the management interface (Gb1). It finds the IP that the appliance
obtained, refer to the section below.
Note
If the Exinda does not obtain a DHCP address, it will default to IP address 172.14.1.57. If this happens, connect a PC with a straight-
through cable directly to Gb1, configure your PC's network adapter with an IP in the 172.14.1.0/24 subnet (IP: 172.14.1.58;
netmask:255.255.255.0). Open a web browser and connect to the Web User Interface by typing
https://172.14.1.57 in the address field.
1. Log in with the username=admin and password=exinda.
2. Read and accept the End User License Agreement.
3. Complete the steps in the Configuration Wizard.
0.2.2 Using a Monitor and keyboard to Access the Command Line Interface
1. Plug a keyboard and a monitor to your Exinda Appliance.
2. Log in with the username=admin and password=exinda.
3. Read and accept the End User License Agreement.
4. Complete all steps in the Configuration Jump Start.
5. If you select DHCP to assign an IP to the management interface, you can check the assigned IP with the following command:
Exinda# show int eth1
6. Click Save.
For further support, visit https://www.gfi.com/support/exinda-support
