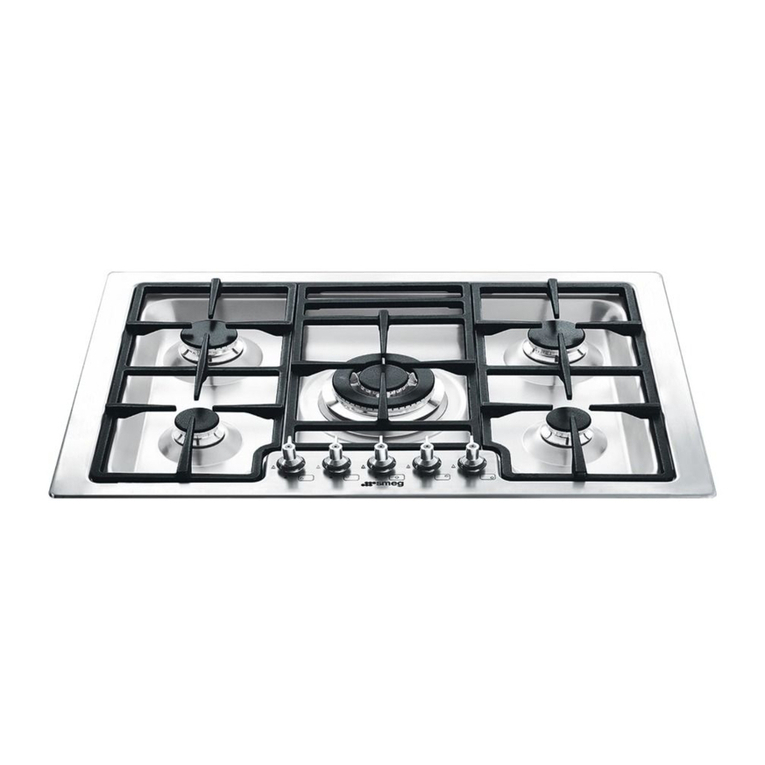
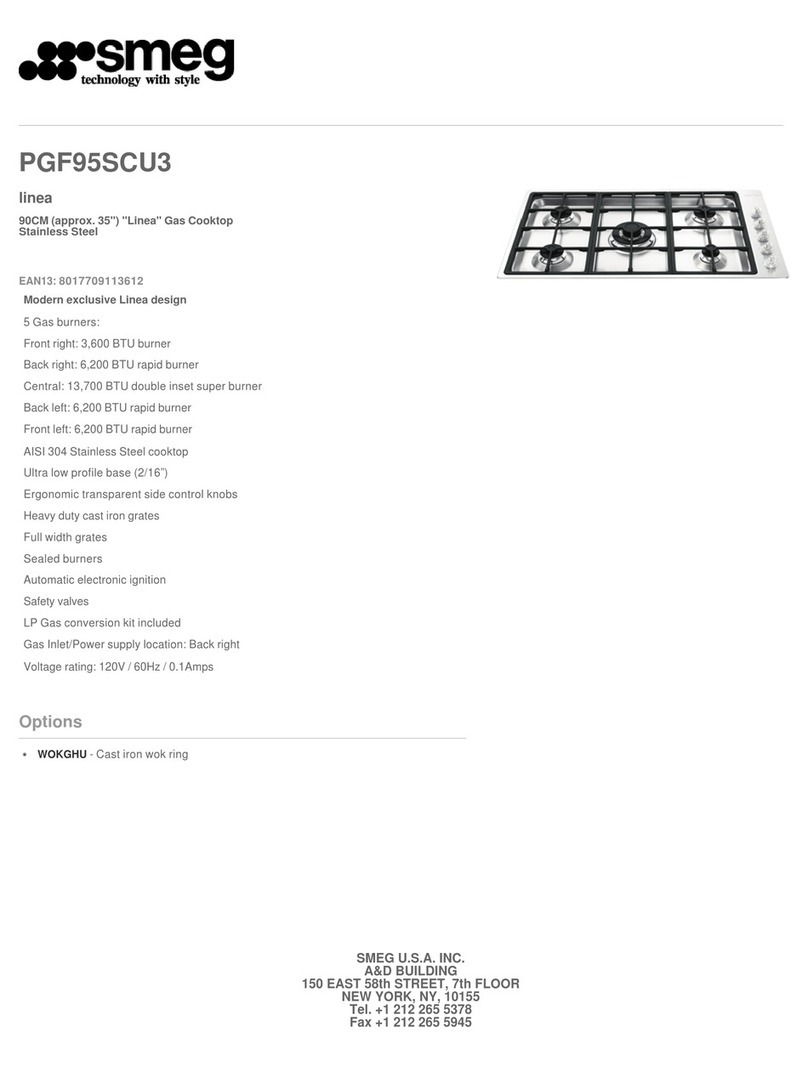
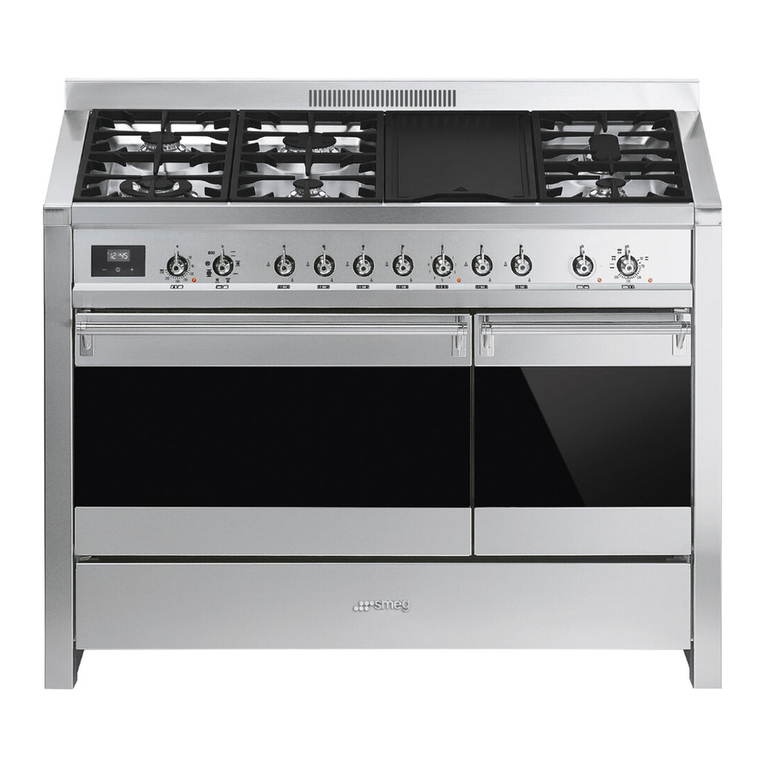
Smeg PBQ31GA User manual

Contents
3
EN
1 Instructions 4
1.1 General safety instructions 4
1.2 Manufacturer liability 6
1.3 Appliance purpose 6
1.4 Disposal 6
1.5 Identification plate 7
1.6 This user manual 7
1.7 How to read the user manual 7
2 Description 8
2.1 General description 8
2.2 Control panel 8
2.3 Other parts 9
2.4 Available accessories 10
3 Use 12
3.1 Instructions 12
3.2 First use 13
3.3 Using the accessories 15
3.4 Using the appliance 18
3.5 Turning the appliance off 19
3.6 Cooking Advice 19
4 Cleaning and maintenance 22
4.1 Instructions 22
4.2 Cleaning the appliance 22
4.3 Extraordinary maintenance 26
5 Installation 27
5.1 Safety instructions 27
5.2 Gas connection 29
5.3 Adapting to different types of gas 33
5.4 Electrical connection 36
5.5 Positioning 37
We advise you to read this manual carefully, which contains all the instructions for
maintaining the appliance's aesthetic and functional qualities.
For further information on the product: www.smeg.com

Instructions
4
1 Instructions
1.1 General safety instructions
Risk of personal injury
• Use outdoors only
• During use the appliance and its
accessible parts become very hot.
Keep young children away.
• Keep children under eight years
of age at a safe distance if they
are not constantly supervised.
• Never try to put out a fire or
flames with water: turn off the
appliance and smother the flames
with a fire blanket or other
appropriate cover.
• Have authorised persons carry
out installation and assistance
interventions according to the
standards in force.
• Even if apparently empty, gas
cylinders must always be handled
with care in accordance with the
safety regulations supplied with
the instructions.
• Never use any gas cylinder if
dented or rusty.
• Never store a spare gas cylinder
close to the appliance.
• Never disconnect the gas
cylinder from the appliance while
it is in operation and always
perform any procedure on the gas
cylinder well away from the
appliance.
• Only light the burners with the lid
raised.
• Do not try to repair the appliance
yourself or without the intervention
of authorised persons.
• Do not modify this appliance.
• If the appliance is to be out of use
for some time, close the gas
supply valve.
• In the event of a fault on the
appliance or a malfunction,
contact the aftersales service.
• If the knob becomes stiff to turn,
have the valves checked by an
authorised service centre.
• If the power supply cable is
damaged, contact technical
support immediately and they will
replace it.
• Always keep hold of the lid when
lowering it.
• Observe the thermometer
provided on the lid: when the
reading exceeds 300°c (red
zone) the lid must be raised to
prevent dangerous overheating.

Instructions
5
EN
Risk of damaging the appliance
• In the event of a fault on the
appliance or a malfunction,
contact the aftersales service.
• Do not seat on the appliance.
• Do not use steam jets for cleaning
the appliance.
• Do not obstruct ventilation
openings and heat dispersal slots.
• Never leave the appliance
unattended during cooking
operations where fats or oils could
be released.
• Never leave objects on the
cooking surface.
• Do not use the appliance to heat
rooms for any reason.
For this appliance
• This appliance must be used
outdoors, protected from rain, in
the presence of natural ventilation
which is able to rapidly disperse
any gas leaks or combustion
products.
• Never use the appliance
outdoors in case of bad weather.
Any contact with water might
seriously damage the appliance
and put its safety at risk.
• Remove any traces of liquid from
the lid (if fitted) before opening.
• Only light the burners with the lid
(if present) raised.
• Take care not to allow the glass of
the barbecue lid to come into
contact with water while it is still
hot.
• WARNING - this barbecue must
not be used indoors.
• Not for use in marine craft,
caravans or mobile homes.
• Before installation, make sure that
the local gas supply (gas type and
pressure) and the settings of the
domestic appliance are
compatible.
• The settings for this domestic
appliance are shown on the gas
setting label.
• This domestic appliance is not
connected to a device for
extracting combustion products. It
must be installed and connected in
accordance with current
installation regulations. Pay
particular attention to the relevant
requirements regarding ventilation.

Instructions
6
1.2 Manufacturer liability
The manufacturer declines all
responsibility for damage to persons
or property caused by:
• use of the appliance other than
the one envisaged,
• non-observance of the user
manual provisions,
• tampering with any part of the
appliance,
• use of non-original spare parts.
1.3 Appliance purpose
• This appliance is intended for
cooking food in the home
environment. Every other use is
considered improper.
• This appliance may be used by
children aged at least 8 and by
people of reduced physical and
mental capacity, or lacking in
experience in the use of electrical
appliances, as long they are
supervised or instructed by adults
who are responsible for their
safety.
• The appliance is not designed to
operate with external timers or with
remote-control systems.
1.4 Disposal
This appliance must be
disposed of separately from
other waste (Directives
2002/95/EC, 2002/96/EC,
2003/108/EC). The appliance
does not contain substances in
quantities sufficient to be considered
hazardous to health and the
environment, in accordance with
current European directives.
To dispose of the appliance:
• Cut the power supply cable and
remove it along with the plug.
• Consign the appliance to the
appropriate selective collection
centres for electrical and
electronic equipment waste, or
deliver it back to the retailer when
purchasing an equivalent product,
on a one for one basis.
Power voltage
Danger of electrocution
• Disconnect the main power supply.
• Disconnect the power cable from the
electrical system.

Instructions
7
EN
Our appliances are packed in non-
polluting and recyclable materials.
• Consign the packing materials to
the appropriate selective
collection centres.
1.5 Identification plate
The identification plate bears the
technical data, serial number and
brand name of the appliance. Do not
remove the identification plate for
any reason.
1.6 This user manual
This user manual is an integral part of
the appliance and must therefore be
kept in its entirety and in an
accessible place for the whole
working life of the appliance.
Read this user manual carefully
before using the appliance.
1.7 How to read the user manual
This user manual uses the following
reading conventions:
1. Use instruction sequence.
• Single use instruction.
Plastic packaging
Danger of suffocation
• Do not leave the packaging or any part
of it unattended.
• Do not let children play with the
packaging plastic bags.
Instructions
General information on this user
manual, on safety and final
disposal.
Description
Description of the appliance and its
accessories.
Use
Information on the use of the
appliance and its accessories,
cooking advice.
Cleaning and maintenance
Information for proper cleaning and
maintenance of the appliance.
Installation
Information for the authorised
persons: installation, operation and
inspection.
Safety instructions
Information
Advice

Description
8
2 Description
2.1 General description
1 Liquid waste compartment
2 Grills
3 Griddle
4 Control panel
5 Duct
2.2 Control panel
1 Battery
The battery supplies the burner ignition
plugs.
2 Burner knobs
Useful for lighting and adjusting the
appliance burners.
Press and turn the knobs anti-clockwise to
the value to light the relative burners.
Turn the knobs to the zone between the
maximum and minimum setting to
adjust the flame.
Return the knobs to the position to turn
off the burners.

Description
9
EN
2.3 Other parts
Burners
The fundamental element of the appliance,
these generate the flame for cooking.
Diffusers
Useful for making the flame uniform and
improving the type of cooking.
Drip trays
These catch the residue produced by the
food being cooked.
Duct
Allows liquids to run off into the liquid waste
compartment.
Mains adapter
Powers the burner igniters. When
connected, the battery is automatically
disconnected.

Description
10
2.4 Available accessories
Grills
For rapid cooking of meat, fish and
vegetables directly on the grill, bringing out
their flavour by directly exposing them to the
flame.
Griddle
For direct, uniform cooking of meat, fish and
vegetables, providing light dishes with their
nutritional content intact.
Liquid waste compartment
For collecting waste liquids.
Liquid waste compartment cover
For closing the liquid waste compartment
when the appliance is not in use.
Some models are not provided
with all accessories.

Description
11
EN
Flat lid (on some models only)
For closing the appliance when it is not
being used.
Lid (on some models only)
For indirect cooking.
Utensil holder (on some models only)
For holding cooking utensils when using the
appliance.
Improper use
Danger of burns or explosions
• THE FLAT LID MUST NOT BE CLOSED
WHEN THE BURNERS ARE
OPERATING.
The accessories intended to come
into contact with food are made of
materials that comply with the
provisions of current legislation.
Original supplied and optional
accessories can be requested to
Authorised Assistance Centres.
Use only original accessories
supplied by the manufacturer.

Use
12
3 Use
3.1 Instructions
High temperature during use
Danger of burns
• During use the appliance and its
accessible parts become very hot. Keep
young children away.
• Protect your hands wearing heat
resistant gloves when moving food.
• Do not touch the heating elements inside
the appliance.
• Switch the appliance off immediately
after use.
• Do not pour water directly onto very hot
trays.
• Young children should be supervised to
ensure that they do not play with the
appliance.
• Children must never play with the
appliance.
• The appliance must never be cleaned
by unsupervised children.
• Oils and fat could catch fire if
overheated. Be very careful.
• Always ensure that the burner
components are correctly fitted in place.
Improper use
Risk of damage to surfaces
• Do not rest pans or trays on the lid
(when fitted).
• Do not pour water directly onto very hot
trays.
• Never use the appliance outdoors in
case of bad weather.
• Use wooden or plastic utensils.
• Do not place articles on or against this
appliance.
High temperature during use
Danger of fire or explosion
• DO NOT SPRAY AEROSOLS IN THE
VICINITY OF THIS APPLIANCE WHILE
IT IS IN OPERATION.
• DO NOT USE OR STORE
FLAMMABLE MATERIALS IN OR NEAR
THIS APPLIANCE.
• DO NOT PLACE ARTICLES ON OR
AGAINST THIS APPLIANCE.
• Do not use plastic kitchenware or
containers when cooking food.
• Do not leave the oven unattended
during cooking operations where fats or
oils could be released.

Use
13
EN
3.2 First use
1. Remove any protective film from the
outside or inside of the appliance,
including accessories.
2. Remove any labels (apart from the
technical data plate) from the
accessories and from the cooking
compartments.
3. Remove all the accessories from the
appliance and clean them (see 4
Cleaning and maintenance).
4. Run the burners at full power for 10
minutes before you first use the
appliance to remove any residue from
the manufacturing process.
Diffusers
Before using the appliance, it is necessary
to assemble the diffusers as shown in the
figure below.
Installing the lid (on some models only)
Place the lid in position on the appliance
and attach it with the 6 screws supplied.
Improper use
Danger of burns
• The lid must always be kept open while
the burners are being lit. It can be
lowered once they have ignited and
must be raised as soon as the
thermometer fitted on it reaches 300°C.
Take care not to obstruct the combustion
gas outlet flue in the back of the lid.

Use
14
Installing the flat lid (on some models
only)
1. Position the supplied hinges and screw
the 2 supplied screws to the upper part
of the appliance.
2. Fasten the hinges with the 4 supplied
screws.
3. Position the flat lid and fasten the screws
to the upper part of the hinge using an
Allen key to fix it to the appliance.
Flat lid safety legs
To ensure that the user remembers to turn off
the gas before closing the flat lid, two
pivoting safety legs have been fitted.
When closing the flat lid the safety legs will
pivot forward and rest against the trim
surface to prevent the flat lid closing. After
ensuring the gas has been turned off, to fully
close the flat lid, the legs need to be rotated
backwards.
Improper use
Danger of burns
• The flat lid must not be closed when the
burners are operating.

Use
15
EN
3.3 Using the accessories
Positioning the grills and griddle
The grills and griddle can be arranged in
three configurations but must always be
slightly inclined towards the duct so that the
fats and cooking oils are conveyed into the
liquid waste compartment.
Make sure that the back of the accessories
always rests on the rear support.
Clean the grills before using them
for the first time to remove any
residue left by the manufacturing
process.
Incorrect position
Risk of damaging the appliance
• Be very careful when positioning the
grills and the griddle so that they do not
fall into the burner chamber and
damage the burners.
Incorrect position
Risk of fire
• Fats and oils can catch fire if they come
into contact with the hot parts of the
appliance. Always make sure that the
grills and the griddle are inclined
correctly.
Incorrect position
Crushing hazard
• Always follow the instructions when
positioning the accessories.

Use
16
Steel grills and griddle
Configuration A: first position the griddle on
the right hand side, then the central grill and
lastly the left hand side grill so that their
edges fit together.
Configuration B: first position the grills and
make sure that they are as close as possible
to the sides of the cooking area, then
position the griddle so that its edges fit
together with those of the grills at the side.
Configuration C: the grills can be
positioned before or after the griddle.
However, make sure that the edges of the
grills are correctly aligned as shown in
configuration A.
As a rough indication, the steel grills should
be positioned with the slots facing away
from the knobs.

Use
17
EN
Pay particular attention to the mechanical
safety locks that prevent the grills and
griddle from moving accidentally and place
them on the appliance as shown in the
following figures.
Cast iron grills and griddle
The cast iron grills and griddle can be
arranged in any order on the appliance.
The mechanical locks of the grills and the
griddle must always be positioned as
shown in the figure.
As an additional aid to the correct
positioning of the cast iron accessories, also
refer to the “FRONT” marking on their
bottom, which should always be placed
towards the duct.

Use
18
Liquid waste container
It is recommended you empty the liquid
waste container after using the appliance:
1. Remove the liquid waste compartment
cover.
2. Holding the container by its handle, push
it towards the back of the liquid waste
compartment.
3. Lift the container upwards.
4. Empty and clean the container.
5. Once you have cleaned the container,
replace it in its compartment and follow
the removal operations above in reverse.
3.4 Using the appliance
All the appliance's control and monitoring
devices are located together on the control
panel. The burner controlled by each knob
is shown next to the knob. The appliance is
equipped with an electronic ignition device.
Simply press the knob and turn it anti-
clockwise to the maximum flame symbol,
until the burner lights. If the burner does not
light in the first 15 seconds, turn the knob to
and wait 60 seconds before trying
again.
After lighting, keep the knob pressed in for
a few seconds to allow the thermocouple to
heat up. The burner may go out when the
knob is released: In this case, the
thermocouple has not heated up sufficiently.
Wait a few moments and repeat the
operation. Keep the knob pressed in
longer.
Proceed with cooking only with the
griddle and all grills in position to
avoid danger to the user or
damage to the appliance's
appearance and functionality.
Never leave it unattended when in
operation. If you notice that the
flames have gone out, turn the
knobs to IMMEDIATELY and
wait a few minutes before
attempting to ignite the burners
again.

Use
19
EN
3.5 Turning the appliance off
If the appliance is to be out of use for some
time, close the gas supply valve, unplug the
appliance from the wall socket and remove
the battery.
Before reusing it, check that the gas outlet
holes are not clogged with dust or spider's
webs.
3.6 Cooking Advice
• During indirect cooking the lid (if fitted)
must be left closed and only opened if
the temperature exceeds 300°C. Close
it again after 5 minutes have passed.
• Water should always be poured into the
dripping pans for more succulent
cooking results and to simplify cleaning
of the barbecue after use.
• Always preheat at the minimum setting.
• For processes requiring more powerful
grilling, preheat the burners for 15
minutes.
• Preheat for indirect cooking by igniting
the burner where the food is to be
placed for 5 minutes at the minimum
setting and the other burners at the
maximum setting for 10 minutes.
• During direct cooking (meat or fish), if the
heat is too high and burns the food, turn
the burners down using the knob, or else
move the food.
• During cooking, it is recommended to
remove the liquid waste compartment
cover to allow cooking fumes to escape.
Meat (direct cooking)
The burners must be set to maximum. The
cooking time varies depending on the
thickness of the food and personal taste.
For best results when grilling, brown the
outside at maximum heat then use the knobs
to turn the burners down to a medium /
minimum setting to allow the meat to cook
right through without burning on the outside.
The appearance of flames, when cooking
pork (i.e. fatty foods) in particular, is normal
and is caused by dripping fat. Do not
worry, but move the food being cooked to
another part of the grill.
To allow this, it is best not to fill the whole
grill with food for cooking.
Direct cooking: food cooked
directly on a grill positioned above
a lit burner.
Indirect cooking: food cooked on
a grill positioned adjacent to the lit
burner.
It is recommended to preheat the
burners at maximum power for 5-
10 minutes with the lid (where
fitted) closed, depending on the
thickness of the meat.

Use
20
Meat (indirect cooking)
After preheating with the burners at the
minimum setting and the lid (where fitted)
closed, place the meat on a grill next to the
lit burner. For example, the meat can be
placed on the central grill after the side
burners have been ignited.
The advantage of indirect cooking is that
the heat is less fierce. Start cooking with the
burners on the minimum setting then
gradually turn them up over time.
Naturally, it takes considerably longer than
direct cooking, but excellent results will be
assured.
Large pieces of meat or fish such as roasts,
whole chickens, lamb and other particularly
thick/fat cuts are suitable for indirect
cooking.
Vegetables and fish (direct cooking)
Arrange the vegetables and/or fish on the
grill after preheating. Given the nature of
these foods, the knobs should be kept
turned to the minimum setting.
Cooking information table
It is recommended to preheat the
burners at minimum power for 15
minutes with the lid (where fitted)
closed.
Heat Temperature
(°C) Burner setting Suitable for
High 230 - 250 Maximum Preheating before starting cooking.
Medium-High 200 Medium-Maximum Direct cooking of thin cuts of meat, fish and vegetables.
Medium 160 - 180 Intermediate Direct cooking of cuts of meat of medium thickness (e.g.
half chicken) and indirect cooking.
Medium-Low 150 Medium-Minimum Indirect cooking and smoking, or keeping food which
has already been grilled warm.
Low 110 - 120 Minimum
Smoking and indirect cooking of large pieces of fatty
or delicate foods, or keeping food which has already
been grilled warm.

Use
21
EN
Barbecue cooking
Food Cooking
type
Weight
(Kg) Preheat. Cooking time Suggestions
Beef steaks Direct 0.5 10’ 3’ - 5’ Flame at maximum setting
T-bone steaks Direct 2 = 4 pcs. 15’ 4’ per side Medium-high flame
Beef fillet Direct 1.5 10’ 40’ - 50’ Medium-high flame
Chicken joints Direct 2 10’ 45’ Minimum flame
Whole chicken Indirect 3 10’ 150’ Medium-minimum flame
Chops Direct 1 10’ 15’ - 18’ Medium flame
Pork belly Direct 0.5 10’ 5’ - 7’ Medium flame
Whole pork neck Indirect 2.5 10’ 240’ Minimum flame, then increase
Stuffed roast pork Indirect 2.5 10’ 150’ Minimum flame, then increase
Pork shank Indirect 1 10’ 70’ Minimum flame, then increase
Spare ribs Direct 2 8’ - 10’ 30’ - 40’ Medium-minimum flame, turn food often
Sausages Direct 1 10’ 13’ - 15’ Medium-minimum flame
Leg of lamb Indirect 2.5 10’ 150’ - 180’ On stainless-steel griddle
Sliced onion Direct 0.6 15’ 10’ - 15’ On stainless-steel griddle
Sliced aubergine Direct 0.5 10’ 8’ - 13’ Medium flame
Whole potatoes Indirect 1 10’ 90’ - 110’ Maximum flame
Diced potatoes Indirect 1 10’ 80’ - 90’ Medium flame
Courgettes Direct 0.5 10’ 15’ - 18’ Medium-minimum flame
Peppers Direct 3 pcs 10’ 13’ - 15’ Medium flame
Prawns Direct 0.75 10’ 10’ - 12’ Medium-minimum flame
Trout Direct 1 10’ 18’ Minimum flame
Small fish (e.g. herring) Direct 0.3 15’ 4’ per side Maximum flame on stainless steel griddle
Bream Indirect 3 10’ 40’ Medium-minimum flame
Salmon fillets/steaks Direct 0.5 10’ 15’ Minimum flame
Sea-bass Direct 1 10’ 40’ Minimum flame
Pineapple Direct 0.8 10’ 8’ Minimum flame
Polenta slices Direct 1 10’ 4’-5’ per side Maximum flame
Sliced bruschetta Direct 1 5’ 6’-8’ per side Medium-minimum flame
Bread Direct 0.2 5’ 20’ - 25’ Minimum flame

Cleaning and maintenance
22
4 Cleaning and maintenance
4.1 Instructions
4.2 Cleaning the appliance
To keep the appliance surfaces in good
condition, they should be cleaned regularly
after use. Let them cool first.
Ordinary daily cleaning
Always use only specific products that do
not contain abrasives or chlorine-based
acids.
Pour the product onto a damp cloth and
wipe the surface, rinse thoroughly and dry
with a soft cloth or a microfibre cloth.
Food stains or residues
Do not use metallic sponges or sharp
scrapers as they will damage the surfaces.
Use ordinary non-abrasive products with
the aid of wooden or plastic utensils if
necessary. Rinse thoroughly and dry with a
soft cloth or a microfibre cloth.
Do not allow residues of sugary foods (such
as jam) to set inside the appliance. If left to
set for too long, they might damage the
enamel lining of the appliance.
Griddle and grills
For best results, clean the griddle and grills
when still lukewarm. Wearing heat-resistant
gloves, dip them in water and then scrub
them with a brass-bristle brush to remove
any food residue. Complete cleaning by
washing the grills with a degreasing non-
abrasive detergent and rinse thoroughly.
Improper use
Risk of damage
• Do not use a steam cleaner to clean the
appliance.
• Do not use cleaning products containing
chlorine, ammonia or bleach on steel
parts or parts with metallic finishes on the
surface (e.g. anodizing, nickel- or
chromium-plating).
• Do not use abrasive or corrosive
detergents on glass parts (e.g. powder
products, stain removers and metallic
sponges).
• Do not use rough or abrasive materials
or sharp metal scrapers.
• Do not wash removable components
such as the grills and griddle in the
dishwasher.
• All previous food residue must always
be removed before cooking.
The continuous contact between
the grills/griddle and the flame
can cause modifications to the
enamel over time in those parts
exposed to heat. This is a
completely natural phenomenon
which has no effect on the
operation of this component.
Table of contents
Other Smeg Cooktop manuals

Smeg
Smeg PX175LAU User manual

Smeg
Smeg SIHP40WG4 User manual

Smeg
Smeg 9FALOI1 Assembly instructions

Smeg
Smeg PU64 User manual

Smeg
Smeg PM6912WLDXAU User manual

Smeg
Smeg SE65CX User manual

Smeg
Smeg SUK61CPX5 User manual

Smeg
Smeg NCT 335 E User manual

Smeg
Smeg SE264TD1 User manual

Smeg
Smeg PSA906-5 User manual
Popular Cooktop manuals by other brands

KitchenAid
KitchenAid KGCU407 Use & care guide

KitchenAid
KitchenAid KECC502GBL4 parts list

Electrolux
Electrolux EW30IC60IS - 30" Induction Cooktop Use and care guide

DCS
DCS DCS-C-24W Care & installation manual

Frigidaire
Frigidaire FEC30S6A Factory parts catalog

KitchenAid
KitchenAid KECD867XSS Product dimensions