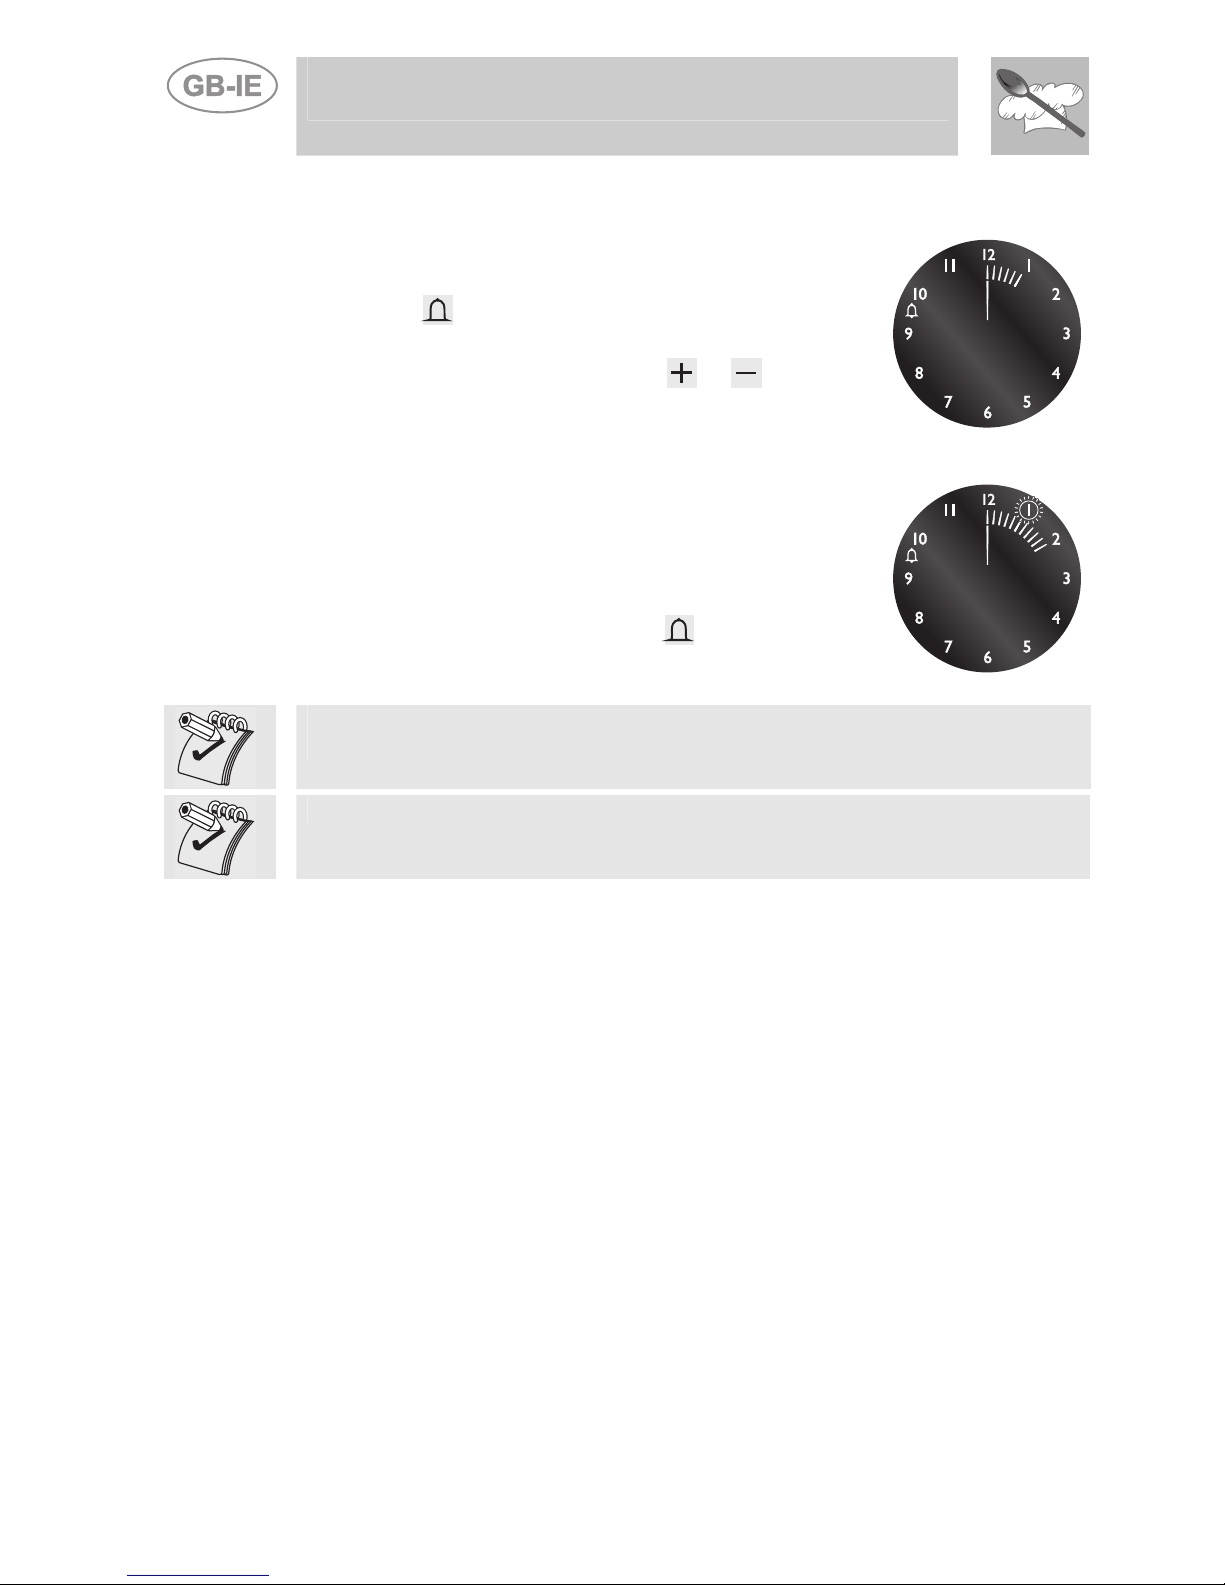
Instructions for the user
42
Heating accelerator
Each cooking zone is equipped with a heating accelerator.
This system allows the zone to be operated at peak power for a time
proportional to the heating power selected.
To start the heating accelerator, turn the knob to the left, select setting
“A” and then release. The letter “A” will appear on the display on the
hob.
You now have 3 seconds to select the heating setting of your choice.
Once a setting between 1 and 9 has been selected, “A” and the chosen
setting will flash in alternation on the display.
While the heating accelerator is in operation, the heating level can be
increased at any time. The "full power" time will be modified accordingly.
If the power is reduced by turning the knob anticlockwise, option "A" is
automatically deactivated.
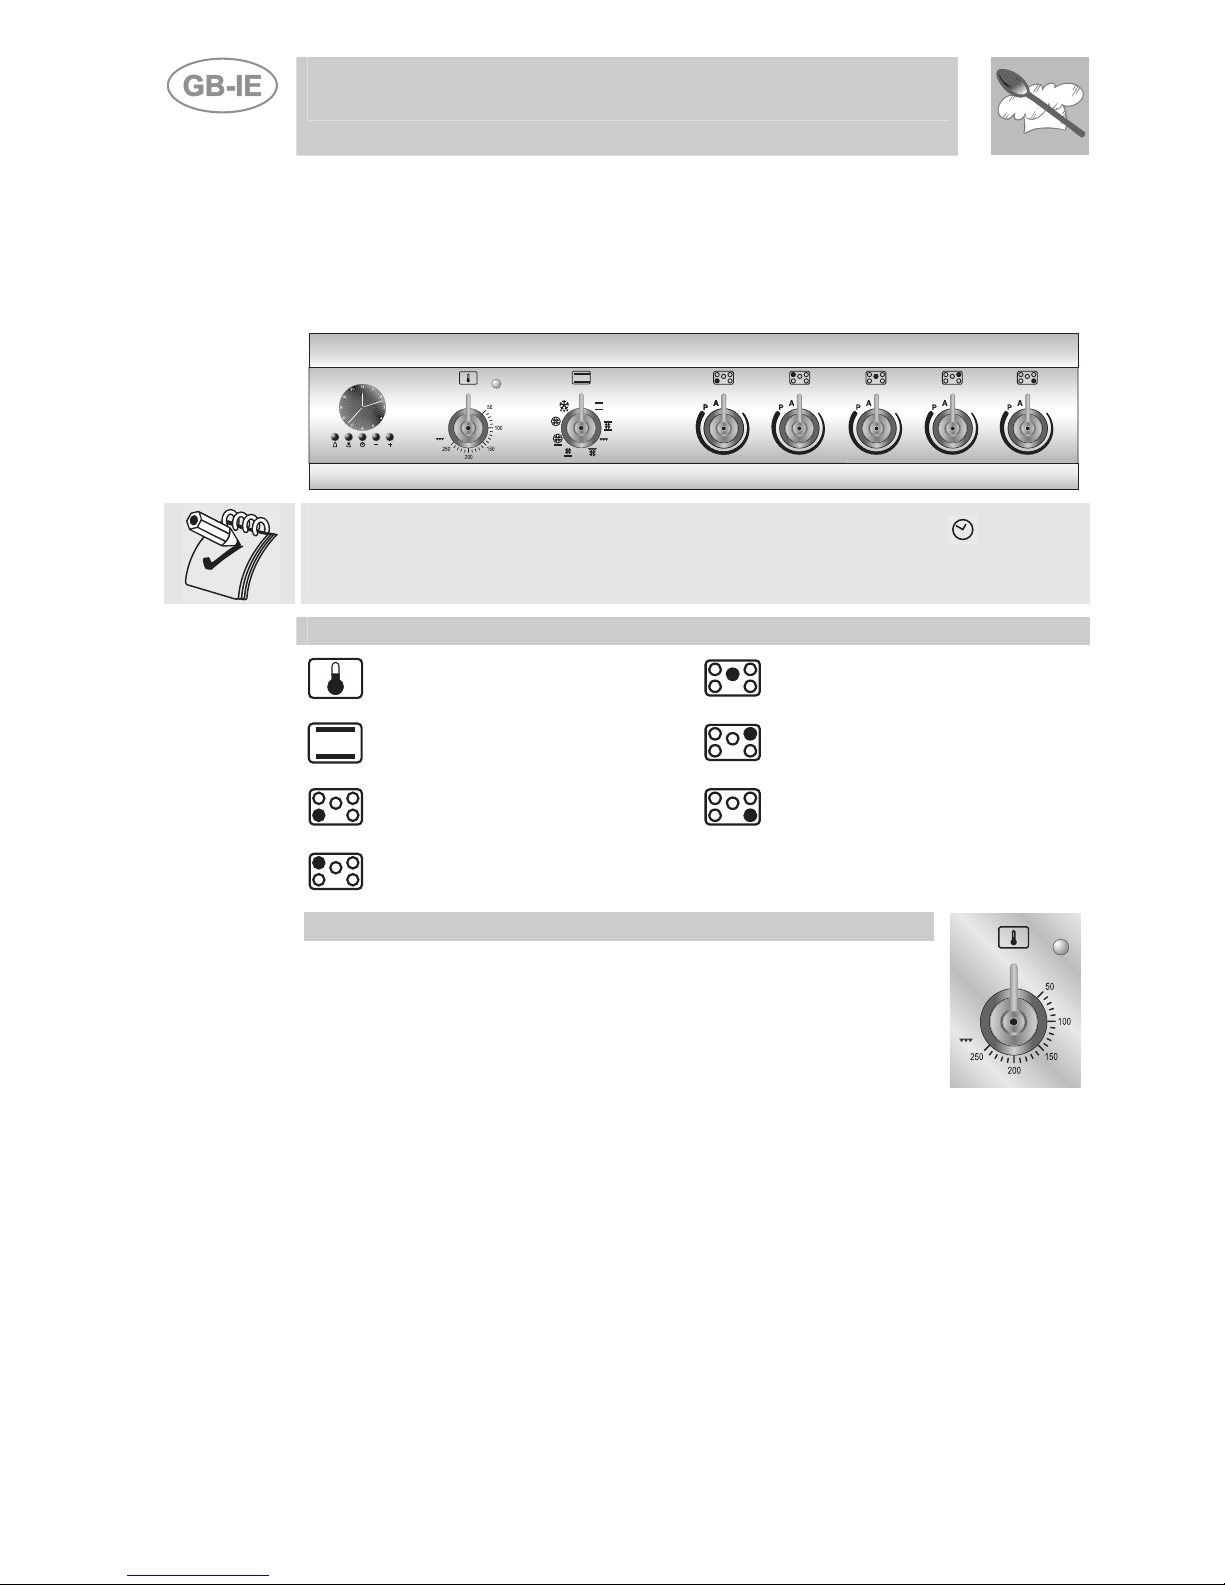
Power Function
The power function allows the user to operate each heating zone
continuously at the maximum power for a time of no more than 10
minutes. This function can be used, for example, to bring a large amount
of water to the boil in a hurry, or to turn up the heat under meat.
Turn the knob clockwise and set heating level 9, then use the knob to set
the "P" position and release it. "P" appears on the corresponding zone
display.
After 10 minutes, the power is reduced automatically, the knob returns to
the 9 setting and the "P" disappears.
However, the power function can be turned off at any time by reducing
the heating level.
When the power function is selected for one heating zone (e.g. the left
front zone), the power absorbed by the second zone (left rear zone)
might be reduced to supply the maximum available energy to the first
zone.
Consequently, the power function takes priority over the heating
accelerator.
If a pan is removed from the cooking zone while the power function is on,
the function is switched off.