fig. 5–PAD accessory, PAD mounting position on rear of WD1050 model.
6 PAD1 INSTALLATION PROCEDURE
The procedure for installing the PAD1 pump is similar on different models; for the sake of brevity, only
installation on the SMEG GW4060SC model is described in detail below.
Access to the rear of the appliance, and the rear cross-piece in particular, is required.
The PAD1 comes complete with a cable for the electrical connection to the appliance.
The installation procedure is as follows:
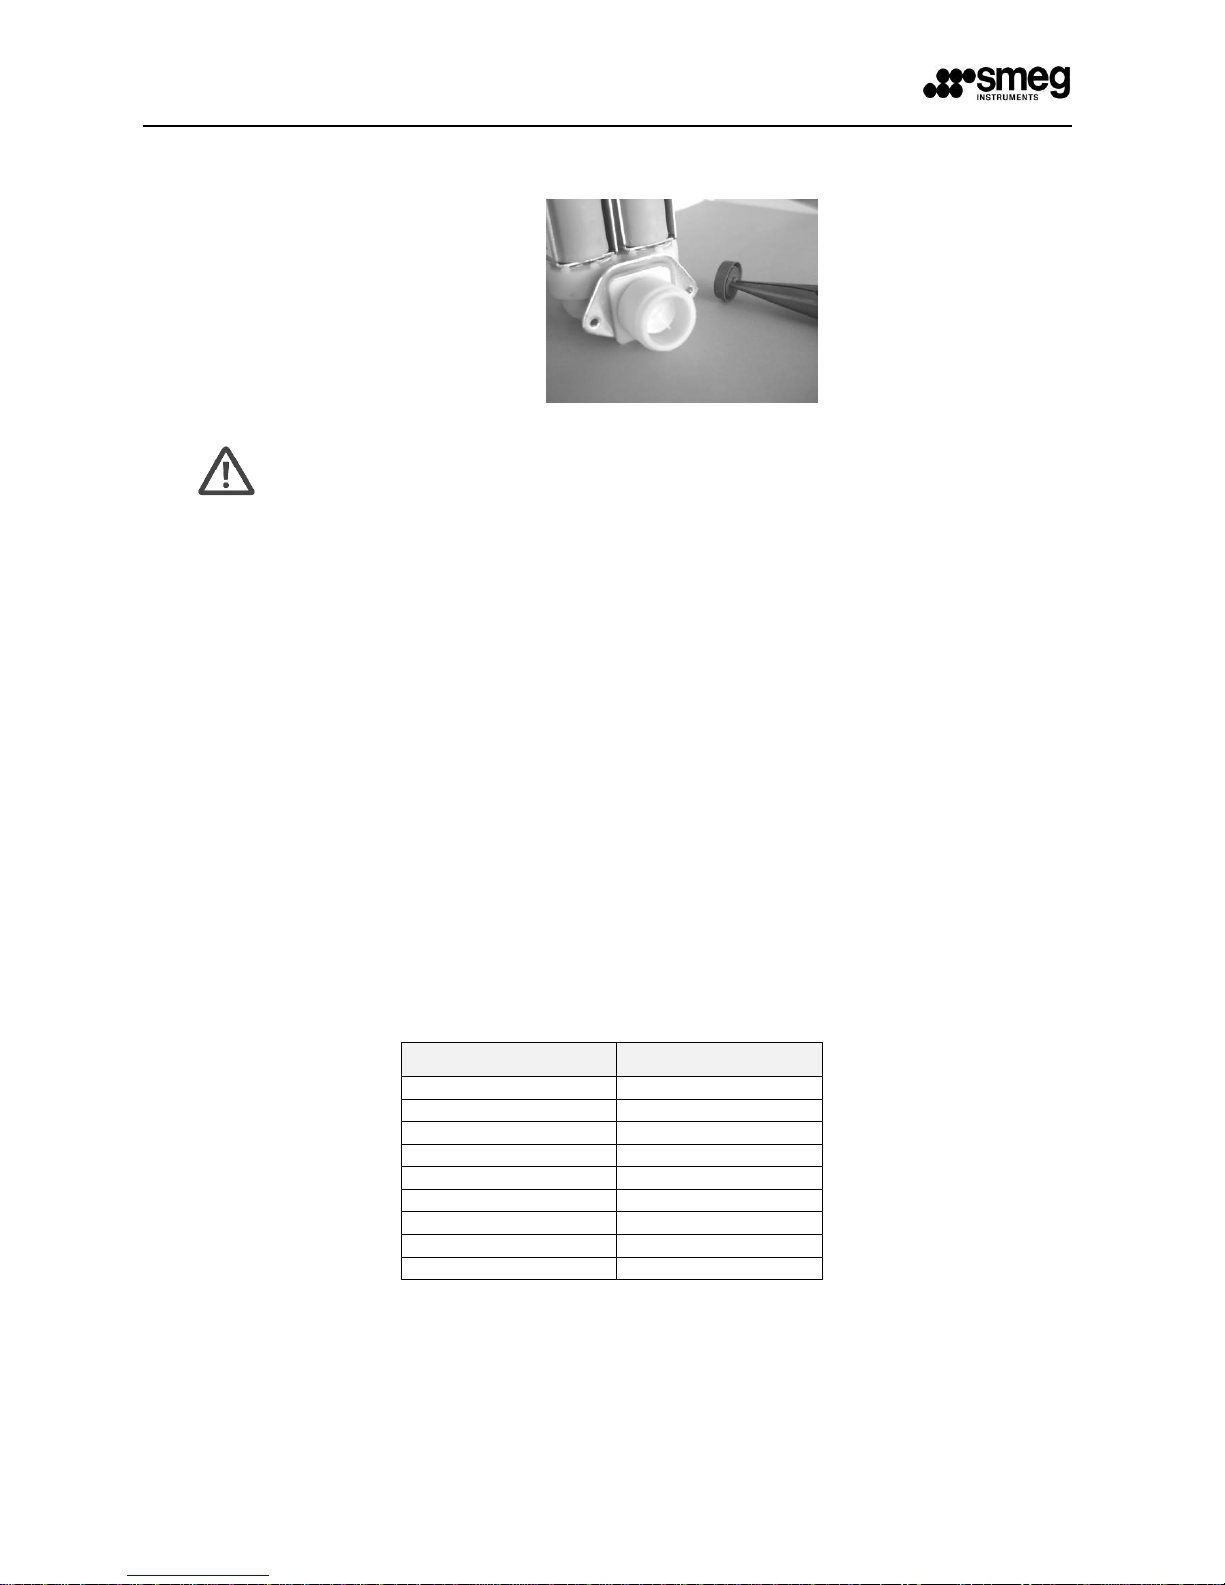
a. Disconnect the water intake hoses from their respective solenoid valves:
b. Remove the rear of the appliance;
c. Unscrew the fixing screws that secure the left lid to the rear cross-piece;
d. Pass the PAD1 electrical connection cable supplied, complete with sleeve, through the hole
in the left-hand lid and connect the end with “dual faston” terminal (insulated female
faston terminal combined with male terminal) to the demi water solenoid valve and the
appliance’s wiring system. This connects the PAD pump in parallel with the solenoid
valve.
e. The yellow/green ground wire must be connected to the unused male faston terminal next to
the demi water solenoid valve;
f. Close the metal lid, taking care not to trap any of the appliance’s wiring;
g. Replace the rear of the appliance;
h. Fix the metal box containing the “PAD1” to the rear of the appliance using the self-tapping
screws provided;
Reconnect the intake hoses. The demineralised water intake hose is a transparent mesh-
reinforced hose.