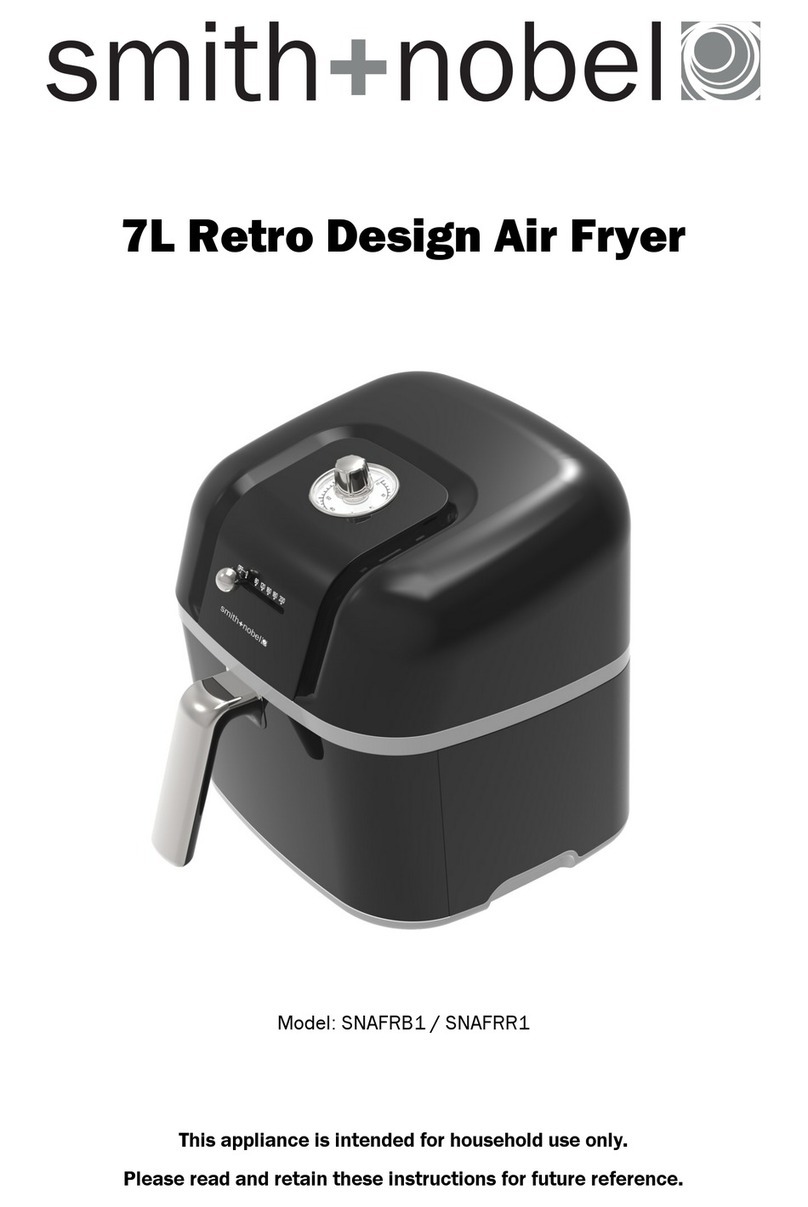
smith+nobel TH-AF05BL User manual


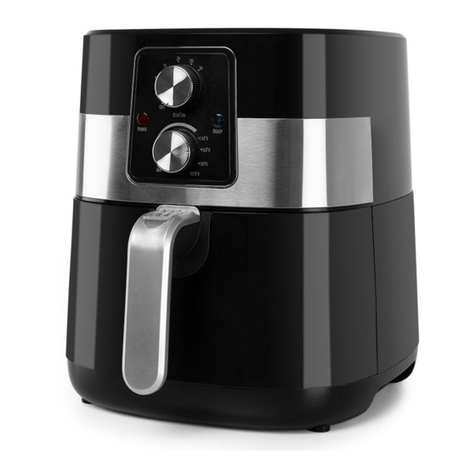
General description (Fig.1):
1. Handle 2. Pan 3. Digital control panel 4. Air inlet
5. Oil separator 6. Air outlet
Panel description:
Picture
Name
Description
Temperature display
Shows the ‘temperature’while idle or in
operation.

Time display
Shows the ‘Time remaining’while idle or in
operation.
Power
1. Press to ‘Power on’the unit.
2. Press again ‘Power off’the unit.
Preset menu
Used to select the Preset Menu.
Time/Temperature
menu switch
Used to switch the setting of Temperature or
Time.
Increase
Used to increase the ‘Time’or ‘Temperature’
Decrease
Used to decrease the ‘Time’or ‘Temperature’
Cooking presets
Preset Button
Temperature
Time
French Fry
200℃
16mins.
Roast
200℃
12mins.
Fish
200℃
13mins.
Shrimp
200℃
12mins.
Chicken
180℃
18mins.
Cake
180℃
12mins.
Dehydrate
120℃
90mins.
Bacon
200℃
16mins.
Preset Button Cooking Chart: Cooking time for chicken/roast will vary with weight.
Automatic switch-off
The appliance has a built-in timer, it will automatically shut down the appliance when
the timer hits zero. You can manually switch off the appliance by pressing the power
button.

Before first use
1. Remove all packaging materials, including stickers and labels.
2. Clean the pan with water, with some washing liquid and a non-abrasive sponge.
3. Wipe inside and outside of the appliance with a dry cloth.
Preparation for use
1. Place the appliance on a stable, horizontal and even surface.
Do not place the appliance on non-heat-resistant surface.
2.Assemble the oil separator into the pan. (fig.1).
Do not fill the pan with oil or any other liquid.
Do not cover the top of the appliance, or else the airflow will be disrupted.
Hot air frying
1. Connect the plug with an earthed wall socket.
2. Carefully pull the pan out from the air fryer (fig.2)
3. Fill the ingredients into the Pan.
4. Push the pan back into the air fryer (fig.3)
Caution: Do not touch the pan during or straight after use, as it becomes very
hot. Only hold the pan by the handle.
5. Set the temperature control panel to the preferred temperature. See section
‘Settings’ to determine the right temperature.
6. Determine the required preparation time for your ingredients (see section ‘Settings’).
7. Set the timer.
Add an extra 3 minutes for preheating if the appliance is cool.
Note: If you want, you can also preheat the appliance without any ingredients inside.
In that case, set an extra 3 minutes and wait until the heating-up light goes out, then
fill the pan and then set the timer.
a) The digital display will show the time duration.
b) The pan will collect the oil and fat from the ingredients during frying.
8. Some ingredients need to be shaken during frying (see section ‘Settings’). Pull the
pan out of the appliance by the handle and shake it, then push the pan back into the
Air Fryer.

9. When you hear the timer bell ringing, the frying is finished. Pull the pan out from the
appliance and place it on a heat-resistant surface.
The appliance has a safety protect function, the power will automatically cut off once the
pan is pulled out.
Caution: Beware of hot air escaping as you remove the pan.
10. Check if the ingredients are ready.
If the ingredients are not yet ready, simply push the pan back into the appliance and set the
timer for a few extra minutes and keep frying.
11. Remove the ingredients from the pan, the Air Fryer will now be ready to cook again.
Settings
This below information will help you to select the basic settings for your ingredients.
Note: Keep in mind that these settings are indications. As ingredients are different in origin,
size, shape and brand, settings can vary.
Tips
-Smaller ingredients usually require a slightly shorter frying time than larger ingredients.
-A larger amount of ingredients only requires a slightly longer frying time, a smaller amount
of ingredients only requires a slightly shorter frying time.
-Shake smaller ingredients at the halfway point during the frying.
-Add some oil to fresh potatoes for a crispy result.
-Do not fry extremely greasy ingredients such as sausages in the Air Fryer.
-Snacks can be fried in the Air Fryer.
-The optimal capacity for frying crispy fries is 500 grams.
-Use pre-made dough to fry quickly and easily.
-Place a baking tin or oven dish in the Air Fryer Pan if you want to bake a cake or quiche or
if you want to fry fragile ingredients or filled ingredients.
-You can also use the Air Fryer to reheat ingredients. To reheat ingredients, set the
temperature to 150
℃
for a time of 10 minutes.
Min-max
Amount
(g)
Time
(min.)
Temperature
(℃)
Shake
Extra information
Potatoes & fries
Thin frozen fries
300-700
9-16
200
shake
Thick frozen fries
300-700
11-20
200
shake
Home-made fries
(8×8mm)
300-800
16-10
200
shake
Add 1/2 tbsp of oil
Home-made potato
wedges
300-800
18-22
180
shake
Add 1/2 tbsp of oil
Home-made potato
cubes
300-750
12-18
180
shake
Add 1/2 tbsp of oil
Rosti
250
15-18
180
shake
Potato gratin
500
15-18
200
shake
Meat & Poultry
Steak
100-500
8-12
180

Pork chops
100-500
10-14
180
Hamburger
100-500
7-14
180
Sausage roll
100-500
13-15
200
Drumsticks
100-500
18-22
180
Chicken breast
100-500
10-15
180
Snacks
Spring rolls
100-400
8-10
200
shake
Use oven-ready
Frozen chicken nuggets
100-500
6-10
200
shake
Use oven-ready
Frozen fish fingers
100-400
6-10
200
Use oven-ready
Frozen bread crumbed
cheese snacks
100-400
8-10
180
Use oven-ready
Stuffed vegetables
100-400
10
160
Baking
Cake
300
20-25
160
Use baking tin
Quiche
400
20-22
180
Use baking tin/oven
dish
Muffins
300
15-18
200
Use baking tin
Sweet snacks
400
20
160
Use baking tin/oven
dish
Cleaning
Clean the appliance after every use.
Do not clean the pan and the inside of the appliance by metal kitchen utensils or
abrasive cleaning materials, as this may damage the non-stick coating.
1. Remove the plug from the wall socket and wait for the appliance to cool down.
Note: Remove the pan from the air fryer in order to let the appliance cool down quickly.
2. Wipe the outside of the appliance with a moist cloth.
3. Clean the pan and separator with water, washing-up liquid and a non-abrasive sponge.
Note: The pan, separator are dishwasher safe.
4. Clean the inside of the appliance with a dry soft cloth.
5. Clean the heating element with a dry cleaning brush to remove any food residue.
Storage
1. Unplug the appliance and let it cool down.
2. Make sure all parts are clean and dry.
3. Store the product in a dry and ventilated place.
Environment
This symbol means that in case you wish to dispose of the
product once its working life had ended, take it to an
authorized waste agent for the selective collection of Waste
from Electric and Electronic Equipment(WEEE).

Troubleshooting
Problem
Possible cause
Solution
The Air Fryer
does not work
The appliance is not
plugged in.
Connect the plug with an earthed wall socket.
Forgot to set the
timer.
Set the timer to the expected time
The ingredients
are not cooked.
The amount of
ingredients is too
much.
Reduce the quantity.
The frying
temperature is too
low.
Set correct temperature (see section ‘Settings’).
The frying time is too
short.
Set the correct frying time (see section
‘Settings’).
The ingredients
are fried unevenly
Ingredients need to
be shaken during
frying
Shake the ingredients during frying. (See section
‘Settings’).
Fried snacks are
not crispy
The snacks are
meant to be fried in a
traditional deep fryer.
Lightly brush some oil onto the snacks for a
crispier result.
Cannot push the
pan into the
appliance
properly.
Too many ingredients
in the pan.
Reduce the quantity of ingredients.
Smoke comes
out from the
appliance.
Frying greasy
ingredients.
When you fry greasy ingredients in the Air Fryer,
a large amount of oil will leak into the pan. The oil
produces white smoke and the pan may heat up
more than usual. This does not affect the
appliance or the end result.
The pan still contains
grease residues from
previous use.
White smoke is caused by grease heating up in
the pan. Make sure you clean the pan properly
after every use.
Fresh fries are
fried unevenly
Use the wrong type of
potato.
Use fresh potatoes and make sure that they stay
solid during frying.
Did not rinse the
potato sticks properly
before frying them.
Rinse the potato sticks properly to remove starch.
Fresh fries are
not crispy
It depends on the
amount of oil added
and the humidity of
the fries.
Make sure to dry the potato sticks properly before
adding oil.
Cut the potato sticks smaller for a crispier result.
Add slightly more oil for a crispier result.

One Year Warranty Statement
Smith+Nobel offer a 1 year warranty from the date of purchase. Please keep your receipt
as proof of purchase for this product warranty. This warranty covers manufacturing
defects and abnormal deterioration when the product is used in normal domestic use and
in accordance with the care and use instructions provided. It does not cover normal wear
and tear, negligence or misuse of the product. Should you have to make a claim under this
warranty please cease using the product and return it to your nearest Harris Scarfe store at
your expense with your proof of purchase. The store will arrange for the product to be
assessed. This assessment may be completed in-store or may involve sending the product
to an external assessor. If the product is deemed to have a manufacturing defect or
abnormal deterioration the item will be replaced or refunded.
This warranty is provided in addition to any other rights and remedies you may have
under the Australian Consumer Law.
Our goods come with guarantees that cannot be excluded under the Australian Consumer
Law. You are entitled to a replacement or refund for a major failure and compensation for
any other reasonably foreseeable loss or damage. You are also entitled to have the goods
repaired or replaced if the goods fail to be of acceptable quality and the failure does not
amount to a major failure.
DS Opco Pty Ltd
Level 4, 111 Cecil Street, South Melbourne, Victoria 3205, Australia
Ph: 1300 304 505 Email: [email protected]
This manual suits for next models
1
Table of contents
Other smith+nobel Fryer manuals
smith+nobel
smith+nobel SNAFS10 User manual

smith+nobel
smith+nobel TM-AF1056B User manual

smith+nobel
smith+nobel TH-AFO30BL User manual
smith+nobel
smith+nobel SNAFO20 User manual
smith+nobel
smith+nobel IA3642 User manual

smith+nobel
smith+nobel SN-KAF-8441 User manual

smith+nobel
smith+nobel SNDF275R User manual
smith+nobel
smith+nobel SNAF999B User manual
smith+nobel
smith+nobel IA4126 User manual

smith+nobel
smith+nobel IA4125 User manual
