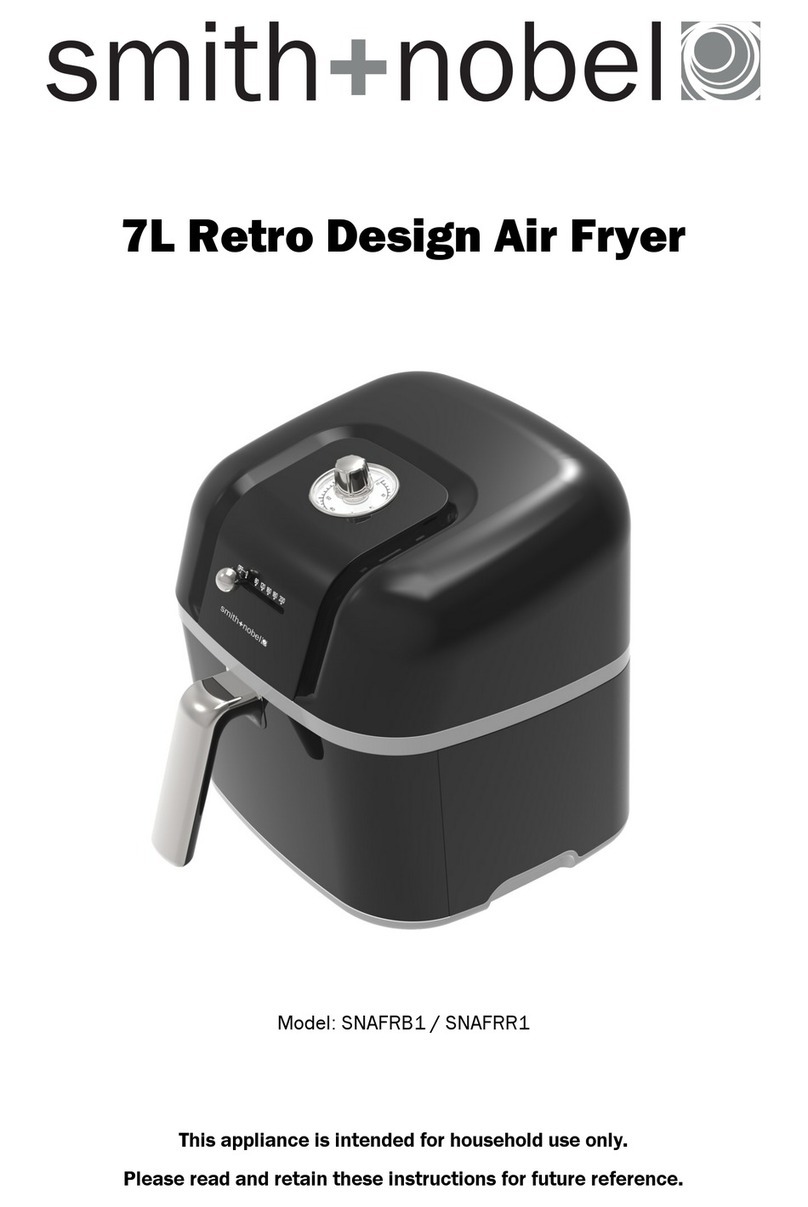
smith+nobel SNDF275R User manual

Model: SNDF275R
6.5 Litre Digital Air Fryer
Instruction Manual

2
Important Safeguards
When using this electrical appliance,
the following basic safety precautions
should always be followed:
For Your Safety
• Please read these instructions before
operating and retain these for future
reference.
• Before connecting the appliance to the
power supply, check that the voltage
indicated on the appliance corresponds with
the voltage in your home. If this is not the
case, contact your local qualied technician
and DO NOT use the appliance.
• If the supply cord or any part is damaged,
cease use of this appliance immediately to
avoid a hazard.
• Do not hang the power cord over the edge
of table and do not let cord contact hot
surfaces, including stovetop.
• Place the appliance on the at surface. Do
not place on the heated surface or near a
hot gas or electric burner or oven.
• This appliance is not intended for use by
persons (including children) with reduced
physical, sensory or mental capabilities,
or lack of experience and knowledge,
unless they have been given supervision or
instruction concerning use of the appliance
by a person responsible for their safety.
• Children should be supervised to ensure that
they do not play with appliance.
• Never immerse the housing, which contains
electrical components and the heating
elements, in water nor rinse it under the tap.
• Avoid any liquid entering the appliance to
prevent from electric shock or short-circuit.
• Keep all ingredients within the basket and do
not overll beyond the basket to prevent any
direct contact with heating element.
• Do not cover the air inlet or the air outlet
when the appliance is working.
• Filling the basket with oil may cause a re
hazard.
• Do not touch the inside of the appliance
while it is operating.
• Keep the appliance and its mains cord out of
the reach of children.
• Do not connect appliance to an external
timer switch.
• Do not place the appliance on or near
combustible materials such as a tablecloth or
curtain.
• Do not place the appliance against a wall or
against other appliances.
Hot air up to 160 Degrees expels through the
rear vent of the appliance.
Leave at least 10cm clearance around the
entire appliance, including directly above it.
Additional care should be taking when
placing appliances on bench top surfaces or
near splash backs where such materials
(Acrylics, timber etc. ) do not have the high
heat resistant properties, so advise to place
them on top of a heat resistant material
between bench and appliance and further
away from wall surfaces / splash backs.
• Do not place anything on top of the
appliance.
• Do not use the appliance for any other
purpose than described in this manual.
• Do not let the appliance operate
unattended.
• During hot air frying, hot steam is released
through the air outlet openings. Keep your
hands and face at a safe distance from the
steam and form the air outlet openings.
• Also be careful of hot steam and air when
you remove the basket from the appliance.
• Caution: After cooking process is completed,
do not turn the basket with ingredients upside
down (Excess oil may have collected in the
basket that could drip out). Place basket on
a level and at heat resistant surface, then
remove the ingredients of the basket onto
plate or into a dish with a spatula or tongs.
• Surfaces may become hot during use.
• Do not operate the appliance if there is a
malfunction or if it is damaged in any
manner. Immediately unplug the appliance
if you see dark smoke coming out of the
appliance.
• Wait for the smoke emission to stop before
you remove the basket from the appliance.

3
• This appliance is intended to be used in
households and similar applications such as:
- Staff kitchen areas in shops, ofces and
other working environments;
- Farm houses;
- By clients in hotels, motels and other
residential type environments;
- Bed and breakfast type environments.
Caution:
• This appliance is intended for household use
only and not for commercial, industrial or
outdoor use.
• This appliance must be earthed. Only
connect it to a suitable earthed AC
240V~50Hz mains socket. Always make
sure that the plug is inserted into the socket
properly.
• Ensure the appliance is placed on a
horizontal, even and stable surface.
• The baking basket becomes hot all over
when it is used in the air fryer. Always use
oven gloves when handing the baking
basket.
• If the supply cord is damaged, it must be
replaced by the manufacturer or similarly
qualied persons in order to avoid a hazard.
• Always unplug the appliance when not in
use.
• The appliance needs approximately 30
minutes to cool down.
• In the interest of safety, regular periodic close
checks should be carried out on the supply
cord to ensure no damage is evident. Do not
attempt to dismantle or repair this unit
yourself. Repairs should only be performed
by qualied personnel in order to avoid a
hazard.
Warning
If the supply cord is damaged, the cord must be
replaced by the manufacturer, its service agent
or similarly qualied persons in order to avoid a
hazard.
This product has not been designed for any uses
other than those specied in this booklet.
Save These Instructions
THIS APPLIANCE IS DESIGNED FOR HOUSEHOLD
USE ONLY
Automatic Switch-off
The appliance has a build in timer, it will
automatically shut down the appliance when
count down is completed.You can manually
switch Off the appliance at any time during the
cooking process, hold down the Power On/Off
Key until the “OFF” displays on the control panel,
the heating-up will stop immediately, and fan will
automatically shut down after approximately 20
seconds, at the same time,you will hear 5 beep
sounds.

4
Features of Your 6.5 Litre Digital Air Fryer
Temperature Control Keys
(‘+’ & ‘-’) (80-200˚C)
Menu Key for
Dedicated
cooking function
Air I nl et
Basket
R a c k
Air Outlet
(not showing)
Timer Control Keys
(‘+’ & ‘-’)( 0-60min.)
Power On/Off key
Basket Handle
C a k e P a n
Note: This cake pan must be used with
the basket and rack of the air fryer.

5
Introduction
The Air fryer provides an easy and healthier way
of cooking your favorite foods, by applying rapid
air circulation from all directions additional to a
top grill and is able to cook a variety of dishes
without adding any oil or adding just a little oil
for nominated ingredients tabled further in this
booklet.
Know Your Appliance
“Seafood “ Function key
Press key to select and touch Power ON/OFF key
to start cooking process.
Default temperature and cooking time is 180°C
for 15 minutes.
“Pork “ Function key
Press key to select and touch Power ON/OFF key
to start cooking process.
Default temperature & time is 200°C for 20
minutes minutes.
“Fries” Function key
Press this key to select and touch Power On/Off
to start cooking process.
Default temperature and cooking time is 200°C
for 20 minutes.
“Baking” Function key
Press this key to select and touch Power On/Off
to start cooking process.
Default temperature and cooking time is 160°C
for 30 minutes.
“Poultry” Function key
Press this key to select and touch Power On/Off
to start cooking process.
Default temperature and cooking time is 200°C
for 25 minutes.
“Steak” Function key
Press this key to select and touch Power On/Off
to start cooking process.
Default temperature and cooking time is 200°C
for 20 minutes.
“Fish” Function key
Press this key to select and touch Power On/Off
to start cooking process.
Default temperature and cooking time is 170°C
for 25 minutes.
“Pizza” Function key
Press this key to select and touch Power On/Off
to start cooking process.
Default temperature and cooking time is 170°C
for 20 minutes.
“Pause/Restart “ Function key
Press key to pause or restart cooking process.
In Pause mode the heating element will cease
and fan will continue to operate .
you can adjust the cooking time and
temperature or change to other dedicated
cooking function in pause mode.
Touch key to restart cooking process with
balance of original set cooking temp/ time or
adjusted cooking cooking temp/time or other
dedicated cooking function.
“Preheat” function Key
Press this key to select and touch Power ON/OFF
to start warm-up of the appliance prior to your
chosen /selected cooking process.
The default warm-up temperature and time is
80°C for 5 Minutes.
“Power On/Off ” Key
Press key to switch appliance On and press
again to activate selected cooking function.
You can manually switch Off the appliance at
any time during the cooking process, hold down
the Power On/Off Key until the “OFF” displays
on the control panel, the heating-up will stop
immediately, and fan will automatically shut
down after approximately 20 seconds.
“Time Control” key
Touch the key, you can adjust the cooking time,
upward arrow is increase the time, downward
arrow is decrease the time.
“Temperature Control” key
Touch the key, you can adjust the cooking
temperature, upward arrow is increase the
temperature, downward arrow is decrease the
temperature.
Timer Control Keys
(‘+’ & ‘-’)( 0-60min.)

6
Before First Use
1, Remove all packaging materials including
any within the basket.
2. Slide out the basket, place on a at surface
and take out the rack within the basket.
Clean both basket and rack with
non-abrasive sponge and warm water, rinse
thoroughly and dry completely.
3. Wipe inside and outside of the appliance with
a clean cloth.
LED Display
• When power to the appliance is turned
On , both the time and temperature will
alternately light up in LED display for you to
set the time and temperature or show the
dedicated function temperature and time.
• Once the appliance is in operation the LED
Display will show the set time counting down
and when reaching 0.00 it will Auto shut Off.
• There are 8 food icon’s showing on LED
display window , the selected chosen Icon
will light up when each of the functions
are selected together with the preset
temperature and cooking time for that
specic function.
Preparing for Use
1. Place the appliance on a stable, horizontal
and even surface.
Do not place the appliance on non heat
resistant surface.
2. Slide the basket back into the appliance.
3. Connect the mains plug into an earthed wall
socket. Touch the power On/Off key, One
beeping sound indicates that appliance is
ready for use.
The default setting time is 15 minutes &180 °C.
4. Preheat the appliance for 5 minutes when
it is cold. touch the “Preheat”key and then
touch the Power On/Off key, the appliance
will warm up gradually. After the warming-up,
carefully pull the basket out of the air fryer.
CAUTION: After cooking process is
completed, do not turn the basket with
ingredients upside down (Excess oil may
have collected in the basket that could drip
out). Place basket on a level and at heat
resistant surface, then remove the ingredients
of the basket onto plate or into a dish with a
spatula or tongs.
Using the Appliance
1. Place the rack into the basket and put it
to the bottom, then put ingredients into
the basket and slide the basket into the
appliance.
Note: Do not ll the basket with oil or any
other liquid.
Note: Do not overll beyond the
basket rim (see section ‘settings’ in this
chapter), as it may effect the quality of
the fried food.
Caution: Never operate the appliance without
basket placed in the appliance. Do not touch
the Basket and internal surface of appliance
during use or when removed from appliance
just after cooking, as it gets very hot. Only
hold the basket by the handle protruding from
the front of the appliance.

7
2. Set the desired time and temperature for
ingredients to be cooked (refer to the table
on page 10 of this booklet for guidance).
At this point, you can manually set the
desired cooking time and temperature by
touching the upward Arrow or downward
Arrow key for both time and temperature
to increase or decrease from the default
setting to your preferred setting, then touch
Power On/Off key to activate the cooking
process or alternatively select one of the 8
dedicated cooking function keys.
For starting with cold appliance, rst pre-heat
air fryer by pressing the Preheat icon Key on
control panel and then press Power On/Off
key to activate preheat process and allow to
time out.
Remove basket assembly and place food in
cooking basket and reposition assembly in
appliance compartment.
Select and press one of the 8 dedicated
cooking modes on control panel, according
to contents of cooking basket: Fries, Poultry,
Steak, Seafood, Pork, Fish, Pizza, or Cake.
The preset cooking temperature / time are
approximates and dependent on volume
of ingredients in the cooking basket, the
cooking time may take less or longer (with
experience you will get the feel of it) and
you can manually increase or decrease to
cooking temperature and time by pressing
TIME upward / downward arrow or TEMP
upward / downward arrow control keys,
this will increase/decrease at 1minute or
5 degree intervals from pre-set time/temp
respectively.
If you press and hold Time/Temp keys it will
fast scroll.
NOTE: If you do not touch the Power
ON/OFF key after you have selected a
dedicated cooking function or manually
selected the cooking temperature and
time, the LED Display will turn off and
appliance shuts down after a short
period of time.
3. Touch the Power On/Off key to start the
cooking process. Heating element indicator
icon will blink in display to indicate that
cooking process has commenced.
NOTE: During the cooking process,
the Heating indicator light will blink in
control panel.
Caution: The appliance will stop
working when the basket is pulled
out, when basket is placed back into
the appliance, it will resume cooking
and the remaining time showing
on the display after the basket was
repositioned into the appliance.
4. During the cooking process, oil or fat will drip
down and be collected in the bottom of the
basket, it can be cleaned after cooking and
when basket has cooled.
5. At any time during the cooking process you
can adjust the cooking time and temperature
up or down or you can change other
dedicated function program, overriding the
initial setting by touching “Pause” key, the
cooking process will pause, heating element
will switch OFF, but the fan will continue to
run (Be mindful that this will stop the cooking
process and lower the temperature in the
cooking basket). then touch “upward or
downward arrow “ keys to reset the time
and temperature or touch other dedicated
function keys to change cooking program.
Simply touch “Pause” key again to activate
heating element and resume cooking
process. It will resume time count-down from
the reset time.
6. When cooking some ingredients and
depending on volume within the basket,
it will require you to toss the contents to
ensure evenly cooking and avoiding burning
of ingredients on top layers closest to the
heating element above.
Simply pull out the basket during the cooking
process, toss the ingredients and reposition
basket to resume cooking, it will continue to
countdown time from where you left it when
basket was removed.
NOTE: The appliance has a build in
timer, it will automatically shut down
the appliance when count down is
completed and a beep is heard. If the
Air Fryer is to be stopped prematurely,
press the Pause/Restart Function key.
To switch off the Air Fryer entirely, hold
down the Power On/Off Key until the
“OFF” displays on the control panel, the
heating-up will stop immediately, and
fan will automatically shut down after
approximately 20 seconds.

8
When time has elapsed, a beeping sound
activates.
You can now remove the basket by the
handle from the appliance .
Place basket assembly on heat resistant at
surface and remove the cooked food by use
spatula or tongs.
Be mindful that all surfaces of basket remain
hot for some time, so only carry by handle
and use oven mits where possible.
NOTE: Do not turn over the basket
because the oil or fat that driped into
the basket bottom will pour in the
cooked food and container.
7. After cooking time has elapsed ,beeping
sound activates, indicating that it is ready,
the fan will continue to run a further 20
seconds to cool the airfryer heating element
and internal compartment and than turn Off,
this is normal .
Only store appliance away when it has
completely cooled down.
CAUTION: After cooking process is
completed, do not turn the basket with
ingredients upside down (Excess oil may
have collected in the basket that could drip
out). Place basket on a level and at heat
resistant surface, then remove the ingredients
of the basket onto plate or into a dish with a
spatula or tongs.
NOTE: You can manually switch Off
the appliance at any time during
the cooking process, hold down the
Power On/Off Key until the “OFF”
displays on the control panel, the
heating-up will stop immediately, and
fan will automatically shut down after
approximately 20 seconds.
NOTE: The basket and basket contents
are hot during cooking process and
directly after cooking operation is
completed. Steam may escape from
the basket depending on the type of
ingredients in the basket.
CAUTION: Do not turn the basket with
ingredients upside down (Excess oil may have
collected in the basket that could drip out ).
Place basket on a level and at heat resistant
surface, then remove the ingredients of the
basket onto plate or into a dish with a spatula
or tongs.
Tips:
To remove large individual or delicate
ingredients from the basket, don’t pour out
pick up with tongs.
8. At completion of the cooking process, the
air fryer is immediately ready for cooking the
next batch food.
9. After cooking process is completed,allow the
fan to cool down appliance and when fan
stops the appliance can be switched at wall
socket and unplugged.
Using the Cake Pan
1. Place the cake pan on a at, rm and heat
resistant surface.
2. Place the ingredients into the cake pan.
NOTE:
Do not ll uncooked ingredients beyond
2/3rd capacity of the cake pan.
Keep all ingredients within the cake pan
and do not overll to prevent any direct
contact with heating element.
Filling the cake pan with oil may cause
a re hazard.
This cake pan is only suitable for baking
Cake, Quiche, Mufns etc. Do not cook
other types of food in this cake pan.
3. Place the rack into the air fryer basket and
put it to the bottom. Place the cake pan into
the air fryer basket, then slide the basket into
the air fryer.
4. Press “Baking” Function key to select and
touch Power On/Off to start cooking process.
Default temperature and cooking time is
160°C for 30 minutes.
NOTE:
The cake pan becomes hot all over
when it is used in the air fryer. Always
remove the basket together with the
cake pan. The cake pan will be hot, so
when removing cake pan from within
the air fryer basket, always use oven
gloves/mitts.
Do not use metal spatula or sharp utensil
for the cake pan, it maybe damage the
non-stick coating.

9
Settings
To assist with selection of cooking times and
maximum basket volumes for specic
ingredients,refer to the table on page 10 of this
booklet.
The time setting range is 0-60 Minutes. in the
range,you can set any time as your desire and
ensure food is cooked.
And the temperature can be set 80°C to 200°C.
in the range,you can set any temperature as
your desire and ensure food is cooked.
NOTE: Please keep in mind that time
and temperature settings are indicative
only and that variation in ingredients
size, shapes and brands may require
minor time adjustments up or down from
your manual setting or the dedicated
preset cooking times to achieve your
desired / preferred cooking outcome.
This type of heating technology reheats the air
inside the appliance instantly, so pulling the
basket briey out of the appliance to toss
ingredients during the cooking process barely
disturbs the process.
Tips:
- Smaller ingredients usually require a slightly
shorter cooking time than larger ingredients.
- A larger amount of ingredients only requires a
slightly longer cooking time.
A smaller amount of ingredients only requires
a slightly shorter cooking time.
- Tossing smaller ingredients halfway during the
preparation time optimizes the end result and
can help prevent unevenly fried ingredients.
- Do not prepare extremely greasy ingredients
such as sausages in the fryer.
- Snacks that can be prepared in an oven can
also be prepared in the fryer.
- The optimum amount to prepare crispy fries is
500 grams.
- Place the cake pan tin or oven dish in the air
fryer basket if you want to bake a cake or
quiche or if you want to fry fragile ingredients
or lled ingredients.
- You can also use the air fryer to reheat
previously cooked dishes . To reheat dishes ,
manually set the temperature to 160 °C for up
to 10 minutes .
- For best results with home-made fries soak the
cut fries in water for 30 minutes to remove
excess starch, dry on kitchen paper and
shake in ½ tablespoon of Olive oil (or lightly
spray with Olive Oil Spray) until the fries are
coated.
- For a crispy home-made coating mix ne
breadcrumbs with a tablespoon of Olive oil.
- Pre-packaged snacks like breadcrumbed sh
or chicken drumsticks only need to be
coated lightly with Olive oil.
Memory Function
This appliance has a built-in memory function
that will remember the last set temperature and
time for a period of two hours after power was
switched Off on completion of previous cooking
process.
When appliance is turned On within in this 2
hour period , a beep will sound , the indicator
light and display will light up and start cooking
automatically.

10
Cooking Table
Min-max
Amount (g)
Time
(min)
Temperature
(ºC)
shake Extra information
Thin frozen fries 800-1200 3 0 - 4 0 200 shake
Thick frozen fries 800-1200 30-40 200 shake
Home-made fries 800-1300 30-45 200 shake Add 1/2 tbsp of oil
Home-made
potato wedges
800-1300 30-45 200 shake Add 1/2 tbsp of oil
Home-made potato
cubes
800-1200 35-45 200 shake Add 1/2 tbsp of oil
Steak 200-800 20-30 200 shake
Pork chops 500-1000 2 0 - 3 5 200 shake
Hamburger 350-750 15-25 180
Chicken breast 200-800 2 5 - 3 5 180 shake
Chicken wing 600-1200 30-40 200 Shake
Drumsticks 1000-1600 3 0 - 4 0 200 Shake
Fish 250-750 15-20 170
Onion ring 200-750 15-20 180 Use oven-ready type
Frozen sh 250-750 15-20 200 Use oven-ready type
Frozen cheese snacks 250-600 10-20 160 Use oven-ready type
Frozen vegetable 200-800 15-25 170 Shake U s e o v e n - r e a d y t y p e
Frozen chicken
nuggets
600-1100 30-40 200 Shake U s e o v e n - r e a d y t y p e
Cake 300-500 25-35 160 Using cake pan
Quiche 200-500 2 5 - 3 5 160 Using cake pan
Mufns 350-500 2 5 - 3 5 160 Using cake pan
Tarts / soufe 350-500 25-35 160 Using cake pan

11
Maintenance and
Cleaning
1. Remove the mains plug from the wall socket
and allow the appliance to cool down
completely before cleaning. Clean it after
every use.
NOTE: Remove the basket to let the air
fryer cool down faster.
CAUTION: Do not immerse the housing in
water or any liquid when you clean the unit.
Care must be taken not to touch any hot
surfaces .
Do not use harsh abrasives, caustic cleaners or
oven cleaners when cleaning this appliance.
2. Wipe the outside of the appliance with a
moist cloth.
3. Clean the basket, rack and cake pan with
hot water, washing-up liquid and a non-
abrasive sponge.
NOTE: The basket, rack and cake pan
are dishwasher-proof.
Tips:
If dirt is stuck to the basket, cake pan or the
bottom, ll the basket, cake pan with hot
water and some washing-up liquid. Place the
rack in the basket and allow all parts soak for
about 10 minutes.
4. Clean the inside of the appliance with a
slightly dampened cloth and polish it with a
soft dry cloth.
5. If required lightly brush the heating element
to remove any attached food residue.
6. Make sure all parts are clean and dry, before
storing or using it again.
7. Store the Air Fryer in a cool, dry place. Do
not place heavy objects on top of the Air
Fryer during storage as this may damage the
appliance.
Warning: Beware of escaping steam when
removing the basket. There is a danger of
scalding.
After cooking process is completed, do not turn
the basket with ingredients upside down (Excess
oil may have collected in the basket that could
drip out). Place basket on a level and at heat
resistant surface, then remove the ingredients of
the basket onto plate or into a dish with a spatula
or tongs.

12
Recipe
Making home-made fries
To make home-made fries, follow the steps
below:
1. Make the potatoes peel and slice.
2. Wash the potato sticks thoroughly and dry
them with kitchen paper.
3. Pour 1/2 tablespoon of olive oil in a bowl, put
the sticks on top and mix until the sticks are
coated with oil.
4. Remove the sticks from the bowl with your
ngers or a kitchen utensil so that excess oil
stays behind in the bowl. Put the sticks in the
basket.
Fry the potato sticks according to the instructions
in this chapter.
Italiano Cheesecake
Serves 8
450g ricotta
1 lemon
3 eggs
150g sugar
3 tablespoons corn starch
2 teaspoons vanilla essence
8” round cake pan
1. Preheat the air fryer to 160°C.
2. Zest and juice the lemon. In a bowl,
combine the ricotta, sugar, vanilla essence,
1 tablespoon lemon juice and the lemon
zest. Stir the ingredients until they are
well combined and form a homogenous
consistency.
3. Add the eggs one at a time and stir well. Add
the corn starch and mix well. Pour the mixture
into the cake pan.
4. Remove the air fryer basket from the
appliance and place the cake pan inside
the basket and slide back into appliance to
commence baking process.
5. Set the timer to 25 minutes at 160°C. The
cheesecake is ready when the center is set.
If you prefer extra browning, we recommend
you cook for an extra 5-10 minutes.
6. Place the Cheesecake on a wire rack and
leave to cool completely.
Hazelnut Brownies
Serves 9
100g white chocolate
100g dark chocolate
100g our
4 small eggs
200g butter
120g hazelnuts, chopped
200g sugar
2 tablespoons of vanilla extract
8” round cake pan
1. Preheat the air fryer to 160°C.
2. Melt half of the butter with the dark
chocolate in a thick-bottomed pan, and melt
the white chocolate in another pan with the
rest of the butter. Leave to cool.
3. Using your mixer, beat the eggs briey with
the sugar and vanilla. Divide the our into 2
portions and add a pinch of salt to each.
4. Beat half of the egg-sugar mixture through
the dark chocolate. Then add in half of the
our and half of the nuts and mix. Do the
same with the white chocolate mixture.
5. Pour the white and brown brownie mixture
into two different sides of the cake pan. Use
a spatula to partially mix the two colours,
creating a swirl.
6. Remove the air fryer basket from the
appliance and place the cake pan inside
the basket and slide back into appliance to
commence baking process.
7. Bake the brownies for about 30-35 minutes at
160°C. When ready, the surface should be dry
to touch.

13
Troubleshooting
Problem Possible cause Solution
The fryer does
not work
The appliance is not
plugged in.
Put the mains plug in an earthed wall socket.
Have not set the timer Turn the timer knob to the required preparation
time to switch on the appliance.
The ingredients
fried within fryer
are not done
The amount of ingredient Place smaller batches of ingredients in the basket.
Smaller batches are fried more evenly.
The set temperature is too
low.
The preparation time is
too short.
Set the temperature control to the required,
temperature setting (refer to page 10 of this
booklet).
Set the timer to the required preparation time.
The ingredients
are fried
unevenly in the
fryer
Certain types of
ingredients need to be
tossed halfway through
the preparation time.
Ingredients that lie on top of or across each other
(e.g. fries) need to be tossed halfway through the
preparation time. (refer to page 10 of this booklet).
Fried snacks
are not crispy
when they
come out of
the fryer
You used a type of snacks
meant to be prepared
in a
traditional deep fryer.
Use oven snacks or lightly brush some oil onto the
snacks for a crisper result.
I can not slide
the basket into
the appliance
properly
There are too much
ingredients in the basket.
Do not ll beyond the basket.
White smoke
comes out from
the Appliance.
You are preparing greasy
ingredients.
The basket still contains
grease residues from
previous use.
When you fry greasy ingredients in the fryer, a
large amount of oil will leak into the basket. The
oil produces while smoke and the basket may
heat up more than usual. This does not affect the
appliance or the end result.
White smoke is caused by grease heating up in the
basket. Make sure you clean the basket properly
after each use.

14
Troubleshooting
Specications
Power Supply 220-240V ~ 50Hz
Power Consumption 1800W
NOTE: As a result of continual improvements,the design and specications of the product
within may differ slightly from the unit illustrated on the packaging.
Problem Possible cause Solution
Fresh fries are
fried unevenly
in the fryer
You did not use the right
potato type.
You did not rinse the
potato fries properly
before you fried them.
Use fresh potatoes and make sure that they stay
rm during frying.
Rinse the potato fries properly to remove starch
from the outside of the fries.
Fresh fries are
not crispy when
they come out
of the fryer
The crispiness of the fries
depends on the amount
of oil and water in the
fries.
Make sure you dry the potato fries properly before
you add the oil.
Cut the potato fries smaller for a crispier result.
Add slightly more oil for a crisper result.
E1 appears on
LED display
The sensor open circuit. Repair and don not use.
Repairs should only be performed by qualied
personnel in order to avoid a hazard.
E2 appears on
LED display
The sensor short circuit. Do not use and repair
Repairs should only be performed by qualied
personnel in order to avoid a hazard.

15
Notes

16
Cat. No. SNDF275R
July 2020
Consumer Service Centre : 1300 373 199
One Year Warranty Statement
smith + nobel appliances are guaranteed from the date of purchase for 1 year against manufacturing
defects and abnormal deterioration when used in accordance with the care and use instructions
for normal domestic use. The warranty excludes damage resulting from product misuse or product
neglect. Please return at your expense, to a Harris Scarfe store for assessment by a team member.
Once approved, a like replacement or refund, may be offered. Please keep your receipt as proof of
purchase for this product warranty. The benets given by this warranty are in addition to other rights
and remedies you may have under Australian Consumer law.
This warranty is provided in addition to other rights and remedies you may have under law. Our
goods come with guarantees that cannot be excluded under the Australian Consumer Law. You are
entitled to a replacement or refund for a major failure and for compensation for any other reasonably
foreseeable loss or damage. You are also entitled to have the goods repaired or replaced if the goods
fail to be of acceptable quality and the failure does not amount to a major failure.
Harris Scarfe Australia Pty Ltd, ABN 83 095 018 803
Level 4, 111 Cecil Street, South Melbourne VIC, Australia 3205
Ph:03 9863 2200
Table of contents
Other smith+nobel Fryer manuals
smith+nobel
smith+nobel IA4126 User manual

smith+nobel
smith+nobel TH-AF05BL User manual
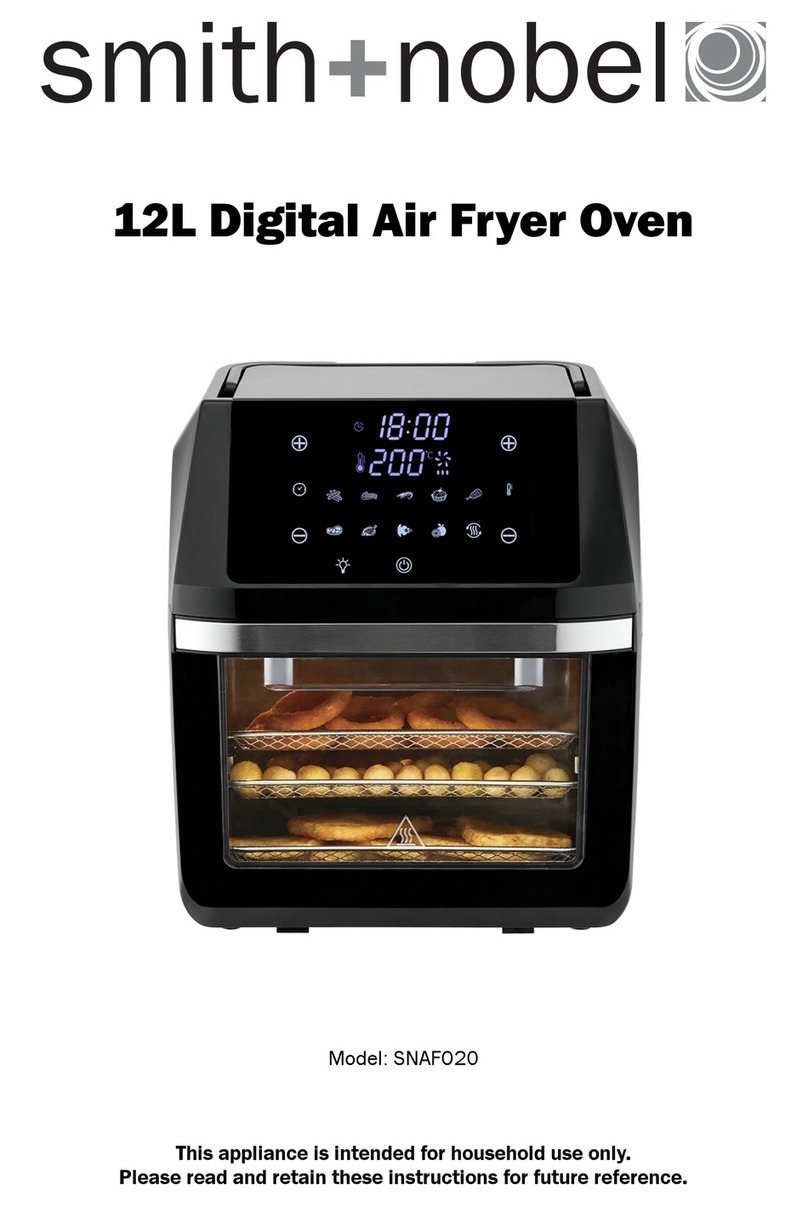
smith+nobel
smith+nobel SNAFO20 User manual

smith+nobel
smith+nobel IA4125 User manual
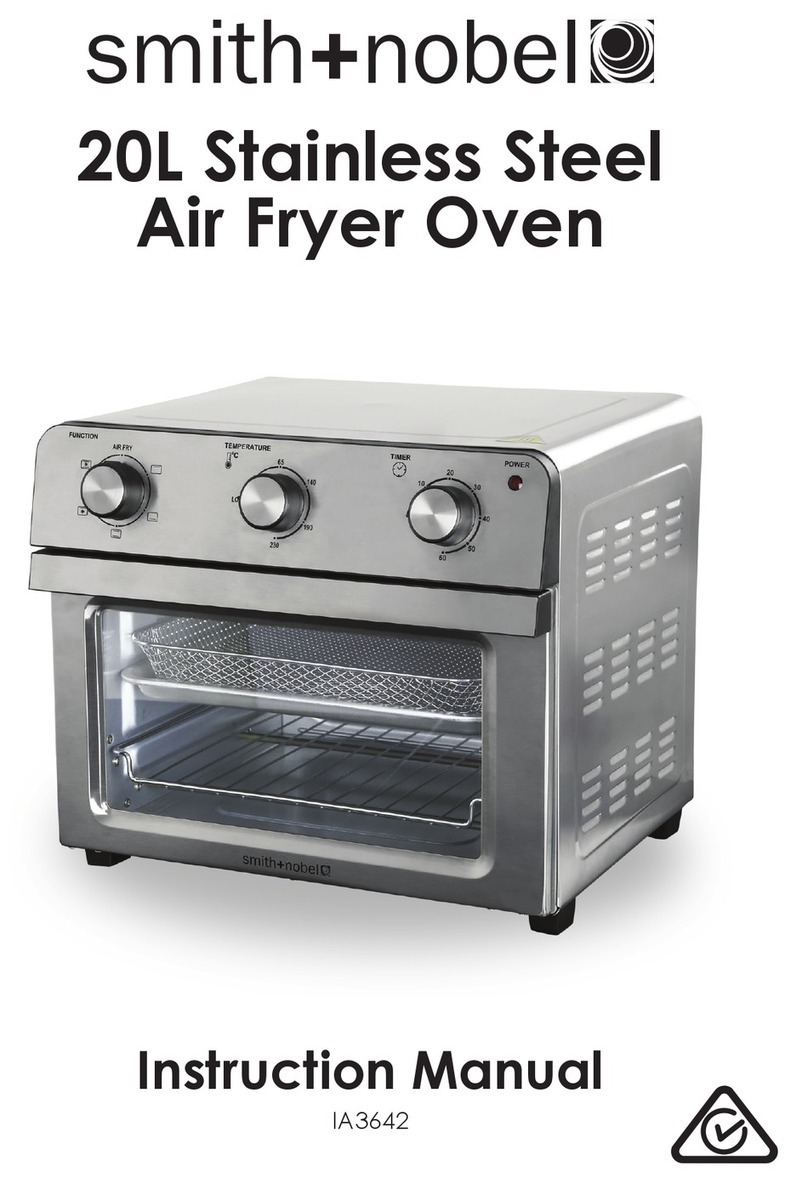
smith+nobel
smith+nobel IA3642 User manual

smith+nobel
smith+nobel TH-AFO30BL User manual

smith+nobel
smith+nobel SN-KAF-8441 User manual
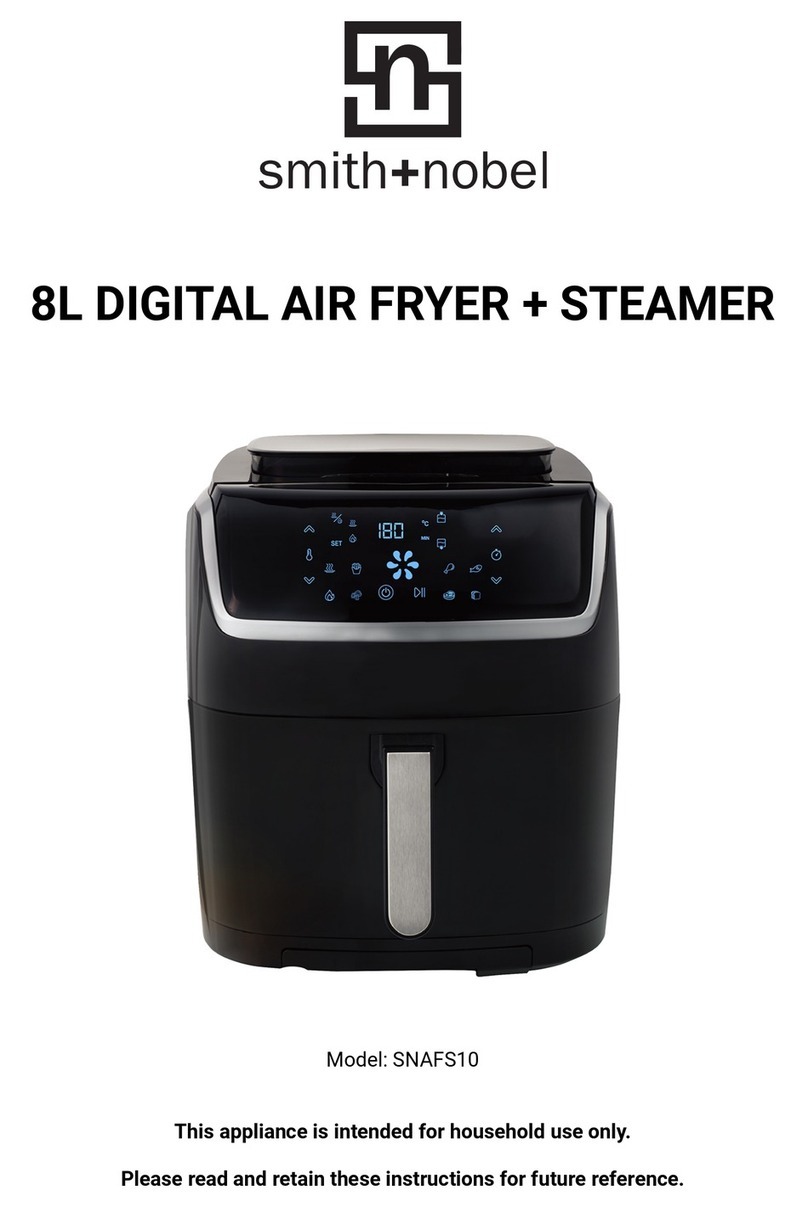
smith+nobel
smith+nobel SNAFS10 User manual
smith+nobel
smith+nobel SNAF999B User manual

smith+nobel
smith+nobel TM-AF1056B User manual
