SMK-Link Versapoint VP6610 User manual

Page 14 Page 1
Versapoint
Wireless Slim Desktop Suite
VP6610

Page 2

Page 12
ank You
Congratulations on your purchase of the VP6610 Versapoint wireless slim keyboard
suite. We thank you for choosing SMK-Link Electronics to meet your wireless
needs and look forward to serving you in the future. To learn about new SMK-Link
products as they become available, and to ensure the best possible customer support,
please register your product online at www.smklink.com/register.
Support
SMK-Link Electronics Corporation
3601-B Calle Tecate
Camarillo, CA 93012
TEL: (888) 696-3500
FAX: (805) 987-6665
Email: [email protected]
www.smklink.com
©2014 SMK-Link Electronics Inc. SMK-Link, the SMK-Link logo and Versapoint
are trademarks or registered trademarks of SMK-Link Electronics, Inc. All other
trademarks are properties of their respective owners. Made in China.
Page 1
Introduction
Congratulations on your purchase of the VP6610 VersaPoint
Wireless Slim Keyboard Suite. We thank you for choosing
SMK-Link Electronics to meet your wireless needs and look
forward to serving you again in the future.
System Requirements
• Hardware: Notebook or Desktop computer system with 1
available USB port
• Operating System: Windows XP, Vista or Windows 7 & 8
and Macintosh OS X®
Package Contents
• VP6610 Wireless Keyboard
• VP6610 Wireless Mouse
• USB receiver dongle (docked at the bottom of mouse)
• 4 AAA Alkaline batteries (2 for the keyboard, 2 for the
mouse)
• User’s manual

Page 2
Installing Your VP6610 Keyboard
To install your new VP6610 Wireless Keyboard, follow the
three simple steps below:
1. Remove the battery cover located at the bottom of the
keyboard and insert the 2 supplied AAA batteries into
the battery compartment.
2. Make sure the positive (+) and negative (-) ends of the
batteries match the polarity markings inside the battery
compartment (as shown below).
3. Snap the battery cover back into position.
4. Turn on the power switch which is located at the bottom
of the keyboard, next to the battery cover.
Insert Batteries
Page 11
CE Declaration of Conformity
Manufacturer:
SMK-Link Electronics Corporation
3601-B Calle Tecate
Camarillo, CA 93012
is equipment has been tested and found to comply with the limits of the European
Council Directive 1999/5/EC.
A complete Declaration of Conformity can be found at www.smklink.com

Page 10
relating to the matter of this warranty.
e above warranty does not apply to products sold in Australia. Products sold
in Australia by an authorized reseller will contain an Australia specic warranty
statement.
FCC Certiciation
is equipment has been tested and found to comply with the limits for a class
B digital device, pursuant to part 15 of the FCC Rules. ese limits are designed
to provide reasonable protection against harmful interference in a residential
installation. is equipment generates, uses and can radiate radio frequency
energy and if not installed and used in accordance with the instructions, may cause
harmful interference to radio communications. However, there is no guarantee that
interference will not occur in a particular installation. If this equipment does cause
harmful interference to radio or television reception, which can be determined
by turning the equipment o and on, the user is encouraged to try to correct the
interference by one or more of the following measures:
• Reorient or relocate the receiving antenna.
• Increase the separation between the equipment and receiver.
• Connect the equipment into an outlet on a circuit dierent from that to which
the receiver is connected.
• Consult the dealer or an experienced radio/TV technician for help.
In order to maintain compliance with FCC regulations, shielded cables must be used
with this equipment. Operation with non-approved equipment or unshielded cables
is likely to result in interference to radio and TV reception. e user is cautioned
that changes and modications made to the equipment without the approval of
manufacturer could void the user’s authority to operate this equipment.
Page 3
Installing the VP6610 Wireless Mouse
To install your VP6610 Wireless Mouse, follow the three
simple steps below:
1. Remove the battery cover located at the bottom of the
mouse and insert two AAA batteries into the battery
compartment.
2. Make sure the positive (+) and negative (-) ends of the
batteries match the polarity markings inside the battery
compartment (as shown below) and replace cover.
3. Turn on the power switch, located at the bottom of
the mouse. e optical sensor emits a red light and the
mouse is ready to work. (Caution: do not stare directly at
the optical light as the light may be harmful to the eye).

Page 4
Connecting the VP6610 Keyboard &
Mouse to your Computer
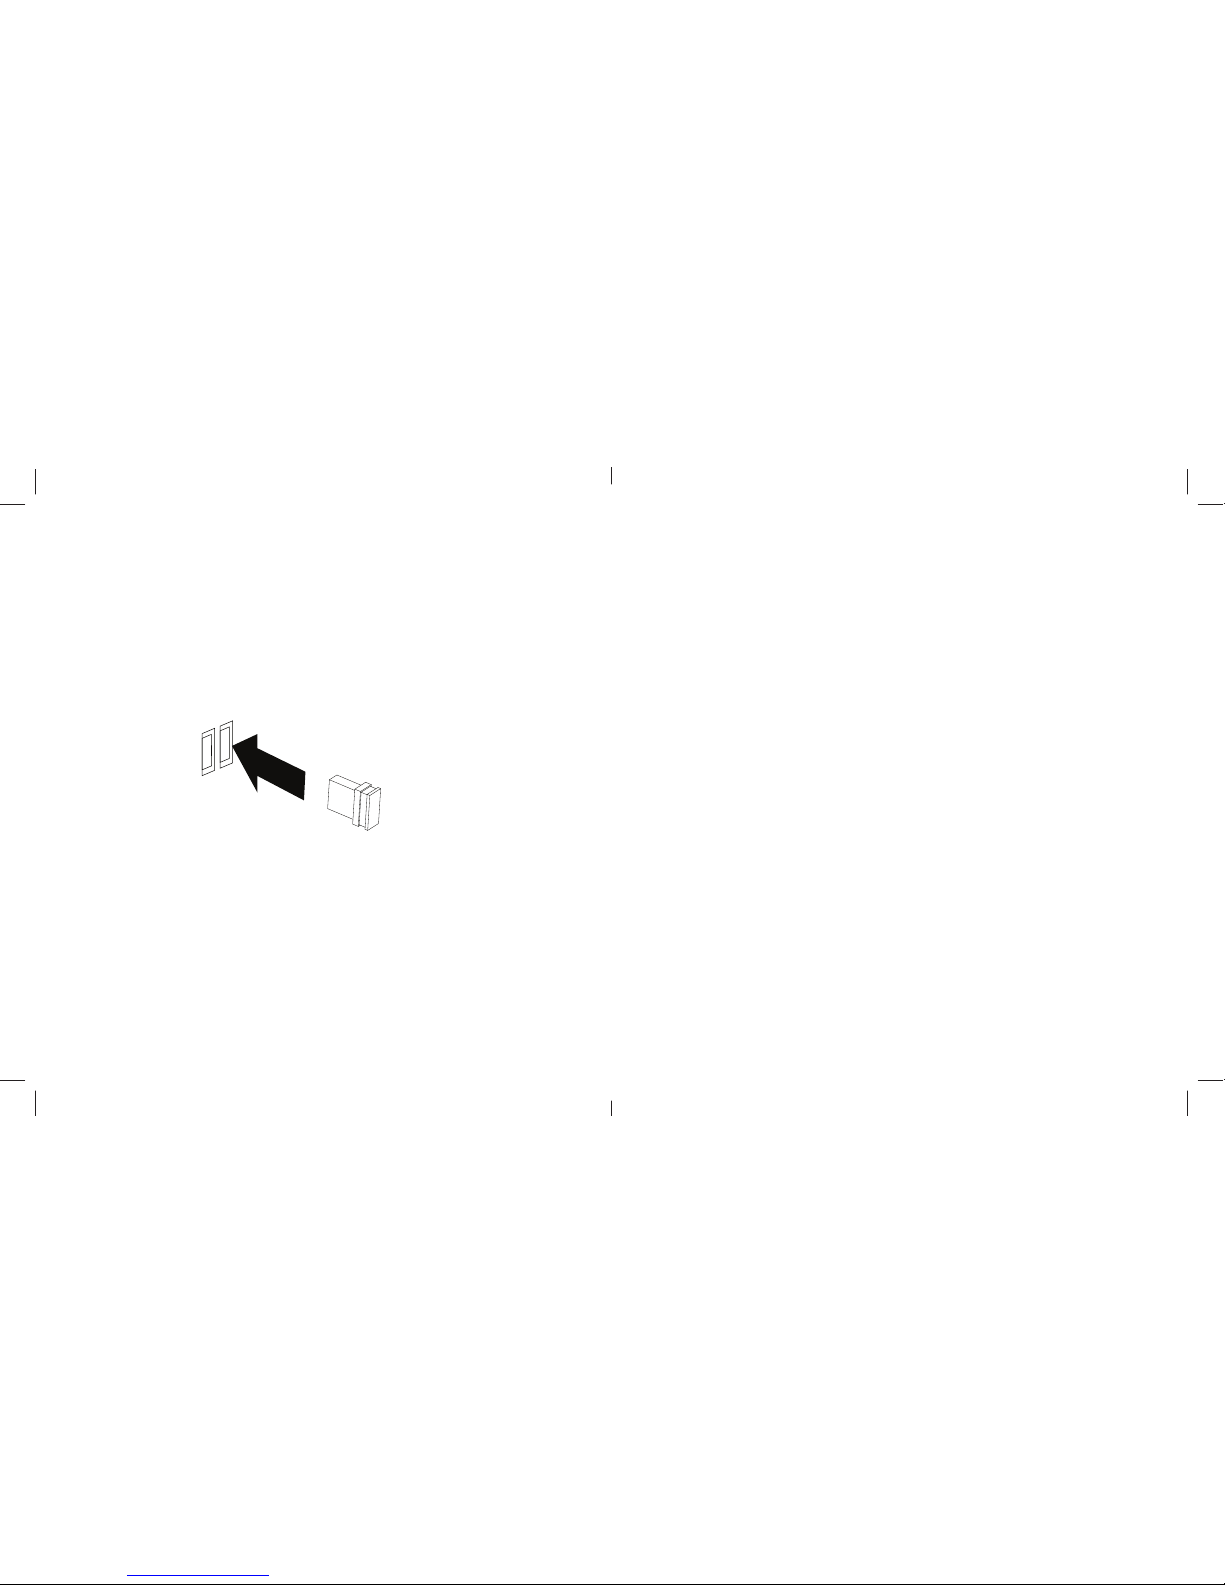
Remove the USB receiver dongle from the bottom of
the mouse and plug it into an available USB port on the
notebook or desktop computer. Wait for the system to detect
new hardware and run through auto-install process in the
OS.
e USB receiver is pre-synchronized to the keyboard and
mouse at the factory for your convenience. e keyboard
and mouse should be functioning now. (Hint: remember to
turn on the mouse by placing the power switch located at the
bottom of the mouse to “On” position).
If, for any reason, the keyboard and mouse are not connected
to the system, or there’s interference in the vicinity, you may
reset the connection by taking the following two steps:
Page 9
Warranty
SMK-Link Electronics Corporation (SMK-Link) warrants to the original end-user
purchaser of the Product (“you”) that the Product, excluding batteries, will be
free from defects in materials and workmanship under normal use and service for
one-year from date of purchase. If the product becomes defective in materials or
workmanship during the warranty period, SMK-Link will, at its option, either repair
or replace it. e replacement unit may be a more current or upgraded model if the
originally purchased model is not available.
Any Product repaired or replaced under the terms of the warranty is covered for
the remainder of the original warranty period or ninety (90) days from the date of
return shipment, whichever is longer. is warranty does not cover products which
have been subjected to misuse, accident, physical damage, improper installation,
abnormal operation or handling, neglect, inundation or re or when product
regulator label has been removed, altered or rendered illegible; nor does it cover
accessory or consumable items.
SMK-Link shall not be liable for any indirect special, incidental, or consequential
damages. SMK-Link’s total liability for damages for any cause related to, or arising
out of, the use or inability to use the product shall not exceed the original price paid
for the product even if SMK-Link has been informed of such possibility.
If your product requires service under warranty, you must rst contact SMK-Link
product support to receive an RMA number. Shipping of defective units back to
SMK-Link is at your expense. e contact information can be found on the SMK-
Link website: www.smklink.com.
is warranty does not aect your statutory rights and you may have other rights
which vary from state to state and country to country. is warranty is understood
to be the complete and exclusive agreement between the parties, superseding all
prior agreements, oral or written, and all other communications between the parties

Page 8
Trouble Shooting
Should the VP6610 keyboard or mouse begin behaving
erratically, it may be an indication that the battery power is
low. Replace with 2 fresh AAA Alkaline batteries immediately
to avoid loss of productivity.
Once the keyboard and mouse are connected to the RF
receiver, they stay connected even when the device is turned
o or is out of range. If for any reason the connection to the
system is lost, rst check if the RF receiver is still plugged in
to your computer and verify that your keyboard and mouse
are within 33-foot/10-meter from your computer. If the
connection is lost it can be xed by following the instructions
in the Connecting the VP6610 Keyboard and Mouse to the
Computer section of this guide to re-pair the devices.
Page 5
1. Pairing the Keyboard
Plug in the USB dongle/receiver rst and, making sure that
the distance between dongle/receiver and keyboard is within
20cm, turn on the keyboard power while holding “ESC”
and “Q” keys at the same time. e keyboard Scroll Lock
LED will ash rapidly. Once it stops then keyboard pairing is
complete. If the LED ashes 10 times then stops, pairing has
failed. Please try again.
2. Pairing the Mouse
Plug in the USB dongle/receiver rst and make sure the distance
between the mouse and dongle/receiver within are 30cm. Hold the
scroll button and le mouse buttons, while turning on the mouse
power. If pairing fails, please try again.

Page 6
VP6610 Wireless Mouse Controls
e VP6610 wireless mouse features 5 buttons. In addition
to the standard le button, right button, a built-in “Back”
button, “Forward” button and sensititvity button are available
to enhance productivity.
1. Le click
2. Right click
3. Forward
4. Backward
5. Sensitivity button
e sensitivity button will
change the speed of your cursor.
e cursor speed can also be changed in your Windows or
OS X settings.
tt
on, r
ight
b
u
tt
on, a
b
u
ilt
-
i
n
B
ac
k
ton and sensititvit
y
button are available
ty.
wil
l
o
ur cursor.
a
lso be chan
g
ed in
y
our Windows or
12
3
4
5
Page 7
VP6610 Wireless Keyboard
Multimedia Controls
is keyboard comes with the standard 104-key QWERTY
layout in US English. It also features 4 media hot keys to
enhance productivity.
• To use the 4 media hot keys:
* Mute: Toggle key to mute and un-mute audio
* Volume Up: Press to increase audio volume
* Volume Down: Press to decrease audio volume
* “My Computer” hot key will bring up the My
Computer window (PC only).
Table of contents
Other SMK-Link Keyboard manuals

SMK-Link
SMK-Link VP6230 User manual

SMK-Link
SMK-Link VERSAPOINT VP6220 User manual

SMK-Link
SMK-Link VP6364 User manual

SMK-Link
SMK-Link VP6630 User manual

SMK-Link
SMK-Link VersaPoint DuraKey VP6340 User manual

SMK-Link
SMK-Link VersaPoint VP6310 User manual

SMK-Link
SMK-Link VP6320 User manual

SMK-Link
SMK-Link VP3800-TAA User manual

SMK-Link
SMK-Link VP3810-TAA User manual

SMK-Link
SMK-Link VERSAPOINT VP6220 User manual