SMK Sprayers C100WOLXB User manual

INTRODUCTION
You have purchased a quality SMK product, proudly made
in the USA. If you use and maintain your SMK product for
what it is intended, you will enjoy many years of safe,
reliable service.
The SMK Bleach C100WOLXB Portable Sprayer utilizes a
diaphragm pump with Santoprene Diaphragm and POM
Valves. Intended primarily for Bleach and Peroxide
applications. Works with DeWalt, Milwaukee or Makita
Lithium Ion Batteries depending on which one you selected
when ordering. Does not include a Battery.
SMK reserves the right to make changes to this manual without notice
Table of Contents
Safety Information 2
Introduction 2
Safety Precautions 3-4
Warranty 5
Proof of purchase 6
Specifications 6
Operation 7
Introduction 7
Before operating the sprayer 7
Contents of carton 7
Assembly 8
Operating the sprayer 9
Cleanup 10
Chemical compatibility 11
Troubleshooting 12
Maintenance 13
Service 13
Replacement parts 13
Page 1 Page 14
Maintenance

Maintenance of the unit is normally not required with the
exception of thoroughly cleaning the entire unit, by flushing
the internal components (see clean up on page 11) and
cleaning the exterior of the case, after each use.
Service
C A U T I O N
Service on this unit both within and after the warranty
period should be performed only by an authorized service
center. To find the service center nearest you Call
515-202-0052
Replacement Parts
For a list of replaceable parts, please call 515-202-0052 for
assistance.
Page 13
Safety Information
Introduction
This Safety Alert Symbol is used to call attention to
items or operations which may be dangerous to those
operating or working with this equipment. The symbol can
be found throughout this manual and on the unit. Please
read these warning and cautions carefully before
attempting to operate the unit. Make sure every individual
who operates or works with this equipment is familiar with
all safety precautions.
W A R N I N G
GENERAL WARNING: Indicates information important to
the proper operation of the equipment. Failure to observe
may result in damage to the equipment and/ or severe
bodily injury or death.
C A U T I O N
GENERAL CAUTION: Indicates information important to
the proper operation of the equipment. Failure to observe
may result in damage to the equipment.
REFERENCES: For details on safety rules and regulations in the United States, contact
your local Occupational Safety and Health Administration (OSHA) office. Equipment
operated in other countries must be operated and serviced in accordance and
compliance with any an all safety requirements of that country. The publication of these
safety precautions is done for your information. SMK does not by the publication of these
precautions, imply or in any way represent that these are the sum of all dangers present
near SMK equipment. If you are operating SMK equipment, it is your responsibility to
insure that such operation is in full accordance with all applicable safety requirements
and codes. All requirements of the United States Federal Occupational Safety and
Health Administration Act must be me when operated in areas that are under the
jurisdiction of that United States Department.
Safety Decals
Carefully read and follow all safety decals. Keep them in good condition. If decals
become damaged, replace as required. Decals are available from authorized distributors.
Page 2
Safety Precautions

W A R N I N G
Before attempting to operate the unit, read and
understand all safety precautions and warnings.
Do Not use this unit in a combustive environment.
Do not use the unit when tired, ill, or under the
influence of alcohol, drugs or medication.
Inspect unit before each use for loose, broken,
cracked, split, or damaged parts. Do Not operate the
unit with loose or damaged component parts.
Always wear safety glasses or goggles that are
marked with ANSI Z87
Use only in daylight or good artificial light.
Never use unit without the proper factory authorized
accessories attached. When using the unit, ensure
that the sprayer discharge hose is securely
attached.
Do not use Acetone, Laquers, Laquer Thinners, or
Acetate in this unit. These are flammable liquids and
will also permanently damage the internal
components of the sprayers pump.
Do not modify the unit
Page 3
Trouble shooting
SPRAYER WILL NOT START
✓If battery is properly seated and fully charged
✓If On/Off switch is in the off (counterclockwise) position
SPRAYER WILL NOT PRIME
✓If pickup tube Screen or discharge hose is restricted
✓If Spray tip on end of Wand is plugged
✓If you are out of product
✓For vacuum leak in pickup tube Gasket
SPRAYER OUTPUT VOLUME REDUCED
✓If pickup tube Screen or discharge hose is restricted
✓Sprayer wand and wand tip for restrictions
✓Material is too high in viscosity
✓Material is too cold
Page 12
Chemical Compatibility

Refer to the following website for a chemical compatibility
chart to ensure that the material you wish to spray is
compatible with the pump components (Santoprene, and
Polypropylene).
www.shurflo.com/pdf/industry/CCChart.pdf
C A U T I O N
IT IS YOUR RESPONSIBILITY TO ENSURE THAT THE
MATERIAL YOU ARE SPRAYING IS COMPATIBLE WITH
THE PUMPS COMPONENTS.
Page 11
C A U T I O N
Due to the nature of this unit, it is imperative the unit
is properly cleaned and flushed using the
appropriate fluids as recommended by the chemical/
compound manufacturer. Failure to clean the unit
after each use will result in the failure of the unit and
will result in loss of warranty coverage.
Do not assume fluid compatibility. If the fluid is
improperly matched to the pumps elastomers, a leak
or damage to the pump may occur. Be certain that
the material being sprayed is compatible with Viton®
Santoprene®, and Polypropylene.
Attempting to spray liquids below the manufactures
recommended temperatures may affect the sprayers
ability to adequately perform. Low temperatures
may affect your materials viscosity.
Do not leave material in unit in between uses
Do not submerge or expose to excessive moisture
Page 4
Warranty

C A U T I O N
DO NOT ATTEMPT TO SERVICE THE UNIT BY REMOVING
THE COVER. REMOVAL OF THE UNIT COVER WILL VOID
THE WARRANTY. CALL THE SERVICE CENTER.
SMK Industries warrants this product to be free from
material or workmanship defects for a period of 60 days
from the date of manufacture. Alternatively, 60 days from
purchase, not to exceed two years from date of
manufacture.
Warranty does not apply when:
•Unit is not used within the guidelines of this
manual.
•Product or Parts are used or installed outside
the SMK authorized service center.
•Incompatible fluids are used.
•Misuse or Abuse.
•Improper or inadequate cleaning of unit after
use.
In the event you need to utilize this warranty, the product or
part must be returned for examination, postage prepaid,
direct to the SMK Industries service center as instructed by
calling 515-202-0052. Proof of purchase date and an
explanation of the claim must accompany the
merchandise. If inspection discloses a defect, SMK will
either repair or replace the product with like equipment at
SMK’s expense. If no defect is found during the inspection,
or if the defect resulted from causes not within the scope of
SMK’s limited warranty, then the user must assume all
costs incurred returning and/or storing the product.
All products and parts will be tested using SMK testing
criteria. Units found to be damaged, altered or otherwise
mistreated will not be covered under this warranty. Units
found not to be defective are subject to charges to be paid
by the returnee.
Page 5
Clean up
C A U T I O N
As with any type of sprayer, this unit will not function
satisfactorily if the unit is not clean. Thoroughly clean the
sprayer after EACH use by completely flushing the unit,
including all hoses and wand. The cleaning agent should be
whatever is recommended by the manufacturer of the material
that you are spraying. Pump the cleaning agent through the
sprayer until all traces of the previously sprayed material has
been removed from the unit.
Page 10
Operating the Sprayer

1. Unlatch the Sprayer from the Bucket by rotating
Locking Handle towards the outside of the Bucket.
2. Remove the Sprayer. Fill the Bucket with material to be
Sprayed then reinstall & latch the Sprayer.
3. Make sure the power switch is in the off
(counterclockwise) position.
4. Insert the battery into the receptacle.
5. Check the sprayer trigger handle to make sure the lever
is not locked in the open/on position.
6. Turn the power switch to the On position (Clockwise)
and squeeze the trigger handle to begin “priming” the
pump. The Pump is self priming and should begin
spraying in a few seconds. Priming time will vary
depending on the fluid viscosity and temperature. If the
pump does not prime within 20 seconds, turn off the
power and check to see that all fittings are tight and the
Intake Filter is not clogged.
7. After liquid is flowing and all air is purged from the lines,
release the Handle and the Sprayer will turn off.
8. You are now ready to begin spraying your material.
9. If the Pump sounds or runs erratic, reduce pump speed
until it runs smooth or lower to achieve desired spray
pattern.
Be certain the fluid being pumped is compatible with the
pump and Sprayer materials EVA, POM, Santoprene and
Polypropylene. For a partial list of compatible fluids see
appendix A. If it is not listed or you are unsure, contact your
chemical supplier.
The pump is intended for continuous or intermittent duty
when the proper operating criteria are met.
Page 9
SMK shall in no event be liable for death, injuries to
persons or property or for incidental, contingent, special or
consequential damages of any kind by the reason of use or
sale of any defective product or part. This limited warranty
covers units distributed in the United States of America
only.
This limited warranty is in lieu of all other warranties,
expressed or implied, and no other person is authorized to
give any other warranty or assume obligation or liability on
behalf of SMK Industries, Inc.
Products and parts must be flushed free of all fluids prior to
returning to SMK for warranty inspection.
PROOF OF PURCHASE
Please retain your dated sales receipt as proof of purchase
to validate the warranty period.
SPECIFICATIONS
Integral pump LEITE Model: GB-2438ZY
Pump motor voltage 12 Volt
Chassis Powder coated steel
Trigger Chapin
Wand Chapin
Wand tips Chapin
Batteries to use Lithium Ion 18V or 20V
Page 6
Operation
ratio

Before Operating your Sprayer
W A R N I N G
Carefully read through this entire manual before attempting
to use your new product. Pay close attention to the safety
alerts symbols, warnings and cautions.
Contents of Carton
Contents of C100WOLXB Carton includes:
1. Cordless Sprayer and 5 Gallon Bucket
2. 25 FT EVA Hose with SST QD Fittings
3. Spray Handle w/15 inch Wand & 0.3 GPM Blue Tip
4. 24 Inch Wand
5. Manual & Instructions
(Battery not included)
Examine all parts to ensure that everything is accounted
for and no damage has occurred during shipment. Any
damaged or missing part must be replaced before
attempting to use this product.
Page 7
Assembly
To prepare the unit for operation, assemble the sprayer as
follows:
1. Attach the sprayer hose assembly to the Quick
Disconnect fittings on the Sprayer and Spray Handle
Assembly. Change to longer Wand if preferred.
Page 8
Table of contents
Other SMK Sprayers Paint Sprayer manuals
Popular Paint Sprayer manuals by other brands

Central Pneumatic
Central Pneumatic 2471 Assembly and operating instructions
Bluebird
Bluebird SG 22-10 product manual
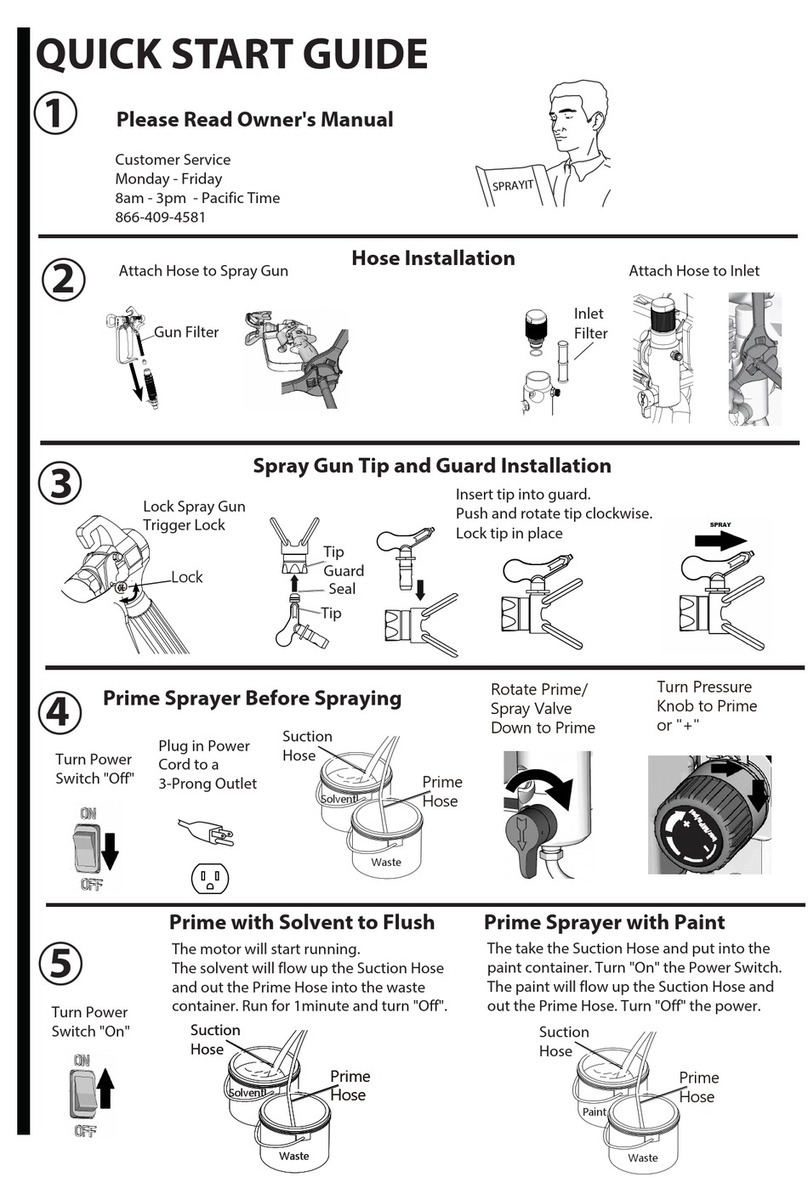
Sprayit
Sprayit PRO 21 quick start guide
Foamit
Foamit TU-20N Operation manual

Central Pneumatic
Central Pneumatic 91011 Assembly and operating instructions

EUROPRO
EUROPRO JETPRO 100-7 user manual

Central Pneumatic
Central Pneumatic CENTRAL PNEUMATIC 93305 Assembly and operating instructions

q-Tech
q-Tech Q-T3 instruction manual
Krautzberger
Krautzberger KS 5D operating instructions

Birchmeier
Birchmeier REC 15 operating manual
Hudson
Hudson 60182P instructions
Husqvarna
Husqvarna HDE4E Owner's/operator's manual

