Snoppa M1 User manual

SNOPPA M1
User Manual
V1.0 2017.03

Tips
Important
Install the Snoppa App
Scan the barcode below to download the Snoppa App,
or search for “Snoppa App” on the App Store or Google
play, and install the app on your mobile phone.
Snoppa App only support iOS 8.0 or later, and Android 5.0 or later.
legend
USING THIS MANUAL
ACKNOWLEDGEMENT
Thanks for choosing Snoppa M1 handheld 3-axis
motorized stabilizer, which is mainly designed for
smartphones.
With the Snoppa’s advanced 3-axis stabilizing algorithm
and hardware, it can precisely detect the smartphone’s
position and control the built-in motors to compensate
for natural arm movements, Balancing the smartphone
and eliminate video shake.
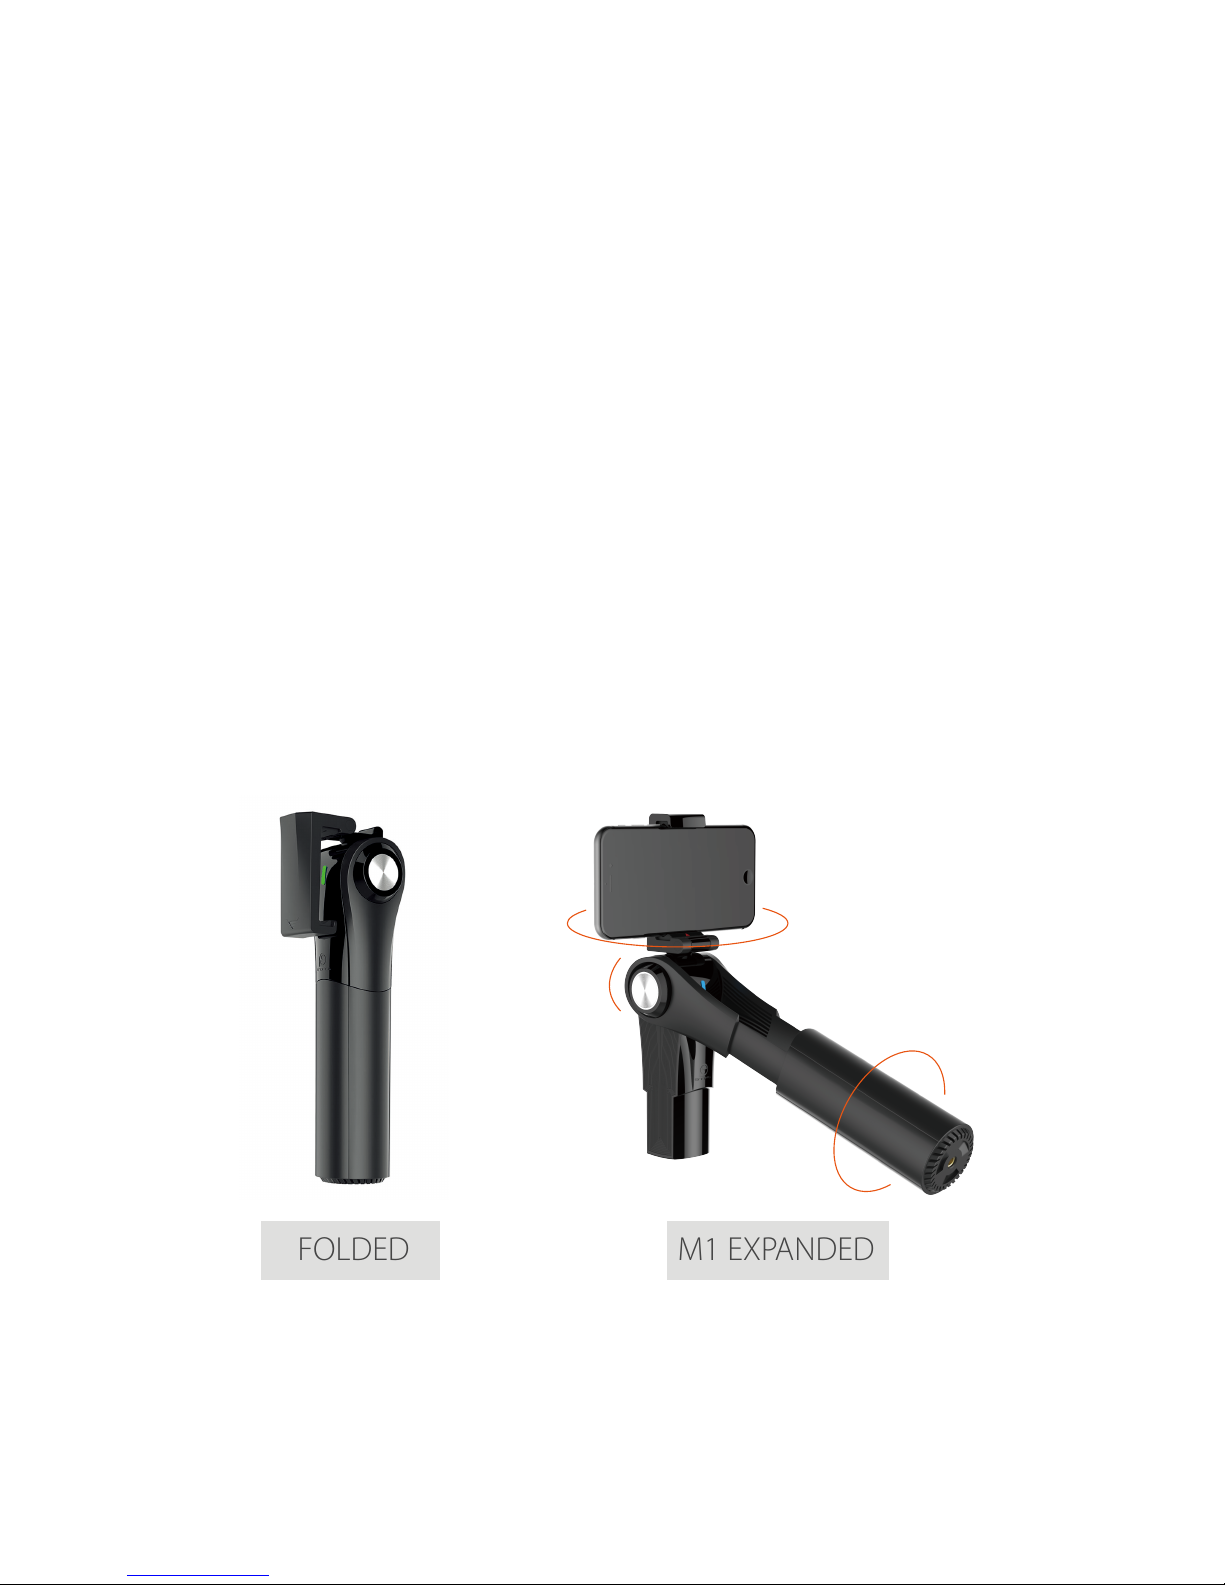
FOLDED M1 EXPANDED
TILT
PAN
ROLL
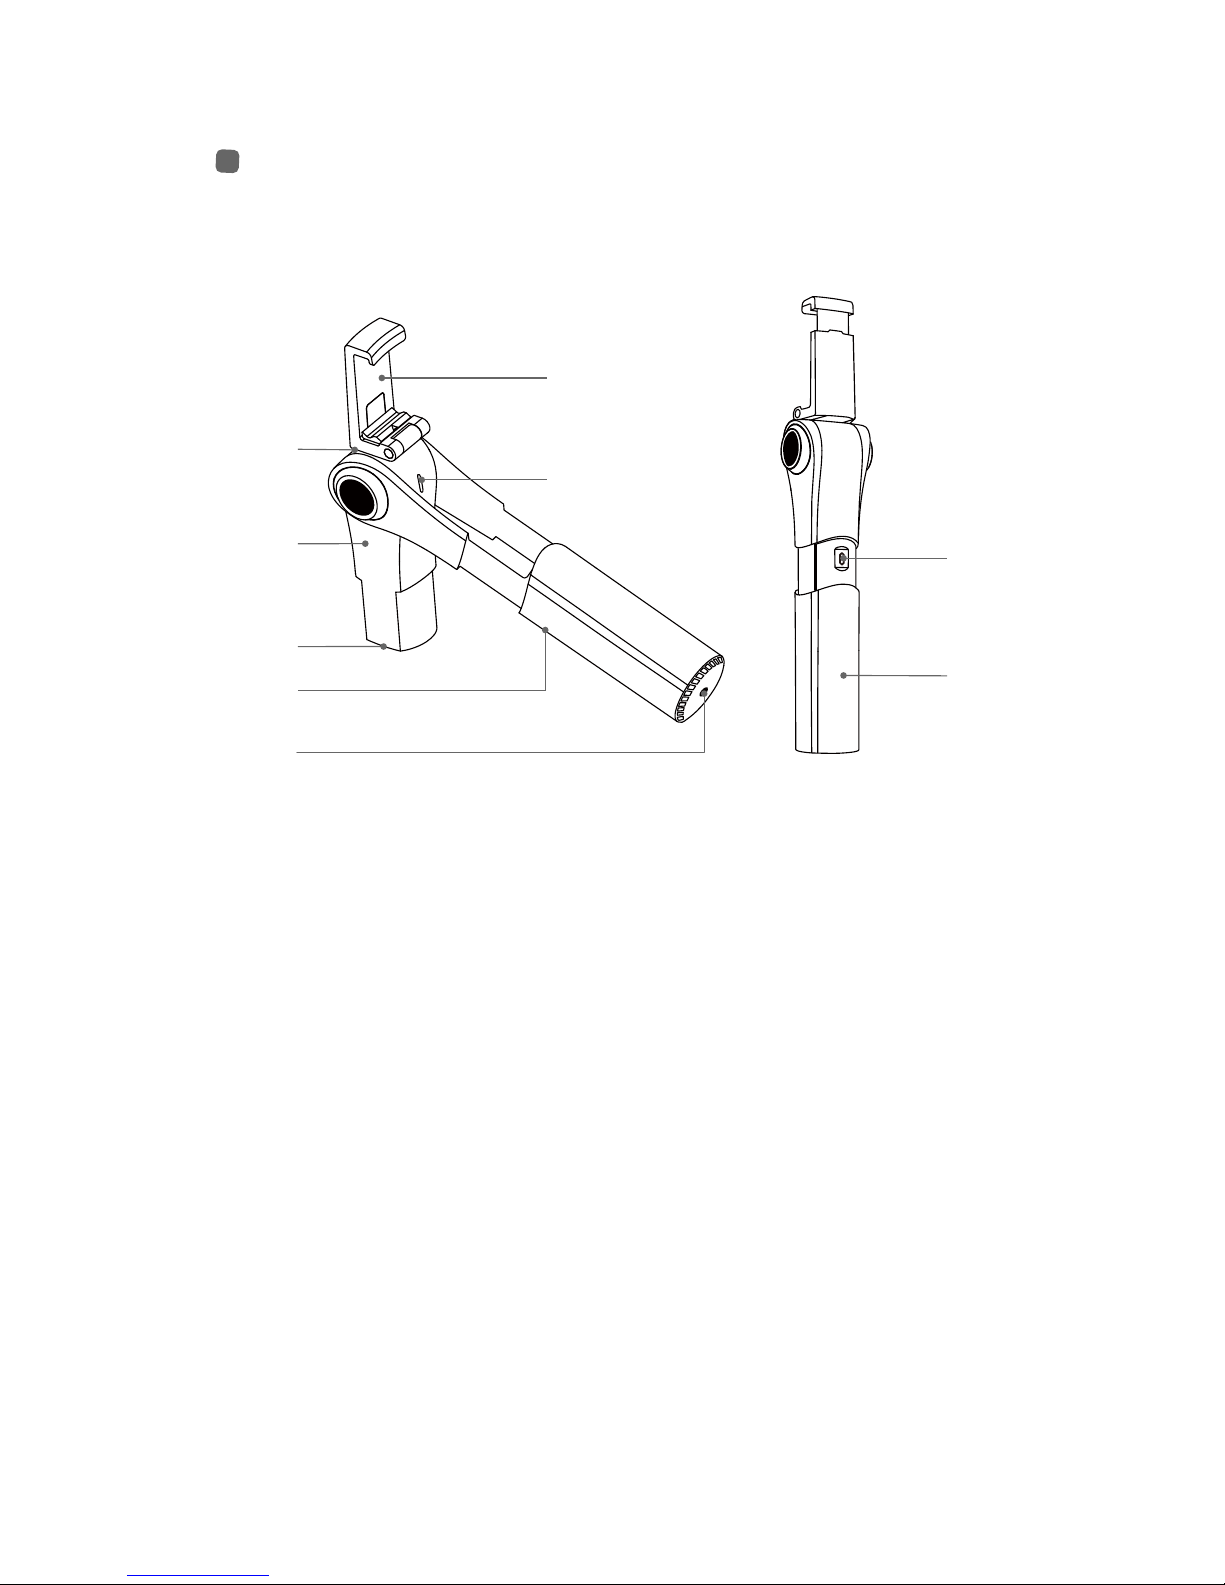
Product Diagram
[2]
[7]
[8]
[9]
[6]
[3]
[4]
[5]
[1]
[1] PAN Motor
[2] TILT Motor
[3] Counterweight
[4] ROLL Motor
[5] 1/4 screw mount
[6] Foldable mobile phone holder
[7] Indicator light & Function Button
[8] micro USB charging port
[9] Grip

MOBILE PHONE SET UP
Unfold mobile phone holder
Mount the phone into the holder
Make sure the phone is clamped in the middle
(Align to the center of gravity)
X
range:
58-85mm
Notice: complicated phone cases
are not supported. They may
hinder the gimbal’s ability to
stabilize.
1
2
3
Other manuals for M1
2
Table of contents


