SAFETY INSTRUCTIONS
1. Use of an attachment not recommended or sold by manufacturer may result in a risk of fire, electric shock,
or injury to persons.
2. To reduce risk of damage to electric plug and cord, pull by plug rather than cord when disconnecting unit.
3. Make sure cord is located so that it will not be stepped on, tripped over or otherwise subjected to damage
or stress.
4. An extension cord should not be used unless absolutely necessary. Use of an improper extension cord could
result in a risk of fire and electric shock. If an extension cord must be used, make sure pins on plug of
extension cord are the same number, size and shape as those of plug on unit; extension cord is properly
wired and in good condition; wire size is large enough for the length of cord as specified in the following
chart:
Length in feet: 25 50 100 150
Cord AWG size: 16 12 10 8
5. Do not operate unit with damaged cord or plug - replace them immediately.
6. Do not disassemble Control Cabinet – take it to or call a qualified technician when service or repair is
required. Incorrect reassembly may result in a risk of electric shock or fire.
7. To reduce risk of electric shock, unplug unit from outlet before attempting any maintenance or cleaning.
8. Ensure all vents on Battery Tray Assembly remain unobstructed.
PERSONAL SAFETY PRECAUTIONS
1. Someone should be within range of your voice or close enough to come to your aid when you work near
a lead-acid battery. Have plenty of fresh water and soap nearby in case battery acid contacts skin, clothing
or eyes.
2. If battery acid contacts skin or clothing, wash immediately with soap and water. If acid enters eye,
immediately flood eye with running cold water for at least 10 minutes and get medical attention immediately.
3. NEVER smoke or allow a spark or flame in vicinity of battery or engine.
4. Be extra cautious to reduce risk of dropping a metal tool onto battery. It might spark or short-circuit battery
or other electrical part that may cause explosion.
5. Remove personal metal items such as rings, bracelets, necklaces and watches when working with a
lead-acid battery. A lead acid battery can produce a short circuit current high enough to weld a ring or
the like to metal, causing a severe burn.
6. When using unit as charger, charge LEAD-ACID batteries only. It is not intended to supply low-voltage
power for applications other than battery charging. Do not use with batteries that are commonly used
with home appliances. These batteries may burst and cause injury to persons and damage property.
7. NEVER JUMP START OR CHARGE a frozen battery. Any battery that is suspected of being frozen must
be thawed before jump starting or charging.
GROUNDING AND AC POWER CONNECTION INSTRUCTIONS
Unit should be grounded to reduce risk of electric shock. Unit is equipped with an AC electric cord having an
equipment grounding conductor and a grounding plug (120VAC cord only). The plug must be plugged into an
outlet that is properly installed and grounded in accordance with all local codes and ordinances.
WARNING
Read these instructions completely before using the SOLAR Jump Starter and save them for future reference.
Before using the SOLAR Jump Starter to jump start a car, truck, boat or to power any equipment, read these
instructions and the instruction manual/safety information provided by the car, truck, boat or equipment
manufacturer. Following all manufacturers’ instructions and safety procedures will reduce the risk of accident.
Working around lead-acid batteries may be dangerous. Lead-acid batteries release explosive gases during
normal operation, charging and jump starting. Carefully read and follow these instructions for safe use. Always
follow the specific instructions in this manual and on the SOLAR Jump Starter each time you jump start using
the SOLAR Jump Starter.
All lead-acid batteries (car, truck and boat) produce hydrogen gas which may violently explode in the presence
of fire or sparks. Do not smoke, use matches or a cigarette lighter while near batteries. Do not handle the
battery while wearing vinyl clothing because static electricity sparks are generated when vinyl clothing is
rubbed. Review all cautionary material on the SOLAR Jump Starter and in the engine compartment.
Always wear eye protection, appropriate protective clothing and other safety equipment when working near
lead-acid batteries. Do not touch eyes while working on or around lead-acid batteries.
Always return clamps to their proper storage positions, away from each other or common conductors. Improper
storage of clamps may cause the clamps to come in contact with each other, or a common conductor, causing
the battery to short circuit and generate high enough heat to ignite most materials.
Use extreme care while working within the engine compartment, because moving parts may cause severe
injury. Read and follow all safety instructions published in the vehicle's Owner's Manual.
The battery in the SOLAR Jump Starter contains liquid acids which are hazardous if spilled. In addition,
batteries being started with the SOLAR Jump Starter likely contain liquid acids which are hazardous if spilled.
Never alter the AC cord or plug provided – if it will not fit outlet, have proper outlet installed by a qualified
electrician. A temporary adapter may be used to connect this plug to a two-pole receptacle if a properly
grounded outlet is not available. The temporary adapter should be used only until a properly grounded outlet
can be installed by a qualified electrician. Before using adapter, be certain that center screw of outlet plate is
grounded. The green rigid ear or lug extending from adapter must be connected to a properly grounded outlet
– make certain it is grounded. If necessary, replace original outlet cover plate screw with a longer screw that
will secure adapter ear or lug to outlet cover plate and make ground connection to grounded outlet.
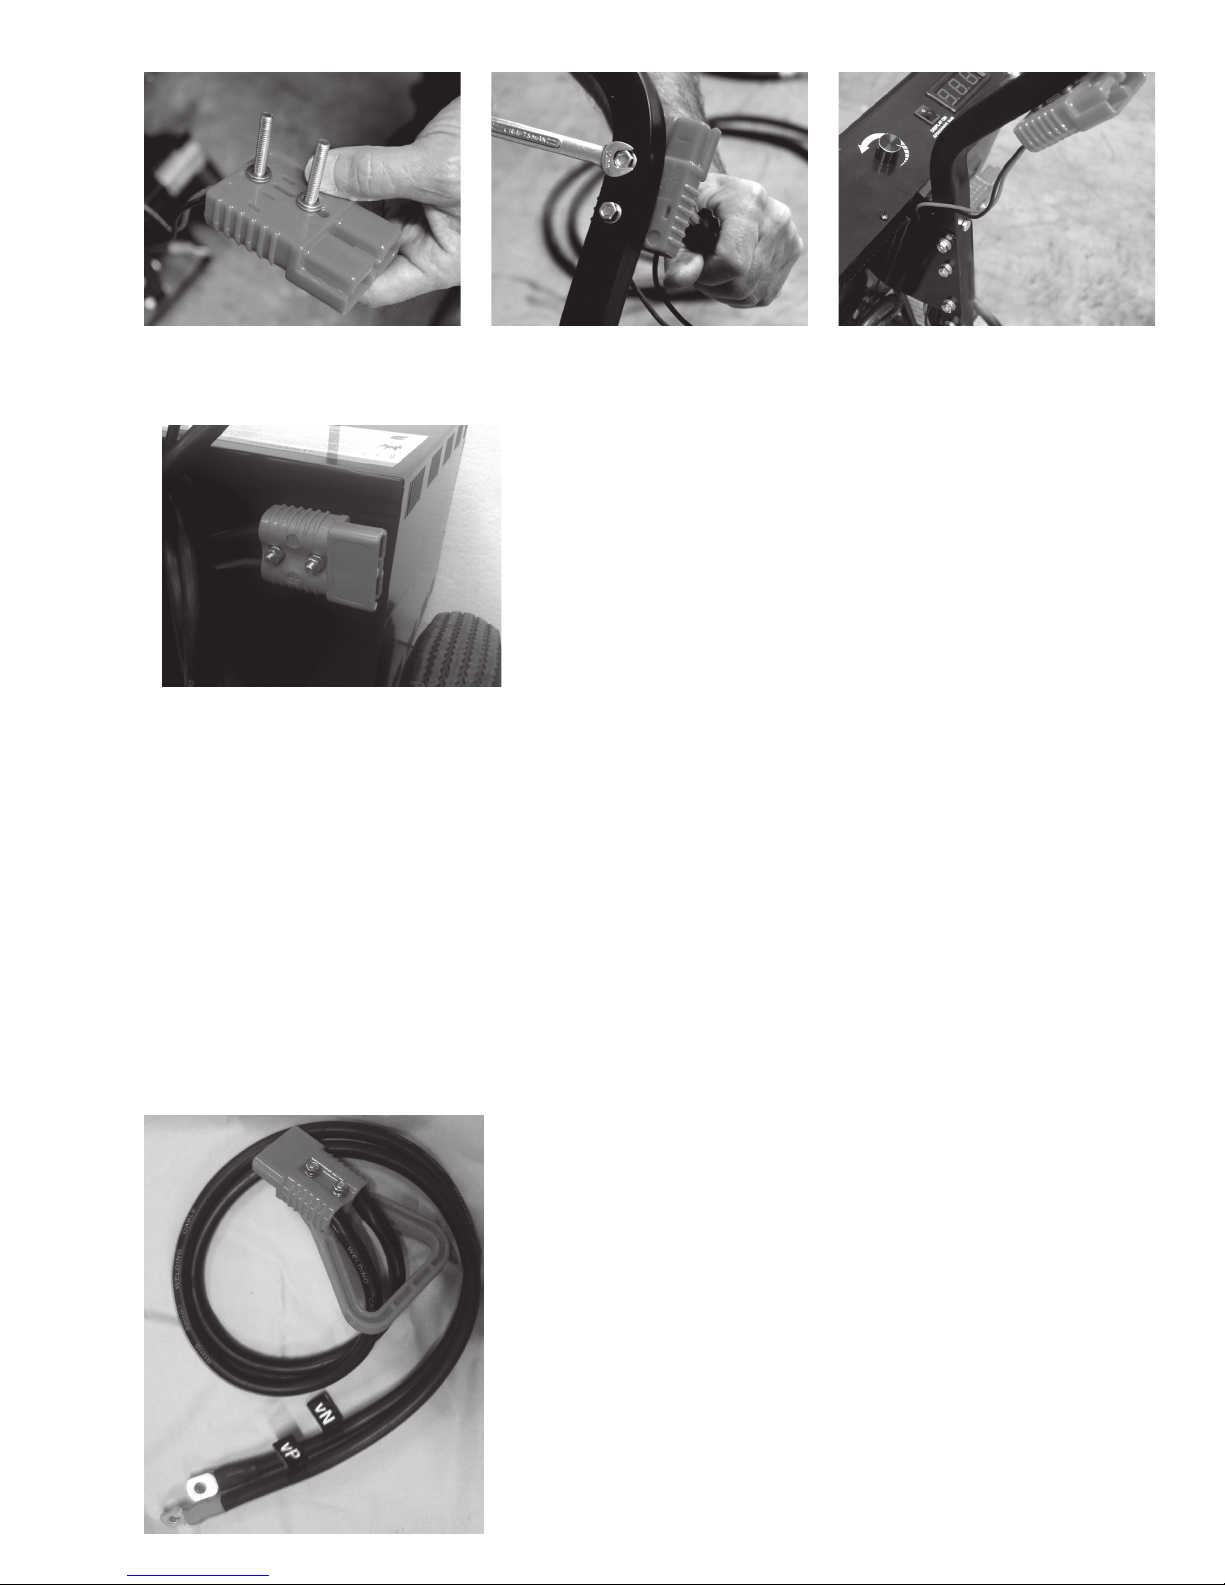
DO NOT TIP UNIT OR LAY UNIT FLAT WITH BATTERY INSTALLED!
WARNING
DANGER