manuals.online logo
Brands
  1. Home
  2. •
  3. Brands
  4. •
  5. Sonance
  6. •
  7. Amplifier
  8. •
  9. Sonance DSP 2-150 MKIII User manual

Sonance DSP 2-150 MKIII User manual

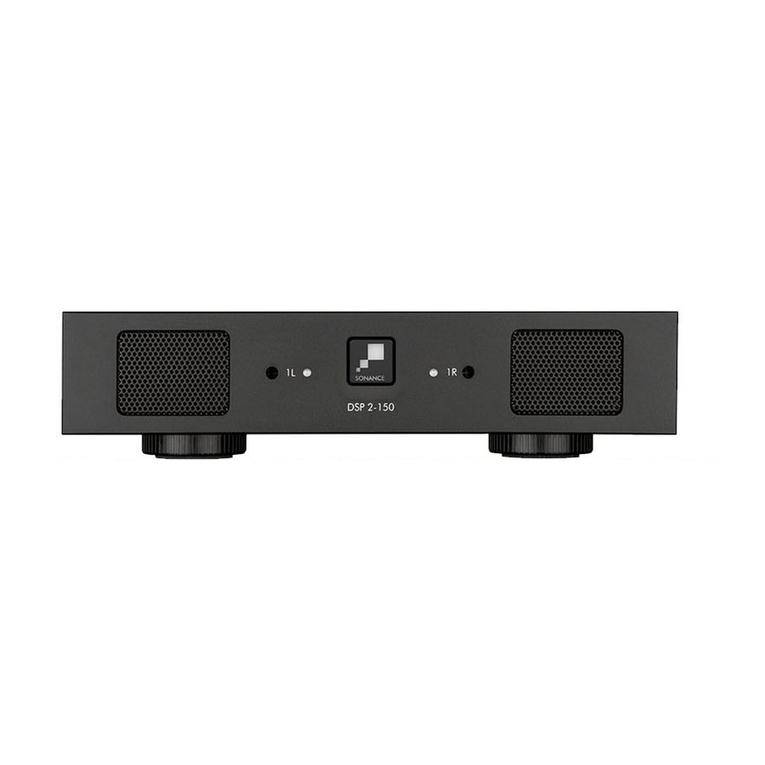
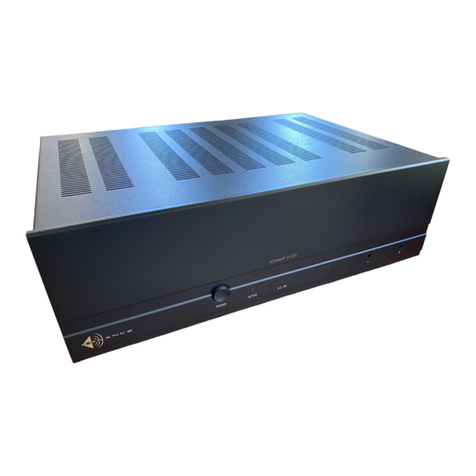
TWO-CHANNEL POWER AMPLIFIER DSP 2-150 MKIII
QUICKSTART GUIDE
BOX CONTENTS
(1) Quickstart Guide
(1) Sonance DSP 2-150 MKIII Amplifier
(1) IEC Power Cord (Region Dependent)
(4) Amp Feet
(2) Rack Ears
(1) Block Connector for Speaker Outputs
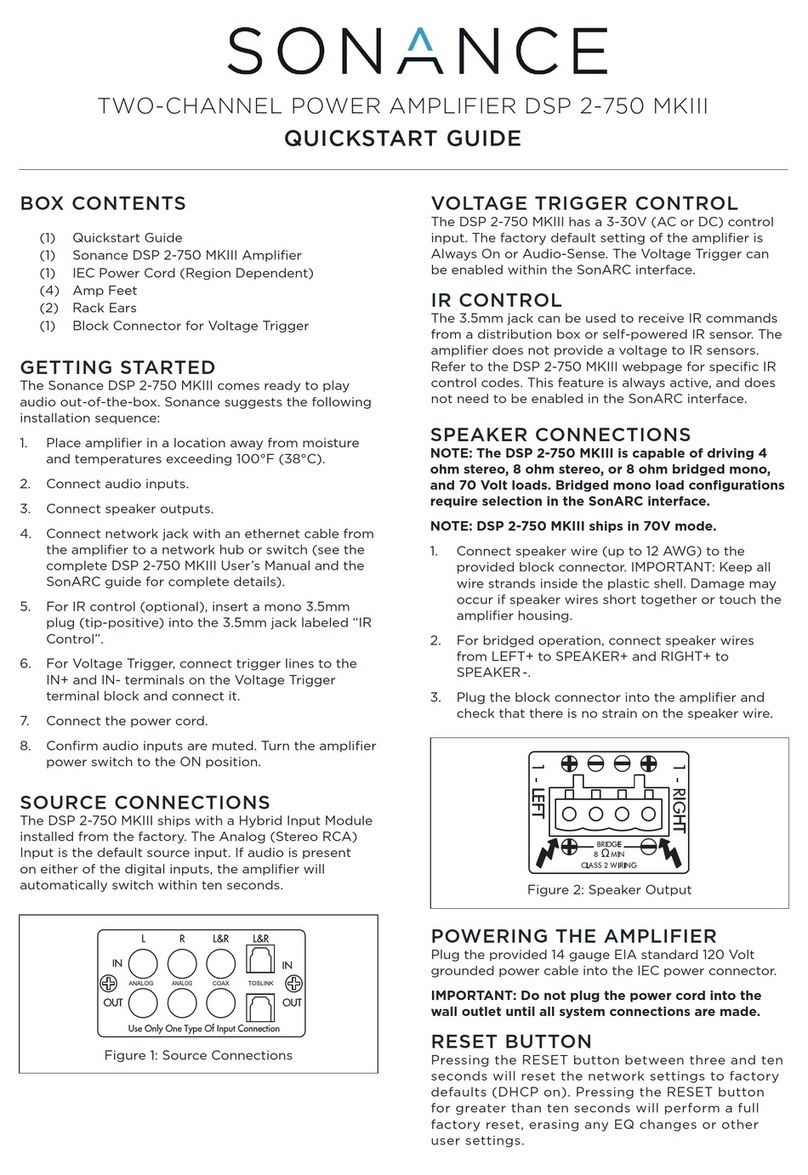
SOURCE CONNECTIONS
The DSP 2-150 MKIII ships with a Hybrid Input Module
installed from the factory. The Analog (Stereo RCA)
Input is the default source input. If audio is present
on either of the digital inputs, the amplifier will
automatically switch within ten seconds.
SPEAKER CONNECTIONS
NOTE: The DSP 2-150 MKIII is capable of driving 4
ohm stereo, 8 ohm stereo, or 8 ohm bridged mono
loads. Bridged mono load configurations require
selection in the SonARC interface.
1. Connect speaker wire (up to 12 AWG) to the
provided block connector. IMPORTANT: Keep all
wire strands inside the plastic shell. Damage may
occur if speaker wires short together or touch the
amplifier housing.
2. For bridged operation, connect speaker wires
from LEFT+ to SPEAKER+ and RIGHT+ to
SPEAKER-.
3. Plug the block connector into the amplifier and
check that there is no strain on the speaker wire.
Figure 2: Speaker Output
Figure 1: Source Connections
GETTING STARTED
The Sonance DSP 2-150 MKIII comes ready to play
audio out-of-the-box. Installers have the option to
set the amplifier up using the physical controls for
customization or the SonARC web interface (ethernet
interface required). Sonance suggests the following
installation sequence:
1. Place amplifier in a location away from moisture
and temperatures exceeding 100°F (38°C).
2. Connect Audio Inputs.
3. Connect Speaker Outputs.
4. Choose a configuration method:
• For physical controls set up, set the EQ Preset
Bank and Selection knobs as needed (see “EQ
PRESETS” section).
• For SonARC, connect an ethernet cable from
the amplifier to a network hub or switch (see the
complete DSP 2-150 MKIII User’s Manual and the
SonARC guide for complete details).
5. For Voltage Trigger or IR control, insert a mono
3.5mm plug (tip-positive) into the 3.5mm jack
labeled “12V/IR”.
6. Connect the power cord.
7. Confirm audio inputs are muted. Turn the amplifier
power switch to the ON position.
EQ PRESETS
The amp has DSP presets for optimization when used
with Sonance speakers. Select from available DSP
EQ presets knobs on the back panel. Refer to the EQ
Preset sticker on the top of the amplifier to find the
corresponding Bank (A-G) and Selection (1-7), and
turn the knobs to the corresponding settings. Preset
A1 is a flat EQ by default. All EQ presets can be further
modified through the SonARC interface.
12V/IR CONTROL
The DSP 2-150 MKIII has a multi-function 3.5mm mono
input jack. The amplifier can be triggered on from
a sleep state with the application of 3-12V DC input
(>50mA). This feature is enabled within the SonARC
interface.
The 12V/IR 3.5mm jack can also be used to receive IR
commands from a distribution box or self-powered
IR sensor. The amplifier does not provide a voltage to
IR sensors. Refer to the DSP 2-150 MKIII webpage for
specific IR control codes. This feature is always active,
and does not need to be enabled in the SonARC
interface.
POWERING THE AMPLIFIER
Plug the provided 14 gauge EIA standard 120 Volt
grounded power cable into the IEC power connector.
IMPORTANT: Do not plug the power cord into the
wall outlet until all system connections are made.
Scan QR code for additional information.
For technical support call 949.492.7777
or visit www.sonance.com
©2023 Sonance. All rights reserved. Sonance is a registered trademark of
Dana Innovations. Due to continuous product improvement, all features and
specifications are subject to change without notice. For the latest Sonance product
specification information visit our website: www.sonance.com
SONANCE • 991 Calle Amanecer • San Clemente, CA 92673 • (949) 492-7777
06.28.2023
Figure 4: DSP 2-150 MKIII Two-Channel Power Amplifier Rear Panel
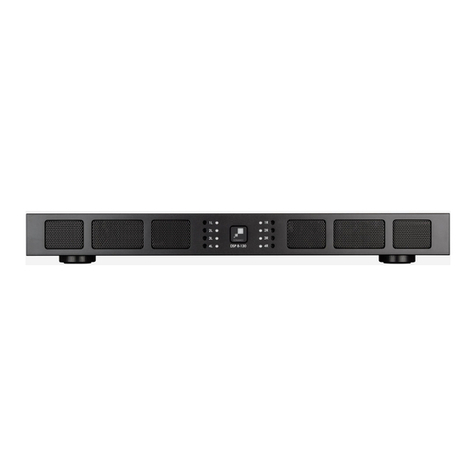
Figure 3: DSP 2-150 MKIII Two-Channel Power Amplifier Front Panel
1 2 3
Rear Panel
4. Hybrid Input/Output Module
5. Voltage Control and IR Control Input
6. Reset Button
7. RJ-45 Input
8. AC Fuse Holder
9. Speaker Output
10. EQ Preset Selection Knobs
11. AC Input
5
10
84
Front Panel
1. Illuminated Power Button
2. Active Audio and Protection Indicator
3. Recessed Volume Level Control
7
9
VOLUME LEVEL CONTROLS
After all connections are complete and the amplifier
produces audio, adjust levels on the front panel
with a small flathead or Phillips screwdriver. The
factory default position of vertical (or “12 o’clock”)
corresponds to +0dB. Turn the knob clockwise to
“5 o’clock” for +12dB. Turn the knob counterclockwise
to “7 o’clock” for -∞dB.
RESET BUTTON
Pressing the RESET button for less than five
seconds will reboot the amp. Pressing the RESET
button between five and ten seconds will reset the
network settings to factory defaults (DHCP on).
Pressing the RESET button for greater than ten
seconds will perform a full factory reset, erasing
any EQ changes or other user settings.
LED STATUS INDICATORS
Power Button System Status Indicator
• No Light: amp is unpowered or power button is
turned o
• Bright White: amp has power and is active
• Dim White: amp has power and is sleeping
• Blinking White: amp is in overtemperature
or power supply protection, or the “Identify
Amplifier” button was pressed in SonARC
Channel Status Indicators
• No Light: no audio present
• Green: audio present
• Blinking Red: audio present, amp is overdriven
• Solid Red: amplifier is in protection mode
11
6

Other manuals for DSP 2-150 MKIII

1

Other Sonance Amplifier manuals

Sonance SONAMP 260 MKII User manual

Sonance

Sonance SONAMP 260 MKII User manual

Sonance SONAMP Sonamp 1230 User manual

Sonance

Sonance SONAMP Sonamp 1230 User manual

Sonance Sonamp ASAP2 User manual

Sonance

Sonance Sonamp ASAP2 User manual

Sonance SONAMP ASAP1 User manual

Sonance

Sonance SONAMP ASAP1 User manual

Sonance SONAMP 275X3 SE RMF User manual

Sonance

Sonance SONAMP 275X3 SE RMF User manual

Sonance SONAMP ASAP3D SE User manual

Sonance

Sonance SONAMP ASAP3D SE User manual

Sonance SONAMP 2120 TMKII User manual

Sonance

Sonance SONAMP 2120 TMKII User manual

Sonance SONAMP A150 User manual

Sonance

Sonance SONAMP A150 User manual

Sonance Sonamp 875D MKII User manual

Sonance

Sonance Sonamp 875D MKII User manual

Sonance SONAMP 275 SE User manual

Sonance

Sonance SONAMP 275 SE User manual

Sonance Sonamp 875D MKII User manual

Sonance

Sonance Sonamp 875D MKII User manual

Sonance Sonamp DSP 2-750 MKII User manual

Sonance

Sonance Sonamp DSP 2-750 MKII User manual

Sonance DSP 8-130 MKII SONAMP User manual

Sonance

Sonance DSP 8-130 MKII SONAMP User manual

Sonance Sonamp DSP 2-750 MKII User manual

Sonance

Sonance Sonamp DSP 2-750 MKII User manual

Sonance SONAMP 275 SE User manual

Sonance

Sonance SONAMP 275 SE User manual

Sonance Sonamp 875D SE User manual

Sonance

Sonance Sonamp 875D SE User manual

Sonance SYMPHONY S622C User manual

Sonance

Sonance SYMPHONY S622C User manual

Sonance SONAMP DSP 2-150 User manual

Sonance

Sonance SONAMP DSP 2-150 User manual

Sonance sonamp a800 User manual

Sonance

Sonance sonamp a800 User manual

Sonance crown User manual

Sonance

Sonance crown User manual

Sonance SS4VC User manual

Sonance

Sonance SS4VC User manual

Sonance SONAMP ASAP3D SE User manual

Sonance

Sonance SONAMP ASAP3D SE User manual

Sonance SONAMP ASAP3D SE Manual

Sonance

Sonance SONAMP ASAP3D SE Manual

Sonance DSP 2-150 MKII User manual

Sonance

Sonance DSP 2-150 MKII User manual

Popular Amplifier manuals by other brands

Advanced Measurement Technology 142AH Operating and service manual

Advanced Measurement Technology

Advanced Measurement Technology 142AH Operating and service manual

Bogen MT250D install guide

Bogen

Bogen MT250D install guide

B&K AVP3090 owner's manual

B&K

B&K AVP3090 owner's manual

Genave TAU/88 installation manual

Genave

Genave TAU/88 installation manual

Russound VM1 Video Matrix datasheet

Russound

Russound VM1 Video Matrix datasheet

Marantz 250 Service manual

Marantz

Marantz 250 Service manual

SKYTRONIC 10004669 user manual

SKYTRONIC

SKYTRONIC 10004669 user manual

Cloud mpa120 manual

Cloud

Cloud mpa120 manual

DB Drive PRO2004 user manual

DB Drive

DB Drive PRO2004 user manual

Chord PRIMA Quick start manual

Chord

Chord PRIMA Quick start manual

SubDude Audio PINWOOFER installation instructions

SubDude Audio

SubDude Audio PINWOOFER installation instructions

Edwards Signaling 5532MD series Installation

Edwards Signaling

Edwards Signaling 5532MD series Installation

CLASSÉ AUDIO P-100 owner's manual

CLASSÉ AUDIO

CLASSÉ AUDIO P-100 owner's manual

Rotel RC-03 owner's manual

Rotel

Rotel RC-03 owner's manual

EMAR ACS-800 Installation and operation manual

EMAR

EMAR ACS-800 Installation and operation manual

Kenwood KAC-PS702EX instruction manual

Kenwood

Kenwood KAC-PS702EX instruction manual

Vingtor Stentofon VPA-120 Installation & service manual

Vingtor Stentofon

Vingtor Stentofon VPA-120 Installation & service manual

BGW 85 owner's manual

BGW

BGW 85 owner's manual

manuals.online logo
manuals.online logoBrands
  • About & Mission
  • Contact us
  • Privacy Policy
  • Terms and Conditions

Copyright 2025 Manuals.Online. All Rights Reserved.