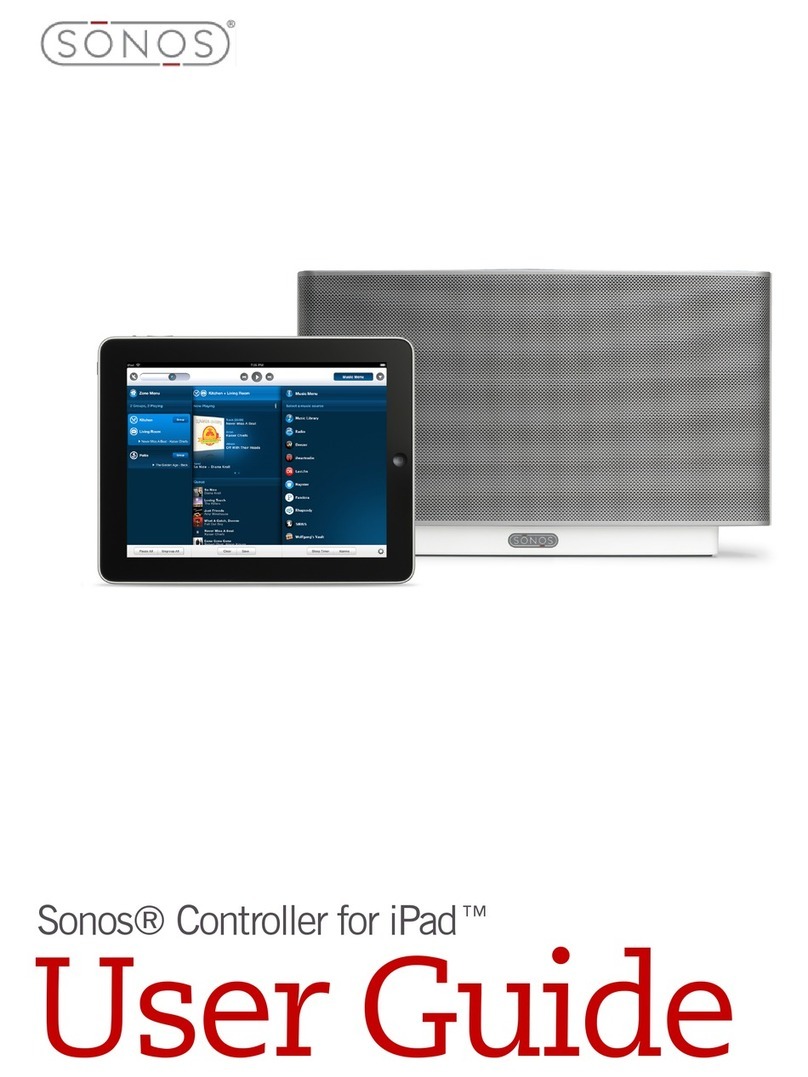
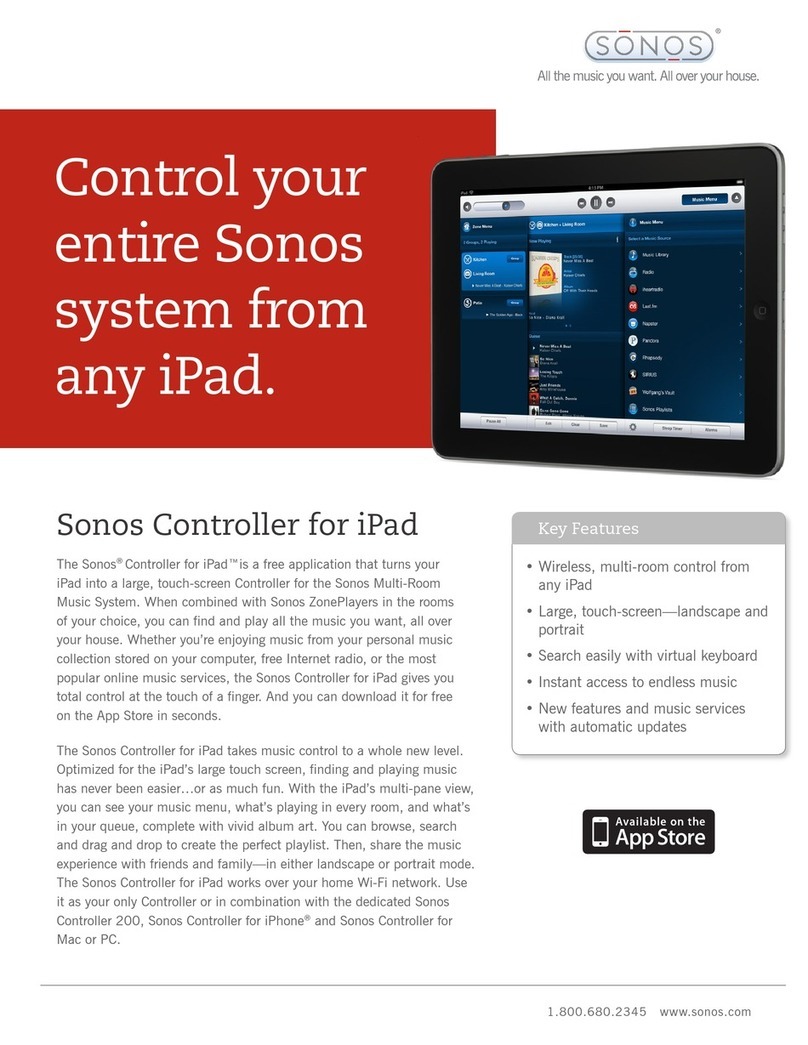
Sonos Controller for iPad User manual

Sonos Controller for iPad®
Product Guide

THIS DOCUMENT CONTAINS INFORMATION THAT IS SUBJECT TO CHANGE WITHOUT NOTICE.
No part of this publication may be reproduced or transmitted in any form or by any means, electronic or mechanical, including but not limited to
photocopying, recording, information retrieval systems, or computer network without the written permission of Sonos, Inc.
SONOS and all other Sonos product names and slogans are trademarks or registered trademarks of Sonos, Inc. SONOS Reg. U.S. Pat. & Tm. Off.
Sonos products may be protected by one or more patents. Our patent-to-product information can be found here:
sonos.com/legal/patents
iPhone®, iPod®, iPad® and iTunes® are trademarks of Apple Inc., registered in the U.S. and other countries.
Windows® is a registered trademark of Microsoft Corporation in the United States and other countries.
MPEG Layer-3 audio decoding technology licensed from Fraunhofer IIS and Thomson.
Sonos uses MSNTP software, which was developed by N.M. Maclaren at the University of Cambridge.
© Copyright, N.M. Maclaren, 1996, 1997, 2000; © Copyright, University of Cambridge, 1996, 1997, 2000.
All other products and services mentioned may be trademarks or service marks of their respective owners.
©2004-2014 by Sonos, Inc. All rights reserved.

Contents
Sonos Controller for iPad
Chapter 1 Sonos Controller for iPad®
Adding an iPad . . . . . . . . . . . . . . . . . . . . . . . . . . . . . . . . . . . . . . . . . . . . . . . . . . . . . . . . . . . . . . . . . . . . . . . . . . . . . . . . . 1-2
Adding a Household . . . . . . . . . . . . . . . . . . . . . . . . . . . . . . . . . . . . . . . . . . . . . . . . . . . . . . . . . . . . . . . . . . . . . . . . . . . . 1-2
Chapter 2 At A Glance
Equalization (Sound Settings) . . . . . . . . . . . . . . . . . . . . . . . . . . . . . . . . . . . . . . . . . . . . . . . . . . . . . . . . . . . . . . . . . . . 2-5
Clock and Alarms . . . . . . . . . . . . . . . . . . . . . . . . . . . . . . . . . . . . . . . . . . . . . . . . . . . . . . . . . . . . . . . . . . . . . . . . . . . . . . . 2-6
Creating a Stereo Pair . . . . . . . . . . . . . . . . . . . . . . . . . . . . . . . . . . . . . . . . . . . . . . . . . . . . . . . . . . . . . . . . . . . . . . . . . . . 2-8
Surround Speakers . . . . . . . . . . . . . . . . . . . . . . . . . . . . . . . . . . . . . . . . . . . . . . . . . . . . . . . . . . . . . . . . . . . . . . . . . . . . 2-9
Turning Off the Music System . . . . . . . . . . . . . . . . . . . . . . . . . . . . . . . . . . . . . . . . . . . . . . . . . . . . . . . . . . . . . . . . . . . 2-10
Renaming a Sonos Component . . . . . . . . . . . . . . . . . . . . . . . . . . . . . . . . . . . . . . . . . . . . . . . . . . . . . . . . . . . . . . . . . 2-11
Turning Off the Status Indicator Light . . . . . . . . . . . . . . . . . . . . . . . . . . . . . . . . . . . . . . . . . . . . . . . . . . . . . . . . . . . . 2-11
Online Updates . . . . . . . . . . . . . . . . . . . . . . . . . . . . . . . . . . . . . . . . . . . . . . . . . . . . . . . . . . . . . . . . . . . . . . . . . . . . . . . 2-12
System Registration . . . . . . . . . . . . . . . . . . . . . . . . . . . . . . . . . . . . . . . . . . . . . . . . . . . . . . . . . . . . . . . . . . . . . . . . . . . 2-12
Usage Data . . . . . . . . . . . . . . . . . . . . . . . . . . . . . . . . . . . . . . . . . . . . . . . . . . . . . . . . . . . . . . . . . . . . . . . . . . . . . . . . . . . 2-12
Chapter 3 Managing Rooms
Grouping Rooms . . . . . . . . . . . . . . . . . . . . . . . . . . . . . . . . . . . . . . . . . . . . . . . . . . . . . . . . . . . . . . . . . . . . . . . . . . . . . . . 3-1
Ungrouping Rooms . . . . . . . . . . . . . . . . . . . . . . . . . . . . . . . . . . . . . . . . . . . . . . . . . . . . . . . . . . . . . . . . . . . . . . . . . . . . . 3-2
Chapter 4 Managing and Playing Music
Managing Your Local Music Library . . . . . . . . . . . . . . . . . . . . . . . . . . . . . . . . . . . . . . . . . . . . . . . . . . . . . . . . . . . . . . . 4-3
Selecting from a Local Music Library . . . . . . . . . . . . . . . . . . . . . . . . . . . . . . . . . . . . . . . . . . . . . . . . . . . . . . . . . . . . . . 4-4
Power Scrolling . . . . . . . . . . . . . . . . . . . . . . . . . . . . . . . . . . . . . . . . . . . . . . . . . . . . . . . . . . . . . . . . . . . . . . . . . . . . . . . . 4-5
Searching . . . . . . . . . . . . . . . . . . . . . . . . . . . . . . . . . . . . . . . . . . . . . . . . . . . . . . . . . . . . . . . . . . . . . . . . . . . . . . . . . . . . 4-5
Drag and Drop . . . . . . . . . . . . . . . . . . . . . . . . . . . . . . . . . . . . . . . . . . . . . . . . . . . . . . . . . . . . . . . . . . . . . . . . . . . . . . . . . 4-6
Sonos Favorites . . . . . . . . . . . . . . . . . . . . . . . . . . . . . . . . . . . . . . . . . . . . . . . . . . . . . . . . . . . . . . . . . . . . . . . . . . . . . . . . 4-6
Local Music Library Preferences . . . . . . . . . . . . . . . . . . . . . . . . . . . . . . . . . . . . . . . . . . . . . . . . . . . . . . . . . . . . . . . . . . 4-8
Sharing Your Sonos Experience . . . . . . . . . . . . . . . . . . . . . . . . . . . . . . . . . . . . . . . . . . . . . . . . . . . . . . . . . . . . . . . . . . 4-9
Managing the Music Queue . . . . . . . . . . . . . . . . . . . . . . . . . . . . . . . . . . . . . . . . . . . . . . . . . . . . . . . . . . . . . . . . . . . . . . 4-9
Music Services . . . . . . . . . . . . . . . . . . . . . . . . . . . . . . . . . . . . . . . . . . . . . . . . . . . . . . . . . . . . . . . . . . . . . . . . . . . . . . . . 4-11
Windows Media Player . . . . . . . . . . . . . . . . . . . . . . . . . . . . . . . . . . . . . . . . . . . . . . . . . . . . . . . . . . . . . . . . . . . . . . . . . 4-13
Sonos Playlists . . . . . . . . . . . . . . . . . . . . . . . . . . . . . . . . . . . . . . . . . . . . . . . . . . . . . . . . . . . . . . . . . . . . . . . . . . . . . . . 4-13
Wireless iTunes Playback from iOS Devices . . . . . . . . . . . . . . . . . . . . . . . . . . . . . . . . . . . . . . . . . . . . . . . . . . . . . . . 4-16
Docked iPods . . . . . . . . . . . . . . . . . . . . . . . . . . . . . . . . . . . . . . . . . . . . . . . . . . . . . . . . . . . . . . . . . . . . . . . . . . . . . . . . . 4-17
Line-in . . . . . . . . . . . . . . . . . . . . . . . . . . . . . . . . . . . . . . . . . . . . . . . . . . . . . . . . . . . . . . . . . . . . . . . . . . . . . . . . . . . . . . . 4-17

Product Guide
iv
Line-out . . . . . . . . . . . . . . . . . . . . . . . . . . . . . . . . . . . . . . . . . . . . . . . . . . . . . . . . . . . . . . . . . . . . . . . . . . . . . . . . . . . . . 4-21
Radio . . . . . . . . . . . . . . . . . . . . . . . . . . . . . . . . . . . . . . . . . . . . . . . . . . . . . . . . . . . . . . . . . . . . . . . . . . . . . . . . . . . . . . . . 4-22
Appendix A Tips and Troubleshooting
Basic Troubleshooting . . . . . . . . . . . . . . . . . . . . . . . . . . . . . . . . . . . . . . . . . . . . . . . . . . . . . . . . . . . . . . . . . . . . . . . . . . A-1
Support Diagnostics . . . . . . . . . . . . . . . . . . . . . . . . . . . . . . . . . . . . . . . . . . . . . . . . . . . . . . . . . . . . . . . . . . . . . . . . . . . . A-1
Can’t Find What You’re Looking For? . . . . . . . . . . . . . . . . . . . . . . . . . . . . . . . . . . . . . . . . . . . . . . . . . . . . . . . . . . . . . . A-1
Index

Contents v
Regulation Information
Europe
SONOS declares that this product herewith complies with the requirements of the EMC Directive 2004/108/EC, the Low Voltage Directive
2006/95/EC, RoHS Directive 2011/65/EU and the R&TTE Directive 1999/5/EC when installed and used in accordance with the
manufacturer's instructions. A copy of the full Declaration of Conformance may be obtained at www.sonos.com/support/policies.
Europa
SONOS erklärt hiermit, dass dieses Produkt den Anforderungen der EMV-Richtlinie 2004/108/EC, der Niederspannungsrichtlinie 2006/
95/EC und der R&TTE-Richtlinie 1999/5/EC, RoHS Directive 2011/65/EU entspricht, sofern es den Anweisungen des Herstellers gemäß
installiert und verwendet wird. Die vollständige Konformitätserklärung finden Sie unter www.sonos.com/support/policies.
Europe
SONOS certifie que ce produit est conforme aux exigences de la directive CEM 2004/108/EC, de la directive basse tension 2006/95/EC,
RoHS Directive 2011/65/EU et de la directive 1999/5/EC sur les équipements hertziens et les équipements terminaux de
télécommunications, sous réserve d'une installation et d'une utilisation conformes aux instructions en vigueur du fabricant. Une copie
complète de la Déclaration de conformité est disponible sur le site www.sonos.com/support/policies.
Attention In France, operation is limited to indoor use within the band 2.454-2.4835 GHz.
(Attention. En France, l’utilisation en intérieur est limitée à la bande de fréquences 2,454-2,4835 GHz.)
USA
This equipment has been tested and found to comply with the limits for a Class B digital device, pursuant to part 15 of the FCC Rules.
These limits are designed to provide reasonable protection against harmful interference in a residential installation. This equipment
generates, uses and can radiate radio frequency energy and, if not installed and used in accordance with the instructions, may cause
harmful interference to radio communications. However, there is no guarantee that interference will not occur in a particular installation.
If this equipment does cause harmful interference to radio or television reception, which can be determined by turning the equipment off
and on, the user is encouraged to try to correct the interference by one or more of the following measures:
• All Sonos devices have in-product antennas. Users cannot reorient or relocate the receiving antenna without modifying the prod-
uct.
• Increase the separation between the equipment and receiver.
• Connect the equipment into an outlet on a circuit different from that to which the receiver is connected.
Caution: Modifications not expressly approved by the manufacturer may void the user's authority to operate the equipment under FCC
rules.
Canada
This Class B digital apparatus complies with Canadian ICES-003 and RSS-210. Operation is subject to the following two conditions: (1)
this device may not cause interference, and (2) this device must accept any interference, including interference that may cause
undesired operation of the device.
Canada
Cet appareil numérique de classe B est conforme aux normes ICES-003 et RSS-210 en vigueur au Canada. Son fonctionnement est
soumis aux deux conditions suivantes: (1) Cet appareil ne doit pas créer d'interférences nuisibles. (2) Cet appareil doit tolérer toutes les
interférences reçues, y compris les interférences pouvant entraîner un fonctionnement indésirable.

Product Guide
vi
Industry Canada
The installer of this radio equipment must ensure that the product is located such that it does not emit RF field in excess of Health
Canada limits for the general population; consult Safety Code 6, obtainable from Health Canada’s Web site
www.hc-sc.gc.ca/index-eng.php. As mentioned before, the installer cannot control the antenna orientation. However, they could place
the complete product in a way that causes the problem mentioned above.
Industrie Canada
L'installateur du présent matériel radio doit veiller à ce que le produit soit placé ou orienté de manière à n'émettre aucun champ
radioélectrique supérieur aux limites fixées pour le grand public par le ministère fédéral Santé Canada ; consultez le Code de sécurité 6
sur le site Web de Santé Canada à l'adresse : www.hc-sc.gc.ca/rpb. Comme indiqué auparavant, l'installateur ne peut pas contrôler
l'orientation de l'antenne. Il peut néanmoins placer le produit tout entier de manière à provoquer le problème décrit ci-dessus.
RF Exposure Requirements
To comply with FCC and Industry Canada exposure essential requirements, a minimum separation distance of 20cm (8 inches) is required
between the equipment and the body of the user or nearby persons.
Recycling Information
This symbol on the product or on its packaging indicates that this product shall not be treated as household waste. Instead please
deliver it to the applicable collection point for the recycling of electrical and electronic equipment. By recycling this product
correctly, you will help conserve natural resources and prevent potential negative environmental consequences. For more detailed
information about recycling of this product, please contact your local city office, your household waste disposal service or the shop
where you purchased the product.

Sonos Controller for iPad®
• Wirelessly control all your Sonos players from anywhere WiFi reaches in your home
• Easily and quickly search, browse and play your music using the large touch-screen display
• Optimized for both portrait and landscape modes
Already have Sonos?
If you are adding an iPad to an existing Sonos system, please see "Adding an iPad" on page 1-2.
New to Sonos?
It takes just a few steps to get your Sonos system up and running. Unpack the Sonos components you purchased and refer to
the Quickstart Guide included in the box. Once you’ve set up your Sonos system, you can easily download and install the
Sonos Controller for iPad. The Sonos Controller for iPad app is compatible with iOS 5 or later. Certain features may require
higher versions of iOS.
For additional help, please visit our Web site at www.sonos.com/support/guides to view the latest product documentation.
Note: The Sonos Controller for iPad app requires that you have an iPad, one or more Sonos
players, and a wireless router set up in your home. iPads and Sonos components are sold
separately.
Chapter 1

Product Guide
1-2
Adding an iPad
The Sonos Controller for iPad app turns your iPad into a full-fledged Sonos controller. Once you’ve got your Sonos system set
up (with at least one player) simply download the Sonos app to an iPad that’s connected to your wireless router. The Sonos
Controller for iPad app is compatible with iOS 5 or later. Certain features may require higher versions of iOS.
For information on when to use a wireless router with your Sonos system, please visit our Web site at
http://faq.sonos.com/apps.
1.
Touch the App Store button on your iPad to download the free Sonos controller app, or you can download the app from
iTunes
®
. (If you download from iTunes, you will need to sync before you see the Sonos logo display on your device.)
2.
Touch the Sonos icon and follow the prompts to add the Sonos Controller for iPad app to your Sonos system.
During setup you will be prompted to press the button(s) on one of your Sonos products:
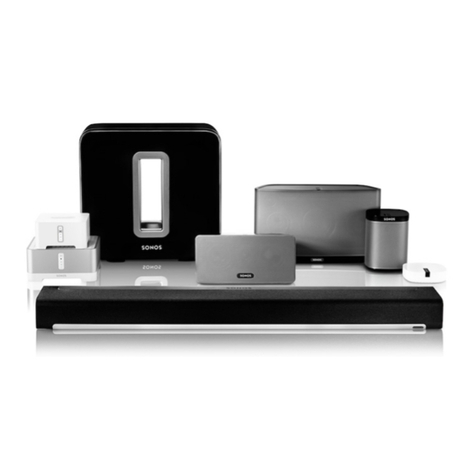
• SONOS BRIDGE. Press the Join button on top of the BRIDGE.
• SONOS DOCK. Press the Join button on the back of the DOCK.
• SONOS SUB. Press the Join button on the side of the SUB.
• SONOS Players. Press the Play/Pause and Volume Up buttons on the player simultaneously (releasing as soon as the
status indicator starts to blink.)
If you need assistance while adding your iPad, please go to our Web site at http://faq.sonos.com/icr.
For more information about using your iPad with Sonos, see "At A Glance" on page 2-1.
Adding a Household
Your Sonos Controller for iPad gives you quick and easy access to all of your Sonos systems. Simply add a household to your
Sonos controller and it will automatically connect as you move from one place to another. So, enjoy your Sonos system at
work, and when you get home, open your Sonos controller for instant access to your music. The Sonos Controller for iPad
supports up to 100 households.
1.
Touch the Sonos icon.
The Sonos controller searches for a Sonos system. If your Sonos system isn’t available, you can add it now.
2.
From the Settings menu, touch Add Another Sonos System, and then follow the prompts to add this household to your
Sonos controller.
Note: To use the Sonos Controller for iPad app, the iPad must be connected to your wireless
network and the Wi-Fi setting must be turned on. If you need to make changes to your
wireless connection, you can select Settings -> Wi-Fi from the Home screen on your iPad. For
additional help with this step, refer to the manual that accompanied your iPad
(http://support.apple.com/manuals).
Note: You can remove a household from your controller by selecting Advanced Settings
from the Settings menu, and then selecting Forget Current Sonos System.

Sonos Controller for iPad 1-3
Start the music
Sonos gives you a world of music at your fingertips. You can play all the songs stored on your PC or Mac, choose from
thousands of free Internet radio stations, and enjoy millions of songs and stations from the most popular online music
services.
Simply open the Sonos app, touch Music and make a selection. For more information about your music choices, see "Adding
an iPad" on page 1-2.

At A Glance
Now you can use your iPad with Sonos to enjoy the music you love all around your home. The Sonos Controller for iPad is a
free app that turns your iPad into a full-fledged Sonos controller—simply pick a room, pick a song, and touch Play Now.
Chapter 2

Product Guide
2-2
Navigation
Rooms While holding the iPad in portrait orientation, touch to toggle
between the Rooms screen (where you can select a room to play music
in, view the music selections playing in each room, or create or modify
groups to share the same music throughout your house) and the Now
Playing screen (where you can view what is playing and the queue).
Now Playing While holding the iPad in portrait orientation, touch to toggle
between the Room screen and the Now Playing screen.
Back Touch to return to the previous screen.
Music Touch Music to browse or select music, access playlists, and change the
default settings for a Sonos component or Sonos controller.

Sonos Controller for iPad 2-3
iPad controls
Playback controls
Use the playback controls to control basic playback tasks such as playing, pausing, rewinding, and fast forwarding.
Info & Options Touch to display additional options, such as adding a track to your
Sonos Favorites or viewing artist/album information.
Settings Touch to change the default settings for a Sonos component, or
for the Sonos Controller for iPad app.
Home Press the iPad Home button to close the Sonos controller app.
Screen Rotation Lock Rotate the iPad to the orientation you want. Slide the iPad Screen
Rotation Lock button to lock the iPad in that orientation. A lock icon
appears in the status bar. To unlock the screen orientation, slide the
button in the opposite direction.
Sleep/Wake Press the Sleep/Wake button on top of your iPad to put it into light
sleep. You can continue to listen to music when the iPad is locked.
The iPad locks automatically if you do not touch the screen for a minute
or two.
To awaken your iPad, press the Sleep button or the iPad Home button
and then slide your finger to unlock it. If your iPad goes to sleep with the
Sonos controller open, it redisplays the same screen it was on when it
went to sleep.
Volume Press the iPad Volume button up or down to increase or decrease the
volume.
Play / Pause Toggles between playing and pausing the current track.
Next / Fast Forward Jumps to the start of the next track in the music queue.
Previous / Rewind Jumps to the start of the current track, if you are more than 3 seconds
into the track; jumps to the start of the previous track, if you are less
than 3 seconds into the track.

Product Guide
2-4
From the Now Playing screen, touch anywhere on the album cover to display the repeat, shuffle, and crossfade controls, as
well as the track position slider.
•Track position slider—Allows you to move quickly backward or forward through the current track by sliding the posi-
tion slider
•Repeat—Repeats the music queue after the last track has finished
•Crossfade—Fades out the current track while fading in the next track to create a smooth transition between tracks
•Shuffle—Plays the tracks in the music queue in a random order

Sonos Controller for iPad 2-5
Volume control
• Slide the volume controls right to increase volume, or left to decrease volume. If rooms are grouped, you can adjust
the volume across the group using the volume slide at the top of the screen, or adjust the volume in one room using
the individual slides. If you don’t hear sound coming from your PLAY:5, check to make sure there are no headphones
plugged into the back of the unit.
•Mute temporarily silences the music in a room (within a group, automatically mutes the last room where volume
controls were adjusted.) Touch to mute, touch again to unmute.
• Press the Volume button (on the side of the iPad) up or down to increase or decrease the volume.
Equalization (Sound Settings)
Sonos products ship with the equalization settings preset in order to provide the optimal playback experience. If desired, you
can change the sound settings (bass, treble, balance, or loudness) to suit your personal preferences.
1.
From the Settings menu, touch Room Settings.
2.
Touch to select a room.
Note: A headphone indicator appears on the Volume screen when headphones are plugged
in to a PLAY:5. If you adjust group volume, the volume for the PLAY:5 with headphones
attached is unaffected.
Note: The loudness setting is designed to compensate for normal changes in the ear's
sensitivity at low volumes — you can turn this setting on to boost certain frequencies,
including bass, at low volume.

Product Guide
2-6
3.
Select Music Equalization.
4.
Drag your finger across the sliders to make adjustments.
• Slide controls to the right to increase, left to decrease.
• To change the Loudness setting, touch ON or OFF.
• To change the settings for a Sonos component back to the original default values, touch Reset All.
5.
Touch Done to close the Settings screen.
Clock and Alarms
Setting date and time
1.
From the Settings menu, touch Date and Time Settings.
2.
Choose one of the following options:
•TouchTime Zone to choose your time zone from the list.
• To set the time from the Internet, touch ON or OFF. When this is on, your Sonos system will periodically update the date
and time from the Internet.
• If you want to set the date and time manually (Set Time from Internet must be off for this option to be available) touch
Date to select the date and then touch Time to set the time.
You can change the date display format by touching Date Format.
You can change the time display format by touching Time Format.
Note: Balance is only adjustable on a PLAY:1 when it is used in a stereo pair.

Sonos Controller for iPad 2-7
Adding an alarm
1.
Touch Alarms.
2.
Touch New Alarm.
3.
Select the desired settings for this alarm, including the alarm time, the room you would like the alarm to play in, the
music source you’d like to play from, the frequency of the alarm, and the volume setting.
4.
Touch Advanced to select additional alarm preferences:
•Duration—select the length of time you want the alarm music to play.
•Include Grouped Rooms—if you touch ON, the alarm will play in the rooms that are grouped together when the alarm
goes off (not in the rooms that were grouped together at the time the alarm was set).
•Shuffle Music—select ON if you want the play mode for the selected alarm music set to shuffle.
•Touch to return to Alarm settings.
5.
Touch Save when you finish choosing the alarm settings.
Setting an alarm
1.
From the Music menu, tap Alarms.
2.
Set an alarm to ON.
Changing an alarm
1.
Touch Alarms.
2.
Select the alarm you wish to change.
3.
Change the alarm settings, and then touch Save.
Deleting an alarm
1.
Touch Alarms.
2.
Touch to select the alarm you wish to delete.
3.
Touch Delete, and then touch Delete again to confirm.
Setting a sleep timer
1.
Touch Sleep Timer.
2.
Select a sleep timer duration.
Note: If the music you’ve selected is not available when the alarm goes off (such as an
Internet radio station that has dropped off), your alarm plays the Sonos chime instead.
Note: You can also turn on an alarm when adding or editing it.

Product Guide
2-8
Turning off the alarm
When the alarm goes off, you can touch on the Sonos Controller for iPad to turn off the alarm.
Creating a Stereo Pair
The Stereo Pair setting allows you to group two PLAY:1s, PLAY:3s or PLAY:5s in the same room to create a wider stereo
experience. In this configuration, one component serves as the left channel and the other serves as the right channel. You
cannot create a mixed stereo pair—the Sonos components in the stereo pair must be the same.
Optimum placement information
• When creating a stereo pair, it is best to place the two Sonos components 8 to 10 feet away from each other.
• Your favorite listening position should be 8 to 12 feet from the units. Less distance increases bass, more distance
improves stereo imaging.
1.
From the Settings menu, touch Room Settings.
Note: The Stereo Pair setting is for use with PLAY:1s, PLAY:3s and PLAY:5s only. You cannot
create a mixed stereo pair—both Sonos components in the stereo pair must be the same.

Sonos Controller for iPad 2-9
2.
Touch one of the components you wish to create a stereo pair with (PLAY:1, PLAY:3 or PLAY:5 only).
3.
Touch Create Stereo Pair, and then follow the on-screen prompts.
The components automatically connect to form a stereo pair. The stereo pair appears with L + R in the room name.
Separating a stereo pair
1.
From the Settings menu, touch Room Settings.
2.
Select the stereo pair you wish to separate (the stereo pair appears with L + R in the name).
3.
Touch Separate Stereo Pair, and then follow the on-screen prompts.
The components appear separately on the Room Settings screen.
Surround Speakers
Adding surround speakers
If you have a PLAYBAR, you can easily add two PLAY:1 or PLAY:3 speakers to function as left and right surround channels in
your Sonos surround sound experience.
• Make sure the Sonos products are the same—you cannot combine a PLAY:1 and a PLAY:3 to function as surround
speakers.
• Be sure to follow these instructions to set up your surround speakers. Do not create a room group or stereo pair as
these will not achieve the left and right surround channel functionality.
1.
From the Settings menu, select Room Settings.
2.
Select the room the PLAYBAR is located in.
3.
Select Add Surround Speakers.
Note: If these are newly purchased Sonos components, be sure to add them to your Sonos
system before attempting to set them up as surround speakers.

Product Guide
2-10
4.
Follow the prompts to add first a left and then a right surround speaker.
Surround settings
The default audio settings are determined by the calibration process. If you wish to make a change, you can follow the steps
below.
1.
From the Settings menu, select Room Settings.
2.
Select the room the PLAYBAR and surround speakers are located in. It appears as Room (+LS+RS)on the Room Settings
menu.
3.
Select Advanced Audio -> Surround Settings.
4.
Choose one of the following:
•SURROUNDS: Choose On or Off to turn the sound from the surround speakers on and off.
• Drag your finger across the slider to increase or decrease the volume of the surround speakers.
Removing surround speakers
1.
From the Settings menu, select Room Settings.
2.
Select the room the surround speakers are associated with. The room name appears as Room (+LS+RS) on the Room
Settings menu.
3.
Select Remove Surround Speakers.
4.
Select Next to drop the surround sound speakers from your surround system. If these were newly purchased PLAY:1s
they will appear as Unused on the Rooms menu. If these PLAY:1s existed in your household previously, they revert back
to their previous state.
You can now move them to another room for individual use. If you want to add them back as surround speakers, see "Adding
surround speakers" on page 2-9 for help.
Turning Off the Music System
Your Sonos system is designed to be always on; the system uses minimal electricity whenever it is not playing music.
• To quickly stop streaming audio in all rooms, touch Pause All from the Rooms menu on a Sonos controller.
• To quickly stop streaming audio in a room or room group, press the Play/Pause button on a Sonos player (may appear
as a Mute icon on some players).
Your Sonos components remain off until you touch on a controller, or press the Play/Pause button on a player to restart
each room or room group.

Sonos Controller for iPad 2-11
Renaming a Sonos Component
If you name a Sonos player incorrectly, or if you move a it to another room, you can rename the component to suit your
preference.
1.
From the Settings menu, touch Room Settings. If you wish to change the name of a BRIDGE, touch BRIDGE Settings
instead.
2.
Touch to select the room you wish to change.
3.
Touch Room Name.
4.
Choose one of the following options:
• To select a name from a list, drag your finger to scroll through the list. Highlight the name you want to select, and touch
Done, or touch Cancel to leave the screen without making the change.
• To create a unique room name, touch the current name field to display the keyboard, touch to erase the current
name, and then type a different name. Touch Done when you are finished typing or touch Cancel to leave the screen
without making the change.
Turning Off the Status Indicator Light
A constant white light displays above the volume controls on Sonos players to indicate that the unit is functioning in normal
operation. If you have a Sonos product located in a bedroom, you may want to turn this light off so that when the unit is in
normal operation it does not display. However, if the status indicator light begins to flash amber, please go to http://
faq.sonos.com/led for additional information.
1.
From the Settings menu, touch Room Settings. (If you wish to turn off a BRIDGE status indicator light, touch BRIDGE
Settings instead.)
2.
Touch the room you wish to affect.
3.
Touch White Status Indicator Light. If the option is set to:
•Off: the status indicator light remains off during normal operation.
•On: the status indicator light remains on during normal operation.
Other manuals for Controller for iPad
3
Table of contents
Other Sonos Software manuals

Sonos
Sonos Controller for iPad User manual

Sonos
Sonos Controller for iPad User manual

Sonos
Sonos Controller for Android User manual

Sonos
Sonos Controller for iPhone User manual

Sonos
Sonos Controller for MAC User manual

Sonos
Sonos Controller for iPad User manual

Sonos
Sonos Controller for iPhone User manual

Sonos
Sonos Controller for iPhone User manual
Popular Software manuals by other brands

SilverFast
SilverFast OPTICFILM 7500I AI Guide rapide

Avaya
Avaya IP Office Phone Manager Installation and configuration guide

Oracle
Oracle Oracle Web Application Server installation guide

KAPERSKY
KAPERSKY ANTI-VIRUS 6.0 user guide

Echo Audio
Echo Audio Indigo DJx owner's manual

Avaya
Avaya iContact manual