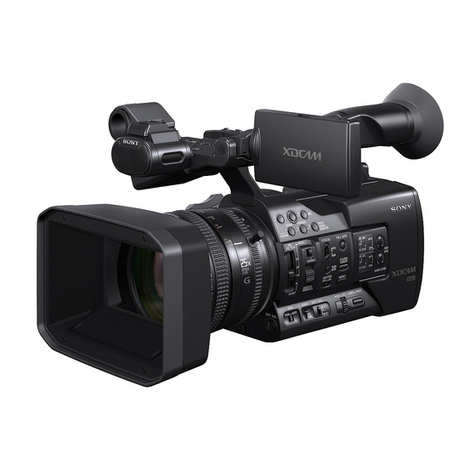
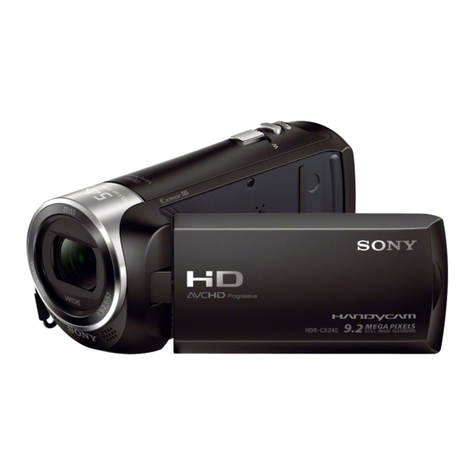
Note: This camera comes with built-in stereo microphones on the camera body
that are useful for ambient and background sounds. Identify the built-in mics.
These will be the camera mics when the XLR Adapter is not used. For
professional results, XLR mics are needed.
Set up the microphones.
Plug the shotgun into Input 2 (i). Connect the hand mic to an XLR cable
and plug that into Input 1 (j). Plug in the headphones (back of the
camera, above the power switch).
Set the audio switches on the camera handle.
1. First set the “REC CH SELECT” switch (r) down to “CH1”.
2. Then set the switch position for CH1 (l) to the middle
(MIC) for the hand mic and for CH2 (n) set it down (MIC+48)
for the lavalier mic.
3. “ATT” is normally set at 0dB (k,m) unless the sound is
very loud.
4. Set the audio level dial switches (s,u) to MAN for manual control with the dial.
5. Set the LOW CUT INPUT switches (p,q) to “ON” for windy conditions and “OFF” for other times.
See page 53-55 of the Operating Guide
Know the following terminology for audio:
SHOTGUN MIC:A condenser mic which requires electrical power to work and has a narrow pickup
pattern which picks up sound best from the front.
HAND MIC: A dynamic mic with a cone-shaped pickup pattern and picks up sound a bit better from
the front than from the sides.
LAVALIER MIC: A condenser mic with an omnidirectional pickup pattern (picks up sound evenly
from any direction).
LINE LEVEL:A setting on the camera to match the strong electrical audio signal from a device
such as audio amplifier or DVD player.
MIC LEVEL:A setting on the camera to match the weak electrical audio signal generated by a
microphone.
DYNAMIC MIC:A microphone that generates its own weak electrical audio signal such as a hand
mic.
CONDENSER MIC:A microphone that needs electrical power to work. (The shotgun mic and the
lavalier mic are examples of condenser mics).
ATTENUATE:To reduce the signal strength or level by a large degree. The ATT switch position
reduces the audio signal strength when the sound is excessively loud and distorted. However, it is
not enough to compensate for a line level signal.
PHANTOM POWER:Electrical power (+48v) provided to the microphone from the camera through
the audio cable.
NOTE: Supplying phantom power to dynamic microphones may damage some microphones. Thus, it is
important to determine whether or not the mic needs phantom power. Before connecting a mic, set the +48V
switch to OFF and then connect your mic. If your audio display and headset do not reveal an audio signal
with the audio thumbwheel turned up, turn the +48V to ON. Don’t forget to turn the phantom power OFF for
mics not needing phantom power.


