6
”FM I ” FM II ”FM III ”AM
Radio
Memorising stations
automatically
— Best Tuning Memory (BTM)
This unit selects the stations with the strongest
signals and memorises them in the order of
their frequencies. You can store up to 6 stations
on each band (FM I, FM II, FM III, and AM).
Caution
When tuning in stations while driving, use
Best Tuning Memory to prevent accidents.
1Press (SOURCE) repeatedly to select the
tuner.
Each time you press (SOURCE), the mode
changes as follows:
CD ˜TUNER
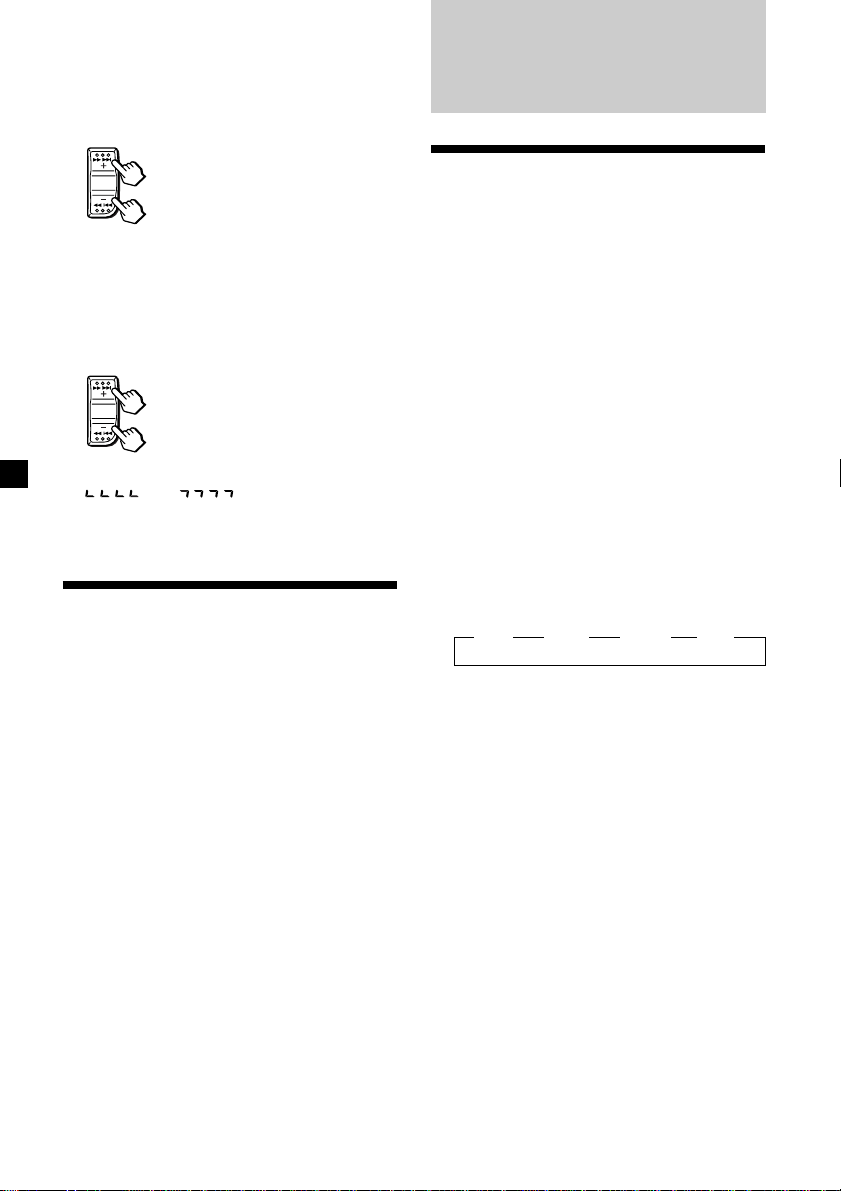
2Press (MODE) repeatedly to select the
band.
Each time you press (MODE), the band
changes as follows:
3Press (SENS/BTM) for two seconds.
The unit stores stations in the order of their
frequencies on the number buttons.
A beep sounds when the setting is stored.
Notes
•The unit does not store stations with weak
signals. If only a few stations can be received,
some number buttons will retain their former
setting.
•When a number is indicated in the display, the
unit starts storing stations from the one currently
displayed.
•If a CD is not in the unit, only the tuner band
appears even if you press (SOURCE).
To locate succeeding tracks
To locate preceding tracks
To search backward
To search forward
Locating a specific track
— Automatic Music Sensor (AMS)
During playback, press either side of
(SEEK/AMS) for each track you want to
skip.
Locating a specific point in a track
— Manual Search
During playback, press and hold either
side of (SEEK/AMS) for about two
seconds. Release when you have found
the desired point.
Note
If “ ” or “ ” appears in the display,
you have reached the beginning or the end of the
disc and you cannot go any further.
Playing a CD in various
modes
Playing tracks repeatedly
— Repeat Play
Press (1) during playback.
“REPEAT” appears in the display.
When the current track is over, it will play
again from the beginning.
To return to normal mode, press again.
Playing tracks in random order
— Shuffle Play
Press (2) during playback.
“SHUF” appears in the display.
To return to normal mode, press again.
SEEK
AMS
SEEK
AMS