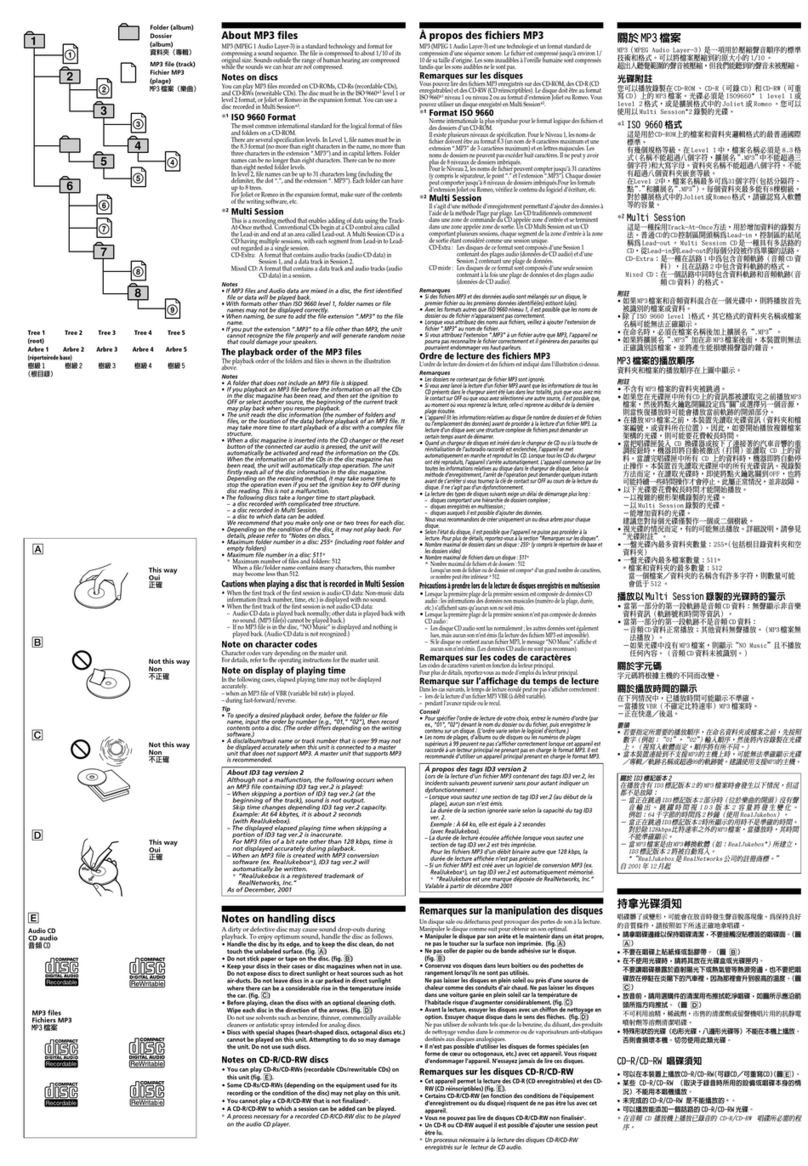
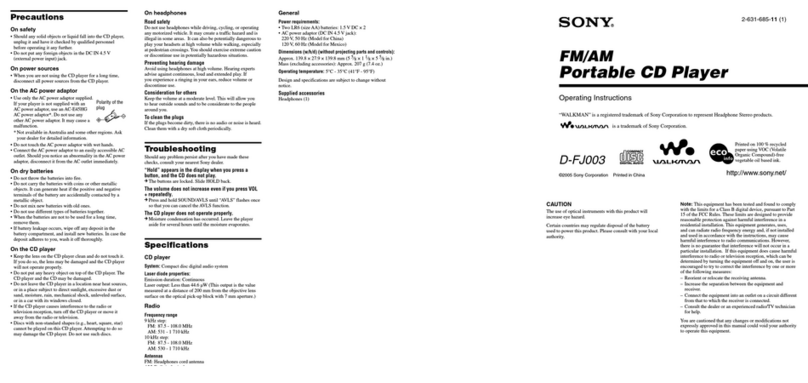
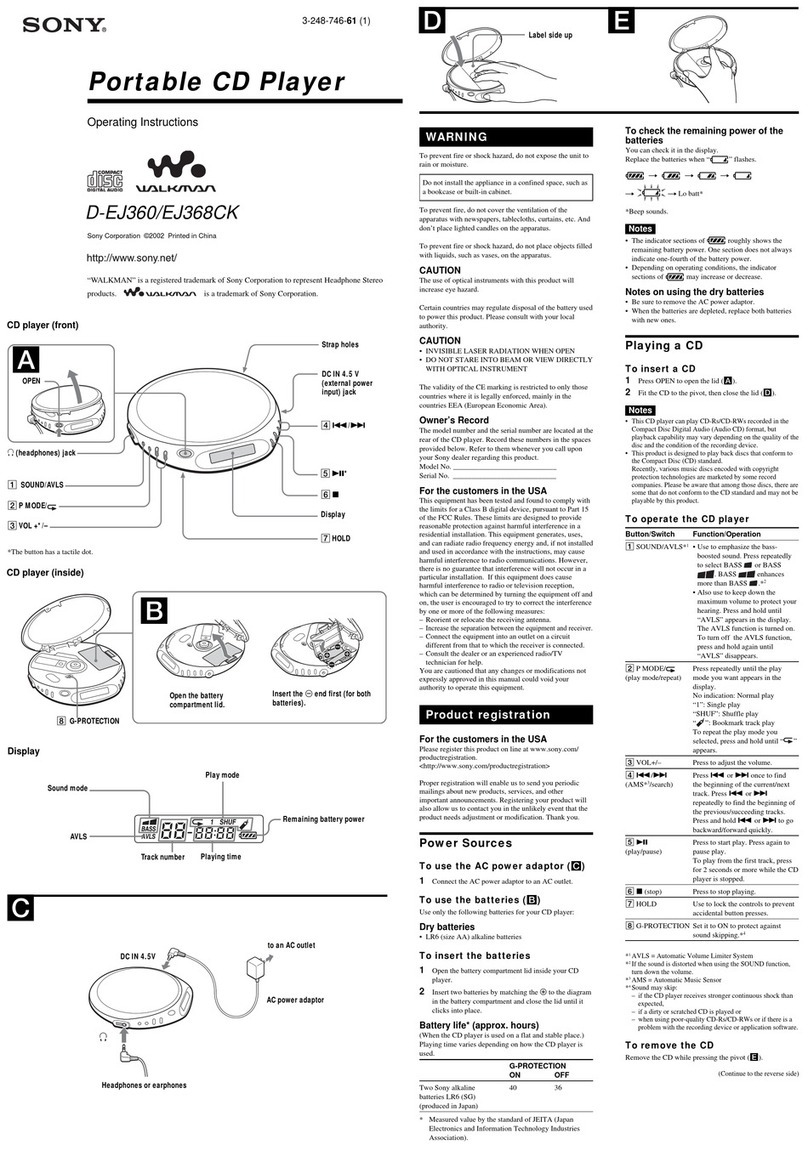
Connections
Caution
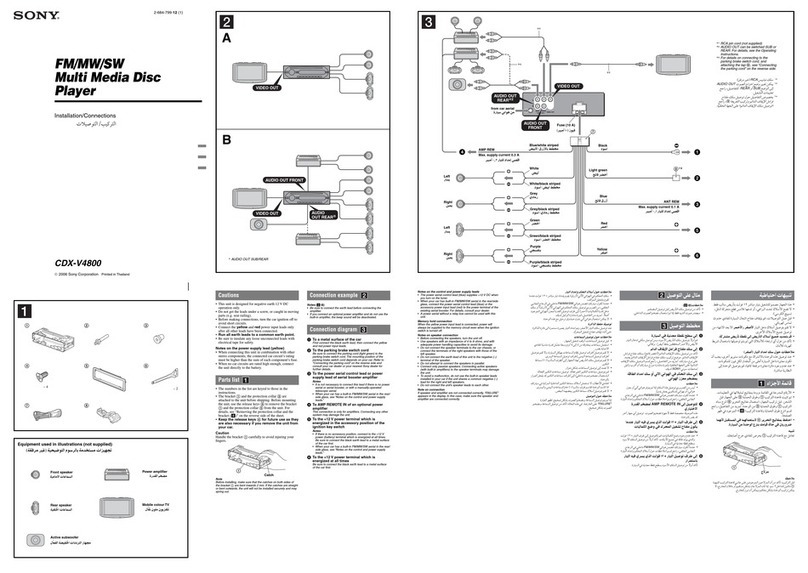
• This unit is designed for negative ground 12 V DC operation only.
•Before making connections, disconnect the ground terminal of the car battery to avoid short circuits.
• Connect the yellow and red power input leads only after all other leads have been connected.
• Be sure to connect the red power input lead to the positive 12 V power terminal which is energized
when the ignition key is in the accessory position.
• Run all ground wires to a common ground point.
•Connect the yellow cord to a free car circuit rated higher than the unit's fuse rating.
If you connect this unit in series with other stereo components, the car circuit they are connected to
must be rated higher than the sum of the individual component's fuse rating.
If there are no car circuits rated as high as the unit's fuse rating, connect the unit directly to the
battery.
If no car circuits are available for connecting this unit, connect the unit to acar circuit rated higher
than the unit's fuse rating in such a way that if the unit blows its fuse, no other circuits will be cut
off.
•The use of optical instruments with this product will increase eye hazard.
Reset button
When the installation and connections are over, be sure to press the reset button with a ball-point pen
etc.
Note
When you connect the power supply cord to the unit or reset the unit, wait for about 10seconds before you
insert adisc.If you insert adiscwithin these 10 seconds, the unit will not be reset, end you wifl have to press
the reset button again.
Warning when installing in a car without ACC(accessory) position
on the ignition key switch
Be sure to press _on the unit for two seconds to turn off the clock display after turning off
the engine.
When you press _momentarily, the clock display does not turn off and this caUSes battery wear.
Q

