manuals.online logo
Brands
  1. Home
  2. •
  3. Brands
  4. •
  5. Sony
  6. •
  7. Digital Photo Frame
  8. •
  9. Sony S-Frame DPF-A72N Instruction sheet

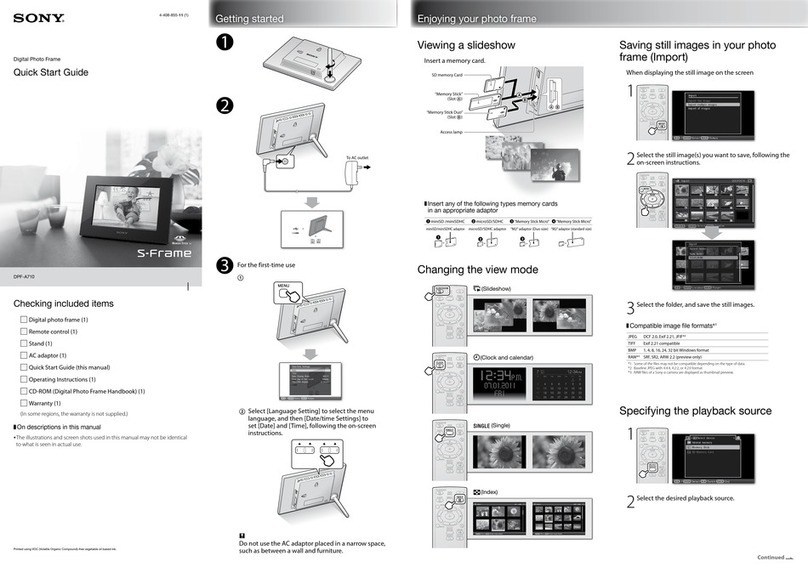
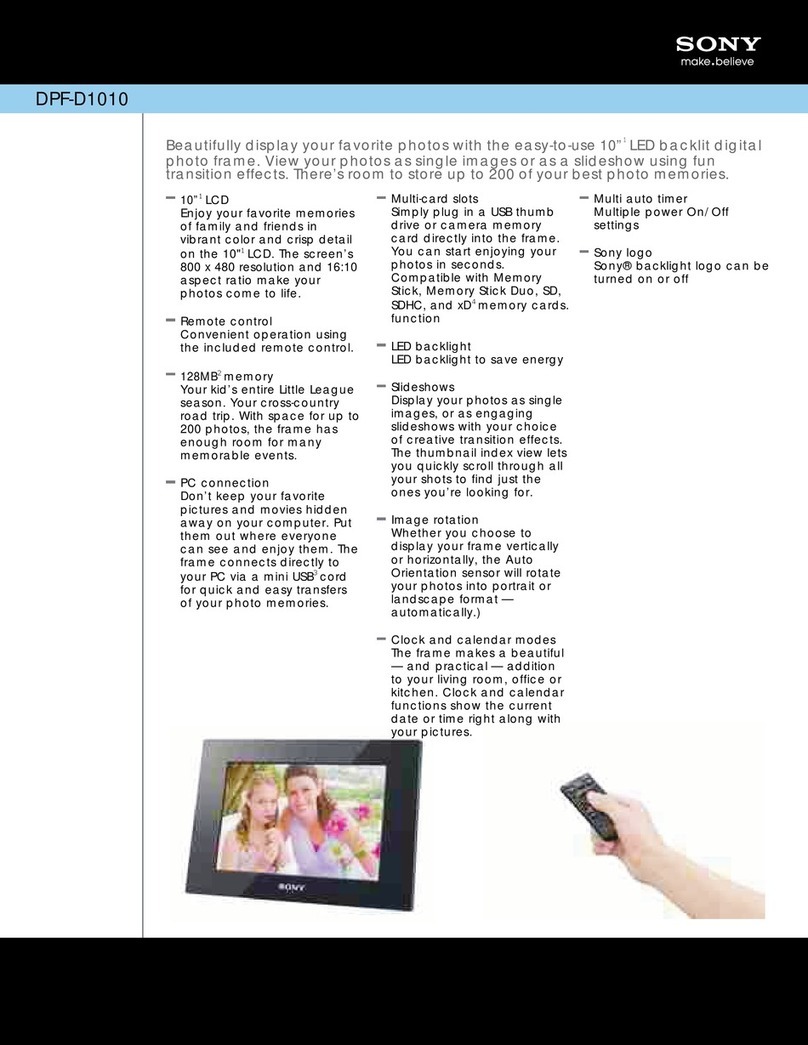
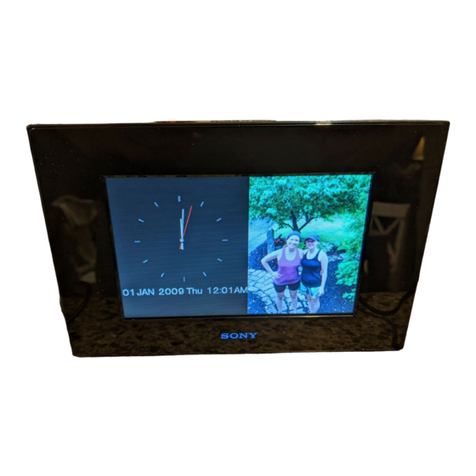
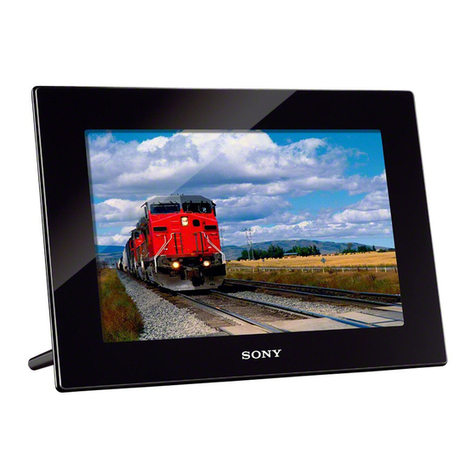
Sony S-Frame DPF-A72N Instruction sheet

Digital Photo Frame
Read This First
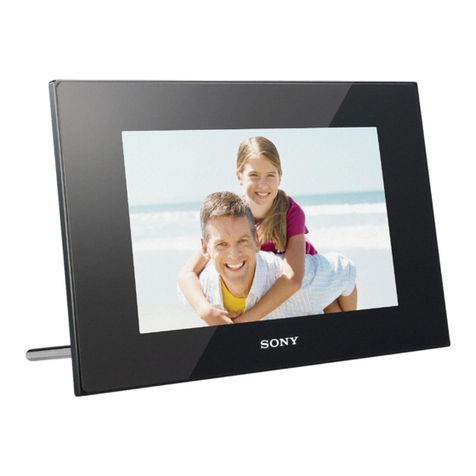
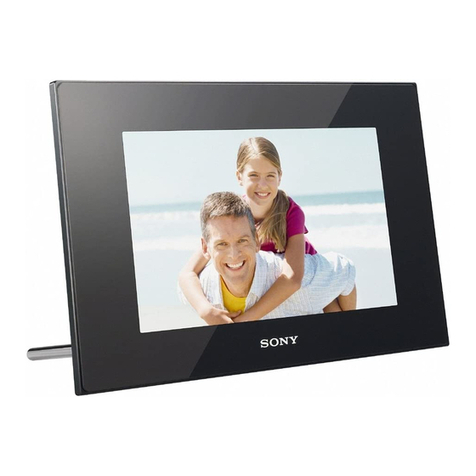
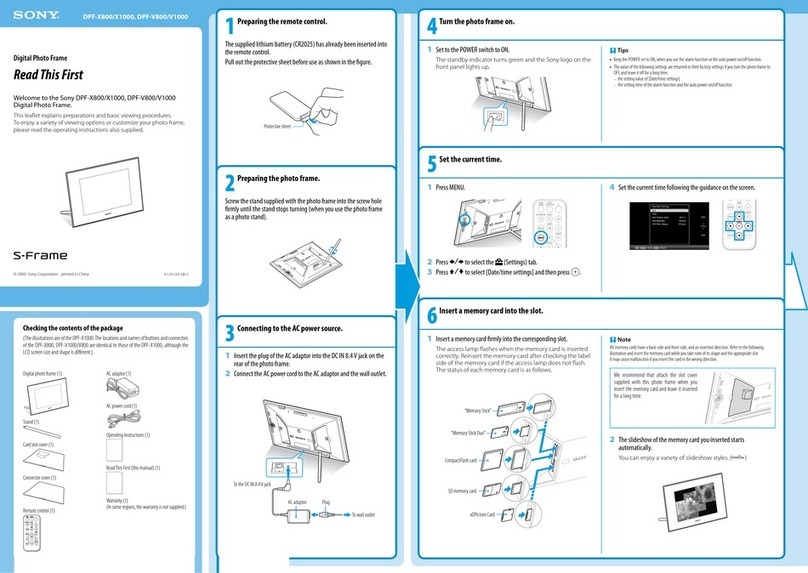
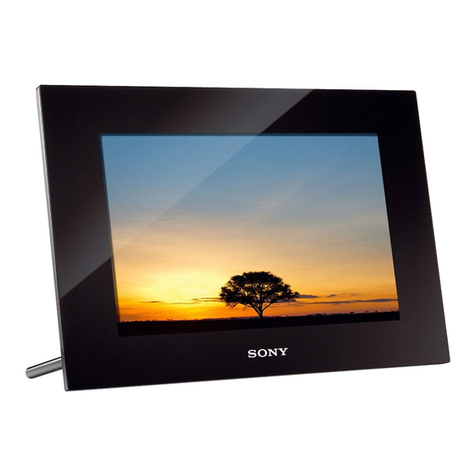
Welcome to the Sony DPF-A72N/E72N/D72N Digital Photo
Frame.
This leaet explains preparations and basic viewing procedures.
To enjoy a variety of viewing options or customize your photo frame,
please read the operating instructions also supplied.
Checking the contents of the package
Digital photo frame (1)
Stand (1)
Remote control (1)
AC adaptor (1)
Operating Instructions (1)
ReadThis First (this manual) (1)
Exchangeable panel (2) (DPF-E72N only)
Warranty (1)
(In some regions, the warranty is not supplied.)
1
Preparing the remote control.
The supplied lithium battery (CR2025) has already been inserted into
the remote control.
Pull out the protective sheet before use as shown in the gure.
4
Turn the photo frame on.
The photo frame is automatically turned on when it is connected to the AC power source. Only when the power is o with the AC adaptor connected
to the wall outlet, the step 4is necessary.
1
Press 1 (on/standby) button.
The standby indicator turns green and the Sony logo on the
front panel lights up.
Tips
When using the DPF-E72N, the Sony logo does not light up.
When you use the auto power on/o function, keep the photo frame connected to the AC power source.
If you keep the photo frame disconnected to the AC power source for an extended period of time, the
following setting is returned to its factory setting:
the setting value of [Date/time settings]




5
Set the current time.
1
Press MENU.
2
Press  to select the (Settings) tab.
3
Press  to select [Date/time settings] and then press .
4
Set the current time following the guidance on the screen.
6
Insert a memory card into the slot.
1
Insert a memory card rmly into the corresponding slot.
The access lamp ashes when the memory card is inserted
correctly. Reinsert the memory card after checking the label
side of the memory card if the access lamp does not ash.
The status of each memory card is as follows.
Notes
All memory cards have a back-side and front-side, and an insertion direction. Refer to the illustration
and insert the memory card while you take note of its shape and the appropriate slot.
It may cause malfunction if you insert the card in the wrong direction.
When you use miniSD, microSD or Memory Stick Micro, please make sure a card is attached to an
adaptor rmly.
Do not insert multiple memory cards into A, B, or CompactFlash
card/Microdrive (DPF-D72N only) slots simultaneously. If multiple
memory cards are inserted, the photo frame will not work
properly.
2
The slideshow of the memory card you inserted starts
automatically.
You can enjoy a variety of slideshow styles. ()



DPF-A72N/E72N/D72N
© 2009 Sony Corporation Printed in China 4-155-761-11(1)
Protective sheet
“Memory Stick”
“Memory Stick Duo”
CompactFlash card
(DPF-D72N only)
SD memory card
xD-Picture Card
2
Preparing the photo frame.
Screw the stand supplied with the photo frame into the screw hole
rmly until the stand stops turning (when you use the photo frame
as a photo stand).
3
Connecting to the AC power source.
1
Insert the plug of the AC adaptor into the DC IN 5V jack on the
rear of the photo frame.
2
Connect the AC adaptor to the wall outlet.
The photo frame is automatically turned on.
AC adaptor main unit
To wall outlet
To the DC IN 5V jack
AC plug
DC cable
DC plug
Tips
The illustrations in this manual are of the DPF-D72N.
The DPF-A72N/E72N are not equipped with the CompactFlash card/Microdrive slot.
The screen displays are also of the DPF-D72N and may be dierent from those of the DPF-A72N/E72N.
The plug shape and specications of the AC power cord dier depending on the region in which you
purchased the photo frame.
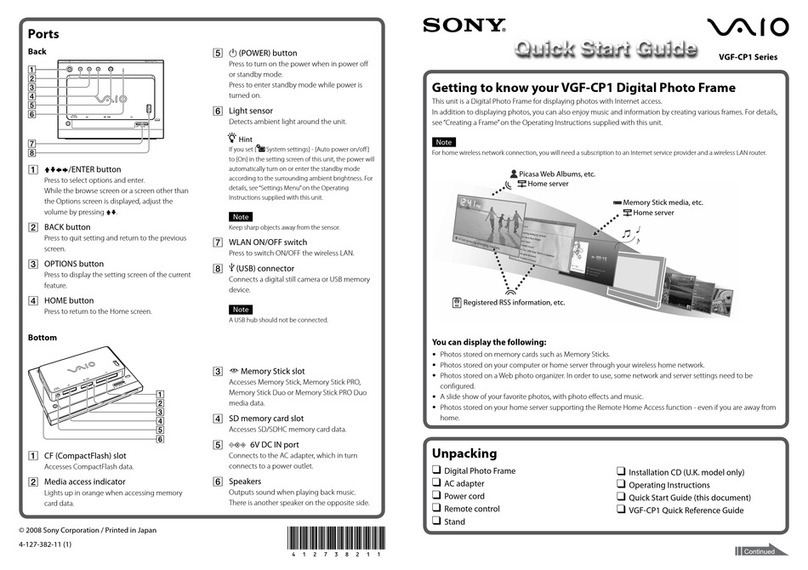
2
Select the group you want.
Press (Clock and calendar), (Slideshow), (Index), or
(Single) on the remote. Or press  to move the cursor to
group area and then press  on the photo frame to select the
group you want.
Tips
The image illustration is the view mode screen of the clock and calendar. Slideshow, index, and single
has each view mode screen.
3
Select the style you want.
Press  to select the style you want, the press .
Let's use various functions
The displaying screen
Refer to“Changing the display” on the operating instruction.
Clock and Calendar display
Note
You cannot perform the setting operation of the menu when you display the clock and calendar display.
Slideshow
Tips
The playback order of the images is same as the one you selected in [Listing Order] on [General Settings].
Refer to the“Changing the settings”in the operating instructions.
When you select [Time Machine] in a slideshow mode (DPF-D72N only), the day when the image is shot or
the day the le was updated is displayed.



Index image display
Tips
The listing order of the images is same as the one you selected in [Listing Order] on [General Settings].
Single view mode
Various function (Setting using the MENU button)
Adding image to the internal memory

Refer to“Adding image to the internal memory”in
the operating instructions.
Auto power on/off

Refer to“Changing the settings of the auto power
on/off function”in the operating instructions.
(This window is displayed only when you are using
DPF-D72N.)
Changing the settings

Refer to“Changing the settings”in the operating
instructions.
Connecting to a computer
You can connect to a computer to view and copy images from the
internal memory of the photo frame to the computer, and copy
images from the computer to the photo frame.

Refer to“Connecting to a computer”in the operating instructions.
About the display orientation
You can set the photo frame to portrait or landscape orientation by rotating it without
moving the stand.You can also use this function when you display the photo frame on
the wall.
When the photo frame is placed in the portrait orientation, the image is also
automatically rotated to its proper orientation.
Setting the Auto display orientation
1
Press MENU.
2
Press  to select the (Settings) tab.
3
Press  to select [General Settings] and press .
Then press  to select [ON] in [Auto display orientation] and
press .
Notes
Check whether the stand is stable. If the stand is not set properly, the photo frame may fall over.
Store the stand in the storage slot when you display the photo frame on the wall.
When the photo frame is rotated to the portrait orientation, the Sony logo doesn't light up (DPF-A72N/
D72N only).
The photo frame does not detect and rotate the orientation of images when [General Settings]-[Auto
display orientation] on the (Settings) tab is set to [OFF].




1
Press VIEW MODE.
The view mode screen is displayed.

Other manuals for S-Frame DPF-A72N

2

This manual suits for next models

2

Other Sony Digital Photo Frame manuals

Sony S-Frame DPF-A710 User manual

Sony

Sony S-Frame DPF-A710 User manual

Sony DPF-V900/V700 User manual

Sony

Sony DPF-V900/V700 User manual

Sony VGF-CP1 - Vaio Wi-fi Photo Frame User manual

Sony

Sony VGF-CP1 - Vaio Wi-fi Photo Frame User manual

Sony DPF-A73/E73 User manual

Sony

Sony DPF-A73/E73 User manual

Sony S-Frame DPF-HD1000 Use and maintenance manual

Sony

Sony S-Frame DPF-HD1000 Use and maintenance manual

Sony S-FRAME DPF-D95 User manual

Sony

Sony S-FRAME DPF-D95 User manual

Sony S-Frame 4-259-434-13 (1) User manual

Sony

Sony S-Frame 4-259-434-13 (1) User manual

Sony S-FRAME DPF-V700 User manual

Sony

Sony S-FRAME DPF-V700 User manual

Sony S-Frame DPF-E710 User manual

Sony

Sony S-Frame DPF-E710 User manual

Sony S-Frame DPF-A72 Instruction sheet

Sony

Sony S-Frame DPF-A72 Instruction sheet

Sony S-Frame DPF-D1010 User manual

Sony

Sony S-Frame DPF-D1010 User manual

Sony D810 DPF-D720 User manual

Sony

Sony D810 DPF-D720 User manual

Sony S-Frame DPF-D830 User manual

Sony

Sony S-Frame DPF-D830 User manual

Sony S-Frame DPF-VR100 User manual

Sony

Sony S-Frame DPF-VR100 User manual

Sony DPF-WA700 User manual

Sony

Sony DPF-WA700 User manual

Sony S-FRAME DPF-D95 User manual

Sony

Sony S-FRAME DPF-D95 User manual

Sony DPF-WA700 Operating manual

Sony

Sony DPF-WA700 Operating manual

Sony S-Frame DPF-D1010 User manual

Sony

Sony S-Frame DPF-D1010 User manual

Sony S-Frame DPF-A72N Use and maintenance manual

Sony

Sony S-Frame DPF-A72N Use and maintenance manual

Sony DPF-D1020 User manual

Sony

Sony DPF-D1020 User manual

Sony S-Frame DPF-D810 User manual

Sony

Sony S-Frame DPF-D810 User manual

Sony HDPS-L1 User manual

Sony

Sony HDPS-L1 User manual

Sony MPS-VS500P User manual

Sony

Sony MPS-VS500P User manual

Sony DPP-F700 - Digital Photo Printer/frame User manual

Sony

Sony DPP-F700 - Digital Photo Printer/frame User manual

Popular Digital Photo Frame manuals by other brands

ViewSonic VFD810-50 Specifications

ViewSonic

ViewSonic VFD810-50 Specifications

Sungale Cloud Frame CPF708 user manual

Sungale

Sungale Cloud Frame CPF708 user manual

Insignia NS-DPF3G Guide d'installation rapide

Insignia

Insignia NS-DPF3G Guide d'installation rapide

CTA MI-PF15 user manual

CTA

CTA MI-PF15 user manual

ViewSonic VFA724w-10 Specifications

ViewSonic

ViewSonic VFA724w-10 Specifications

Insignia NS-DPF8IP user guide

Insignia

Insignia NS-DPF8IP user guide

Olin DPF-1006 user manual

Olin

Olin DPF-1006 user manual

Genius DPF-101K manual

Genius

Genius DPF-101K manual

Philips SPF1017 Specifications

Philips

Philips SPF1017 Specifications

VIETA VPF60 owner's manual

VIETA

VIETA VPF60 owner's manual

Micca M1503ZM owner's manual

Micca

Micca M1503ZM owner's manual

Braun DIGIFRAME 880 manual

Braun

Braun DIGIFRAME 880 manual

Pandigital PAN1201DW user guide

Pandigital

Pandigital PAN1201DW user guide

HANNspree SD1073 manual

HANNspree

HANNspree SD1073 manual

Aluratek ADMPF107 Instructional manual

Aluratek

Aluratek ADMPF107 Instructional manual

Coby DP-758 Specifications

Coby

Coby DP-758 Specifications

Edge DIGITAL PICTURE FRAME user manual

Edge

Edge DIGITAL PICTURE FRAME user manual

Philips SPF4628/12 user manual

Philips

Philips SPF4628/12 user manual

manuals.online logo
manuals.online logoBrands
  • About & Mission
  • Contact us
  • Privacy Policy
  • Terms and Conditions

Copyright 2025 Manuals.Online. All Rights Reserved.