6
Precautions
On safety
• Caution – The use of optical instruments with this
product will increase eye hazard.
• Should any solid object or liquid fall into the cabinet,
unplug the player and have it checked by qualified
personnel before operating it any further.
On power sources
• The player is not disconnected from the AC power
source (mains) as long as it is connected to the wall
outlet, even if the player itself has been turned off.
• If you are not going to use the player for a long time, be
sure to disconnect the player from the wall outlet. To
disconnect the AC power cord (mains lead), grasp the
plug itself; never pull the cord.
• Should the AC power cord (mains lead) need to be
changed, have it done at a qualified service shop only.
On placement
• Place the player in a location with adequate ventilation
to prevent heat build-up in the player.
• Do not place the player on a soft surface such as a rug
that might block the ventilation holes on the bottom.
• Do not place the player in a location near heat sources,
or in a place subject to direct sunlight, excessive dust or
mechanical shock.
On operation
• If the player is brought directly from a cold to a warm
location, or is placed in a very damp room, moisture
may condense on the lenses inside the player. Should
this occur, the player may not operate properly. In this
case, remove the disc and leave the player turned on for
about half an hour until the moisture evaporates.
• When you move the player, take out any discs. If you
don’t, the discs or the player may be damaged.
On adjusting volume
• Do not turn up the volume while listening to a section
with very low level inputs or no audio signals. If you
do, the speakers may be damaged when a peak level
section is played.
On cleaning
• Clean the cabinet, panel and controls with a soft cloth
slightly moistened with a mild detergent solution. Do
not use any type of abrasive pad, scouring powder or
solvent such as alcohol or benzine.
If you have any questions or problems concerning your
player, please consult your nearest Sony dealer.
IMPORTANT NOTICE
Caution: The enclosed DVD player is capable of
holding a still video image or on-screen display
image on your television screen indefinitely. If you
leave the still video image or on-screen display image
displayed on your TV for an extended period of time
you risk permanent damage to your television screen.
Projection televisions are especially susceptible to
this.
Notes About the Discs
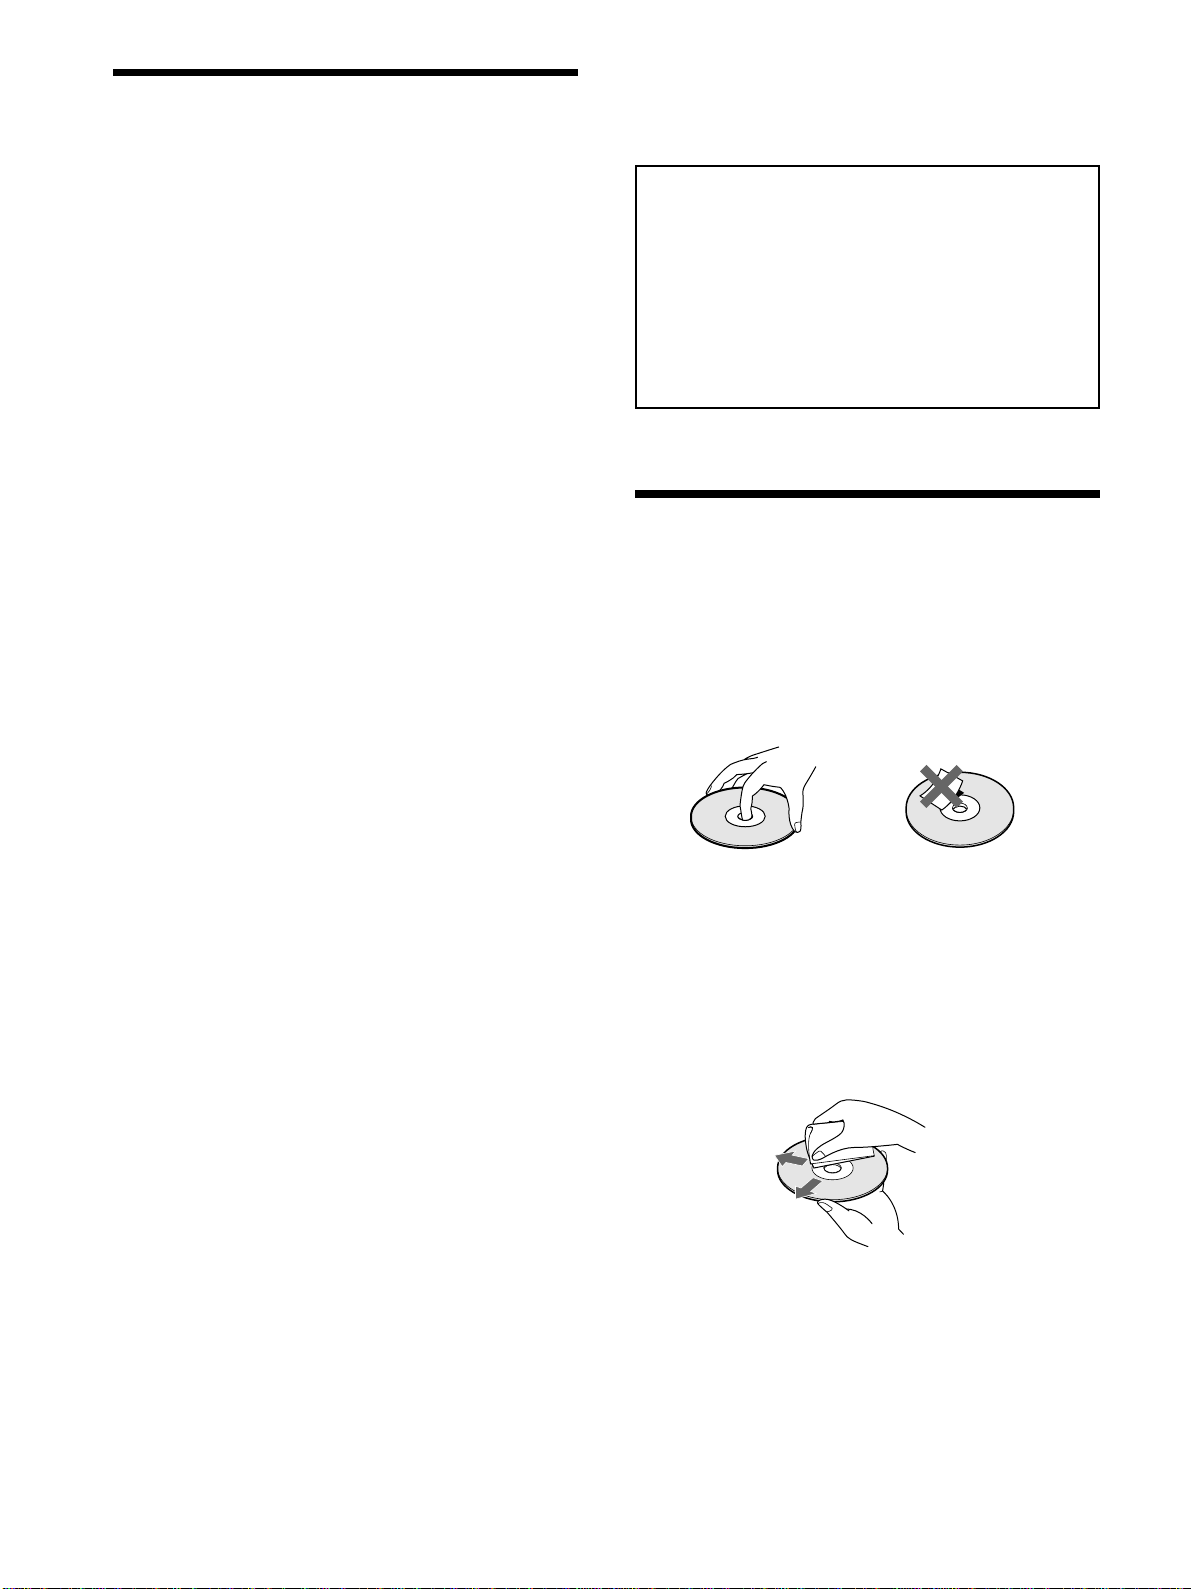
On handling discs
• To keep the disc clean, handle the disc by its edge. Do
not touch the surface.
• Do not stick paper or tape on the disc.
If there is glue (or a similar substance) on the disc,
remove the glue completely before using the disc.
• Do not expose the disc to direct sunlight or heat sources
such as hot air ducts, or leave it in a car parked in direct
sunlight as the temperature may rise considerably
inside the car.
• After playing, store the disc in its case.
On cleaning
• Before playing, clean the disc with a cleaning cloth.
Wipe the disc from the center out.
• Do not use solvents such as benzine, thinner,
commercially available cleaners or anti-static spray
intended for vinyl LPs.
On novelty discs
• Do not use irregularly shaped CDs such as heart- or
star-shaped CDs as they may cause the player to
malfunction.